


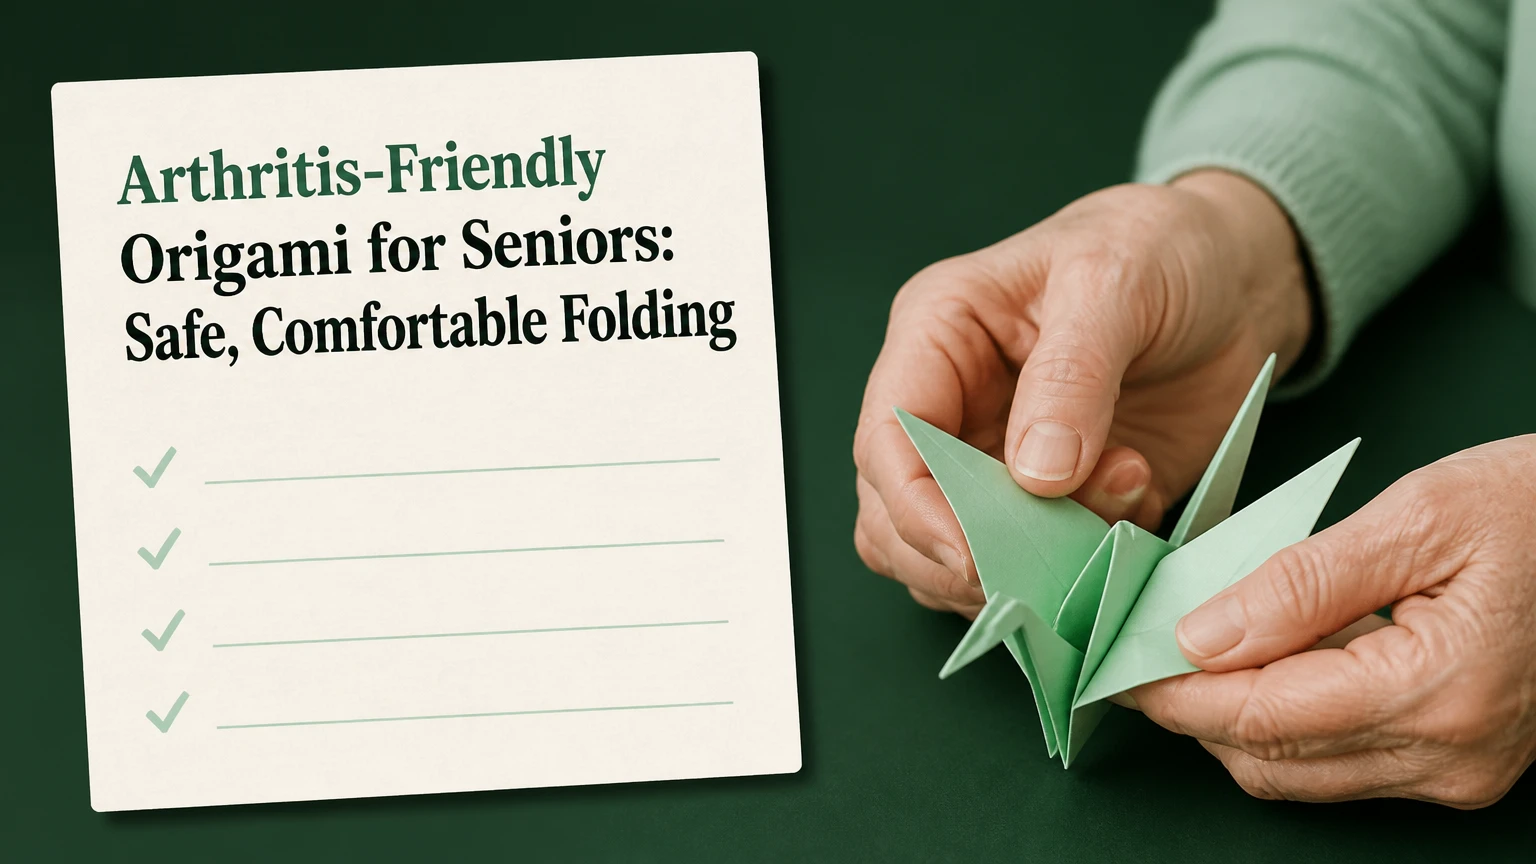
Arthritis-friendly origami for seniors adapts paper size, folding pressure, workspace setup, tools, and project complexity for painful or stiff hands. The safest approach uses a stable surface, large forgiving paper, palm or forearm pressure instead of fingertip pinching, short sessions, and immediate rest when pain increases.
Key Facts at a Glance
Use 20 x 20 cm to 30 x 30 cm paper when 15 x 15 cm sheets force painful pinching.
Choose flexible paper around 70-100 gsm before trying stiff cardstock.
A 15-20 minute session is a practical starting point for fatigued hands.
A silicone craft mat, wide-handled creaser, and paperweight can reduce stabilizing effort.
Pureland models and broad geometric folds usually require fewer difficult finger maneuvers.
Origami can provide creative and cognitive engagement, but it is not a substitute for arthritis treatment or occupational therapy.
What Is Arthritis-Friendly Origami?
Arthritis-friendly origami is ordinary paper folding modified to reduce force, precision, grip range, and repetition. The modifications help people with osteoarthritis, rheumatoid arthritis, reduced sensation, tremor, or limited finger movement participate without treating pain as a challenge to overcome.
Traditional instructions often assume two healthy hands, strong thumb opposition, and the ability to make tiny folds accurately. Adaptive folding changes those assumptions. The paper stays on the table, the non-dominant hand anchors it, and a broad tool or palm creates creases instead of a thumbnail.
Origami may support attention, sequencing, visual-spatial practice, and satisfaction from completing a tangible object. The Arthritis Foundation lists creative hobbies among activities people may adapt around joint symptoms, while the CDC states, “Some physical activity is better than none.” Neither source establishes origami as a treatment for arthritis.
How Does Adaptive Folding Reduce Hand Strain?
Adaptive folding reduces strain by replacing repeated fingertip compression with larger contact areas and mechanical leverage. A palm, forearm, or wide roller distributes pressure across more tissue than a thumb-and-index pinch, while a table prevents the hands from stabilizing unsupported paper.
The adaptation does not eliminate force. A thick crease still requires pressure, and a tool still needs some control. The aim is lower peak effort, fewer awkward joint positions, and less time spent holding paper in the air.
A useful practitioner rule is to judge a project by its hardest maneuver, not its average step. A model with 20 easy folds and one tight reverse fold may be less suitable than a model with 35 broad valley folds.
Which Paper and Tools Should Seniors Use?
The best starting combination is 20 x 20 cm or 25 x 25 cm paper, a nonslip mat, a light paperweight, and a wide-handled creaser. Flexible 70-100 gsm paper is usually easier to shape than very thick cardstock, because stiff stock can demand more force at every fold.
Paper Selection by Hand Function
| Paper type | Typical size | Typical weight | Best use | Main limitation |
|---|---|---|---|---|
| Standard kami | 15 x 15 cm | 50-60 gsm | Familiar beginner practice | Small and slippery for stiff fingers |
| Large kami | 20 x 20 cm | 50-60 gsm | Simple flowers, cups, boats | Thin edges can tear |
| Textured craft paper | 20-30 cm | 70-100 gsm | Reduced grip or mild tremor | Texture can obscure crease lines |
| Lightweight cardstock | 20-30 cm | 120-180 gsm | Boxes and greeting-card accents | Requires more force and resists reversal |
| Poster or packing paper | 30-45 cm | 60-100 gsm | Demonstration and visual learning | Needs a large, clear table |
Paper weight is not a simple “heavier is better” decision. Paper above roughly 120 gsm may hold a crease well, but it also resists bending and can increase wrist effort. For most seniors, larger flexible paper provides more benefit than maximum thickness.
Use paper with a matte surface when fingers slip. Avoid glossy coated sheets for early practice, because they slide on tables and show fewer crease cues. Double-sided color can help people distinguish the front and back during multistep instructions.
Which Tools Reduce Pinching?
| Tool | Typical price | Hand action | Suitable situation | Limitation |
|---|---|---|---|---|
| Wide-handled bone folder | $8-$15 | Whole-hand push | Moderate thumb or finger pain | Requires controlled forward pressure |
| Small paper roller | $10-$25 | Palm-guided rolling | Long straight creases | Less precise at corners |
| Silicone craft mat | $10-$20 | Passive friction | Slipping paper or tremor | Does not replace anchoring |
| Flat paperweight | $5-$15 | Passive anchoring | One-handed folding | Can obscure the next crease |
| Foam pencil grip | $3-$8 | Enlarged grasp | Narrow tool handles | May make precision harder |
| Page magnifier or phone camera | $10-$40 | Visual enlargement | Low vision or tiny diagrams | Needs an adjustable stand |
A pastry roller or clean rubber brayer can substitute for a bone folder when its edge is smooth and its handle does not require a tight grip. Do not use a sharp metal ruler, exposed craft blade, or pointed tool as a creasing aid.
How Should a Senior Set Up the Folding Area?
Set the paper on a stable table between waist and elbow height, with the work centered close enough that the elbows remain supported. Place a silicone mat or dry rubber shelf liner beneath the sheet, then keep tools within a short reach to avoid repeated wrist rotation.
A dry nonslip surface is safer than a damp paper towel. Moisture can wrinkle paper, transfer residue, and make the work unexpectedly slippery. A low-profile fabric-covered weight, such as a clean beanbag or filled fabric pouch, can anchor a corner without creating a hard obstacle.
Good lighting matters because visual misalignment causes extra corrective folds. Use a bright lamp from the side, enlarge diagrams on a tablet, and mark orientation with a pencil dot or removable sticker when a model repeatedly changes direction.
| Setup element | Recommended specification | Why it helps | Low-cost substitute |
|---|---|---|---|
| Work surface | 60 x 90 cm clear area | Leaves room for large sheets | Kitchen or dining table |
| Nonslip base | 2-3 mm silicone mat | Limits paper movement | Dry rubber shelf liner |
| Lighting | 500-1,000 lux task lamp | Improves crease visibility | Adjustable desk lamp |
| Seating | Back-supported chair, feet flat | Reduces fatigue during 15-minute sessions | Dining chair with cushion |
| Anchor | 200-500 g soft weight | Holds one section still | Fabric pouch filled with rice |
| Instruction display | 8-inch or larger screen | Enlarges diagrams | Printed pages on a book stand |
How Do You Fold Paper With Less Joint Stress?
Use a seven-step process that keeps the paper supported and moves pressure into the palm, forearm, or tool. A beginner usually needs 5-10 minutes for a simple model, while a 15-20 minute session is a safer initial limit than attempting a full half-hour project.
Step 1: Warm the Hands Briefly
Wrap the hands in a comfortably warm towel for about five minutes, then open and close the fingers slowly within a pain-free range. Do not force a bent finger straight, stretch an inflamed joint, or use heat when a clinician has advised against it.
Success checkpoint: The hands feel more comfortable, not numb or overheated.
Common mistake: Treating the warm-up as a test of flexibility and pushing into pain.
Step 2: Choose a Large, Flexible Sheet
Start with a 20 x 20 cm sheet for normal vision and a 25 x 25 cm or 30 x 30 cm sheet for tremor, low vision, or reduced dexterity. Select 70-100 gsm paper unless the project specifically needs a stronger finished shape.
Success checkpoint: The sheet can be moved and rotated with an open hand.
Common mistake: Choosing 15 x 15 cm paper because it is the standard size.
Step 3: Anchor the Paper on the Mat
Place the paper flat and use the non-dominant forearm, a soft weight, or the side of the hand to keep one half still. Leave the target fold visible rather than covering the exact line with a heavy object.
Success checkpoint: The sheet stays in place when the dominant hand moves across it.
Common mistake: Holding the paper in mid-air, which makes the fingers stabilize and pinch continuously.
Step 4: Align Edges With an Open Hand
Slide the palm across the paper to bring edges together, then use the fingertips only for a brief final adjustment. Large movements should come from the forearm and shoulder rather than repeated thumb-index pinches.
Success checkpoint: The corners meet within about 2-3 mm without several corrective attempts.
Common mistake: Chasing perfect alignment after the hands have started to fatigue.
Step 5: Make a Soft Preliminary Fold
Lower the top layer gradually and press along the fold with the flat side of the hand. A soft first crease gives the paper a path without demanding the force needed for a final sharp crease.
Success checkpoint: The paper bends along one continuous line without buckling.
Common mistake: Pressing at one corner first and creating a diagonal wrinkle.
Step 6: Set the Crease With a Broad Tool
Roll a small brayer or push a wide-handled bone folder from the center toward each edge. Use body weight and a short arm movement, not a tight thumb grip or fingernail.
Success checkpoint: The crease is visible from edge to edge and the paper remains flat.
Common mistake: Repeating the pass more than two or three times after the crease is already set.
Step 7: Pause Before the Next Sequence
Rest for 30-60 seconds after several folds, release the hands, and check whether discomfort is rising. Stop the session if pain becomes sharp, swelling increases, sensation changes, or symptoms remain worse after rest.
Success checkpoint: The next fold feels as controlled as the previous one.
Common mistake: Finishing the model at any cost and discovering increased pain later that day or the next morning.
Which Origami Styles and Projects Are Most Accessible?
Simple Pureland models, large geometric forms, and broad single-fold decorations are generally more accessible than models with tiny layers, reverse folds, sinks, or repeated precise pinches. Project suitability depends on the hardest movement, the paper size, and the person’s current symptoms.
| Project | Recommended sheet | Typical time | Hand demand | Suitable outcome |
|---|---|---|---|---|
| Simple paper cup | 20 x 20 cm | 5-8 minutes | Broad folds, few layers | Functional desk container |
| Basic sailboat | 20-25 cm | 7-12 minutes | Moderate alignment | Display or card decoration |
| Simple house | 20-25 cm | 5-10 minutes | Repeated straight folds | Greeting-card accent |
| Large fan | 25-30 cm | 5-8 minutes | Repetition, low precision | One-handed assisted activity |
| Easy box | 25-30 cm | 10-15 minutes | Layered corners | Storage for lightweight items |
| Simple whale | 25-30 cm | 10-15 minutes | Some directional changes | Pureland-style animal |
| Fortune teller | 20-25 cm | 8-12 minutes | Several diagonal folds | Social activity with a partner |
Pureland origami, associated with models restricted to basic mountain and valley folds, can reduce maneuver complexity, but the style does not guarantee low effort. A large Pureland model with thick paper may still strain the wrist.
Modular origami can distribute the work across short sessions, but it often requires making many small units. It is suitable when a partner can prepare units or when the units are enlarged substantially, not when repeated pinching is the primary limitation.
What Are the Main Adaptation Options?
| Adaptation | Typical dimensions or setting | Main benefit | Best match |
|---|---|---|---|
| Large-format folding | 25-30 cm paper | More visible edges and larger grips | Low vision or tremor |
| Pureland models | 5-15 major folds | Fewer complex maneuvers | Stiff fingers |
| Tool-assisted creasing | 8-15 cm handle | Less thumbnail pressure | Thumb-base pain |
| Partner-assisted folding | 10-20 minute shared session | One person anchors or aligns | Weak grip or deformity |
| Pre-creased folding | 3-6 prepared lines | Lower active effort | Fatigue or limited range |
| Paper collage alternative | 2-5 cm paper pieces | Minimal folding demand | Severe pain or reduced motion |
Mild Arthritis or Occasional Stiffness
Use 20 x 20 cm paper, simple models, and a normal table setup. A short warm-up and one wide-handled creaser may be enough, provided the person can stop before symptoms escalate.
Moderate Arthritis or Reduced Grip
Move to 25-30 cm paper, a nonslip mat, and a soft anchor. Choose models with straight folds and allow 30-60 second pauses every few minutes rather than waiting for fatigue.
Severe Deformity, Active Flare, or Very Weak Grip
Use partner-assisted folding, pre-creased sheets, or paper decoration instead of complex independent folding. Active swelling, significant warmth, or rapidly worsening pain warrants medical advice before beginning a new hand activity.
Rheumatoid arthritis can involve active inflammation, instability, and fatigue that differ from osteoarthritis. A hand therapist or occupational therapist can recommend joint-protection methods when ordinary adaptations are insufficient.
How Much Do Materials Cost?
A basic setup typically costs $15-$35 if household items replace specialized tools. A more complete setup with large paper, a mat, a roller, a soft weight, and visual aids commonly totals $40-$90, depending on brand and quantity.
| Setup level | Included items | Typical total | Suitable user |
|---|---|---|---|
| Household starter | Large paper, dry shelf liner, fabric weight | $5-$15 | Occasional stiffness |
| Basic adaptive kit | 20-30 cm paper, silicone mat, wide folder | $25-$50 | Regular beginner |
| Tool-assisted kit | Paper, mat, roller, folder, foam grips | $40-$75 | Reduced grip strength |
| Shared activity kit | Two paper packs, two mats, visual stand | $60-$100 | Senior and caregiver |
| Large-print setup | Large paper, mat, tablet stand, magnifier | $50-$120 | Low vision or tremor |
Prices are typical retail ranges rather than fixed recommendations. An expensive bone folder cannot compensate for unsuitable paper size, poor lighting, or a session that lasts beyond the person’s tolerance.
What Common Problems Occur During Folding?
Most failures come from excessive precision, unsupported paper, unsuitable stock, or continuing after fatigue begins. Correcting the setup usually works better than gripping harder or repeating the same crease.
| Problem | Likely cause | Immediate fix | Prevention |
|---|---|---|---|
| Paper slips | Smooth table or glossy paper | Add dry nonslip material | Use matte textured paper |
| Corners miss by 5 mm | Small sheet or poor visibility | Enlarge the next sheet | Use 25 cm paper and side lighting |
| Thumb-base pain | Pinching or thumbnail creasing | Switch to palm or roller pressure | Keep tools broad and close |
| Paper tears | Excessive reworking | Stop and reinforce with a fresh sheet | Limit crease passes |
| Wrist fatigue | Thick stock or long session | Rest and change to flexible paper | Use 15-minute blocks |
| Model becomes confusing | Orientation changes | Mark one corner with pencil | Use two-color paper |
A damp paper towel is not a preferred anti-slip solution. It can distort paper and make a folding surface less predictable. Dry silicone, rubber shelf liner, or a lightly weighted edge provides more consistent friction.
“Perfect” alignment is also an inefficient goal for adaptive folding. A 2-3 mm mismatch on a large decorative model is often invisible, while five painful corrections can create more strain than the entire original fold.
When Is Origami the Wrong Activity?
Origami is the wrong choice for a session when hand pain is sharp, joints are visibly swollen or hot, sensation is impaired, or the person cannot release a tool comfortably. It is also unsuitable when the activity increases symptoms later that day or the following morning.
Try paper collage, stamping with a broad handle, coloring large designs, tearing paper for mosaics, or arranging pre-folded pieces when active folding is too demanding. These alternatives preserve creative choice without requiring repeated creasing.
The activity should remain optional and enjoyable. Origami is not a hand-strength test, a replacement for prescribed exercises, or a reason to ignore a clinician’s restrictions.
How Can Caregivers Make Folding More Accessible?
Caregivers should prepare the workspace, enlarge diagrams, stabilize paper, and let the senior control the pace and final design. A caregiver who takes over every fold may finish faster but removes the decision-making and hand participation that make the activity meaningful.
Use one instruction at a time, demonstrate on a separate large sheet, and ask before touching the participant’s hands. Mark the top corner with a removable sticker, pre-cut oversized sheets, and provide a finished example that can be handled without disassembly.
A shared 10-15 minute session often works better than a 30-minute lesson. Stop while the person still has enough energy to describe what they enjoyed and what should change next time.
Frequently Asked Questions
Can origami help hand arthritis?
Origami can provide gentle hand use, concentration, and creative engagement, but research does not establish ordinary paper folding as a treatment for arthritis. People with hand arthritis should adapt force and duration, follow their clinician’s advice, and stop when pain, swelling, numbness, or next-day symptoms increase.
Is cardstock better than origami paper for stiff fingers?
Cardstock is not automatically better for stiff fingers. Lightweight cardstock around 120-180 gsm holds shape but resists bending, while flexible 70-100 gsm paper is often easier to fold. Use cardstock for simple boxes or card accents, and use larger flexible paper for multistep models.
What is the easiest origami project for an older adult?
A simple paper cup, house, fan, or sailboat is usually easier than a flower or animal with many layers. Use 20-30 cm paper, complete broad folds on a table, and select the model whose hardest step does not require a tight pinch or complex reverse fold.
Can someone fold origami with one hand?
Someone can participate in one-handed origami with a nonslip mat, soft paperweight, pre-creased lines, and large sheets. A caregiver can anchor or align the paper while the participant makes the visible fold, crease, or design choice.
How long should a senior fold origami?
Start with 10-15 minutes and extend toward 20-30 minutes only if symptoms remain stable during and after the activity. A brief break every few minutes is preferable to one uninterrupted session, especially for rheumatoid arthritis, tremor, or reduced grip strength.
Should origami be used as arthritis therapy?
Origami should be treated as a leisure activity, not prescribed therapy. An occupational therapist can assess joint protection, adaptive equipment, and therapeutic exercises, then determine whether selected folding movements fit the person’s diagnosis and current inflammation.
The Bottom Line
Arthritis-friendly origami for seniors works best when the activity is redesigned around comfort rather than perfect results. Start with 20-30 cm flexible paper, a dry nonslip mat, broad creasing tools, clear lighting, and a 10-15 minute session. Choose simple folds, use palm or forearm pressure, and stop before symptoms escalate. When active folding is not appropriate, pre-creased projects, partner assistance, or paper collage can preserve the creative experience with less joint demand.
