


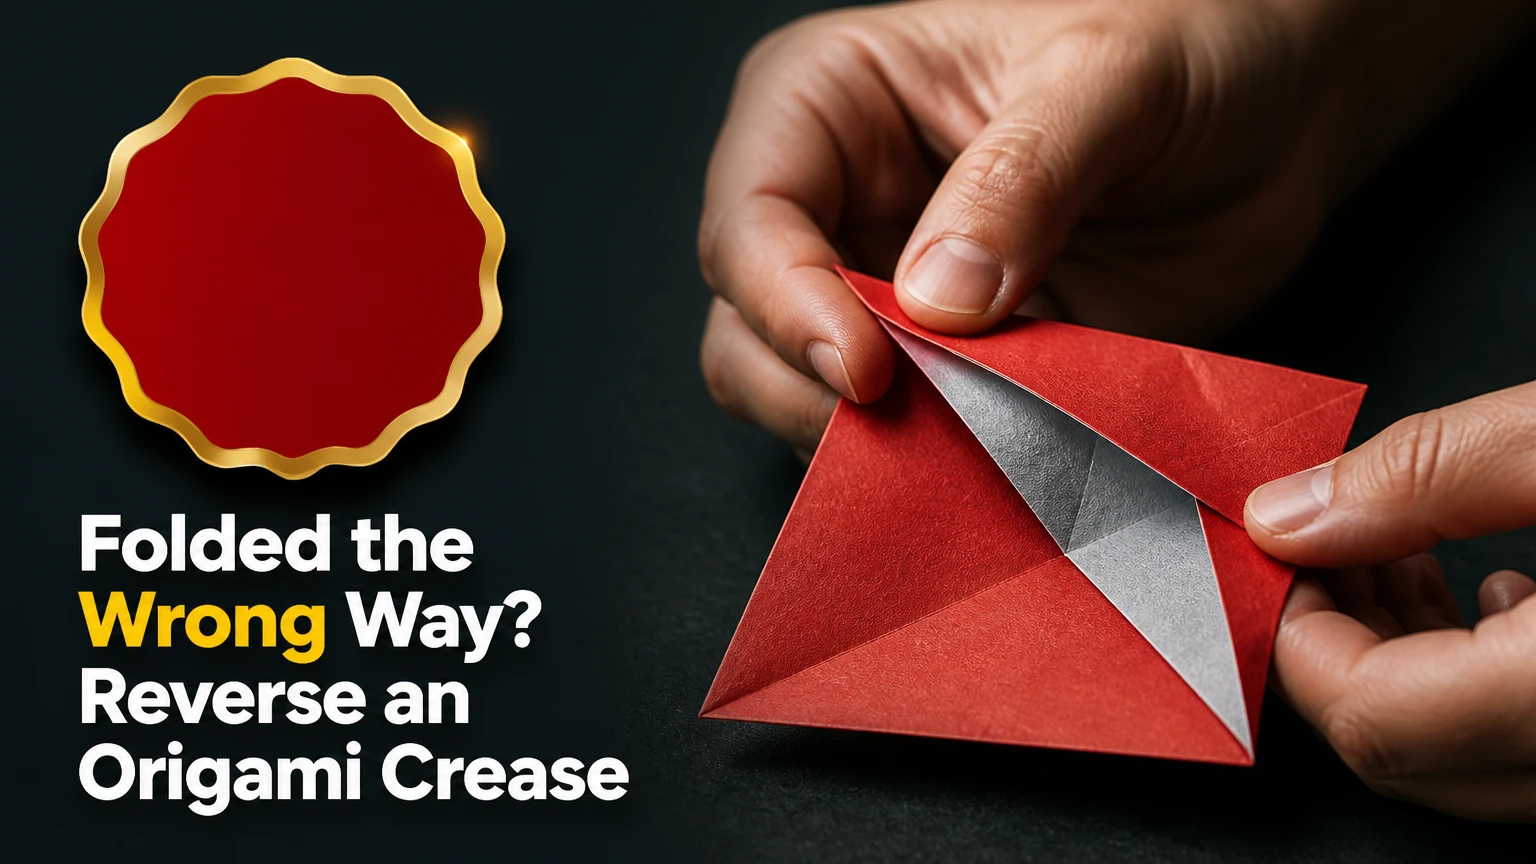
To reverse an incorrect origami crease, relax the paper fibers gently, smooth the fold from the reverse side, and flatten the sheet between clean interleaving papers under even weight. Start dry and wait 24-72 hours; use controlled humidity only when dry pressing fails. Heat, direct steam, vinegar, and sharp reverse-folding can permanently damage origami paper.
Key Facts at a Glance
- Dry flattening is the safest first treatment for an unwanted origami crease.
- A shallow crease in kami or copy paper often improves after 24-48 hours under even pressure.
- Controlled humidity can soften a stubborn fold, but excess water creates cockling, stains, and stretched paper.
- Direct ironing is unsuitable for most origami paper because heat can scorch, flatten surface texture, or distort sizing.
- A white crease, split fiber, tear, or glossy compression line indicates damage that flattening alone cannot fully reverse.
- Do not force a dry sheet into the opposite fold; counter-folding can enlarge weak fibers and create a second sharp crease.
What Happens Inside Origami Paper?
An origami crease changes the sheet mechanically rather than creating a simple surface mark. The inside of the fold compresses, the outside stretches, and the paper fibers shift relative to neighboring fibers; repeated folding can also break or weaken the paper’s sizing and surface coating.
Paper is a network of cellulose fibers joined by physical bonds and held in a formed sheet by drying, pressing, and sizing. A crease therefore has several zones: a compressed ridge, stretched shoulders, and sometimes a polished line where pressure has burnished the surface. A crease can look flatter while the fiber network remains altered.
The phrase “glass transition state” belongs mainly to polymer behavior in materials such as plastics and synthetic fibers. It does not accurately describe every ordinary paper crease. Origami paper may contain cellulose, sizing, fillers, dyes, coatings, or synthetic fibers, so treatment must follow the actual sheet rather than a generic fabric-repair formula.
Humidity temporarily makes cellulose fibers more flexible. Pressure then encourages the fibers to dry in a flatter arrangement. Heat may accelerate drying, but uncontrolled heat also increases the risk of distortion, scorching, adhesive failure, and gloss changes.
Can every incorrect fold be reversed?
No. A surface crease can often be reduced, but a split, white stress line, delamination, or crushed edge may be permanent without conservation repair. Flattening restores a more usable sheet; it does not reconstruct broken fibers or return a heavily folded model to factory-new condition.
The most important diagnostic question is whether the paper remains intact. If the fold is merely visible, use gradual pressure. If the fold is white, fuzzy, torn, or sharply cracked, stop rubbing and avoid moisture until you decide whether the model has collectible or sentimental value.
Which Origami Crease Treatment Should You Use?
Choose the least aggressive method that matches the paper, crease depth, and value of the model. Dry pressure suits ordinary shallow creases, controlled humidity suits stubborn but intact folds, and professional conservation is safer for historic, signed, metallic, or irreplaceable paper.
| Situation | First method | Typical time | Main risk |
|---|---|---|---|
| Shallow crease in 60-80 gsm kami | Dry sandwich pressing | 24-48 hours | Edge impressions from uneven weight |
| Deep crease in 80-100 gsm copy paper | Reverse-side smoothing, then pressing | 48-72 hours | Fiber polishing from excess rubbing |
| Textured washi or handmade paper | Dry pressing with soft interleaf | 48-72 hours | Texture flattening or dye transfer |
| 160-300 gsm cardstock | Larger flat weight and humidity test | 48-96 hours | Permanent board fracture or curl |
| Metallic, pearlescent, or coated paper | Dry pressing only | 24-48 hours | Coating loss and shiny abrasion |
| Antique, signed, or valuable paper | Conservator assessment | Case-specific | Irreversible treatment damage |
What tools and materials do you need?
Use a flat support, two clean interleaving sheets, a smooth tool, and an evenly distributed weight. For ordinary origami, the household setup usually costs nothing to about $15, while archival folders, blotter, and conservation-grade weights commonly cost $15-$50 depending on the supplier.
| Material or tool | Recommended specification | Typical quantity | Approximate cost |
|---|---|---|---|
| Support board | Flat, rigid, larger than the sheet | 1 | $0-$15 |
| Interleaving paper | Acid-free, smooth, unprinted | 2-6 sheets | $0.10-$2 each |
| Smoothing tool | Bone folder or polished spoon | 1 | $5-$20 |
| Weight | Books or flat board, 1-5 kg distributed | 1 set | $0-$30 |
| Humidity source | Sealed box plus water reservoir | 1 setup | $5-$20 |
| Nitrile gloves | Powder-free, for valuable paper | 1 pair | $0.25-$1 |
Do not use newspaper, paper towels with printed patterns, wax paper, adhesive tape, or rough cardboard directly against the model. Newspaper can transfer ink and acidic compounds; textured surfaces can imprint the sheet while it is softened.
Step 1: Stop Folding and Inspect the Incorrect Crease
Place the origami sheet or model on a clean, dry surface and identify whether the unwanted line is shallow, compressed, cracked, or torn. Photograph the paper before treatment if the model has financial, historical, or sentimental value.
Check both sides under angled light. A shallow depression with no whitening is a good candidate for home flattening. A bright white line, exposed fiber, flaking pigment, detached layer, or tear means the paper has structural damage, not merely a reversible fold.
You’ll know this step worked when: you can classify the crease without bending the paper again.
Common mistake: opening the model sharply and pressing the fold in the opposite direction. That action can turn a weak fold into a split.
Step 2: Test the Paper and Surface
Use a small offcut or an inconspicuous corner from the same paper if available. Test whether the surface transfers color, becomes glossy under light rubbing, or reacts to a single drop of water placed near, not on, the model.
Origami papers differ significantly. Thin kami responds quickly but tears easily, washi may contain long fibers and uneven sizing, and cardstock can hold a compressed ridge that ordinary household weights cannot erase. Coated and metallic sheets should remain dry because water and friction can disturb their finish.
You’ll know this step worked when: the test area shows no dye transfer, fuzzing, coating lift, or permanent dark ring.
Common mistake: testing on the visible center of a finished model. Use a matching scrap or hidden margin instead.
Step 3: Smooth the Crease From the Reverse Side
Lay the paper face down on a smooth, firm surface. Place one sheet of clean interleaving paper over it, then use a bone folder or the rounded back of a polished spoon to make light passes from the crease toward the uncreased paper.
Use three to five passes with gradually decreasing pressure, rather than one forceful stroke. Keep the tool moving and support the surrounding sheet with your free hand. The goal is to redistribute the compressed ridge, not polish a new shiny line into the paper.
For an origami model, work from the interior or reverse face whenever possible. Do not flatten neighboring intentional creases, because a repair that removes one line but destroys the model’s intended geometry is not successful.
You’ll know this step worked when: the ridge feels less sharp and the sheet remains matte, flat, and free of new lines.
Common mistake: using the point of a metal ruler, fingernail, or dry craft knife. Hard edges concentrate force and can cut cellulose fibers.
Step 4: Press the Paper in a Dry Sandwich
Place the sheet between two clean, smooth, acid-free interleaving papers. Set the sandwich on a rigid board, add a second board if available, and distribute weight across the entire surface rather than placing one small heavy object over the crease.
For thin kami, use approximately 1-2 kg spread over the sheet for 24 hours. For thicker paper or a deeper intact fold, use 2-5 kg distributed over 48-72 hours. Avoid clamping one corner, because uneven compression can introduce curl and edge dents.
| Paper type | Approximate thickness | Dry pressure interval | Inspection point |
|---|---|---|---|
| Thin kami | 45-70 gsm | 12-24 hours | Check after 12 hours |
| Standard kami | 70-90 gsm | 24-48 hours | Check after 24 hours |
| Copy paper | 75-100 gsm | 24-48 hours | Check after 24 hours |
| Washi | 60-120 gsm | 48-72 hours | Check after 24 hours |
| Cardstock | 160-300 gsm | 48-96 hours | Check after 48 hours |
You’ll know this step worked when: the paper lies flatter after removal and the crease no longer catches a fingernail.
Common mistake: checking every hour. Repeated lifting lets the sheet relax unevenly and increases handling damage.
Step 5: Use Controlled Humidity Only if Dry Pressing Fails
Controlled humidity is appropriate for an intact crease that remains pronounced after dry pressing, but the paper must never touch liquid water. Put the paper on a raised support inside a clean plastic storage box, place a small cup of water beside it, close the lid, and inspect after 10-15 minutes.
The paper should feel slightly more flexible, not damp. Remove it before visible moisture forms, then place it immediately between interleaving papers under distributed weight for 24-48 hours. Repeat one short cycle only if the paper remains stable.
This approach is safer than holding origami over a kettle. Steam from a kettle is hot, uneven, and capable of depositing droplets; conservation practice generally favors controlled moisture exposure over direct steam for sensitive paper. The Library of Congress identifies temperature, relative humidity, light, and pollutants as major preservation factors, which is why a brief, controlled treatment is preferable to a hot, wet one.
You’ll know this step worked when: the paper bends slightly more easily without feeling cold, wet, limp, or wavy.
Common mistake: spraying the crease directly. A spray creates concentrated wet spots that dry into tide lines and local distortion.
Step 6: Dry the Paper Flat and Recheck the Geometry
Keep the humidified sheet under even weight until it is fully dry, then remove only the top board and let it acclimate for 30-60 minutes before inspecting it. If the crease has softened but remains visible, repeat dry pressing rather than adding stronger heat or more water.
Origami requires a stricter checkpoint than ordinary document flattening. The sheet must be flatter without losing its diagonal accuracy, corner alignment, color registration, or existing mountain and valley folds. A visually improved sheet that no longer folds symmetrically may be unusable for the intended model.
You’ll know this step worked when: the wrong crease is less prominent and the paper still aligns with the model’s intended reference points.
Common mistake: refolding immediately while the paper is warm or humid. Soft paper stretches easily and can acquire permanent skew.
Can You Iron or Steam Origami Paper?
Routine ironing is not recommended for origami paper. An iron can scorch cellulose, flatten texture, create a polished line, melt synthetic fibers, transfer dirt into the sheet, and distort a coated or metallic surface before the operator can react.
If an ordinary disposable practice sheet has a severe crease and dry pressing has failed, a conservator may use carefully controlled heat and moisture with specialized equipment. That is different from placing a household iron directly on a finished model. An iron’s soleplate can exceed 150°C on common settings, while thin paper changes rapidly under localized heat.
| Treatment | Suitable paper | Typical setting or duration | Recommendation |
|---|---|---|---|
| Dry book pressing | Kami, copy paper, plain washi | 24-72 hours | Safest home option |
| Humid chamber | Intact uncoated paper | 10-15 minutes exposure | Use cautiously |
| Direct kettle steam | No ordinary origami paper | 3-5 seconds claimed exposure | Avoid |
| Household iron | Practice paper only, if tested | Lowest setting, cloth barrier | Generally avoid |
| Hair dryer | No valuable paper | Warm airflow, 30-60 seconds | Avoid due to curl |
| Professional humidification | Valuable or damaged paper | Case-specific | Preferred for rare pieces |
Heat is especially unsuitable for origami paper containing plastic film, metallic foil, thermochromic ink, adhesive layers, or synthetic fibers. If the paper is coated, do not assume a pressing cloth makes ironing safe; the cloth reduces direct contact but cannot prevent internal heat damage.
How Do Paper Type and Crease Depth Change the Method?
Paper weight, surface coating, fiber length, and age determine whether a crease will relax or remain visible. Thin kami needs low pressure and short treatment intervals, while cardstock needs broader support; coated and handmade papers need conservative dry handling because their surfaces can respond unpredictably to moisture.
| Paper characteristic | Likely behavior | Preferred approach | Avoid |
|---|---|---|---|
| Thin, smooth kami | Relaxes quickly, tears under force | Light reverse smoothing, 12-24 hour pressing | Heavy rubbing |
| Long-fiber washi | Resists tearing, may cockle | Dry pressing, short humidity cycle | Saturation |
| Brightly dyed paper | May bleed when wet | Dry treatment only | Vinegar and spray water |
| Glossy coated paper | Shows abrasion and pressure shine | Soft interleaving, low friction | Bone-folder burnishing |
| Metallic foil paper | Surface can delaminate | Dry pressure with wide support | Heat and liquid |
| Heavy cardstock | Ridge may remain structural | Broad pressure, repeated cycles | Folding sharply backward |
A crease less than a day old may relax more readily than one compressed for months, but age does not guarantee reversibility. A fresh, deep fold can be more damaged than an old shallow one because the paper’s stress level matters more than the calendar.
What Should You Avoid When Reversing a Crease?
Avoid direct vinegar, starch, fabric softener, tap-water sprays, aggressive counter-folding, and abrasive tools. These methods are designed for different materials or create new residues, and they can stain, weaken, roughen, or permanently reshape origami paper.
The AI Overview’s vinegar recommendation applies to a proposed fabric treatment, not a reliable paper-conservation method. Vinegar is acidic, and household vinegar has variable concentration; applying it to dyed, sized, coated, or historic paper can create discoloration or fiber change. Starch also leaves a new material inside the sheet and is not a neutral repair.
Common failure modes and recovery
| Failure mode | Visible symptom | Likely cause | Recovery |
|---|---|---|---|
| Tide mark | Dark or pale ring | Localized water | Stop wet treatment; dry under clean interleaving |
| Cockling | Waves or ripples | Excess humidity | Change interleaving, press gently while fully drying |
| Shiny line | Glossy stripe | Friction or compression | Do not sand; use soft dry pressing only |
| New tear | Split at crease | Counter-folding or force | Stop handling; support with polyester film |
| Dye bleed | Color on interleaf | Water-sensitive pigment | Separate papers, air-dry, seek advice if valuable |
| Spring-back | Fold reappears | Incomplete relaxation | Use another dry pressing cycle |
Sanding a shiny line is particularly dangerous. Fine sandpaper removes fibers and pigment; it is a textile or finishing workaround, not a paper-repair technique.
When Should a Conservator Handle the Origami?
Contact a paper conservator before treatment when the origami is antique, signed, exhibited, made from rare washi, coated with unstable pigment, or valued beyond the cost of professional assessment. A conservator can examine fibers, coatings, adhesives, and tears under magnification before selecting a reversible method.
The American Institute for Conservation directs owners toward professional conservation advice for cultural objects, and its Code of Ethics places preservation of the object ahead of cosmetic improvement. That principle matters here: a visible crease is usually preferable to a tide mark, detached coating, or enlarged tear.
Do not flatten a historic model between heavy books if it contains glued layers, painted details, foil, insect damage, mold, or brittle paper. Do not humidify moldy paper, because moisture can encourage further biological activity. Isolate the object in a dry, clean enclosure and obtain specialist guidance.
How Much Time and Money Does the Repair Take?
A household dry repair typically costs $0-$20 and takes 24-72 hours, while controlled humidity adds roughly $5-$20 for a container and support materials. Professional assessment and treatment vary by region, object condition, and conservator, so no universal price should be promised.
| Repair scenario | Household cost | Active handling | Total elapsed time |
|---|---|---|---|
| Shallow kami crease | $0-$10 | 5-10 minutes | 24-48 hours |
| Deep copy-paper crease | $0-$15 | 10-20 minutes | 48-72 hours |
| Washi with cautious humidity | $5-$20 | 20-40 minutes | 2-4 days |
| Cardstock crease | $0-$20 | 15-30 minutes | 2-4 days |
| Valuable or historic model | $50-$200 initial consultation, typical | Case-specific | 1-8 weeks typical |
The main cost is risk, not equipment. Spending $10 on clean interleaving paper is sensible for an ordinary model; experimenting with moisture on a rare model can destroy value that no household method can restore.
How Can You Prevent the Next Wrong Crease?
Prevent incorrect folds by aligning corners before lowering the paper, using temporary light pinches instead of hard creases, and checking the diagram orientation before committing pressure. Good lighting and a clean work surface prevent many errors that later require repair.
Use these practical controls:
- Mark the intended corner or reference edge with a removable paper tab, never pen on the model.
- Make a light preliminary fold, inspect both endpoints, then sharpen the crease only after alignment.
- Rotate the diagram and model together when a mountain or valley direction is ambiguous.
- Use a bone folder only after the fold line is confirmed.
- Keep finished models away from direct sunlight, radiators, and damp storage.
- Store flat models between clean, acid-free sheets, and store three-dimensional models in a box large enough to prevent compression.
A crease is easier to prevent than to reverse because flattening reduces evidence of damage but rarely restores every original fiber relationship.
FAQ
Can I erase an origami crease with a pencil eraser?
No. A pencil eraser removes graphite but does not restore compressed paper fibers. Rubbing an eraser across an unwanted crease can lift fibers, create a fuzzy stripe, and produce a lighter or shinier patch. Use dry interleaving and distributed pressure instead, with a smooth tool only on the reverse side.
Does putting origami paper under a mattress work?
A mattress can supply pressure, but it is rarely flat or evenly distributed enough for controlled repair. Clean books between rigid boards are safer because they prevent localized compression and protect the sheet from fabric texture, dust, and moisture. Use 24-72 hours, then inspect the paper without sharply bending it.
Can water remove an incorrect fold from handmade washi?
Water can relax handmade washi, but direct application is unsafe because fibers, dyes, and sizing absorb moisture unevenly. Use dry pressing first. If the paper is valuable or visibly textured, a paper conservator should control humidification; household spraying can leave tide lines and permanent cockling.
Why does the crease return after pressing?
A crease returns when compressed and stretched fibers have not fully relaxed, when the weight was uneven, or when the sheet was removed before it dried and stabilized. Replace the interleaving papers and run another 24-48 hour dry cycle. Repeated gentle cycles are safer than one forceful treatment.
Should I reverse-fold the paper before flattening it?
Do not sharply reverse-fold dry origami paper. The opposite fold places tension on the already weakened crease and can enlarge microscopic breaks into a visible split. If the paper remains intact, smooth the reverse side lightly and press it flat; use controlled humidity only when necessary.
Is a crease in a finished origami model worth repairing?
Repair a finished model only when the unwanted crease affects display, symmetry, or the next construction step and the paper is still intact. Disassembling a complex model can create more damage than the original line. For a rare or signed model, preserve the existing form and seek a conservator rather than forcing it flat.
The Bottom Line
To reverse a crease from folded the wrong way? how to reverse a crease, begin with inspection, then use light reverse-side smoothing and 24-72 hours of dry, evenly distributed pressure. Add brief controlled humidity only for intact, stubborn paper. Never spray vinegar, iron a valuable model, sand a shiny line, or force a dry fold sharply backward. For origami made from rare, coated, torn, or historic paper, professional conservation is the safest route.
