


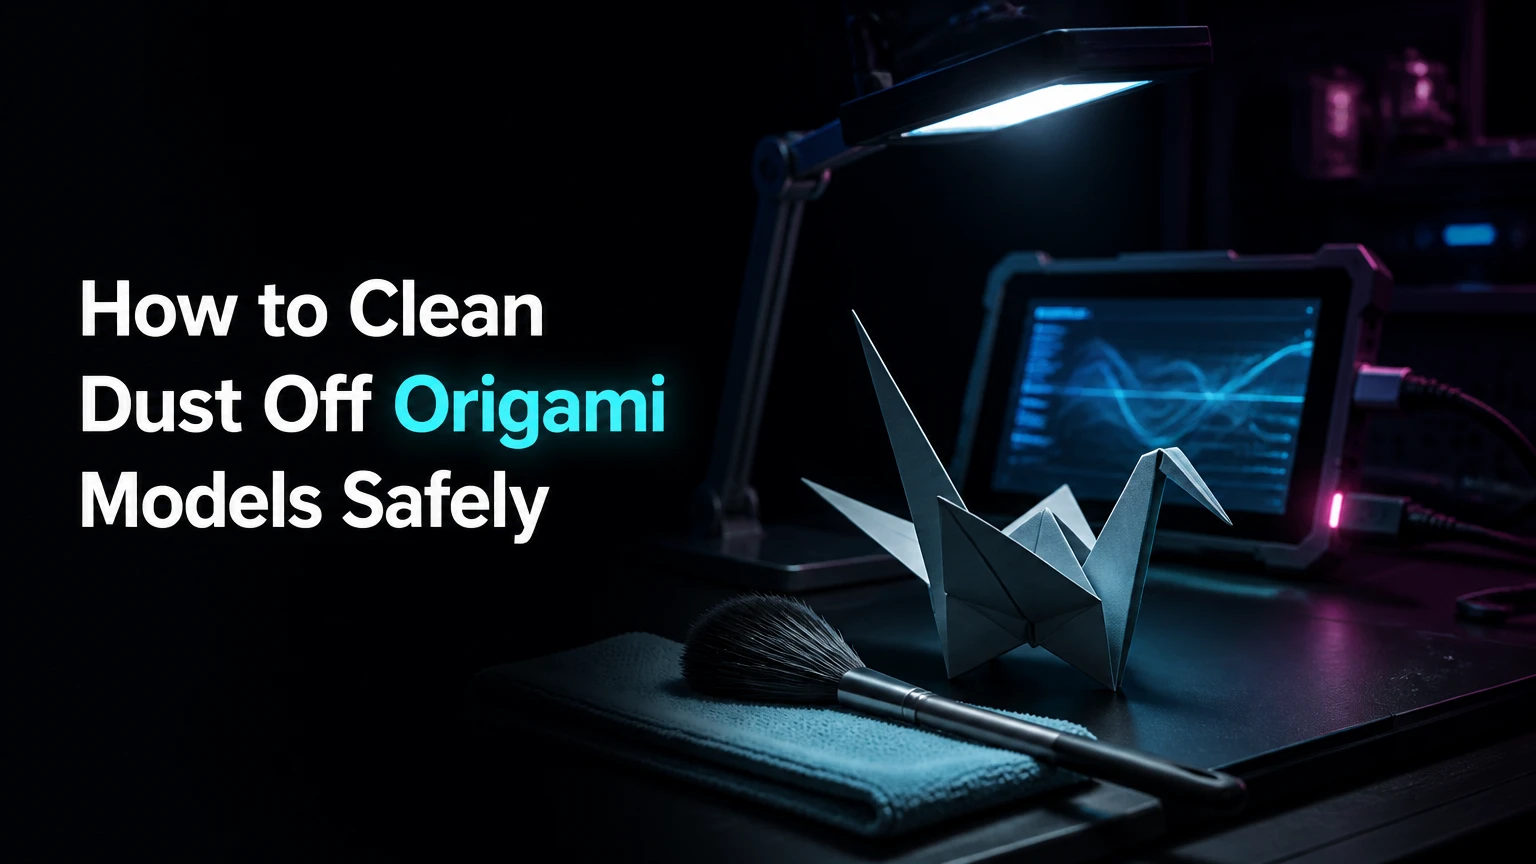
To clean dust off origami models, use a dry manual bulb blower first, then an ultra-soft brush only on stable surfaces that still need attention. Support the model at its base, keep air oblique to the folds, avoid moisture and breath, and work in short sessions. The model’s paper strength and fold complexity determine the safest method.
Key Facts / At a Glance
A manual bulb blower is the lowest-contact first choice for most origami models.
Keep an air nozzle about 15-30 centimeters from thin paper and use short bursts.
Never use water, damp wipes, window cleaner, or saliva-moistened tools on an origami model.
A soft brush suits broad, stable surfaces, but bristles can catch open edges and fine points.
Microfiber is appropriate only for large, flat planes that can tolerate light contact.
Smoke, grease, mold, flaking pigment, or brittle paper usually requires a paper conservator.
Before You Clean Origami
Prepare a clean, dry work area and identify the model’s weakest features before touching it. A typical small model takes 3-10 minutes to dust, while a complex display model may require 20-40 minutes because each wing, pocket, and thin appendage needs separate support.
Do not begin by choosing the strongest tool. Begin by assessing whether the model can tolerate movement, airflow, or contact. Thin kami, tissue-foil, handmade washi, foil-backed paper, and sun-damaged paper behave differently from heavy cardstock.
Before-you-start checklist
| Requirement | Typical specification | Why it matters |
|---|---|---|
| Work surface | 60 x 60 centimeters, clean and dry | Prevents transferred grit and catches loose dust |
| Lighting | Bright, diffuse light from the side | Reveals dust without heating the paper |
| Air tool | Manual bulb blower, 5-15 dollar typical cost | Provides controllable, dry airflow |
| Brush option | Size 4-10, very soft makeup or artist brush | Handles shallow surface dust |
| Cleaning session | 3-10 minutes for a small model | Limits fatigue and accidental handling |
| Support material | Nitrile gloves only when needed, clean bare hands otherwise | Reduces oils without sacrificing tactile control |
Clean hands are often safer than gloves because gloves can reduce grip and crush delicate folds. Wash and dry hands thoroughly, and remove rings, watches, and rough jewelry before handling the model.
The American Institute for Conservation’s Code of Ethics places preservation ahead of appearance when treatment could damage an object. That principle applies here: a small remaining dust speck is preferable to a pulled flap, polished pigment, or collapsed crease.
How to Clean Dust off Origami Models
The safest process has six actions: inspect, stabilize, blow, brush selectively, inspect again, and record any damage. Use the least aggressive method that removes the target dust, because repeated friction can weaken paper even when one pass appears harmless.
Step 1: Inspect the Paper and Folds
Inspect the origami model under angled light before cleaning. Look for loose fibers, lifted color, cracked foil, open seams, insect damage, sticky deposits, mold spots, and creases that have already relaxed.
Hold the model by its broadest structural area, usually the base or a reinforced central body. Do not lift it by a wing, horn, tail, leg, corner, or single flap.
You’ll know it worked when: you can identify stable contact points and fragile areas before the first air burst.
Common mistake: turning the model repeatedly in midair. Rotate a display stand or padded support instead whenever possible.
Step 2: Test the Airflow Away from the Model
Test the bulb blower on your palm or a clean sheet of scrap paper. The airflow should feel brief and controlled, not like a concentrated jet that bends the paper.
For canned or electric air, test even more cautiously. Canned air can discharge liquid propellant when tilted, while high-powered electric dusters can fold thin paper or eject a small model from its support.
You’ll know it worked when: the airflow moves loose dust without sharply moving the scrap paper.
Common mistake: beginning with an electric duster at its highest setting. Start with a manual bulb blower, which gives the operator more control and no propellant residue.
Step 3: Blow Dust from Top to Bottom
Place the model on a clean, nonabrasive support or hold it at the base. Position the blower 15-30 centimeters away, aim across the surface rather than into a pocket, and use bursts of less than one second.
Work from the highest surfaces toward the base. Directing air across a fold lets dust exit; directing air into a pocket can force a flap open or put stress on a locked fold.
You’ll know it worked when: loose particles leave the surface without flaps lifting or points oscillating significantly.
Common mistake: moving closer because one speck remains. Repeat a distant burst from a different angle before increasing airflow.
Step 4: Brush Only Stable Surfaces
Select a clean, dry brush with very soft synthetic, sable, or camel-hair bristles. A powder brush or artist’s mop brush is generally safer than a narrow, stiff detailing brush because it spreads contact over more bristles.
Support the underside of a broad fold with a finger or a smooth card covered in clean, acid-free paper. Use outward flicks with almost no downward pressure, and stop when the brush reaches an open edge, point, or loose layer.
You’ll know it worked when: surface dust moves outward without the paper flexing, whitening, or shedding fibers.
Common mistake: pushing the brush into valleys. Use air for deep recesses; a brush inside a narrow pocket can snag the paper at a hidden edge.
Step 5: Wipe Broad Planes Only When Appropriate
Use a clean, dry microfiber cloth only on large, stable, minimally folded planes. Fold the cloth into a small pad, place the model on a supported surface, and let the cloth glide with its own weight rather than applying pressure.
Do not wipe tissue-foil, crumpled foil, brittle handmade paper, raised pigment, or a complex model with exposed points. Microfiber traps particles, but dragging trapped grit across paper can produce abrasion.
You’ll know it worked when: the plane looks clearer without burnishing, color transfer, or a change in sheen.
Common mistake: wiping the entire model because the cloth feels soft. Softness does not eliminate friction or crushing force.
Step 6: Inspect, Rotate, and Stop
Inspect the model again under angled light. Rotate it only from a supported base, then repeat one air pass for dust revealed on the opposite side.
Stop when remaining marks are adhered, greasy, colored, or embedded. Dry dusting removes loose particulate matter; it does not safely restore smoke-stained, water-marked, mold-damaged, or oil-contaminated paper.
You’ll know it worked when: loose dust is gone and the model’s silhouette, crease tension, color, and surface sheen remain unchanged.
Common mistake: treating a clean-looking model until every discoloration disappears. Discoloration is often a paper or coating problem, not removable dust.
Which Dusting Tool Should You Choose?
A manual bulb blower is the best general-purpose tool for fragile origami because it combines low cost, dry airflow, and precise control. A soft brush is more useful for broad surface dust that air cannot lift, while microfiber belongs only on stable flat planes.
| Tool | Typical cost | Typical time | Safe operating range | Best use |
|---|---|---|---|---|
| Manual bulb blower | $5-$15 | 2-8 minutes | 15-30 cm away | Thin paper, complex folds |
| Canned compressed air | $4-$10 per can | 1-4 minutes | 20-30 cm away | Robust cardstock, occasional use |
| Cordless electric duster | $25-$60 | 1-3 minutes | 30 cm or farther, low setting | Heavy cardstock, large models |
| Soft powder brush | $3-$20 | 5-15 minutes | Contact, feather-light | Broad surfaces and shallow folds |
| Dry microfiber cloth | $1-$4 per pack | 3-8 minutes | Contact, zero pressure | Large, stable planes |
Canned air is not automatically safer because it is commercially packaged. The can must remain upright, the nozzle must stay distant, and the operator must avoid a cold liquid discharge that can spot or deform paper.
Electric dusters are also a poor choice for small insects, insects with antennae, thin tessellations, and loosely locked modular units. Their speed saves time only when the model can withstand the force.
Method comparison by model condition
| Model condition | First choice | Second choice | Avoid | Typical decision |
|---|---|---|---|---|
| Simple kami crane | Bulb blower | Soft powder brush | Damp cloth | Air first, brush broad wings |
| 100-step paper dragon | Bulb blower | Small soft mop brush | Electric duster | Touchless cleaning |
| Heavy cardstock box | Bulb blower | Dry microfiber | Wet wipe | Contact is possible on planes |
| Tissue-foil insect | Bulb blower at 30 cm | No contact tool | Brush and cloth | Preserve thin layers |
| Wet-folded animal | Bulb blower | Soft brush on dry planes | Pocket probing | Protect compressed curves |
| Modular kusudama | Bulb blower | Brush on outer modules | Shaking | Prevent unit separation |
How Do Paper Type and Complexity Change the Method?
Paper type determines resistance to bending and abrasion, while fold complexity determines how much contact the cleaning process requires. Thin, fibrous, coated, metallic, or aged paper generally needs more distance and less handling than new, heavy cardstock.
Standard kami and copy-weight paper
Standard kami usually tolerates a bulb blower and cautious brushing on broad areas. Test first because inexpensive colored paper can have weak surface pigment or a loose printed coating.
A typical simple crane can be cleaned in 2-5 minutes. Keep fingers away from wing tips, and never flatten a wing against a table merely to make brushing easier.
Tissue-foil and handmade washi
Tissue-foil combines a thin paper layer with foil and often has fragile exposed edges. Unryu and other fibrous washi papers may catch brush bristles because long fibers extend from the sheet.
Use distant bulb air and accept that some dust may remain in deep folds. A visually imperfect but structurally intact model is the correct outcome when contact could pull fibers.
Wet-folded and heavyweight paper
Wet-folded models often have compressed curves and thicker edges, but dryness does not make them immune to damage. Air is still the first step, while a soft brush may work on broad, fully supported surfaces.
Heavy paper can tolerate a lower-speed electric duster better than tissue paper, but test on an inconspicuous underside first. A strong airflow can still open a curved fold or topple a standing model.
Complex and modular models
Complex models contain many stress concentrations, including narrow appendages, closed pockets, and layers held by friction. Modular models add a separate risk because airflow or handling can loosen individual units.
Clean in zones, beginning with the upper surfaces and moving toward the base. Photograph the model before and after if the fold sequence or assembly is difficult to reconstruct.
What Should You Avoid When Dusting Origami?
Avoid every wet, heated, abrasive, or uncontrolled technique. Water, household cleaners, breath, feather dusters, aggressive vacuuming, and vigorous shaking can alter paper fibers, coatings, folds, or pigment even when the visible damage appears later.
| Unsafe action | Damage mechanism | Visible symptom | Safer replacement |
|---|---|---|---|
| Water or damp wipes | Fiber swelling and tide marks | Buckled sheet, softened crease | Dry bulb air |
| Window cleaner | Solvents, surfactants, moisture | Staining, gloss change | Professional assessment |
| Blowing with breath | Moisture, saliva, heat | Spots, localized distortion | Manual blower |
| Feather duster | Quills and uncontrolled drag | Tears, lifted edges | Soft powder brush |
| Shaking the model | Inertia and fold release | Leaning, open layers | Zone-by-zone air |
| Vacuum nozzle contact | Suction and abrasion | Crushed points, missing flaps | Distant low air |
| Erasing ordinary dust | Abrasion and pigment loss | Pale patch, shiny area | Stop and assess |
Paper conservation guidance from the Northeast Document Conservation Center treats active mold, water damage, and fragile paper as conditions requiring specialized handling rather than routine surface cleaning. Household cleaning products are not conservation treatments.
How Do You Handle Grease, Smoke, Pet Hair, and Mold?
Loose dry dust can usually be removed at home, but greasy residue, smoke film, pet hair caught in fibers, and mold need different decisions. Do not scrape or wet-clean an origami model when the residue is bonded to the paper or the paper’s surface is unstable.
Greasy or smoky residue
A greasy layer often contains oil, soot, or cooking aerosol that has bonded to paper fibers. A dry art gum eraser or document cleaning pad may be suitable for some unprinted, robust paper surfaces, but it is not safe by default for thin folds, colored pigment, tissue-foil, or valuable models.
Do not rub a small spot repeatedly. Stop after a test on a hidden area shows any color transfer, sheen change, or fiber lifting.
Pet hair and fibers
Remove loose hair with a distant bulb blower. If a strand is wrapped around a point, do not pull it directly because the strand can act like a thread around a paper appendage.
Use smooth, blunt tweezers only when the hair is clearly free of the paper and can be lifted without tension. A conservator should handle embedded fibers on an important model.
Mold or musty odor
Mold is a health and collection risk, not ordinary dust. Isolate the model from other paper objects, avoid brushing spores into the air, and contact a paper conservator or local archival service for assessment.
Never apply bleach, alcohol, essential oil, or household disinfectant. Those products can change color and damage cellulose while failing to solve the underlying moisture problem.
How Can You Fix a Fold That Bent During Cleaning?
A slightly displaced fold should be stabilized without water, pressing, or improvised heat. Return the model to its original support position, compare it with a reference photograph, and use only gentle, broad support unless the original crease is unmistakable.
Smooth-jawed tweezers can help with a robust crease when the paper is undamaged, but pinching a thin fold can create a new ridge or leave a permanent pressure mark. Do not use steam, an iron, a damp cloth, or a hair dryer.
If a flap has torn, a pigment has flaked, or a crease has whitened, stop handling the model. Paper conservators can examine fiber breaks and adhesive failure without assuming that visual flattening is the correct repair.
Damage-response table
| Symptom after cleaning | Likely cause | Immediate action | Escalation point |
|---|---|---|---|
| Wing bends but paper is intact | Airflow or unsupported handling | Rest on clean support | Conservator if crease will not return |
| Fold opens | Air entered a pocket | Stop airflow and photograph | Valuable or complex model |
| Surface turns shiny | Pressure or friction | Stop brushing and wiping | Any colored or coated paper |
| Color transfers to brush | Loose pigment or coating | Isolate tool and stop | Professional assessment |
| Tear or split appears | Edge snag or brittle fiber | Do not tape or glue | Immediate for valuable work |
| Musty spots appear | Possible mold or moisture | Isolate, do not brush | Paper conservator |
How Much Time and Money Does Origami Dusting Take?
A basic cleaning setup costs about $5-$20 and handles most household models, while professional assessment can cost substantially more depending on location, object value, and treatment complexity. Cleaning time ranges from 2 minutes for a simple robust shape to 40 minutes for a fragile, highly detailed model.
These are typical practitioner ranges, not fixed market prices. Conservation studios, museums, and independent conservators set fees by examination time, treatment risk, documentation, and local labor rates.
| Scenario | Tool cost | Cleaning time | Difficulty | Recommended approach |
|---|---|---|---|---|
| One kami crane | $5-$15 | 2-5 minutes | Low | Bulb blower, optional brush |
| Five small display models | $5-$20 | 15-30 minutes | Low | Air in a clean work zone |
| Large cardstock sculpture | $10-$60 | 10-20 minutes | Moderate | Air, then supported brush |
| Tissue-foil dragon | $5-$20 | 20-40 minutes | High | Distant air only |
| Smoke-exposed collection | $5-$20 for inspection tools | 30+ minutes | High | Stop and seek assessment |
| Valuable or historic model | Varies by conservator | Assessment first | High | Professional consultation |
How Do You Prevent Dust from Returning?
Preventing airborne dust reduces cleaning frequency and handling risk. Display the origami model in a closed, UV-filtering acrylic or glass case with enough clearance that no flap touches the walls.
A case does not solve every preservation problem. Direct sunlight, hot windows, damp rooms, kitchen grease, fireplaces, and forced-air vents can damage paper even when dust is excluded.
Practical display controls
- Keep the model at least 5 centimeters from case walls and the base if its shape allows.
- Place the case away from kitchens, bathrooms, smoking areas, radiators, and supply vents.
- Use diffuse room light and avoid direct sun; UV-filtering glazing reduces exposure but does not make sunlight harmless.
- Dust the outside of the case weekly or monthly, depending on room conditions.
- Inspect the model every 1-3 months instead of touching it on a fixed daily schedule.
- Maintain stable indoor humidity rather than placing the model near a humidifier or dehumidifier outlet.
A closed display case is especially valuable for tissue-foil, handmade washi, and models with many narrow projections. The strongest prevention strategy is fewer interventions.
When Should a Conservator Clean the Model?
Consult a paper conservator before cleaning when the origami model is historic, signed, valuable, smoke-damaged, moldy, brittle, painted, lacquered, or made from unusual paper. Professional advice is also appropriate when a model has tears, detached layers, adhesive residue, or structural distortion.
A conservator may ask for photographs, paper history, storage conditions, and the type of contamination. The American Institute for Conservation’s Find a Conservator directory can help locate a specialist, although geographic availability and treatment pricing vary.
Home dusting is reasonable for a recent, replaceable model with loose dry dust. It is not a substitute for treatment when the cleaning goal is stain removal, color recovery, deodorization, or structural repair.
Expert Rules for Safer Origami Maintenance
Airflow should cross a fold, not enter it. This small change in angle reduces the chance that pressure will open a pocket or lift a locked flap, particularly on dragons, insects, and complex masks.
The first pass should remove the least attached material. Start with loose dust, then reassess. Escalating directly to a brush or eraser turns a simple particulate problem into a friction problem.
A model’s value changes the acceptable endpoint. For a replaceable crane, removing visible surface dust may be reasonable. For a signed or historically significant model, preserving original fibers and pigment matters more than achieving a spotless appearance.
Gloves are not automatically safer. Clean, dry hands can provide better tactile feedback than slippery nitrile gloves, while cotton gloves may catch points and fibers. Use gloves when handling contaminated material, not as a universal paper-cleaning rule.
FAQ
Can I use a hair dryer to remove dust from origami?
Do not use a hair dryer on an origami model. Heat can alter paper moisture balance, soften some coatings or adhesives, and create uneven airflow that bends thin folds. A manual bulb blower provides dry, room-temperature air with much better control and no heating element.
Is rubbing alcohol safe for paper origami?
Rubbing alcohol is not a safe general-purpose cleaner for paper origami. Alcohol can dissolve or move inks, dyes, coatings, and adhesive components, while the liquid application can produce staining or distortion. Treat an alcohol-related cleaning request as a conservation issue, especially for colored or handmade paper.
How often should I dust an origami display?
Inspect an origami display every 1-3 months and clean only when loose dust is visible. Models in open shelving, near vents, or in homes with pets may need more frequent inspection, while a closed case in a clean room may require very little intervention.
Can I clean origami made from foil paper?
You can usually clean robust foil paper with distant bulb air, but tissue-foil needs the same caution as thin paper because its paper layer can tear or separate. Avoid rubbing crumpled foil, since friction can change the surface texture and reveal shiny or dull patches.
What is the safest way to clean a dusty modular origami model?
The safest method for a dusty modular origami model is short, distant bursts from a manual bulb blower while the assembly rests on a stable support. Do not shake or rotate the unit aggressively, because airflow and inertia can loosen connectors between modules.
Should I throw away a moldy origami model?
Do not immediately discard a moldy origami model if it has sentimental, historical, or financial value. Isolate it from other paper, avoid brushing or blowing spores, and ask a paper conservator about safe handling. A disposable recent model can be discarded in a sealed bag if local health guidance permits.
The Bottom Line
To clean dust off origami models safely, inspect the paper, support the base, and use a manual bulb blower 15-30 centimeters away with brief cross-fold bursts. Add a very soft brush only to stable broad surfaces, reserve microfiber for large flat planes, and stop when residue is greasy, embedded, moldy, or associated with damage. A closed, UV-filtering display case prevents more harm than repeated cleaning.
