


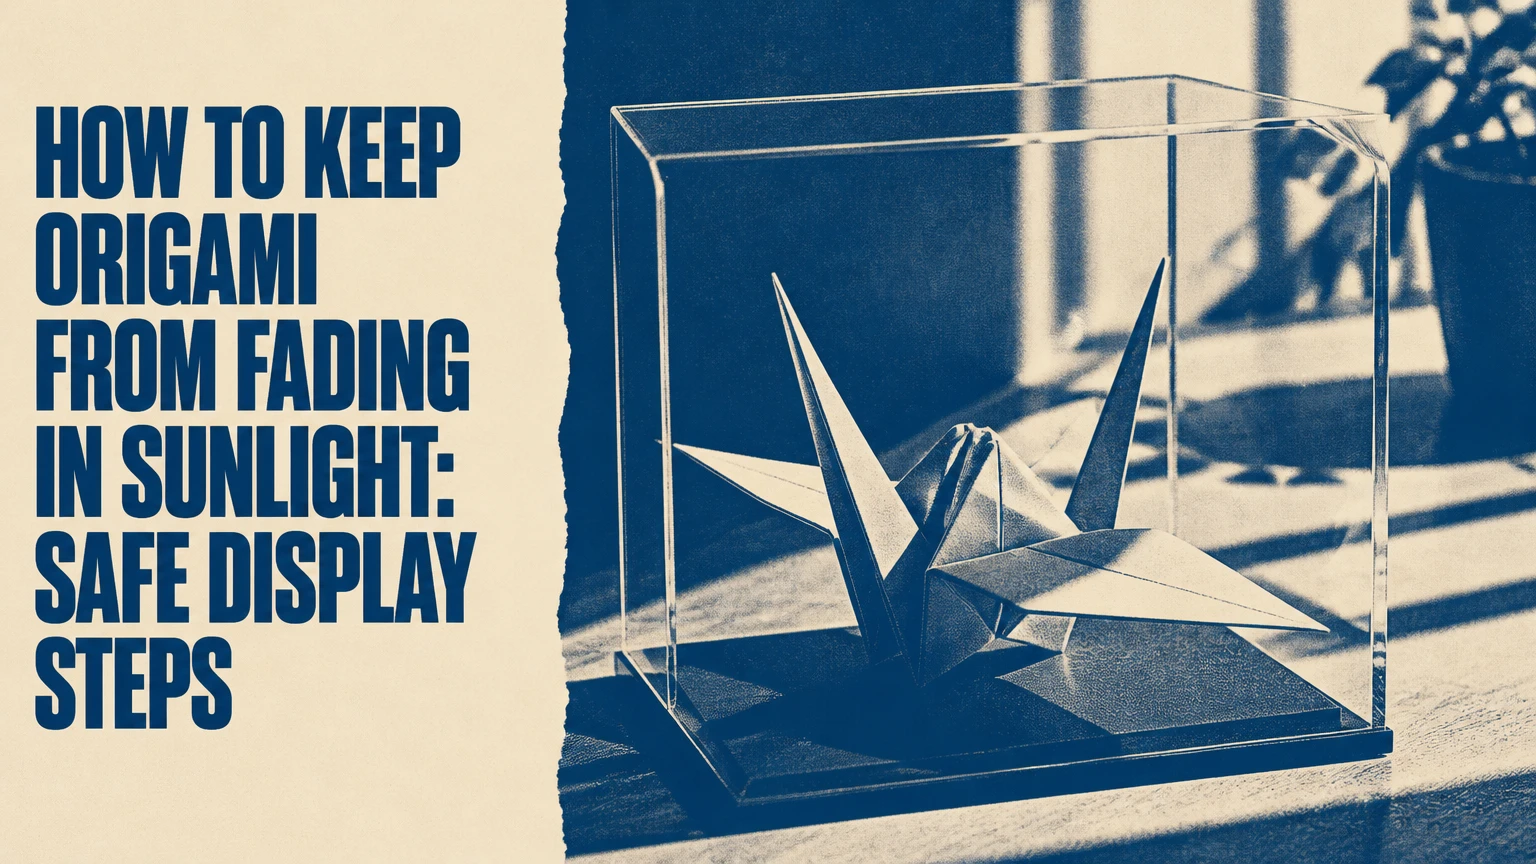
To keep origami from fading in sunlight, block direct daylight first, then add UV-filtering glazing or a closed display case, use archival paper, and limit total light exposure. Clean the model with a soft dry brush, test any coating on spare paper, and avoid spraying delicate folds unless the paper and inks are proven compatible.
Key Facts at a Glance
- Light damage to origami is cumulative and irreversible; moving a model away from a window reduces future damage but cannot restore lost color.
- UV-filtering acrylic or glass should specify protection through approximately 400 nanometres, not merely use the word “UV-resistant.”
- Visible light can fade paper dyes even after ultraviolet radiation is filtered, so low brightness and limited display hours still matter.
- A protective spray can warp thin paper, change its surface, or dissolve water-sensitive inks; an enclosure is usually the lower-risk choice.
- Acid-free, lignin-free paper slows yellowing, but paper quality cannot prevent fugitive dyes from fading under strong illumination.
- Typical preservation cost ranges from $10-$40 for a basic case or coating to $100-$500 or more for custom museum-style framing.
How to Keep Origami From Fading in Sunlight
The safest process takes five actions: remove direct sunlight, clean the model without touching its surfaces, choose a UV-filtering enclosure, control indoor lighting, and inspect the paper periodically. For a single finished model, expect 30-60 minutes for setup and 24 hours before handling a newly coated piece, if coating is appropriate.
Direct sun is the most damaging placement because illumination can reach several thousand lux near a bright window, while a shaded interior display may receive only a few hundred lux. The strongest protection comes from combining distance, shade, glazing, and limited viewing time rather than relying on one varnish can.
Before You Start
| Requirement | Typical specification | Why it matters |
|---|---|---|
| Setup time | 30-60 minutes | Covers cleaning, measuring, and case installation |
| Coating cure time | 24 hours | Prevents handling before the film hardens |
| Display distance | 1-2 metres from a sunny window | Reduces direct-beam exposure |
| Cleaning tool | Soft makeup brush, 25-40 mm wide | Removes dust without pulling folds |
| Case material | UV acrylic or laminated UV glass | Filters ultraviolet radiation without touching paper |
| Basic budget | $10-$40 | Covers a ready-made case or test materials |
Do not begin by spraying. First determine whether the model can be protected by relocation and enclosure alone. That order preserves the original paper surface, avoids solvent damage, and makes the intervention easier to reverse.
Why Does Origami Fade in Sunlight?
Origami fades because light energy triggers chemical changes in dyes, pigments, coatings, and paper fibers. Ultraviolet radiation is highly energetic, but visible light also causes fading, especially in unstable dyes; heat and humidity can accelerate the resulting deterioration without being the original light reaction.
Paper contains cellulose fibers, sizing, fillers, dyes, and sometimes lignin. Wood-pulp paper with residual lignin can yellow as it oxidizes, while acidic materials become brittle over time. Japanese washi made from kozo or mitsumata often has strong fibers, but fiber strength does not guarantee colorfastness.
The Library of Congress summarizes the conservation principle as, “Light damage is cumulative and irreversible.” That statement matters for origami because intermittent exposure still adds to the total dose. Turning a model away from the window reduces new damage, but the hours already spent in bright light remain part of its exposure history.
Light Sources and Damage Mechanisms
| Exposure source | Typical wavelength or condition | Primary risk to origami | Practical control |
|---|---|---|---|
| UV-A daylight | 315-400 nm | Dye breakdown and cellulose oxidation | UV-filtering case or window film |
| Visible daylight | 400-700 nm | Fading of light-sensitive dyes | Shade, low lux, shorter display periods |
| Infrared and solar heat | Above 700 nm, plus warmed surfaces | Drying, expansion, and faster chemical reactions | Keep paper away from hot glass |
| Fluorescent tube | Small UV output plus visible light | Long-term color loss near fixtures | Replace with LED and reduce brightness |
| Halogen lamp | High heat and strong visible output | Local heating and accelerated fading | Keep away from paper objects |
| LED lamp | Usually negligible UV, varies by product | Visible-light fading at high intensity | Use low-lumen, warm or neutral LED |
Infrared radiation is not usually the main direct cause of pigment fading. Its more defensible preservation concern is heat: a sun-heated window, enclosed case, or lamp can raise the model’s temperature and speed chemical reactions. UV filtering therefore helps, but temperature and visible-light control remain necessary.
Step-by-Step Process for Protecting Origami
Step 1: Inspect the Paper, Ink, and Folds
Examine the origami under neutral indoor light before moving it. Look for powdery pigment, surface flaking, oily fingerprints, weak creases, translucent thin spots, and color areas that appear darker than the surrounding paper.
Record the paper type if known, such as kami, Tant, kozo washi, tissue foil, newspaper, or hand-painted paper. Watercolor, felt-tip marker, inkjet printing, and some decorative dyes may bleed when they contact solvent or moisture.
Success checkpoint: the model has a documented condition and no loose surface material.
Common mistake: assuming “origami paper” identifies its dye, coating, or archival quality.
Photograph all sides with a phone before preservation work. A reference photograph makes later fading or coating discoloration easier to identify.
Step 2: Remove Dust Without Flattening the Model
Place the model on a clean, stable surface and use a soft, dry makeup brush or sable-style artist brush. Sweep from the center of each broad surface toward an opening, using the brush weight rather than pressure to dislodge dust.
Do not use compressed air, a vacuum nozzle, wet cloth, household cleaner, or feather duster. Air pressure can open delicate folds, while moisture and friction can transfer dirt into porous fibers.
Success checkpoint: visible dust is gone and every crease remains in its original position.
Common mistake: gripping a crane, wing, or pointed tip while brushing, which permanently changes the geometry.
For a large installation, clean one accessible section at a time and photograph each section before moving to the next. Never shake a group of folded models to remove dust.
Step 3: Move Origami Out of Direct Sunlight
Choose a wall or shelf that receives no direct sunbeam during the day. A distance of 1-2 metres from a bright window is a useful starting point, but the beam path matters more than the exact measurement.
Sunlight changes position by season, so inspect the location in the morning, around noon, and late afternoon. A model can receive damaging direct light through a window even when the room feels cool.
Success checkpoint: no direct solar patch reaches the origami during the intended display period.
Common mistake: placing a model beside a window because the window faces north, without checking seasonal sun angles.
If relocation is impossible, close blinds during the brightest hours and add a UV-filtering window film. Film reduces incoming radiation but does not make a windowsill safe for fragile paper if the glass becomes hot.
Step 4: Install UV-Filtering Glazing or a Case
Select glazing that identifies its tested cutoff or transmission performance. Museum acrylic products commonly specify UV protection to approximately 400 nm; ordinary acrylic may filter some UV but should not be treated as archival glazing without a product specification.
Use a case with enough clearance that wings, tails, and raised points do not touch the walls. Add an inert mount or cradle rather than adhesive tape, and leave modest air space around the model to limit condensation and heat buildup.
Success checkpoint: the model sits securely, has no contact with the glazing, and the product documentation states a UV specification.
Common mistake: sealing a damp model inside a case, which traps moisture and can distort paper.
Protection Methods Compared
| Method | UV specification | Typical cost | Best use | Main limitation |
|---|---|---|---|---|
| UV acrylic sheet | Often up to 400 nm | $30-$200 per panel | Lightweight shadow boxes | Scratches and static |
| UV-filtering glass | Often 97%-99% UV reduction, product dependent | $50-$300 per panel | Flat framed origami | Heavy and breakable |
| Ready-made display case | Product dependent, $10-$150 | Single 3D model | Low-contact protection | Many cases lack UV data |
| UV window film | Often marketed above 99% UV rejection | $5-$20 per square foot | Rental or room-level control | Does not block visible light completely |
| Archival spray | Product dependent | $12-$40 per can | Rigid, tested paper surfaces | Irreversible surface change |
| Closed cabinet with shaded placement | No fixed UV rating | $40-$500 | Groups of models | Poor visibility and ventilation if crowded |
A case with no stated UV performance still protects against dust and accidental contact, but it should not be described as a UV case. Ask the seller for the transmission curve or wavelength range instead of relying on a broad marketing label.
Step 5: Control Indoor Lighting
Use LED lighting instead of halogen lamps or fluorescent tubes near the display. LED does not automatically mean harmless: visible light can still fade sensitive dyes when brightness and exposure hours remain high.
For valuable paper, a practical conservator’s target is often below 50 lux for highly light-sensitive material and around 50-150 lux for less sensitive display, with the exact limit determined by dye stability and exhibition duration. Home light meters and smartphone apps provide estimates, not conservation-grade measurements.
Success checkpoint: the model is not illuminated by a hot lamp, and brightness is lower than ordinary task lighting.
Common mistake: leaving a display light on continuously. A low-intensity lamp used 12 hours daily can deliver more annual exposure than a brighter lamp used briefly.
Use motion sensors or timers when possible. Displaying a fragile model for three months and storing it in darkness for nine months can substantially reduce cumulative exposure compared with permanent display.
Step 6: Test Before Applying Any Spray
If a coating is necessary, test the exact product on an offcut from the same paper, using the same ink, paint, or dye. If no offcut exists, spray a visually hidden area only after accepting that the result may still differ from the test.
Work outdoors or in a dust-free, well-ventilated area according to the manufacturer’s safety instructions. Apply several dry mist coats from approximately 25-30 centimetres away, allowing about 15-20 minutes between coats when the label permits.
Success checkpoint: the test paper remains flat, clear, non-tacky, and color-stable after 24-48 hours.
Common mistake: treating “UV-resistant” as proof that the product is safe for water-soluble ink or thin paper.
Aerosol coatings are often solvent-based, and archival varnishes differ in resin, solvent, gloss, flexibility, and reversibility. Never use hairspray, furniture polish, craft glitter sealant, or an untested polyurethane on origami.
Should You Spray Origami With UV Varnish?
Spray coating is appropriate only when the paper, colorant, and structure tolerate the product, and when an enclosure cannot provide adequate protection. For delicate tissue, inkjet-printed paper, watercolor, metallic foil, or historically important origami, a UV-filtering case is safer because it protects without adding a permanent film.
Spray can help rigid models resist dust and minor handling, but it does not stop all visible-light fading. It may also darken paper, increase gloss, stiffen folds, bridge small openings, or trap dirt in a tacky surface.
Spray Risks by Origami Material
| Origami material | Spray risk | Recommended first choice | Test requirement |
|---|---|---|---|
| Thin kami, 60-80 gsm | Warping and cockling | Case or frame | Same-paper offcut |
| Tant, 80-120 gsm | Moderate surface change | Case, then tested spray | 24-48 hour test |
| Kozo washi, 40-100 gsm | Uneven absorption | UV case | Full-color test |
| Tissue foil, 20-40 gsm | Solvent and shape damage | No spray, enclosed case | Avoid direct model test |
| Inkjet print, 90-200 gsm | Ink bleeding or color shift | UV acrylic | Test every ink color |
| Watercolor paper, 190-300 gsm | Lower warp risk, pigment variation | Case or archival coating | Test painted sample |
Use the manufacturer’s stated recoat and cure times rather than a generic schedule. A typical 24-hour cure does not mean the film has reached its final hardness, and high humidity can extend drying or create a cloudy “blush.”
If the model warps, stop immediately and allow it to dry on a clean support without forcing the folds. If a coating turns white, do not use a hair dryer unless the product instructions explicitly permit gentle heat; heat can distort paper and spread solvent.
Which Protection Method Should You Choose?
For most home displays, choose relocation plus a UV-filtering acrylic case. Choose window film when the room itself causes repeated direct exposure, and reserve spray for robust, colorfast paper that has passed a compatibility test.
| Situation | Recommended protection | Avoid | Typical setup time |
|---|---|---|---|
| One small crane on a shelf | UV acrylic case, shaded wall | Open windowsill | 20-40 minutes |
| Flat origami artwork | UV glass frame with acid-free mat | Standard cardboard backing | 1-3 hours |
| Delicate tissue model | Deep case with inert support | Aerosol coating | 30-60 minutes |
| Rental apartment | Removable blind plus UV film | Permanent glazing alteration | 1-4 hours |
| Valuable colored model | Museum acrylic, low lux, dark storage | Unverified fixative | 2-6 hours |
| Large crane installation | UV-controlled room and modular cases | Direct ceiling spots | 1-2 days |
UV acrylic is lighter and more impact-resistant than glass, which helps with suspended or wall-mounted origami. Acrylic scratches more readily and can build static, so use a clean microfiber cloth on the case exterior and never rub the paper itself.
UV-filtering glass offers a harder, less static-prone surface, but its weight and breakage risk make it less suitable for unstable shelves. Neither material guarantees indefinite color stability because the visible spectrum remains and dyes differ greatly in lightfastness.
What Paper and Colorants Resist Fading Best?
Acid-free, lignin-free paper made from alpha-cellulose or long plant fibers generally provides a more stable foundation than acidic wood-pulp paper. Kozo and mitsumata washi can offer excellent fiber durability, while Tant and other artist papers provide more predictable weight and surface behavior than cheap newsprint.
Paper choice is only half the equation. A fugitive dye can fade rapidly on excellent washi, whereas a lightfast pigment may remain stable on ordinary paper for longer. Ask the paper supplier whether colors are pigment-based, rated for lightfastness, or tested under an ASTM or Blue Wool scale.
| Paper or colorant | Typical strength | Fading concern | Appropriate use |
|---|---|---|---|
| Acid-free alpha-cellulose | Stable, low lignin | Dye still varies | General archival origami |
| Kozo washi | Long, strong fibers | Thin grades can absorb coatings | Valuable handmade models |
| Mitsumata washi | Smooth, flexible surface | Decorative dyes vary | Detailed folds |
| Standard kami | 60-80 gsm, inexpensive | Dye and acidity often unknown | Short-term display |
| Newsprint | 40-55 gsm, acidic wood pulp | Yellowing and brittleness | Temporary practice only |
| Pigment-dyed paper | Better color stability, product dependent | Pigment quality varies | Long-term display |
| Marker or inkjet color | Convenient, often fugitive | Bleeding and rapid fading | Enclosed, low-light display |
“Acid-free” does not mean fade-proof. It describes acidity control, not a guarantee that a blue, red, or fluorescent dye will withstand sunlight.
How Much Do Origami Preservation Options Cost?
A basic shaded display with a ready-made case typically costs $10-$40, while custom UV glazing commonly costs $100-$500 or more. Window film often costs $5-$20 per square foot for materials, and professional installation can raise the total substantially.
Prices vary by country, size, glazing brand, framing labor, and whether the object needs a deep shadow box. The following figures are typical retail planning ranges in US dollars, not fixed quotes.
| Preservation purchase | Typical price | Useful lifespan | Recurring cost |
|---|---|---|---|
| Soft brush | $5-$15 | 3-10 years | Replace when shed or soiled |
| UV spray can | $12-$40 | 1-5 years in exposure | Recoat only after inspection |
| Small UV acrylic case | $10-$80 | 5-15 years | Replace if yellowed or scratched |
| Custom UV acrylic frame | $100-$500 | 10-25 years | Glazing replacement if damaged |
| UV-filtering window film | $5-$20 per sq. ft. | 10-15 years, product dependent | Installation or removal |
| Acid-free mat and backing | $15-$100 | 5-20 years | Replace if stained or acidic |
| Light meter | $20-$150 | 5-10 years | Calibration, product dependent |
Do not promise that any protection period is permanent. Acrylic can yellow, films can delaminate, seals can fail, and a frame can be moved into a brighter location. Inspect glazing annually and photograph the origami every six to twelve months.
Common Mistakes and How to Fix Them
Using Ordinary Window or Picture Glass
Ordinary glass may reduce some ultraviolet radiation, but its performance varies by composition, thickness, and coating. It should not be treated as equivalent to glazing specified for UV filtration through 400 nm.
Fix: request a product specification or use UV-filtering acrylic with documented performance.
Spraying Too Close or Too Wet
A wet coat can pool at valleys, soften ink, add weight to one side, and pull thin paper out of alignment. Multiple light coats are safer than one glossy coat.
Fix: stop spraying, support the model without compression, and let it dry completely. Do not reshape wet folds.
Sealing Damp Origami Inside a Case
A closed case can retain moisture from a humid room, fresh coating, or recently cleaned surface. Paper may cockle, smell musty, or develop staining.
Fix: allow the object to equilibrate in a dry indoor room before enclosure. In humid climates, use ventilation and avoid placing the case against a cold exterior wall.
Trusting a UV Label Without a Wavelength
“UV resistant” can refer to the coating’s durability rather than its ability to filter light. The label may provide no percentage, wavelength, or test method.
Fix: look for a stated cutoff near 400 nm, UV transmission data, or a recognized glazing specification.
Leaving the Display Light On
Long exposure remains damaging even when the light produces little UV. A display lamp operating 12 hours daily creates a large annual light dose.
Fix: install a timer, dim the lamp, use motion activation, and turn the light off when the room is empty.
Trying to Restore Faded Origami
Fading is chemical loss, not surface dirt. Cleaning, brightening agents, repainting, or household bleach can destroy the paper and erase evidence of the original finish.
Fix: stabilize the model, photograph it, store it in darkness, and consult a paper conservator for valuable work. For ordinary craft pieces, preservation is usually more realistic than restoration.
Situational Variations for Real Displays
How Do You Protect Origami in a Humid Room?
Keep origami away from bathrooms, kitchens, unconditioned porches, and exterior walls with condensation risk. Aim for a stable indoor environment rather than rapid swings; a typical home target near 40%-55% relative humidity is more useful than chasing a single exact number.
Use a ventilated case with inert supports and inspect corners for cockling or mold odor. Silica gel can help in a sealed container, but it should be conditioned and monitored, not placed loose against paper.
How Do You Preserve a Large Installation?
Divide a large crane installation into shaded zones and reduce light at the room level. UV window film, blinds, low-output LED fixtures, and seasonal rotation usually protect more models with less handling than individually spraying hundreds of pieces.
Maintain an inventory with installation dates, paper types, and photographs. For 1,000 cranes, rotating sections every one to three months can reduce the exposure received by each group, but the installation must remain dust-free and mechanically secure.
What Should Renters Do?
Renters can use removable blackout shades, interior placement, a freestanding UV acrylic case, and a timer-controlled LED lamp. These measures require no permanent window modification and work well for a single shelf display.
A removable UV film may be practical if the landlord permits it, but measure the window and confirm the adhesive can be removed without residue. Never attach tape, hooks, or adhesive directly to the origami.
FAQ
Can I Put Origami Near a Window if the Window Has Blinds?
Blinds reduce direct exposure but do not eliminate reflected and scattered daylight. Keep origami at least 1-2 metres from the glass, close blinds during peak sun, and add UV-filtering glazing when the model has valuable or unstable colors. Check the location in different seasons because sun angles change.
Does Laminating Origami Prevent Fading?
Laminating can block some exposure and stabilize flat paper, but it is unsuitable for most three-dimensional origami. Heat, pressure, adhesive migration, and trapped moisture can crush folds or damage the paper, while visible light may continue to fade the color. Use a noncontact case instead.
Can I Use Mod Podge on Origami?
Mod Podge and similar craft decoupage mediums can add moisture, stiffness, gloss, and uneven tension to folded paper. They are not automatically archival or UV protective. If a coating is necessary, select a product intended for artwork conservation, test it on matching material, and follow its safety and cure instructions.
Will a Clear Plastic Box Stop Sunlight Damage?
A clear plastic box stops dust and handling damage, but ordinary plastic does not necessarily filter enough UV. Confirm the material’s wavelength specification, keep the box out of direct sun, and avoid heat buildup. UV acrylic or documented UV polycarbonate is preferable to unspecified packaging plastic.
How Long Can Origami Stay on Display?
No universal display period exists because dye chemistry, paper, lux, distance, and lighting hours differ. A light-sensitive model may need short exhibitions of weeks or months, while stable pigment on archival paper may tolerate longer display. Photograph the object regularly and store it in darkness between exhibitions.
Can a Faded Origami Model Be Made Bright Again?
A faded model usually cannot be safely returned to its original color because the dye or pigment has chemically changed. Recoloring may conceal information, weaken the paper, or create an uneven appearance. Stabilize the model, reduce future light, and ask a qualified paper conservator about treatment before attempting any repair.
The Bottom Line
The most reliable way to keep origami from fading in sunlight is to combine shade, distance, UV-filtering glazing, low-intensity LED lighting, and limited display hours. Start with noncontact protection, because an enclosure preserves the original folds and surface without the warping, bleeding, or gloss changes associated with untested sprays.
Use archival, acid-free paper and lightfast pigments for new models, but do not mistake those materials for complete protection. Inspect the case, photograph the model every six to twelve months, and store the origami in darkness when it is not being displayed. That routine gives how to keep origami from fading in sunlight a safer answer than any single sealant or product label.
