


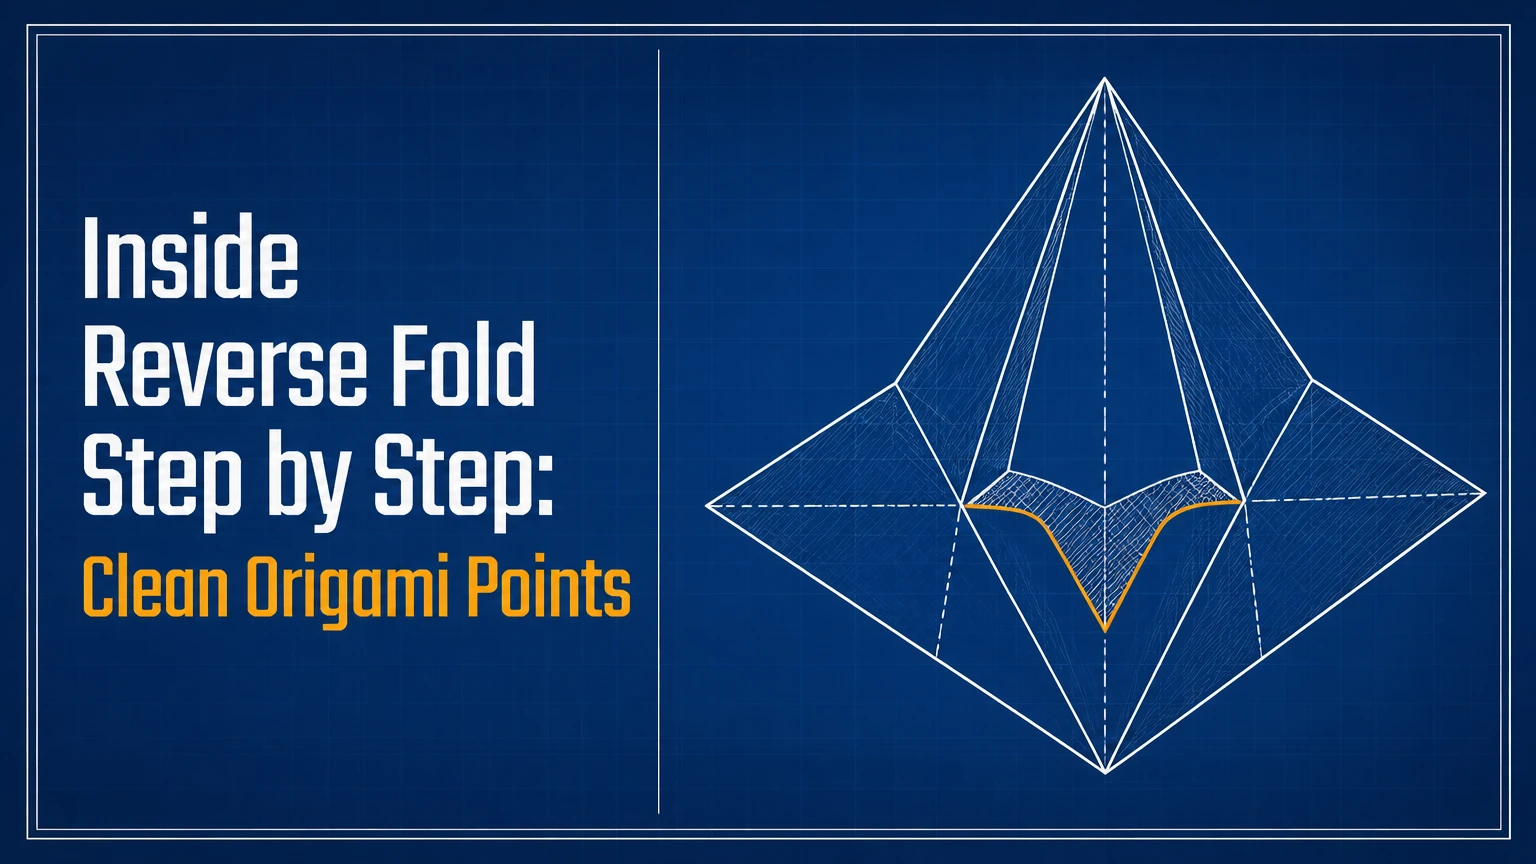
An inside reverse fold is an origami technique that turns a paper point or flap inward between existing layers, changing an outside point into an internal structure. To perform one, pre-crease the direction, open the surrounding layers, push the point inward, invert the side creases, and flatten the model while preserving alignment.
Key Facts at a Glance
- An inside reverse fold moves a flap inside the model without cutting, gluing, or removing paper.
- The fold normally requires two valley creases on the sides and a mountain crease along the returning spine.
- A beginner typically needs 30-90 seconds for one clean fold, depending on paper thickness and model complexity.
- The fold works most reliably when the pre-crease reaches both side edges at the same angle.
- Kami paper is the most forgiving starting material because its 15-centimeter sheets are thin, inexpensive, and easy to crease.
- An inside reverse fold is common in origami bird heads, animal tails, legs, beaks, and narrow structural points.
What Is an Inside Reverse Fold?
An inside reverse fold is a directional change in which an external paper flap is tucked into the model’s interior. The point does not vanish through a hole; instead, surrounding layers open temporarily so the flap can occupy the space between them.
The name describes the result from the folder’s viewpoint. A flap that originally projects outward is reversed into the inside of the form. The fold may create a short visible point, conceal a long tip, or redirect a feature at a new angle.
An inside reverse fold is not defined by a particular angle. Designers use shallow angles for gently lowered heads and sharper angles for beaks, feet, or sharply bent tails. The practical limit comes from paper thickness, available pocket depth, and the crease pattern of the model.
What changes inside the paper?
The fold changes the direction of existing creases rather than adding a random bend. A former mountain crease may become a valley crease, while the paper spine folds inward between two side walls. The exact assignment depends on model orientation and whether the diagram shows the front or back.
A useful physical picture is a soft triangular hood. The hood’s side walls separate, the central point sinks between them, and the walls close around the inserted point. If the point cannot enter the pocket, the problem is usually layer selection or insufficient pre-creasing, not a lack of force.
How Does an Inside Reverse Fold Work?
An inside reverse fold works by combining a pre-creased hinge with a temporary opening between paper layers. The side creases guide the flap inward, while the surrounding layers rotate around the hinge and lock the new three-dimensional profile when flattened.
The fold has four structural parts: the flap being redirected, the pivot or hinge line, the side creases, and the pocket receiving the flap. A clean result requires all four parts to cooperate. Pressing only the flap usually creates wrinkles because the side walls have not been released.
Inside reverse fold anatomy
| Part | Typical location | Function | Visible consequence |
|---|---|---|---|
| Flap or point | Outer tip of the model | Moves into the body | Point becomes shorter or hidden |
| Pivot line | Across the flap base | Controls the reversal | New head, tail, or foot angle |
| Side creases | Left and right edges | Guide layer inversion | Symmetrical folded walls |
| Inner pocket | Between model layers | Receives the flap | Compact, locked structure |
| Outer spine | Returning upper edge | Folds toward the interior | Former projection changes direction |
The most important distinction is between folding and compressing. Folding rotates paper along intended hinges. Compressing merely crushes layers together, which produces dull points, offset edges, and permanent wrinkles.
How to Do an Inside Reverse Fold Step by Step
A standard inside reverse fold takes four main movements and two preparation checks: identify the correct flap, mark the intended angle, pre-crease the hinge, open the pocket, invert the layers, and flatten. A clean fold usually takes 30-60 seconds for a beginner using thin kami paper.
Before You Start
| Requirement | Typical beginner choice | Why it matters |
|---|---|---|
| Paper size | 15 x 15 cm square | Provides enough surface for hand control |
| Paper type | Kami, 60-70 gsm | Creases easily and separates without tearing |
| Working time | 1-3 minutes | Allows pre-creasing and alignment |
| Tools | Fingertips, optional blunt bone folder | Controls creases without cutting fibers |
| Model state | Two accessible layers around the point | Creates the receiving pocket |
| Fold angle | 30-90 degrees | Covers gentle bends through sharp points |
Place the model so the point faces away from you and the layers remain identifiable. Check the diagram’s front and back colors before starting, because a reverse fold can expose a different color on the redirected feature.
Step 1: Identify the Flap and Mark the Target
Decide where the point should finish before making any crease. For a bird head, mark the desired neck-to-head angle; for a tail, identify the direction of the final tail tip; for a foot, leave enough length outside the body for the next fold.
Use a light pinch or a removable pencil mark only if the diagram permits marking. Most traditional models need no mark because the next reference is an existing edge.
You will know it worked when: the intended endpoint and the fold line are visually clear before the paper moves.
Common mistake: choosing the wrong point because several layers overlap. Lift each layer separately and compare the diagram’s valley and mountain symbols.
Step 2: Pre-Crease the Hinge
Fold the flap along the intended returning line, press from the center toward both edges, and unfold it. Reverse the paper direction along the same line, crease again, and unfold. This creates a hinge that can move in either direction without stressing one narrow pivot.
The crease should extend evenly across the flap and meet both side boundaries. A shallow partial crease may be appropriate near a rounded feature, but a beginner should use a full, straight hinge whenever the model allows it.
You will know it worked when: the flap swings through the intended angle with little resistance and no diagonal wrinkle.
Common mistake: making the two sides of the crease unequal. Align the crease endpoint with the corresponding left and right edges before pressing.
Step 3: Open the Receiving Layers
Separate the two main layers beneath or beside the point with a fingertip. Open only enough to create a pocket. Do not unfold unrelated layers, because a broad opening can erase reference creases and make the final shape loose.
For thick paper, open the pocket gradually from the widest section toward the pivot. A blunt tool can help separate layers, but a sharp tool can score or puncture the paper.
You will know it worked when: the model forms a small tent-like cavity and the flap can enter without buckling.
Common mistake: pulling the layers apart from the tip. Start near the pocket’s wider opening, then work toward the narrow hinge.
Step 4: Push the Point Inward
Guide the flap into the pocket while pressing the outer spine inward. Use one finger to push the point and another to support the opposite side wall. The movement should be controlled and progressive, not a single hard shove.
As the flap descends, allow the side creases to reverse naturally. If the paper resists, stop and reopen the pocket rather than increasing pressure. Resistance often means the flap is entering between the wrong layers.
You will know it worked when: the point travels into the model and the two side walls begin closing symmetrically around it.
Common mistake: pressing only the extreme tip. Support the flap closer to its base so the paper bends along the hinge instead of crumpling at the tip.
Step 5: Invert the Side Creases
Pinch the left and right sides at the pre-creased lines and turn them inward as the spine sinks. The original outer fold becomes an internal fold, and the side walls change from their previous mountain or valley orientation.
Do not force every crease simultaneously. Work from the pivot outward, alternating left and right sides so the centerline remains aligned. This is where most asymmetry develops.
You will know it worked when: both side creases meet at corresponding positions and the flap lies between the walls rather than beside one wall.
Common mistake: allowing one wall to invert before the other. Release the first side, return to the open position, and repeat the inversion with equal pressure.
Step 6: Flatten and Lock the Fold
Close the surrounding layers and press the model flat from the pivot toward the outer edges. Use a fingertip for delicate kami and a blunt bone folder for heavier paper. Keep the newly redirected feature aligned while flattening.
The internal flap may be completely hidden or may leave a short visible tip. Both results are correct if the model’s next reference edges meet and the feature holds its intended angle.
You will know it worked when: the model stays closed after you release it, the two sides match, and no loose pocket opens at the base.
Common mistake: sharpening the outer point before the inner layers are aligned. First lock the pocket, then refine the visible tip.
Which Inside Reverse Fold Types Should You Know?
The three useful categories are the standard corner reverse fold, inline reverse fold, and double inside reverse fold. Their names describe the geometry of the flap, not separate paper materials or skill levels.
| Type | Starting geometry | Typical result | Common model use |
|---|---|---|---|
| Standard corner | Acute or 90-degree point | Redirected short flap | Bird head, animal tail |
| Inline | Straight layered edge | Recessed notch or step | Structural shaping, tessellations |
| Double inside | One reverse fold followed by another | Segmented directional feature | Long neck, leg, complex bird head |
| Closed-pocket variant | Narrow pre-existing cavity | Concealed internal tip | Compact limbs and locked layers |
A double inside reverse fold needs extra layer awareness. After the first reversal, the remaining tip may be reverse-folded again, but the second fold must use the newly exposed edges rather than the original diagram orientation.
Standard versus double inside reverse fold
The standard version changes direction once. The double version changes direction twice, often producing a zigzag profile that gives a model more anatomical detail.
| Feature | Standard fold | Double fold |
|---|---|---|
| Direction changes | 1 | 2 |
| Typical time | 30-60 seconds | 1-3 minutes |
| Layer complexity | 2-4 layers | 4-8 local layers |
| Best beginner model | Simple bird or fish | Intermediate animal or crane variation |
| Main failure risk | Crooked alignment | Wrong layer sequence |
What Paper and Tools Work Best?
Kami paper is the best starting material for an inside reverse fold because it combines low cost, moderate memory, and easy layer separation. Tant paper gives sharper creases, while foil and tissue-foil hold narrow reversals well but punish inaccurate pre-creases.
| Material | Typical thickness or feel | Typical cost | Best use | Main limitation |
|---|---|---|---|---|
| Kami | 60-70 gsm, soft | $0.02-$0.10 per sheet | First practice folds | Weak when repeatedly unfolded |
| Tant | 70-80 gsm, crisp | $0.10-$0.40 per sheet | Clean geometric models | Resists tight multi-layer pockets |
| Foil paper | Thin foil surface | $0.10-$0.50 per sheet | Sharp points and memory | Shows dents permanently |
| Tissue-foil | Custom laminated, thin | $0.50-$2 per sheet | Complex intermediate models | Requires careful layer control |
| Washi or Unryu | Fibrous handmade sheet | $5-$20 per large sheet | Large expressive models | Fibers can split at pivots |
A bone folder is useful on thick paper, but it is not necessary. A blunt skewer can open a pocket, although a tool should never be pushed directly into the pivot because punctures often expand during flattening.
Wet-folding is usually a poor first choice for this technique. Moist paper can form rounded animal features, but excess water weakens a narrow hinge and makes precise layer inversion harder.
Pre-Creased or Blind Folding: Which Is Better?
Pre-creasing is the better method for beginners, thick paper, and models with visible symmetry because it fixes the hinge before the layers become difficult to see. Blind pushing is faster for experienced folders, but it trades preparation time for a higher risk of offset layers and crushed points.
| Criterion | Pre-creased method | Blind method |
|---|---|---|
| Beginner time | 30-90 seconds | 15-45 seconds |
| Alignment accuracy | Usually within 1-2 mm on 15 cm paper | Often varies by 2-5 mm |
| Best paper | Kami, Tant, tissue-foil | Thin kami or foil |
| Layer control | High before inversion | Moderate during inversion |
| Damage risk | Low when reopened carefully | Higher at the pivot |
| Best situation | New model or exact diagram | Familiar model and practiced hands |
Blind folding is not inherently incorrect. Designers and experienced folders often use tactile cues from existing creases, but the method becomes unreliable when a model has several nested pockets or when the paper has no crease memory.
Inside Versus Outside Reverse Fold
An inside reverse fold sends the flap between layers, while an outside reverse fold redirects the flap around the exterior of the model. The inside version conceals more paper and creates a compact structure; the outside version leaves the reversed flap visible on the surface.
| Attribute | Inside reverse fold | Outside reverse fold |
|---|---|---|
| Flap destination | Between internal layers | Around the exterior |
| Visible paper | Reduced | More exposed |
| Typical feature | Bird head or tucked tail | Beak, horn, or open tail |
| Pocket required | Yes, usually | No internal pocket required |
| Surface appearance | Compact and layered | More prominent and angular |
Choose an inside reverse fold when the feature should emerge from a narrow body or disappear into the model. Choose an outside reverse fold when the flap must remain visible, especially when the design lacks enough internal depth.
What Are the Most Common Problems?
Most failed inside reverse folds result from incorrect layer selection, a short hinge, or uneven side pressure. Force rarely fixes the underlying problem because paper can only reverse cleanly along creases that connect to the intended edges.
| Failure | Likely cause | Immediate fix | Prevention |
|---|---|---|---|
| Crooked point | Unequal crease endpoints | Reopen and align both sides | Pre-crease across the full flap |
| Crushed tip | Tip pushed without support | Smooth from base outward | Support the flap near the hinge |
| Loose pocket | Wrong layers closed | Reopen and identify layer stack | Close one wall at a time |
| Torn pivot | Excessive pressure or reused paper | Stop and reinforce from behind | Use fresh 60-80 gsm paper |
| White stress mark | Sharp fold against grain or coating | Reduce angle and massage crease | Reverse-crease before final fold |
| Hidden feature missing | Flap entered beside pocket | Pull out and reopen cavity | Confirm pocket depth first |
How do you fix an asymmetrical reverse fold?
Reopen the fold only as far as the last stable crease, compare the left and right reference edges, and reset the hinge before pushing inward again. If one side is longer, align the visible outer edges first, then flatten from the center outward.
Do not correct asymmetry by trimming or stretching the paper. Trimming changes the model’s proportions, while stretching creates a permanent curve that becomes more visible after later folds.
How do you prevent a torn pivot?
Use a fresh sheet, soften the paper with repeated reverse-creasing, and reduce the fold angle if the model permits it. Thin kami usually tolerates several adjustments, but foil-coated paper can split at a sharply compressed hinge after only a few reversals.
If a small tear already exists, place a narrow strip of matching paper behind the area only when the finished model does not need to remain a traditional uncut sheet. Adhesive repair is a display solution, not a faithful replacement for an intact fold.
How Long Does the Fold Take and Cost?
A single inside reverse fold typically takes 30-60 seconds for a beginner and 3-10 seconds for an experienced folder after the crease pattern is understood. Practice costs approximately $2-$6 for a 100-sheet pack of basic kami, while specialty sheets cost more.
| Scenario | Typical time | Paper cost | Tool cost | Practical expectation |
|---|---|---|---|---|
| First practice fold | 2-5 minutes | $0.02-$0.10 | $0 | Learn pocket and hinge |
| Simple bird model | 30-60 seconds | $0.02-$0.20 | $0-$5 | One or two reversals |
| Thick Tant model | 1-3 minutes | $0.10-$0.40 | $5-$15 | Sharper but slower crease |
| Tissue-foil model | 1-4 minutes | $0.50-$2 | $5-$15 | Better complex-layer control |
| Handmade large sheet | 2-5 minutes | $5-$20 | $5-$15 | Large feature, high repair cost |
These are typical retail ranges, not fixed prices. Local currency, sheet size, brand, and whether paper is sold individually or in packs can change the total substantially.
How Does the Fold Change by Model Situation?
Model orientation determines which surface counts as inside, so the same physical movement can look different in a crane, animal, or abstract tessellation. Follow the diagram’s mountain and valley symbols rather than relying only on the feature’s apparent front.
Bird heads and beaks
For a bird head, leave a short enough tip to define the beak after the reverse fold. A long concealed flap can make the neck bulky, while an excessively short flap may not lock between the layers.
Animal tails
For a tail, pre-crease the target angle from the tail’s centerline, not from the body edge. Tails often use a second reverse fold, so leave sufficient length beyond the first fold for the next segment.
Legs and feet
Legs frequently require a narrow pocket with several layers. Open the cavity using a blunt tool and flatten in stages, because pressing the entire leg at once can flatten the intended foot angle.
Tessellations
Inline reverse folds in tessellations depend on repeated spacing. Measure the first unit carefully, because a 1-millimeter error repeated across ten units produces a visible drift of about 1 centimeter.
What Is the Most Reliable Practice Routine?
The most reliable routine is to practice three identical folds on scrap kami before attempting the finished model. Use the first sheet to locate the pocket, the second to refine symmetry, and the third to reproduce the movement without looking at your fingers.
An experienced folder’s useful rule is to separate alignment from sharpening. Align the layers with light pressure first, release wrinkles, and only then make the final crease. A sharp crease applied before alignment makes the wrong geometry harder to undo.
A second practitioner rule is to fold thick layers in stages. If four layers resist, open two layers first, establish the hinge, then close the remaining layers. Layer count is more important than thumb strength.
FAQ
Is an inside reverse fold the same as folding a point inward?
No. A simple inward fold bends a point onto a surface, while an inside reverse fold changes the point’s direction and places it between layers. The reverse fold normally requires a pocket, side-crease inversion, and a new locked profile.
Can you perform an inside reverse fold without pre-creasing?
Yes, experienced folders can use a blind inside reverse fold when the model has clear existing creases and thin paper. Beginners should pre-crease because the hinge controls the angle and reduces pivot damage.
Which paper is easiest for learning reverse folds?
Thin kami paper in a 15 x 15 cm square is easiest for learning. Its low cost supports repeated practice, its surface shows front and back orientation clearly, and its moderate thickness allows layers to separate without excessive resistance.
Why does my reverse fold keep opening?
A reverse fold usually opens because the flap is beside the receiving pocket, the pocket was not closed completely, or the model has too much local thickness. Reopen the surrounding layers, seat the flap fully, and flatten from the pivot toward the edges.
Can a bone folder improve an inside reverse fold?
A blunt bone folder can sharpen the final crease in Tant, foil, or tissue-foil paper, but it cannot correct incorrect layer placement. Use fingertips for the inversion and apply the tool only after the pocket and symmetry are correct.
Is an inside reverse fold suitable for wet-folded origami?
It can work in lightly damp paper, but wet-folding is better for rounded shaping than narrow precision pockets. Excess moisture weakens the hinge and may prevent the side creases from locking cleanly, so dry or lightly conditioned paper is safer for practice.
The Bottom Line
An inside reverse fold step by step process is: identify the flap, mark its target direction, pre-crease the hinge in both directions, open the receiving layers, push the point inward, invert both side creases, and flatten from the pivot outward. Kami paper, light pressure, and exact bilateral alignment produce the most reliable first results.
The fold is successful when the redirected feature holds its angle, the surrounding layers close without a gap, and the pivot remains smooth rather than crushed. For complex models, spend more time locating the correct pocket than forcing the paper.
