

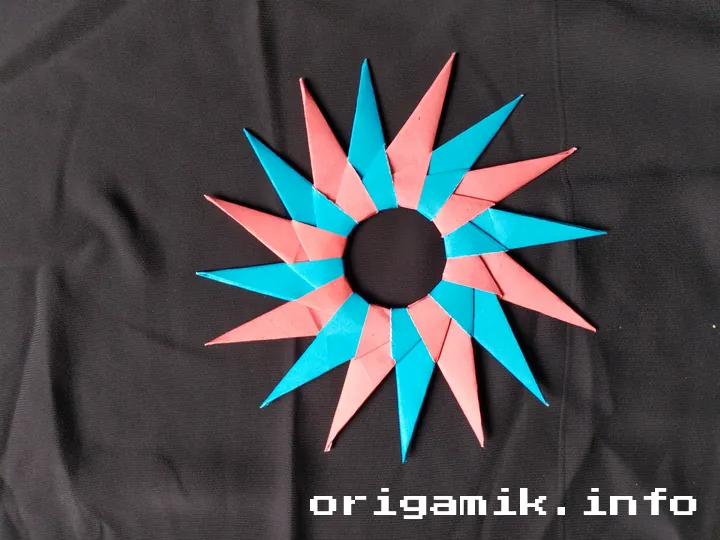
Origami is pure magic. A simple piece of paper transforms into something breathtaking. Today, I’ll guide you through an easy Origami 16 Pointed Star—a stunning, symmetrical creation that’s both artistic and satisfying.
With just 16 small square papers, some patience, and a few folds, you’ll craft a mesmerizing star. Follow my step-by-step Origami 16 Pointed Star instructions, and you’ll master this project in no time.
Let’s dive into how to make a 16 Pointed Star—an origami masterpiece that’s great for decorations, gifts, or just the joy of folding!
What is the Origami 16 Pointed Star?
The Origami 16 Pointed Star is a modular paper art project, meaning it’s built from multiple identical pieces combined to form a complete star. This design showcases perfect symmetry, making it an eye-catching addition to any origami collection.
The best part? It’s a simple 16 Pointed Star box step by step process that’s beginner-friendly yet rewarding for seasoned paper folders. Once completed, it looks intricate but is surprisingly easy to assemble with patience.
Definition List of Key Terms
- Modular Origami – A technique where multiple identical folded units connect to form a larger shape.
- Symmetry – Balanced proportions in design, making the final result visually appealing.
- Crease – The folded line left after folding and unfolding the paper.
- Base Fold – The fundamental initial folds that form the structure of an origami piece.
Materials Needed
Before we start, gather the following materials:
| Material | Details |
|---|---|
| Paper | 16 square sheets (4” × 4”) |
| Surface | Flat, clean workspace |
| Fingernail or Tool | For crisp, sharp creases |
| Optional: Glue | Helps secure the final star (not mandatory) |
Using 4” × 4” paper squares ensures precise folds and a balanced final design.
Step-by-Step Instructions to Make an Origami 16 Pointed Star
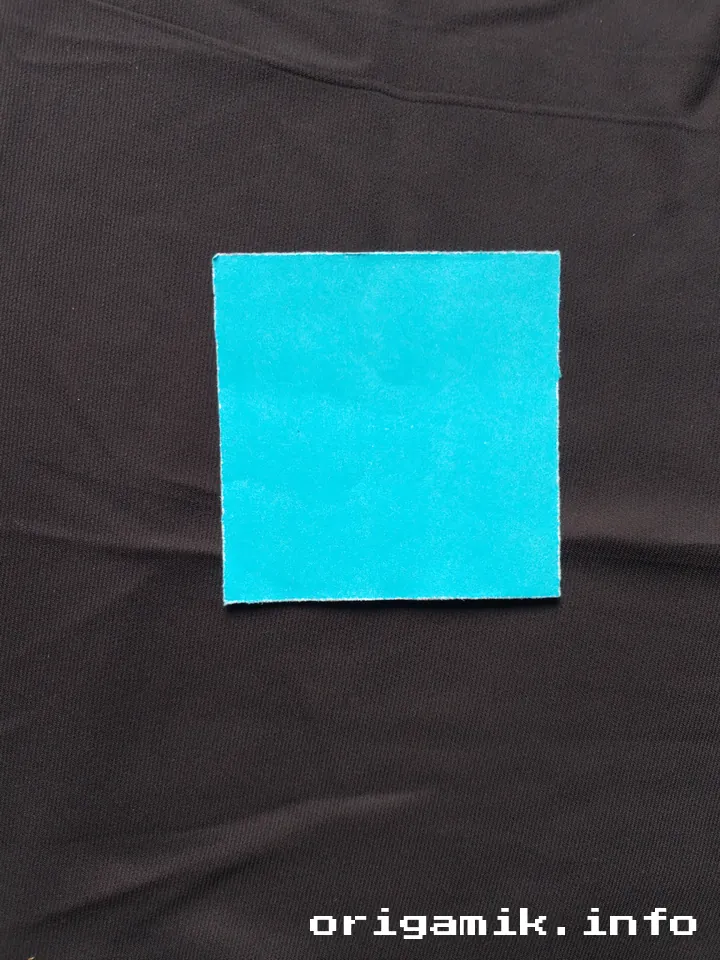
Step 1: Gather Your 16 Papers

- Ensure you have 16 square pieces of paper, preferably in different colors for contrast.
Step 2: Fold Vertically and Unfold
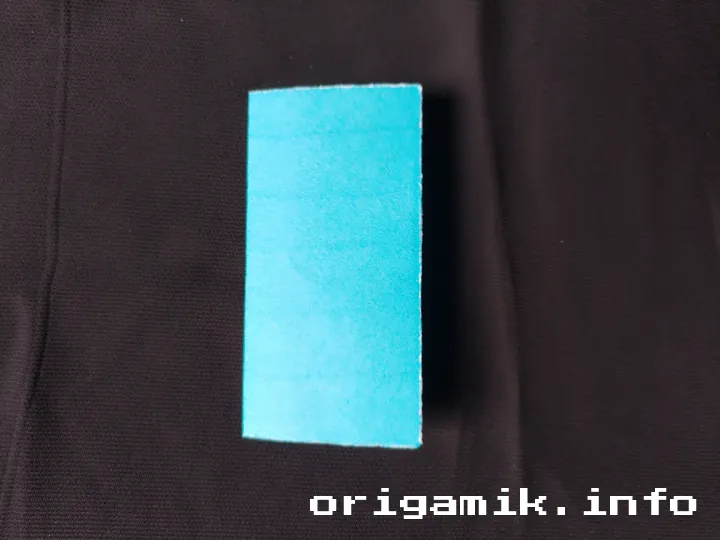
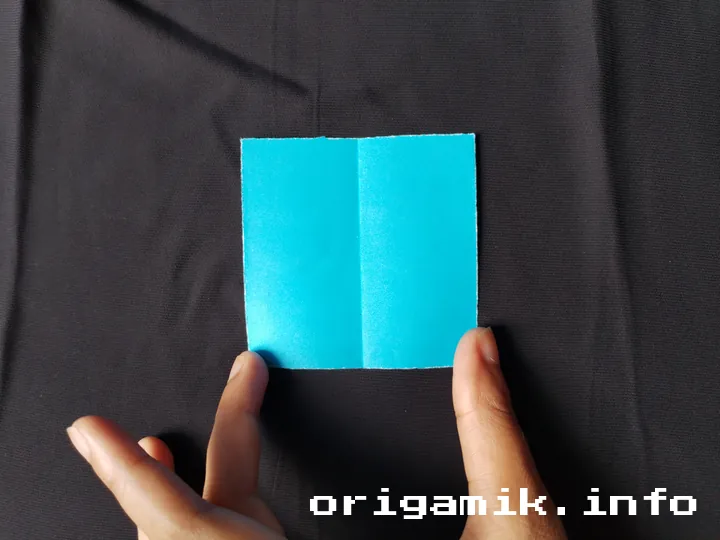
- Take one square and fold it in half vertically.
- Unfold it to create a center crease.
Step 3: Fold All Four Corners
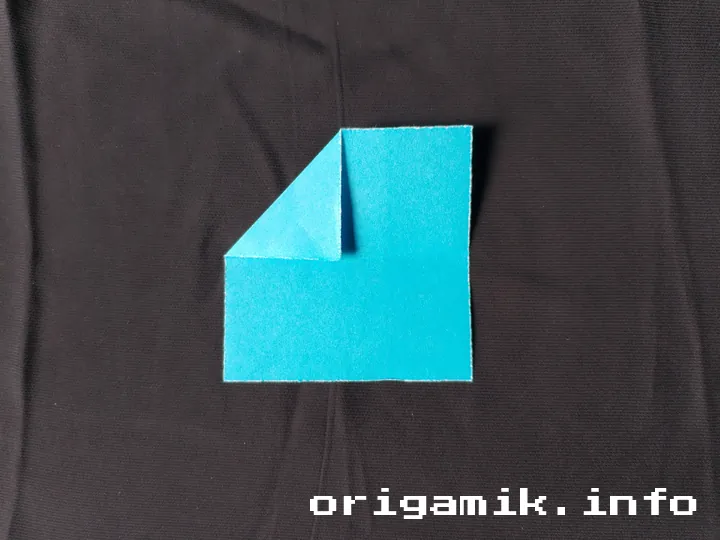
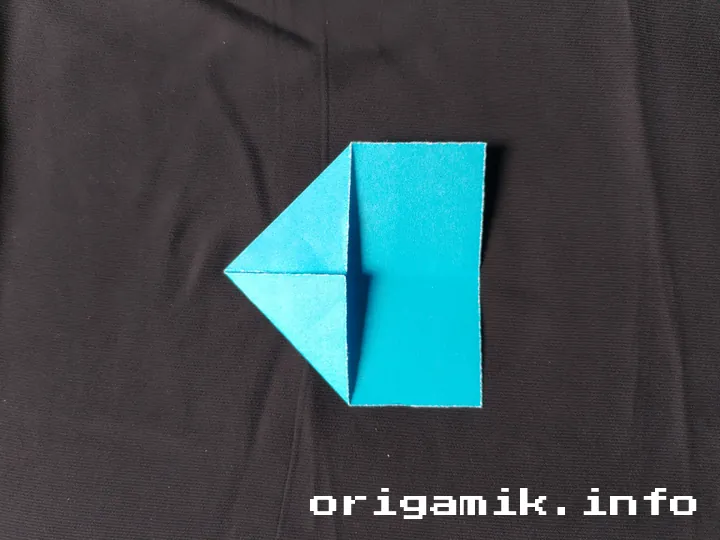
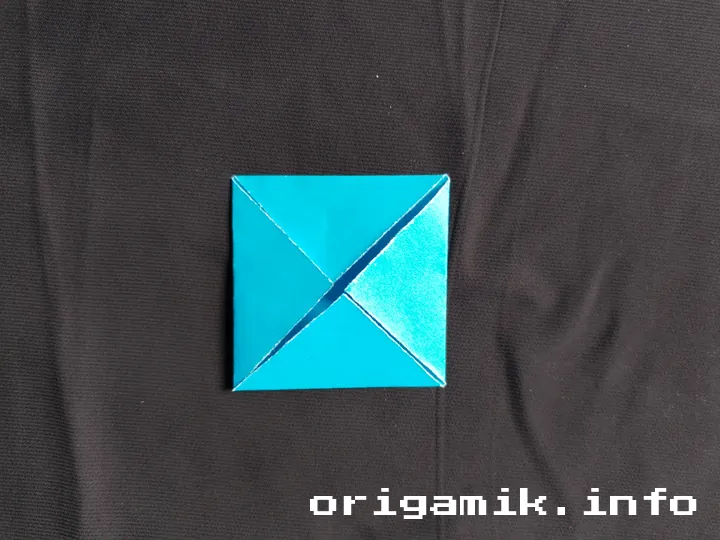
- Take one corner and fold it towards the center crease.
- Repeat for all four corners.
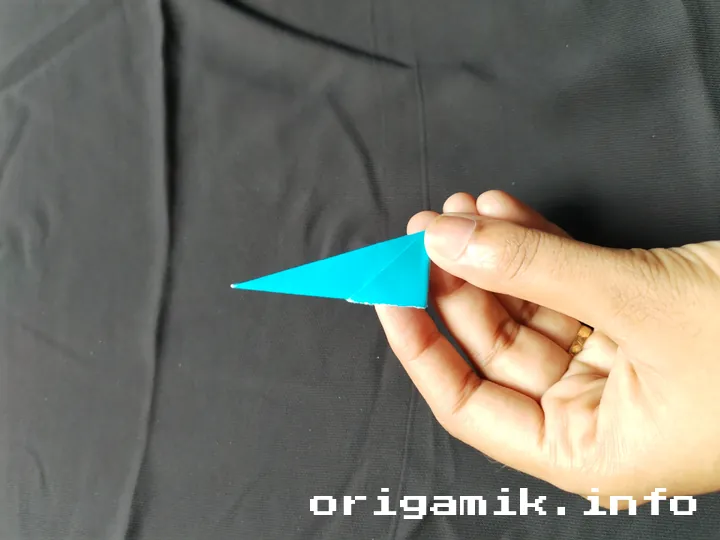
Step 4: Fold Two Corners Along the Middle Line
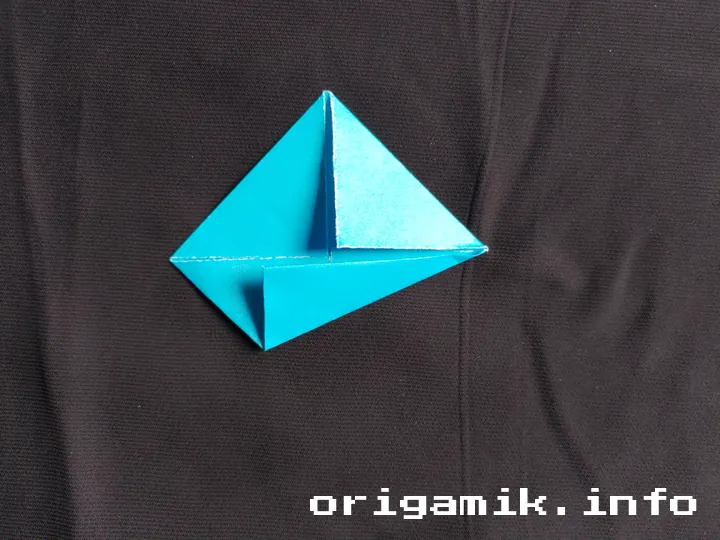
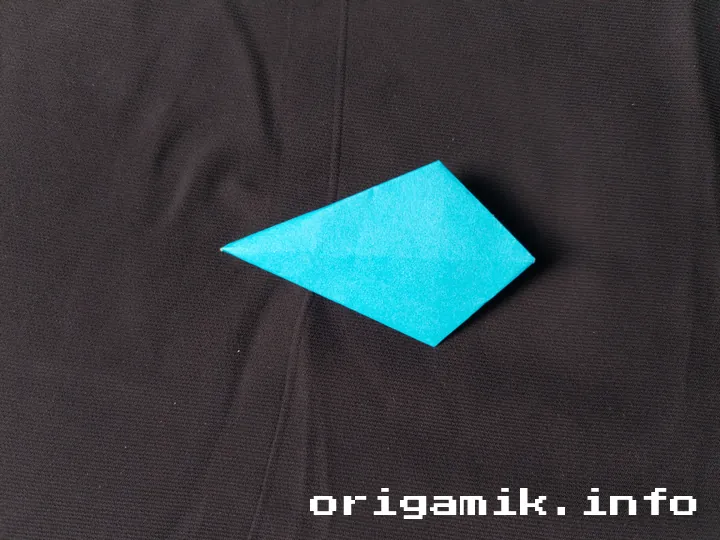

- Fold two opposite corners inward along the middle line.
- Flip the paper over and fold the bottom side upwards.
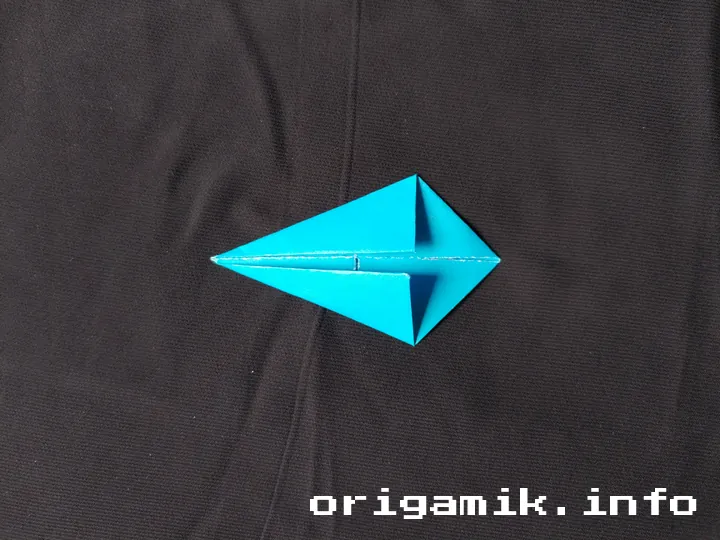
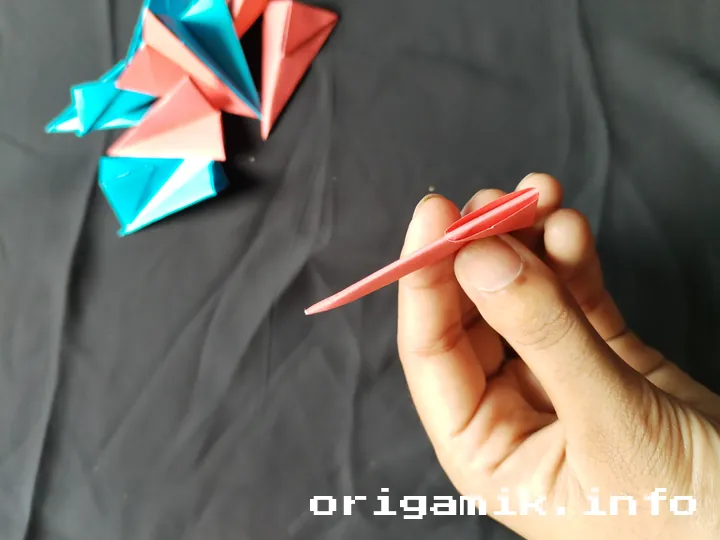
Step 5: Create 15 More Units

- Repeat Steps 2–4 for all 16 pieces.
- Each piece must look exactly the same.
Step 6: Assemble the Star

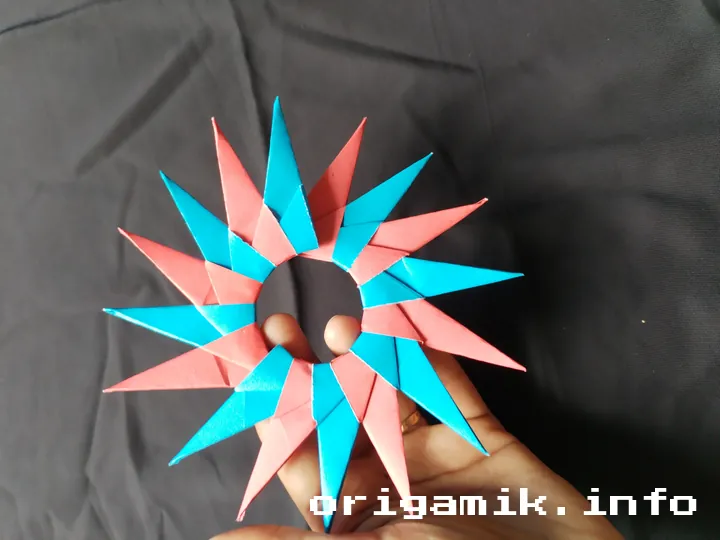
- Begin attaching one unit to another by sliding the folds together.
- Keep adding until all 16 units are linked in a circular shape.
Step 7: Final Adjustments
- Ensure the folds are snug and secure.
- Your Origami 16 Pointed Star is complete!
Tips for Success
- Use thin paper: Thicker paper makes folding harder and bulkier.
- Be precise: Misaligned folds can distort the final shape.
- Work patiently: Assembly requires careful connection of each unit.
- Experiment with colors: Alternate colors create a stunning visual effect.
Common Mistakes and How to Avoid Them
| Mistake | Solution |
| Uneven folds | Use a ruler or fingernail to sharpen creases |
| Pieces don’t fit together properly | Double-check each fold before assembling |
| Star doesn’t hold its shape | Secure with a small dab of glue if needed |
Similar Variations You Can Try
Want to explore more origami star designs? Try these:
- Origami 8 Pointed Star: A simpler version with fewer units.
- Origami 12 Pointed Star: A balance between simplicity and complexity.
- Origami 16 Pointed Star Box: A 3D version with depth.
FAQs
1. Can I use rectangular paper instead of square?
No, square paper is essential for precise symmetry and correct folding.
2. How long does it take to complete?
About 30–45 minutes, depending on experience.
3. Can I use larger paper?
Yes! A 6” × 6” paper will make a bigger star.
4. What if my pieces don’t stay together?
Try slightly dampening the edges or using a small dab of glue.
Conclusion
Creating an easy Origami 16 Pointed Star is both a relaxing and rewarding experience. By following this simple 16 Pointed Star box step by step guide, you’ve mastered an elegant and eye-catching paper design.
Now that you’ve learned how to make a 16 Pointed Star, why not challenge yourself with more complex origami? Happy folding!