

Folding a star from paper feels almost magical. The sharp points, the symmetry—it all comes together beautifully. Today, I’ll guide you through a 5 pointed star step by step.
By the end, you’ll have a stunning star. One that’s crisp, clean, and perfect. Let’s dive in and unfold the magic of origami!
What is a 5 Pointed Star?
A 5 pointed star is a symmetrical shape with five equal points. It’s commonly seen in flags, decorations, and even ancient symbolism. But did you know that you can create a beautiful star using just a sheet of paper?
Origami stars have a unique charm. They’re fun, elegant, and surprisingly easy once you get the hang of it. Whether for decoration, a school project, or just for fun—this paper 5 pointed star will impress!
Materials Needed
Before we start folding, gather your materials. Here’s everything you need:
| Material | Description |
|---|---|
| A4 Paper | Standard sheet, any color you like. |
| Scissors | To cut the paper into a square. |
| Flat Surface | Ensures precise folds. |
| Patience | Origami is an art—take your time! |
Got everything? Let’s move on!
Step-by-Step Paper 5 Pointed Star Instructions
Step 1: Prepare Your Paper
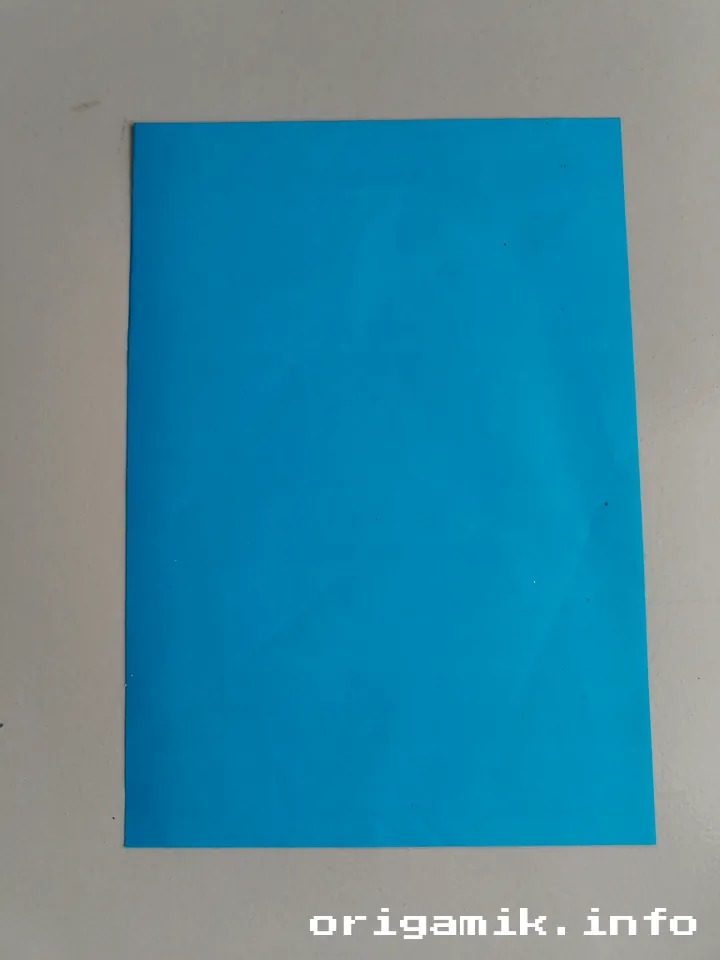
Start with an A4-sized sheet of paper. If you want a bigger or smaller star, adjust your paper size accordingly.
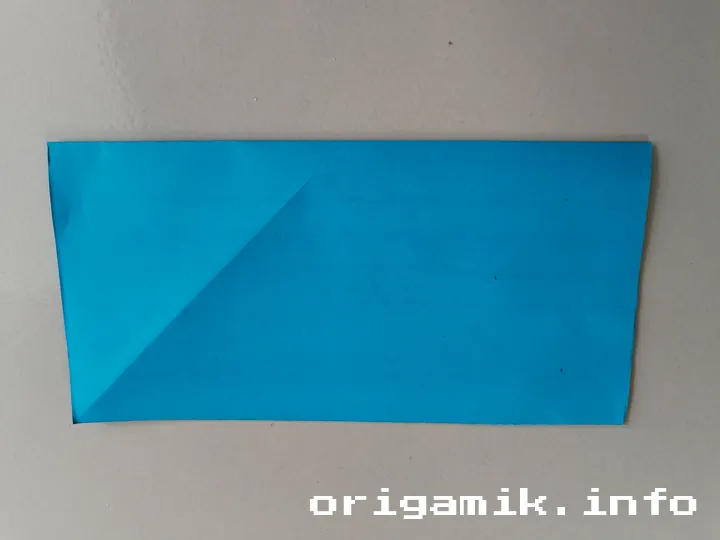
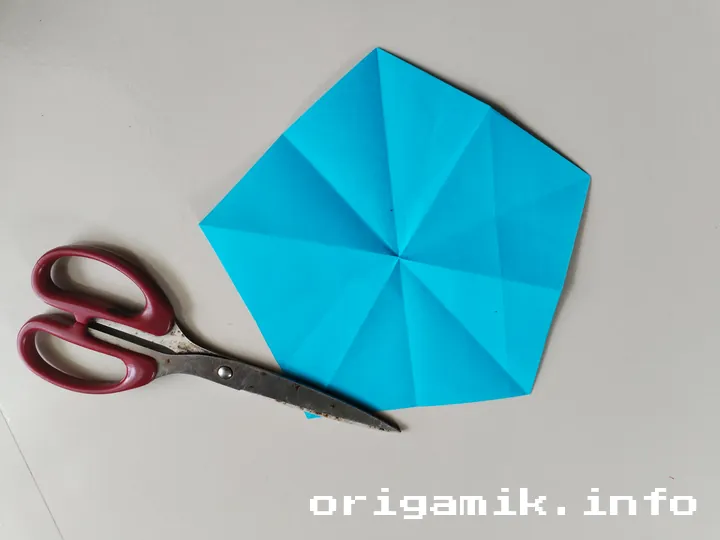
Step 2: Cut the Paper into a Square
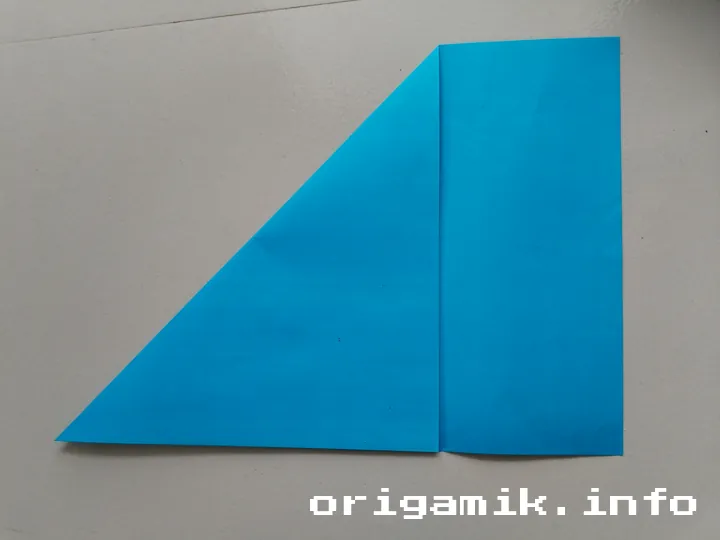
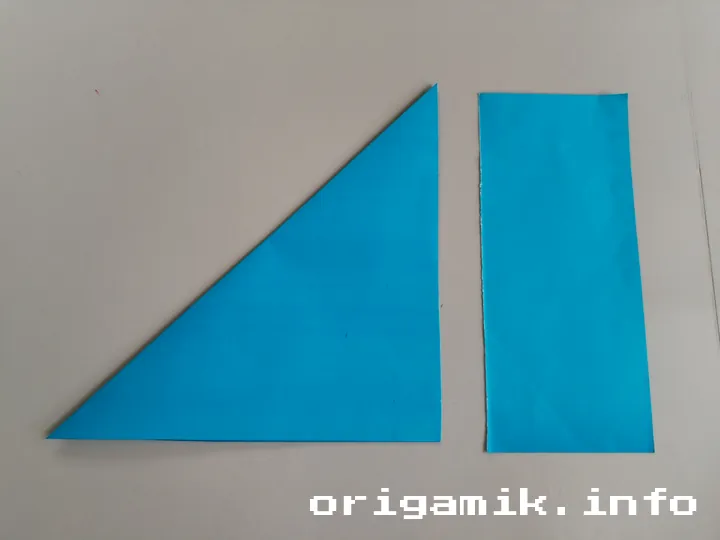
Fold one corner diagonally to the opposite edge, forming a triangle. Cut off the extra strip at the bottom. Now, you have a perfect square!
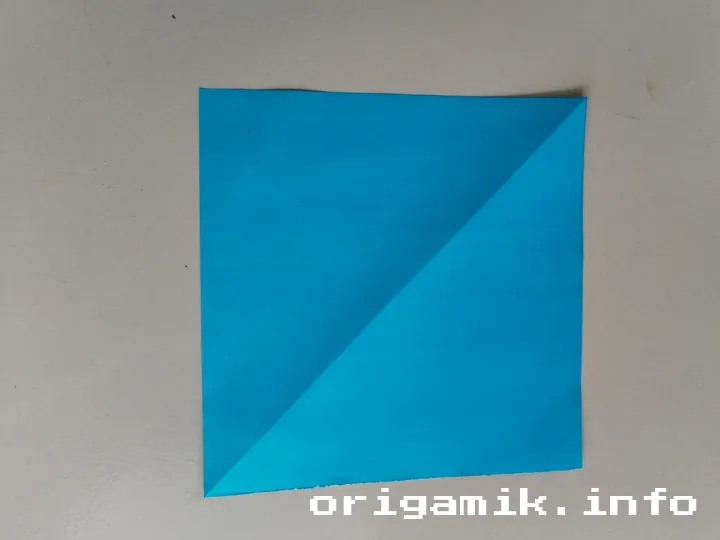
Step 3: Make the First Folds
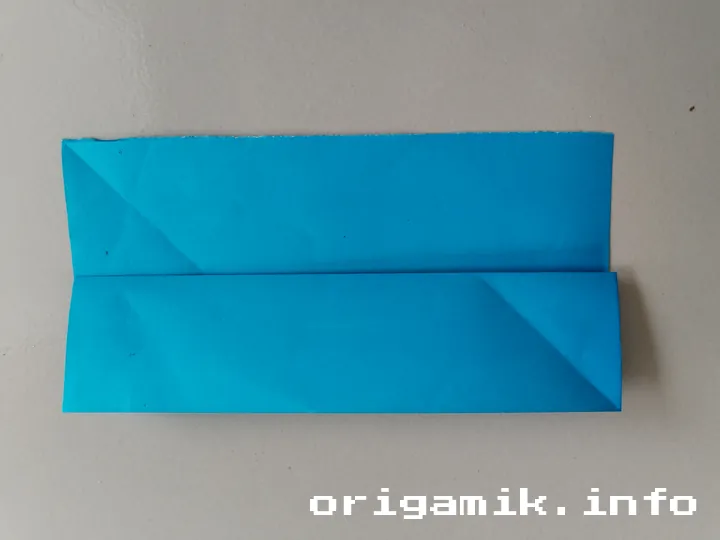
- Fold the paper in half horizontally and crease it well.
- Now, fold only the top half along the middle. This prepares the guide folds.
Step 4: Create the X Crease
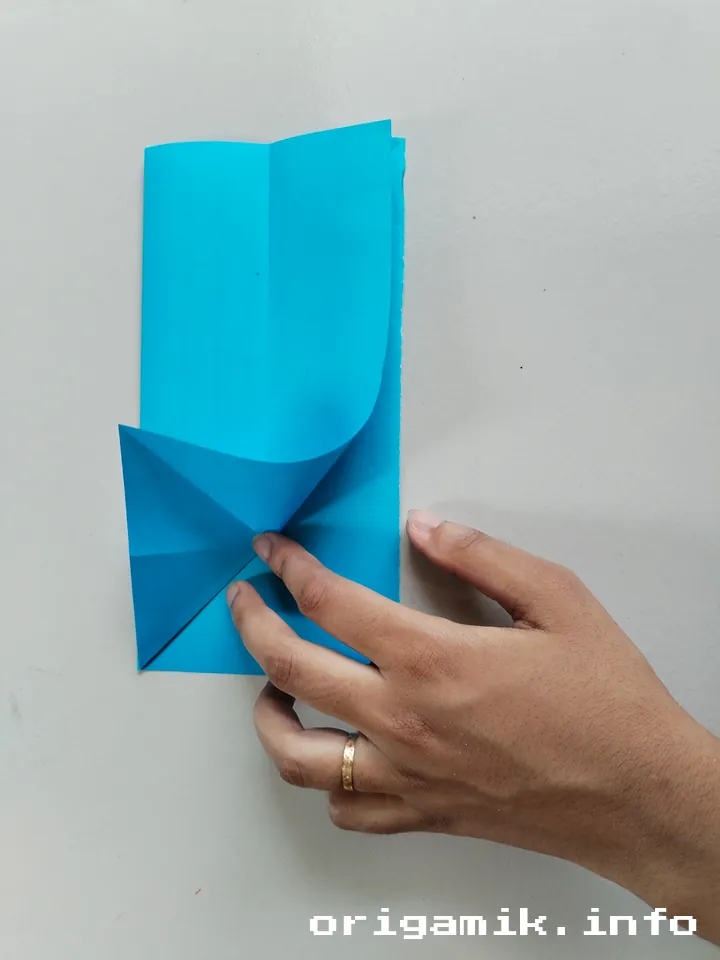
- Take the left corner and fold it diagonally toward the center to form an X crease.
- Unfold and repeat on the opposite side.
Step 5: Align and Fold the Middle
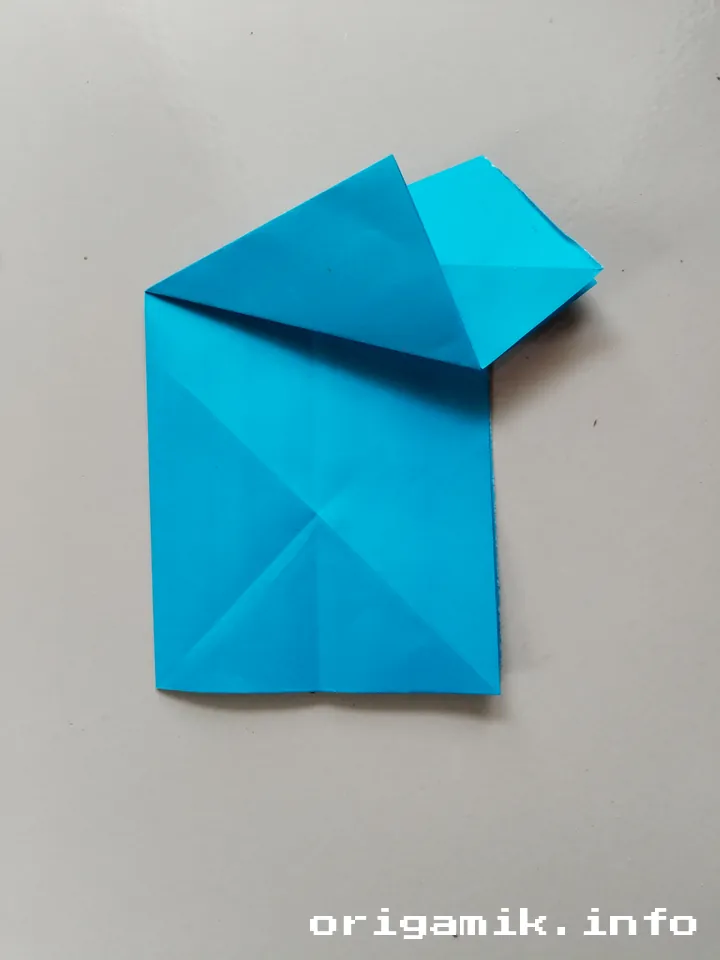

- Take one side and fold it to align with the center of the X crease.
- Repeat for the other side.
- You’ll see extra paper in the middle—fold it down to keep things neat.
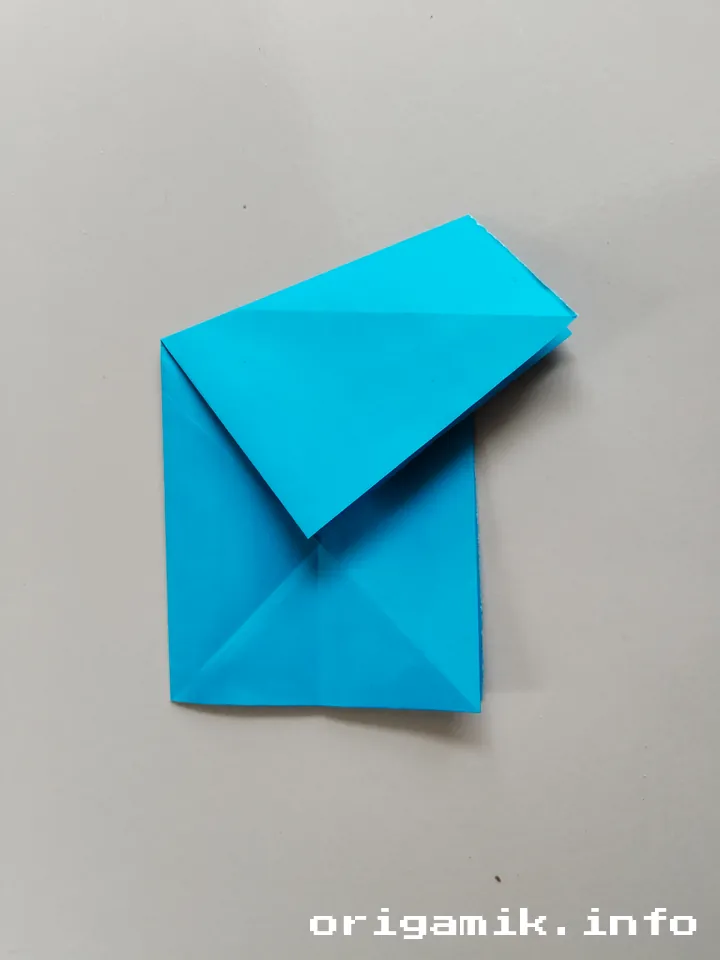
Step 6: Trim Off Excess Paper
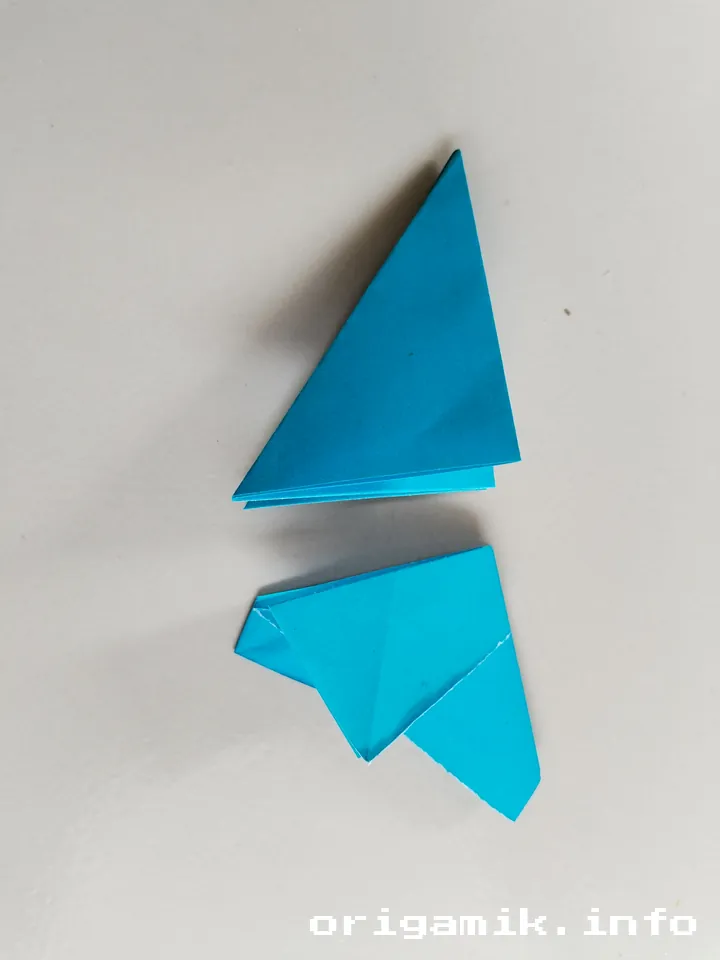
Using scissors, cut off the extra parts that don’t fit into the star shape. This gives it a cleaner look.
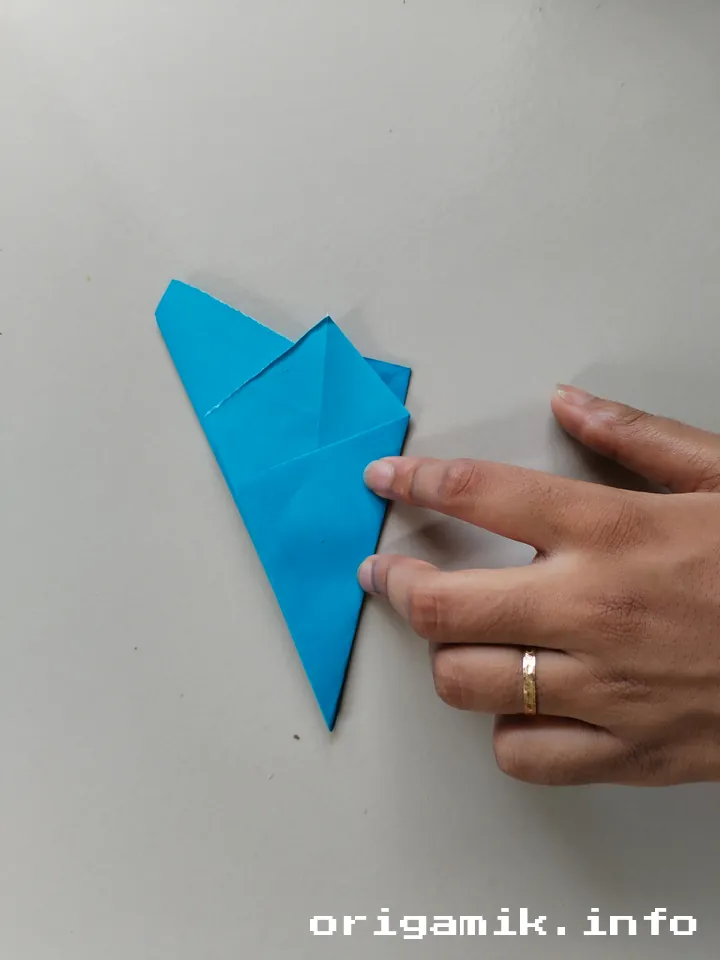
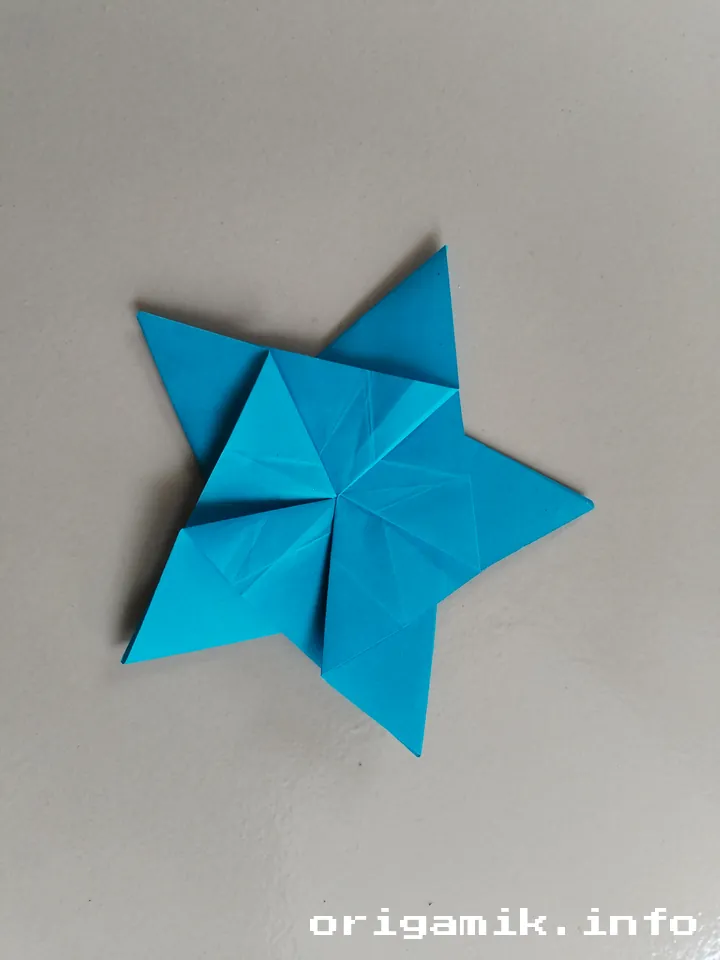
Step 7: Form the Star Points
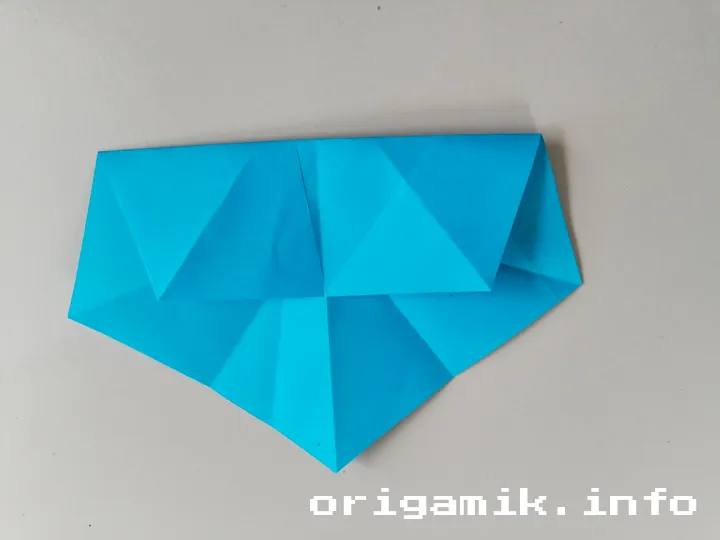
- Fold each corner precisely as shown in your reference folds.
- Unfold the paper—you’ll see clear fold lines forming a pentagon.
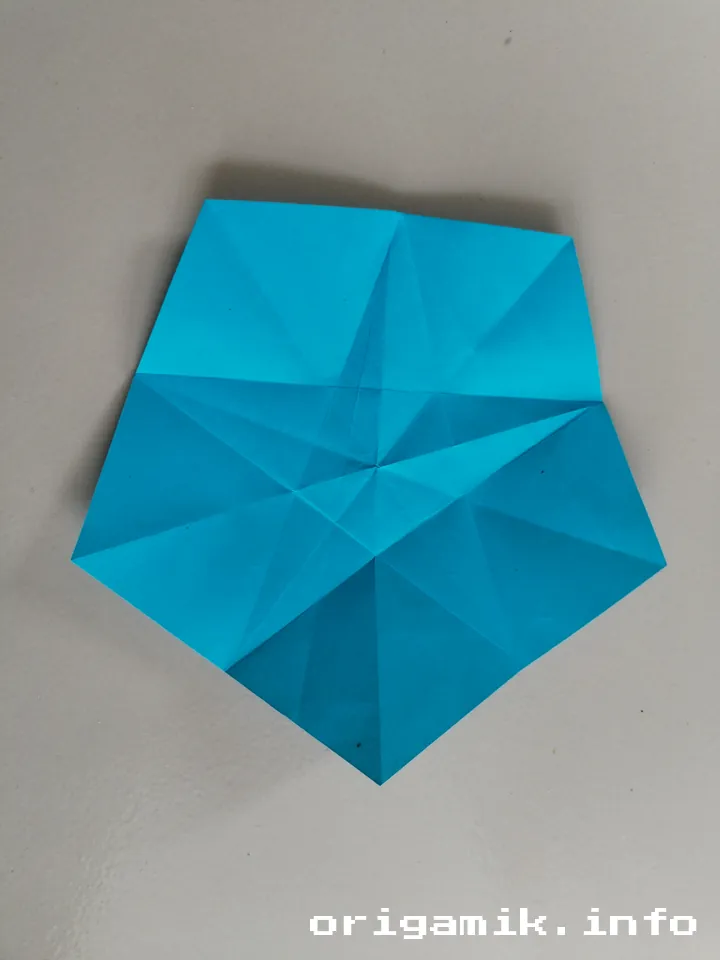
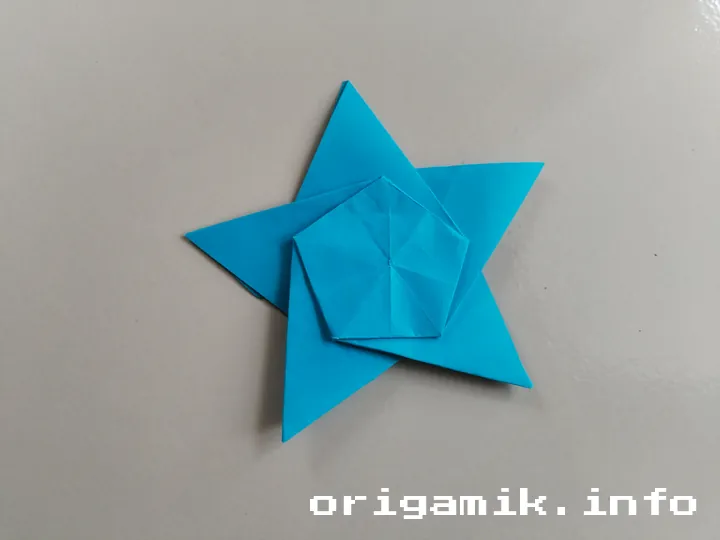
Step 8: Bring It Together
- Follow the existing folds and bring the corners together to shape the star.
- This step locks in the structure.
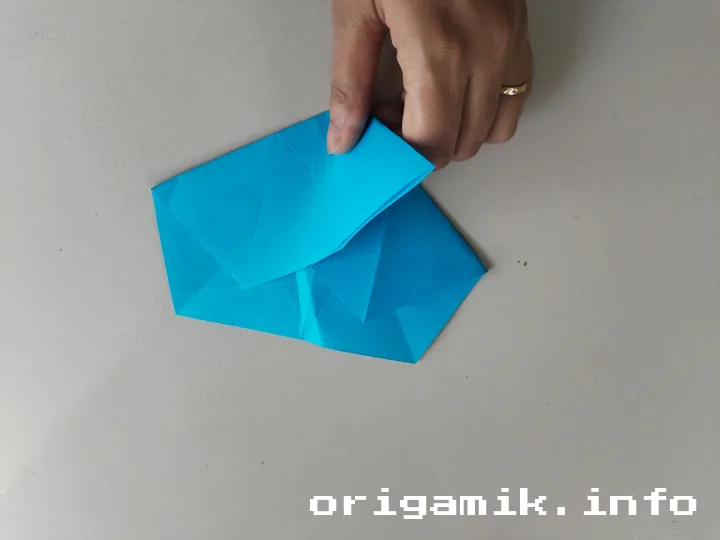
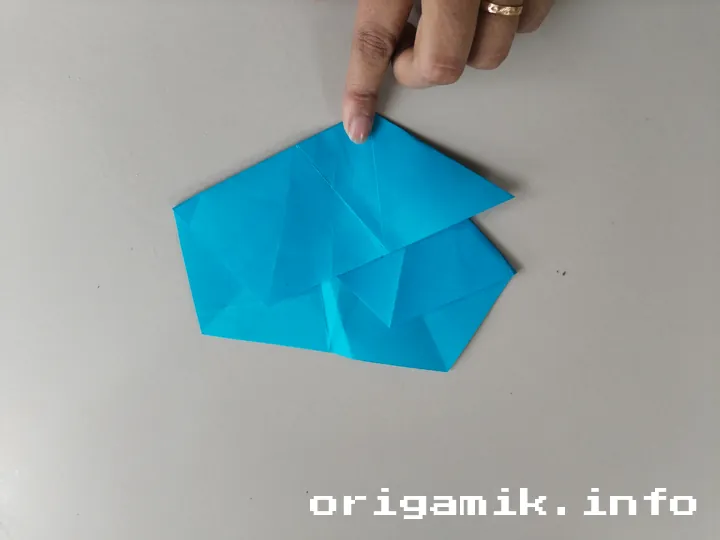
Step 9: Flip and Finalize
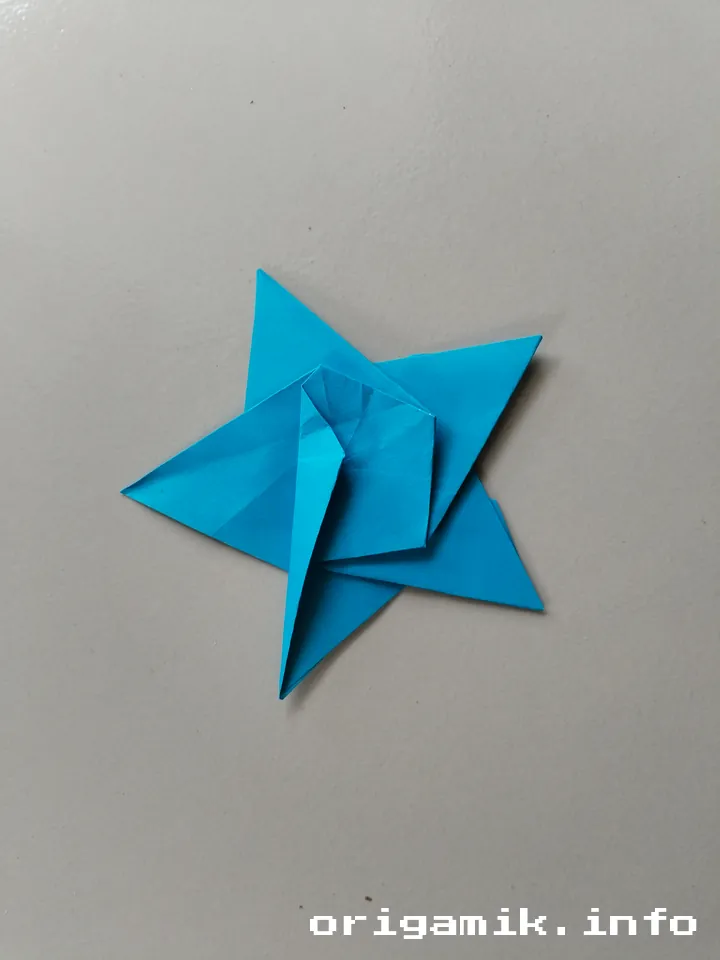
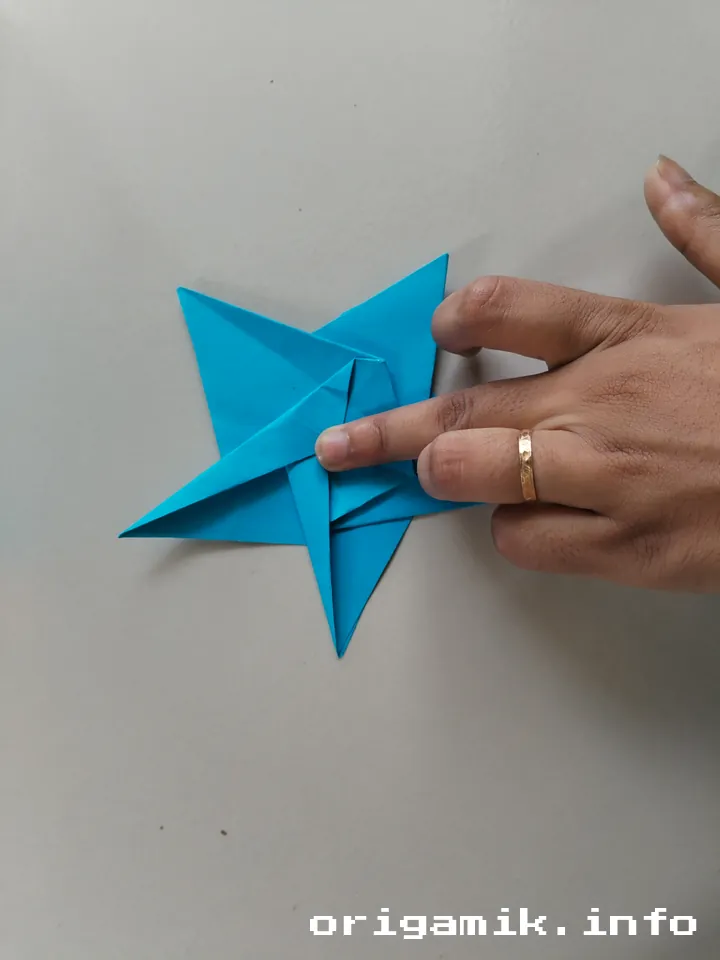
- Flip the paper over.
- Make small folds on each corner to refine the shape.
Step 10: Your 5 Pointed Star is Complete!
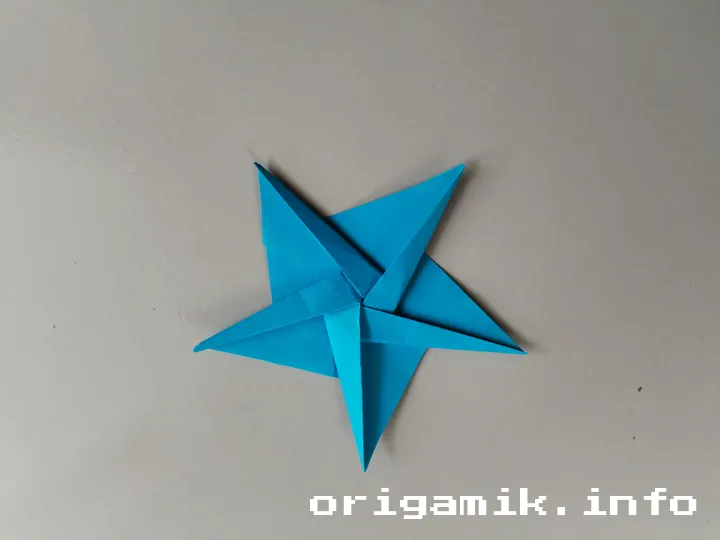
Admire your work! You’ve just made a perfect origami 5 pointed star from scratch.
Tips for Success
- Use thinner paper for cleaner folds.
- Crease firmly to make each step easier.
- Take your time—rushing can lead to mistakes.
Common Mistakes and How to Avoid Them
| Mistake | How to Fix It |
| Uneven Points | Double-check fold alignment. |
| Paper Tears | Use gentle pressure while folding. |
| Wonky Shape | Ensure each crease is sharp and precise. |
Variations to Try
Love making stars? Here are some creative twists:
- Mini Stars – Use smaller squares to create tiny stars.
- Layered Stars – Stack two or more for a 3D effect.
- Colored Paper Stars – Try different shades to make your stars pop!
FAQs
Can I use printer paper?
Yes! Any A4 paper works great. Just ensure it’s not too thick.
What if my folds don’t match perfectly?
Refold slowly and use precise creases to improve accuracy.
How long does it take to make one?
Once practiced, 5 minutes or less!
Conclusion
Making a 5 pointed star is both fun and rewarding. With a little patience and practice, you can fold one effortlessly. Whether for decoration, craft projects, or just for fun—this origami star adds a touch of magic to your creations.
Try it out and let me know how it goes! Happy folding!