

Ever felt like making something beautiful out of just paper? Something that’s not only cute but super useful too?
Well, today’s your lucky day. I’m going to walk you through how to make an easy Origami Basket—yes, with just a square sheet of paper.
And guess what? This isn’t just about folding paper. It’s about creating a little piece of magic, step by step, with your own hands. Let’s go!
What Is an Origami Basket?
An Origami Basket is a folded paper container that holds small objects like candy, jewelry, or even love notes. It’s functional, artistic, and honestly, just fun to make.
What I love about it? It’s the perfect blend of creativity and simplicity. You don’t need glue, scissors, or anything fancy—just one square sheet of paper and a bit of patience.
And the best part? Once you understand the folds, you can tweak it, decorate it, and even teach it to someone else. That’s where the fun really begins.
Materials Needed
Before we dive into the folding, let’s talk materials. Here’s a handy table so you can check off what you need before starting.
| Item | Details | Why You Need It |
|---|---|---|
| Square Paper | 12″ × 12″, any color or pattern | Main paper for the basket body |
| Rectangular Paper | Optional, for the handle or inner base | Adds structure or extra design |
| Flat Surface | Desk or table | For accurate folding and alignment |
| Bone Folder (Optional) | Tool to crease folds sharply | Makes the final look clean and crisp |
| Ruler (Optional) | For double-checking folds | Helps ensure symmetry |
Let’s Make It: Simple Basket Step by Step
Here’s how to make a basket, step by step. I’ve followed a very specific and trusted method. I’ll also explain each fold in plain terms so you’re never lost.
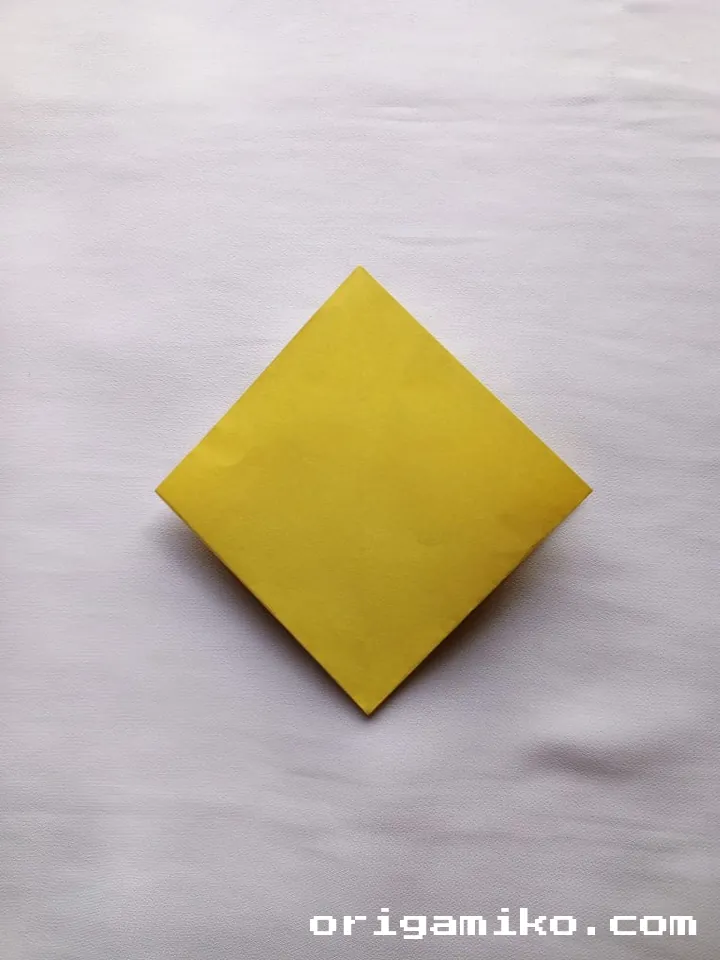
Step 1: Start with a Square Paper
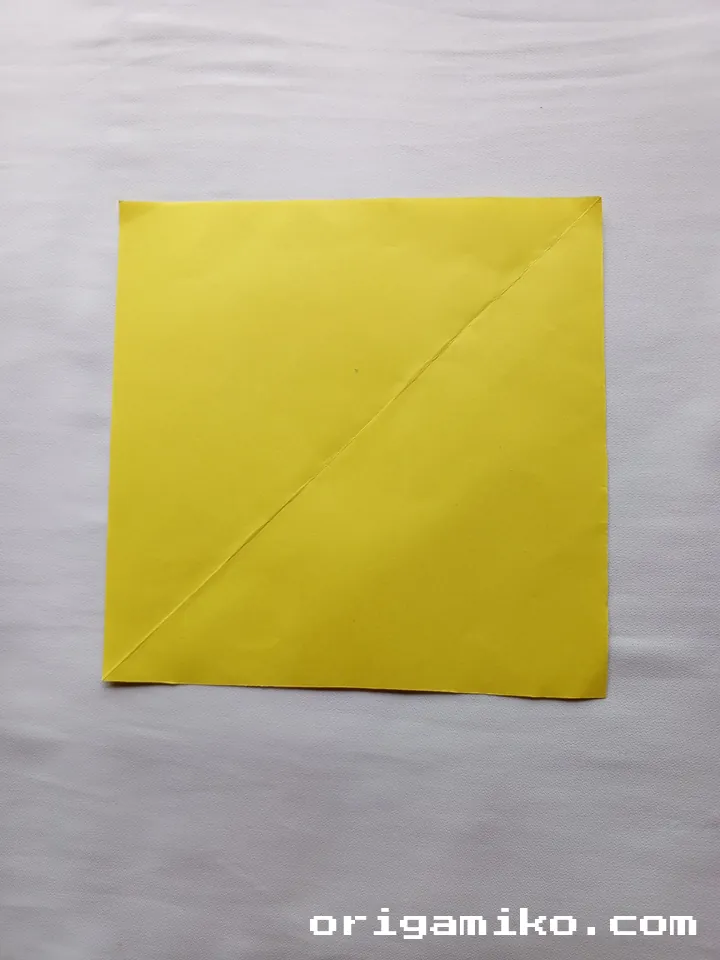
- Use a 12″ × 12″ square.
- Place it on a flat surface, pattern-side down if it has one.
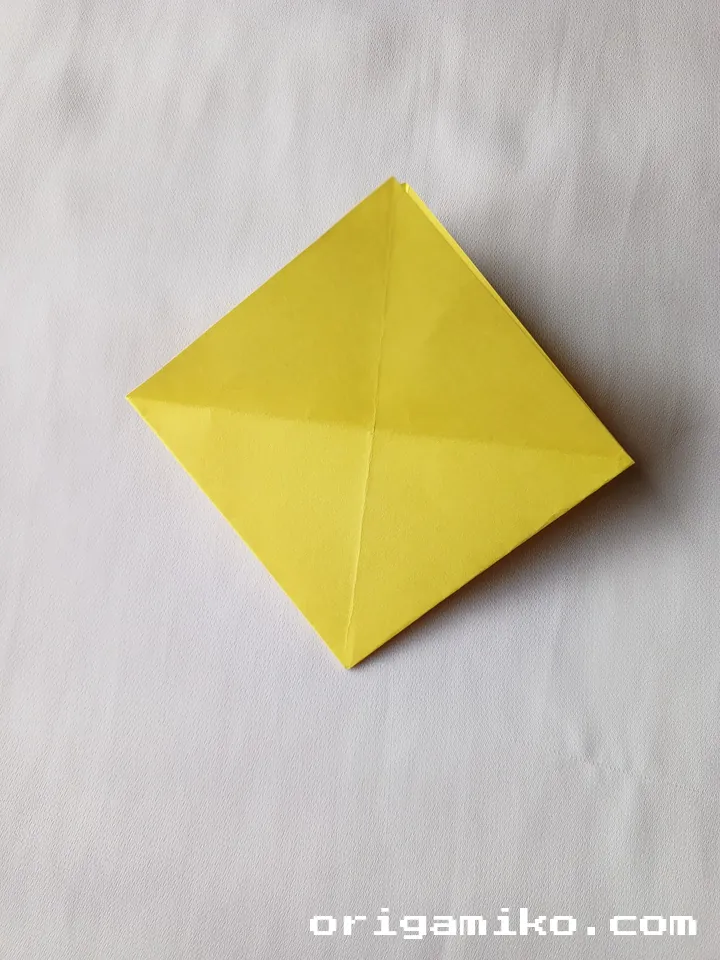
Step 2: Fold and Unfold the Corners
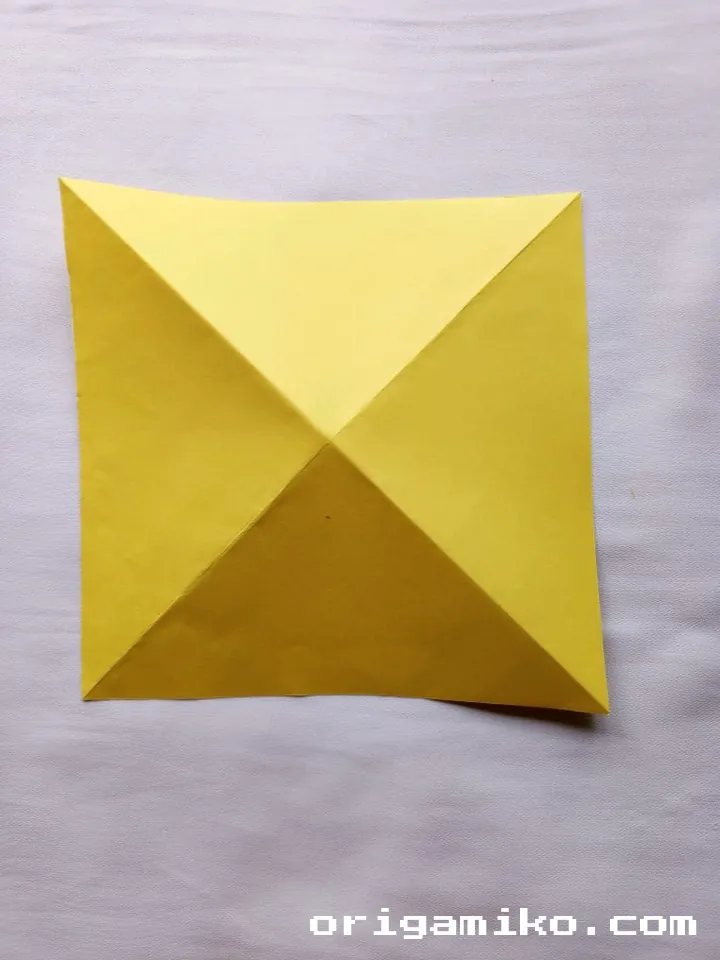
- Fold the top left corner to the bottom right corner. Crease it.
- Unfold.
- Now fold the top right corner to the bottom left corner. Crease it.
- Unfold again. You’ll see an “X” on the paper.
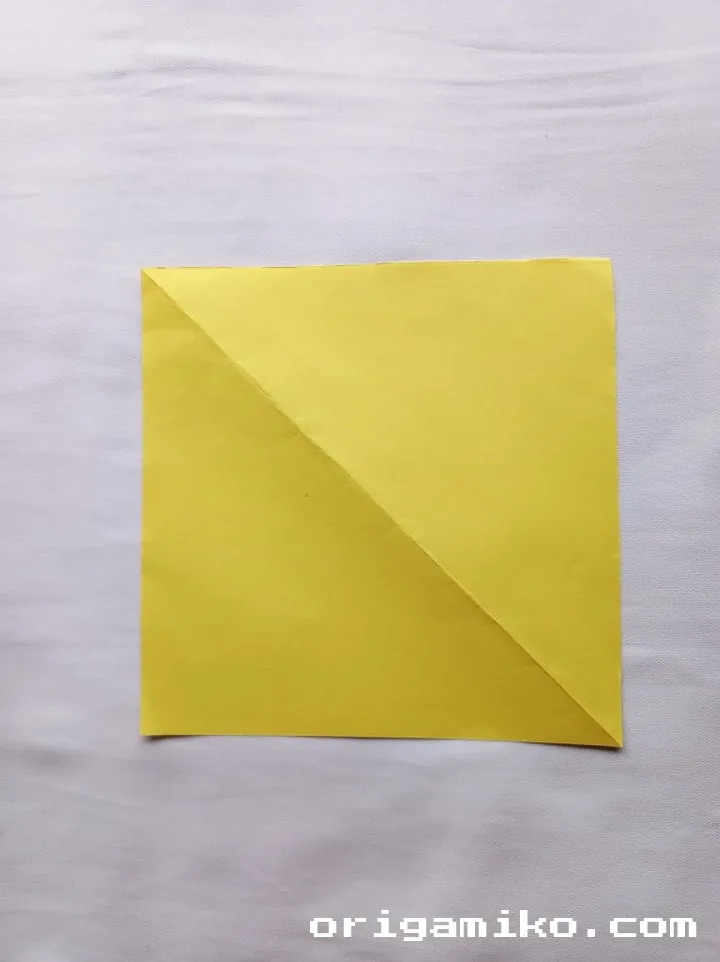
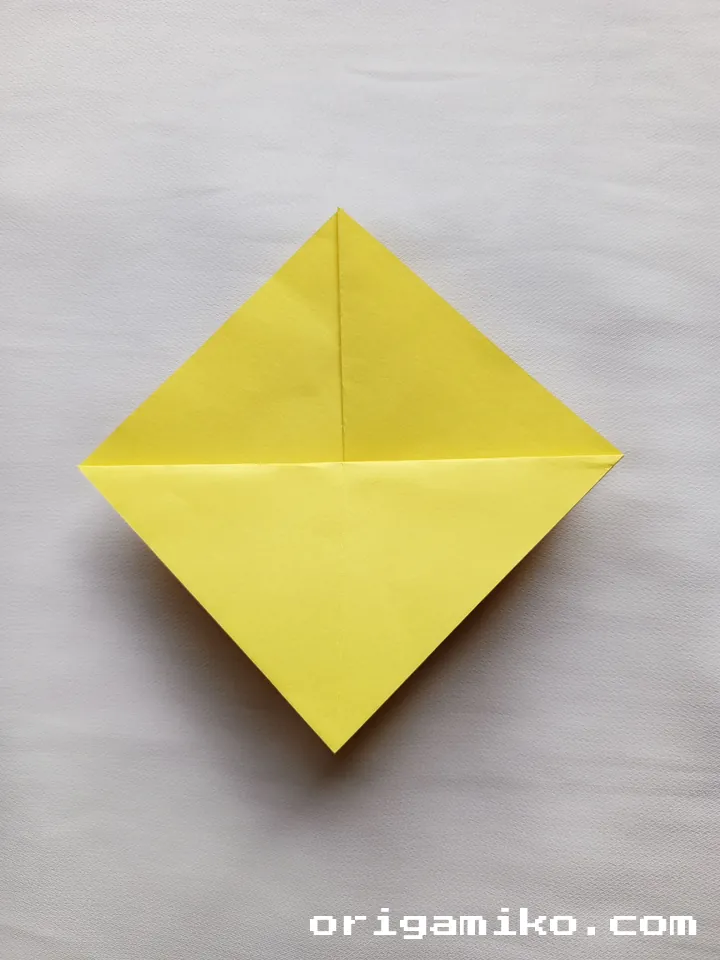
Step 3: Fold Horizontally and Vertically
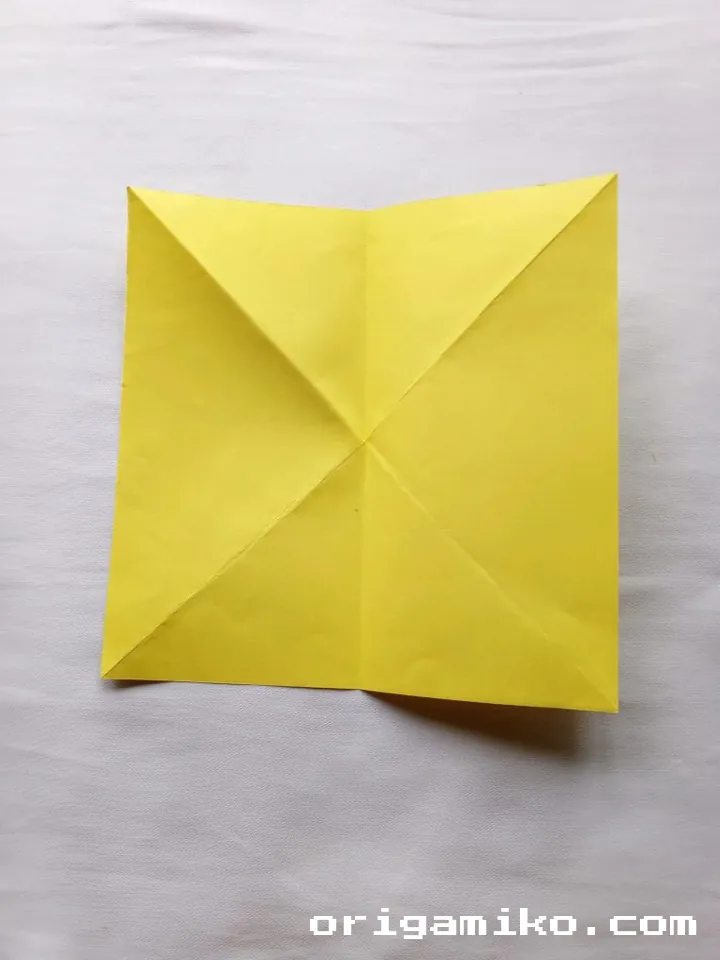

- Fold the paper in half horizontally, like a book. Crease.
- Unfold.
- Now fold it in half vertically. Crease again.
- Unfold it once more. Your paper should now look like a starburst of folds.
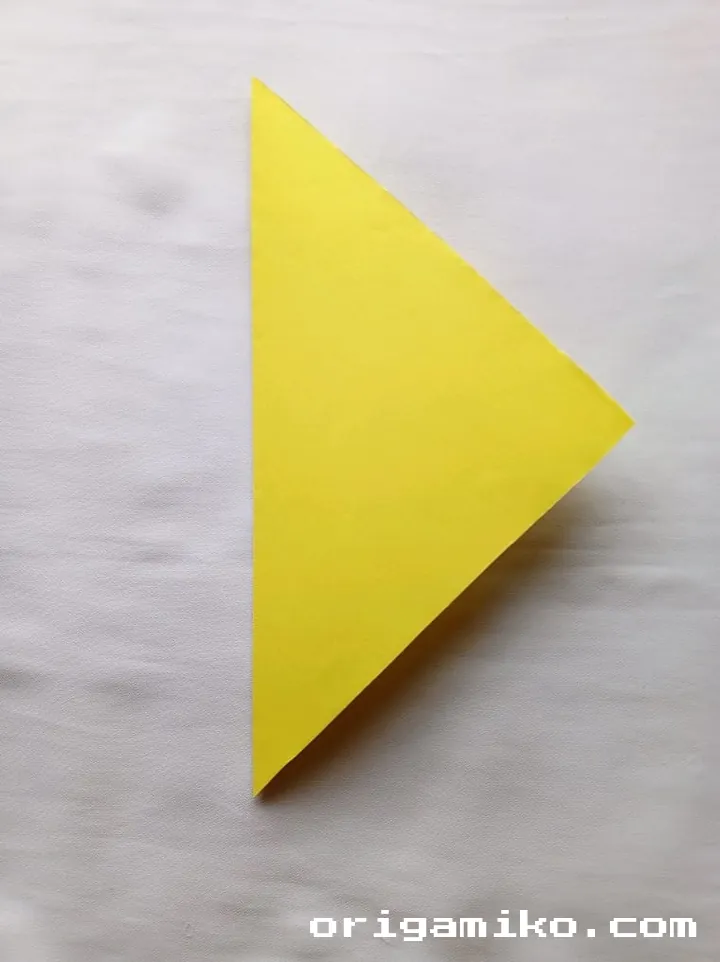
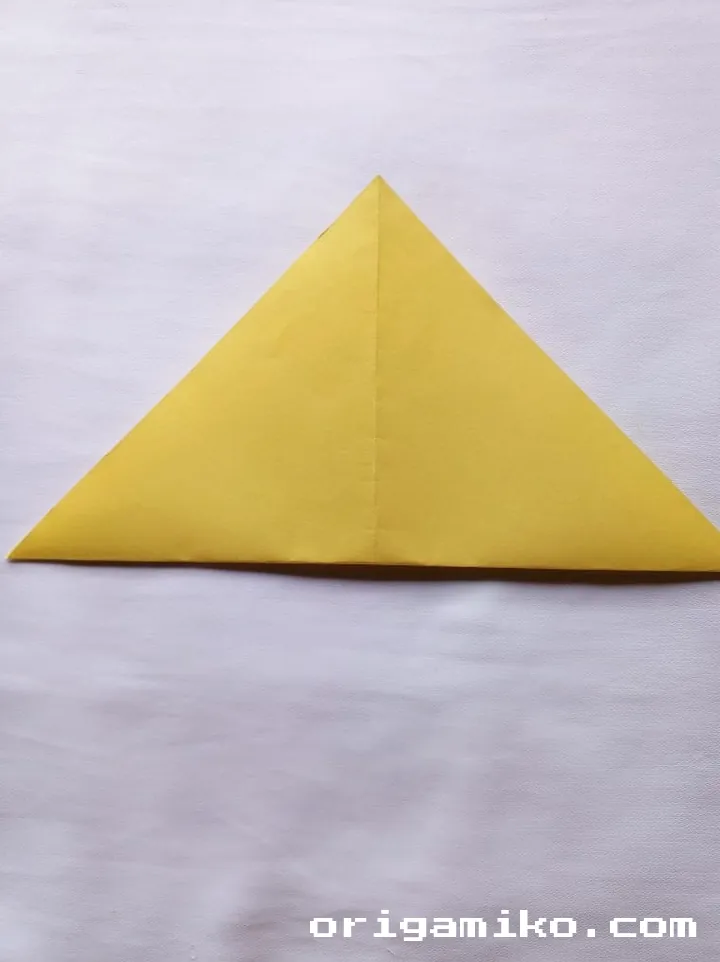
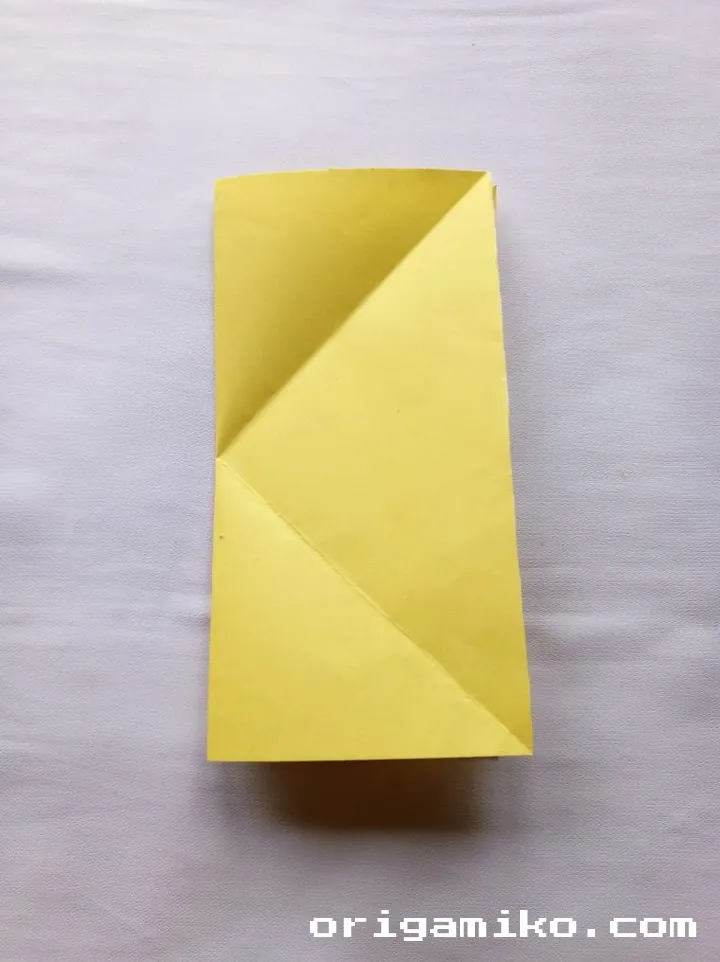
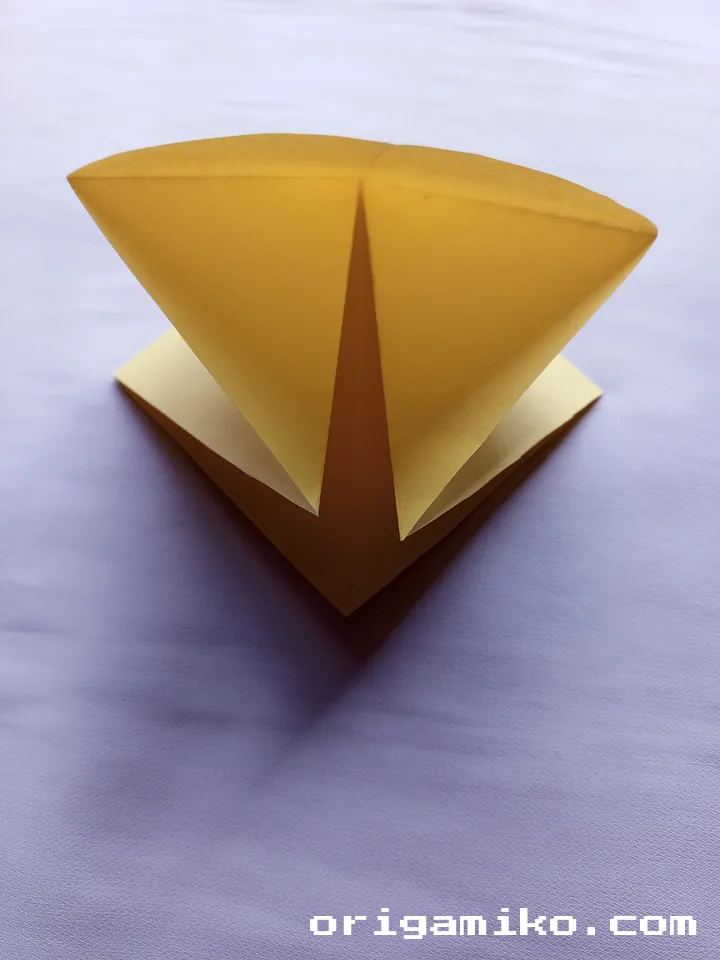
Step 4: Middle Folds (Front and Back)
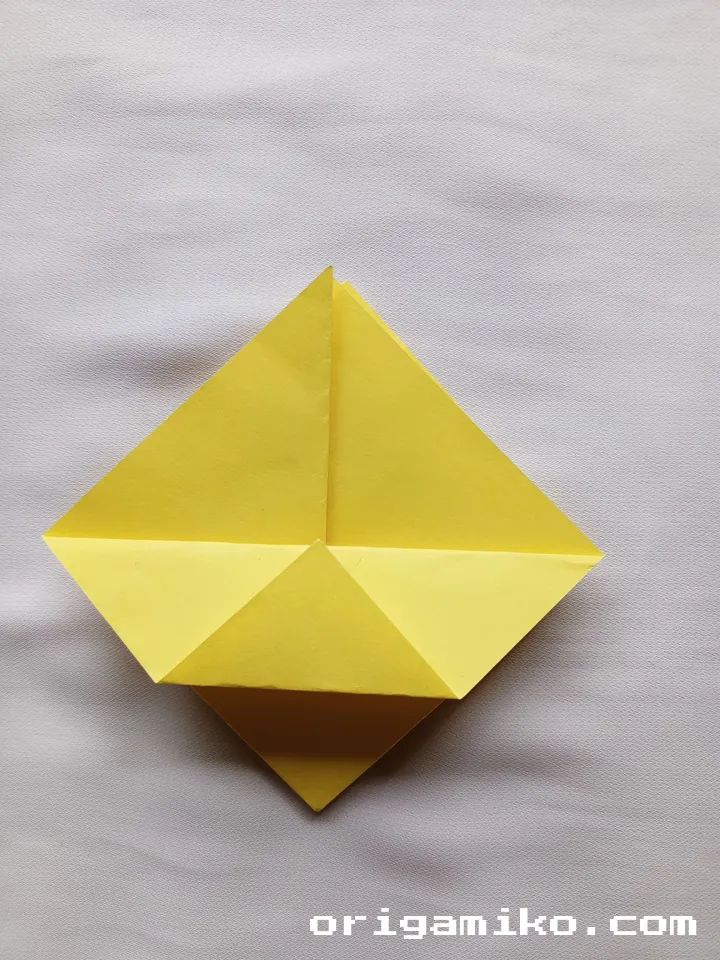

- Fold the paper in half from top to bottom.
- Unfold it.
- Now fold along the diagonal creases to create a sort of 3D shape.
- Flip the paper over and repeat this process on the back side.
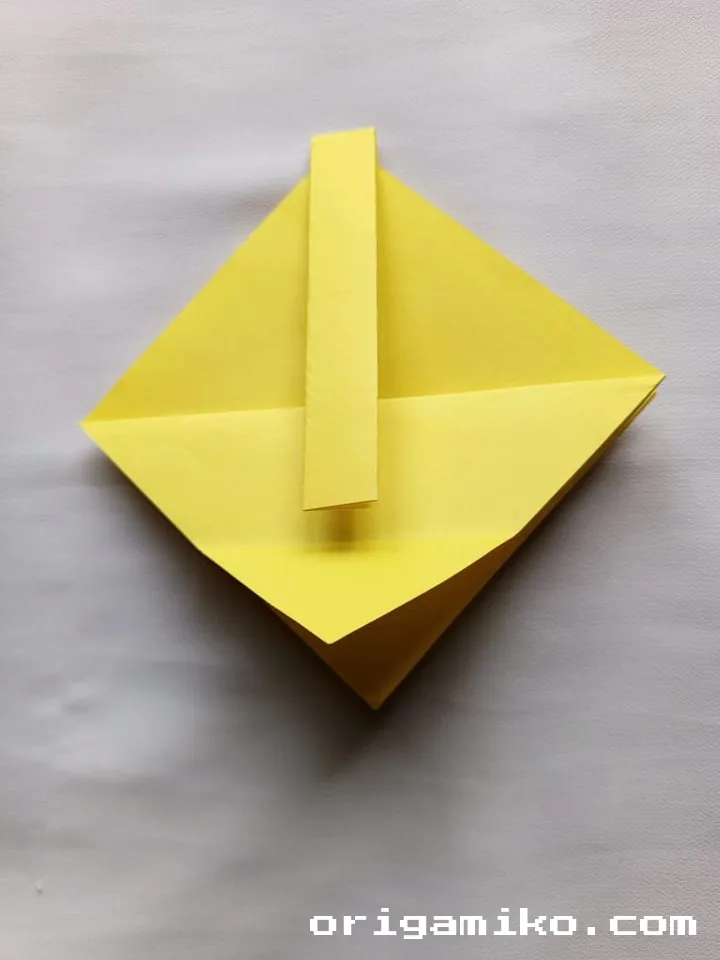
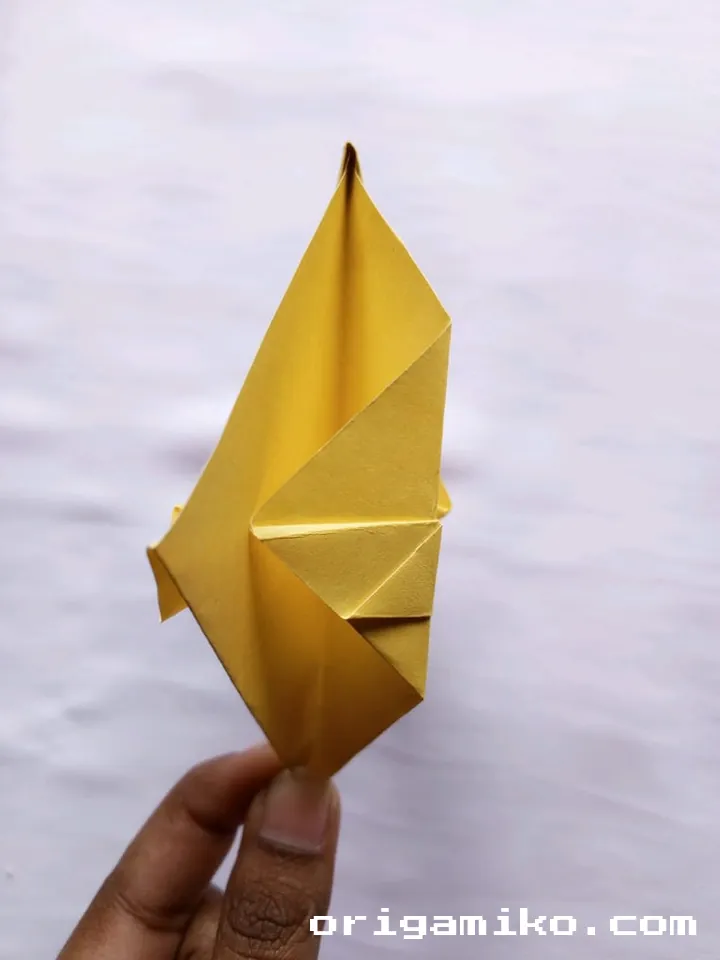
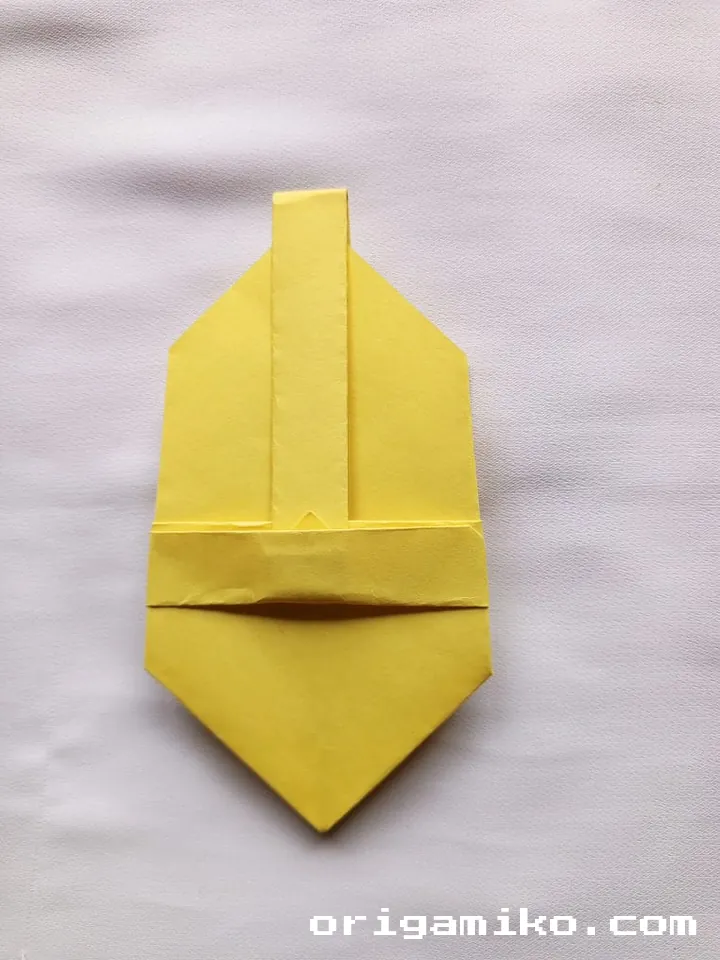
Step 5: Use a Rectangular Paper
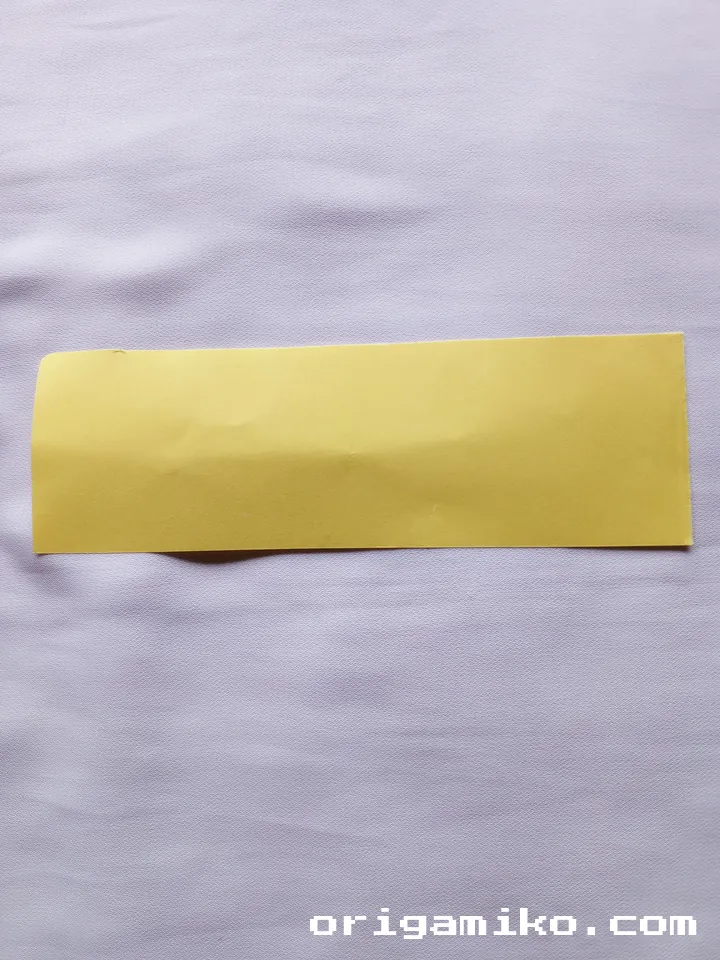

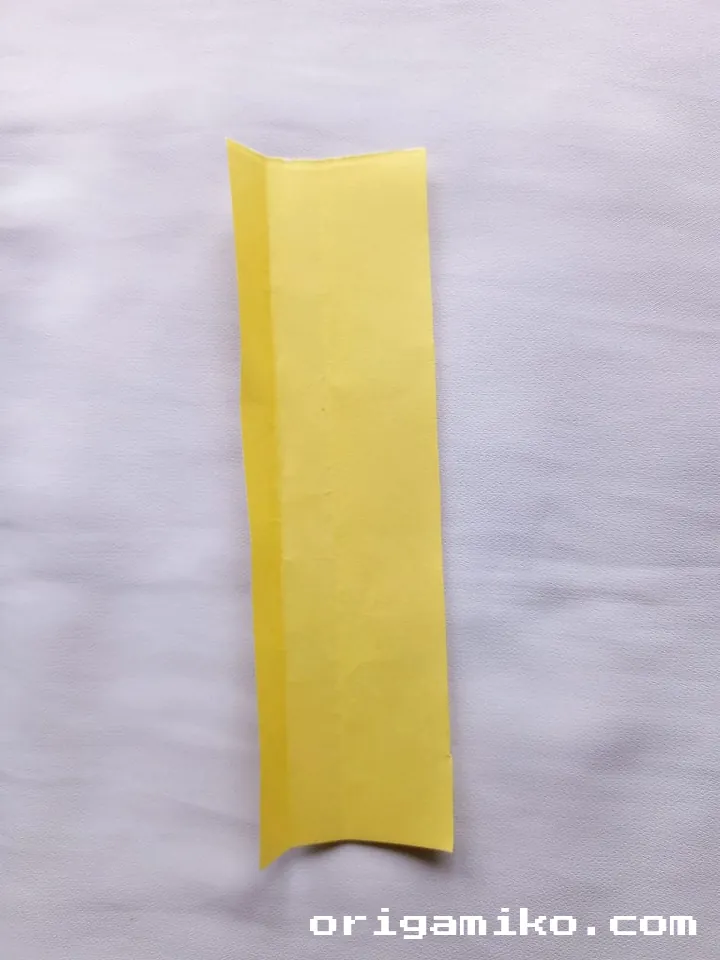
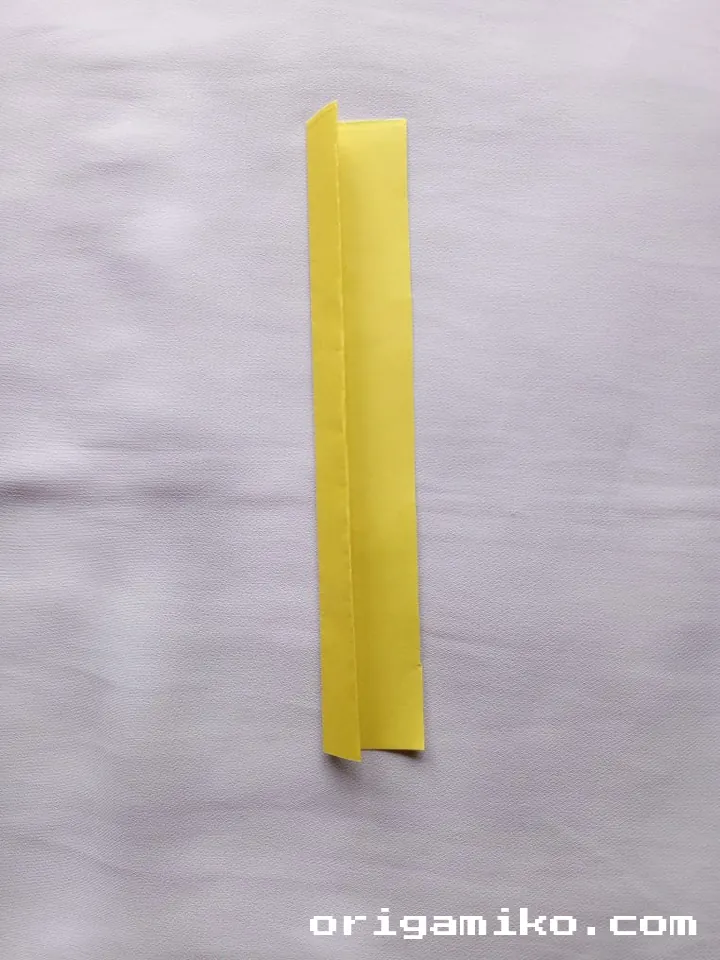
- Take a rectangular strip of paper.
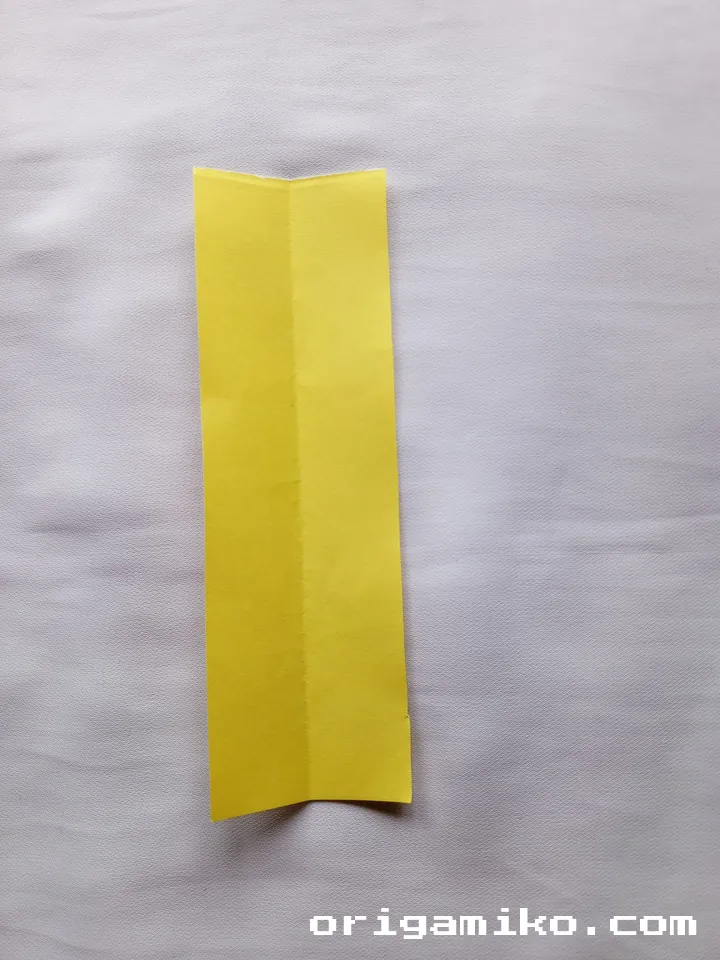
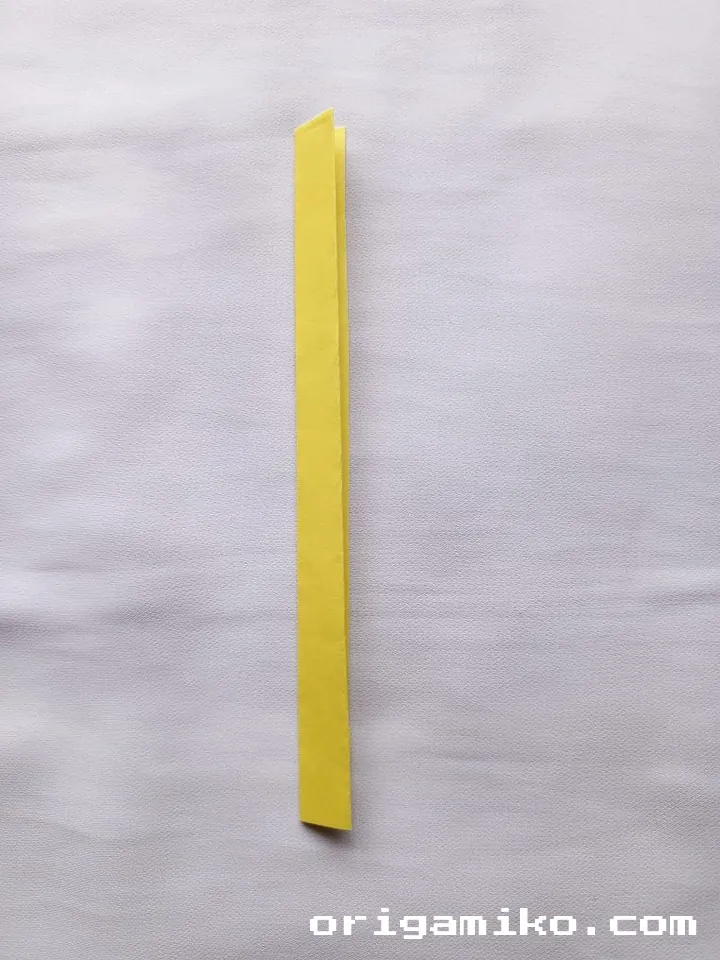
- Fold it into three equal parts lengthwise.
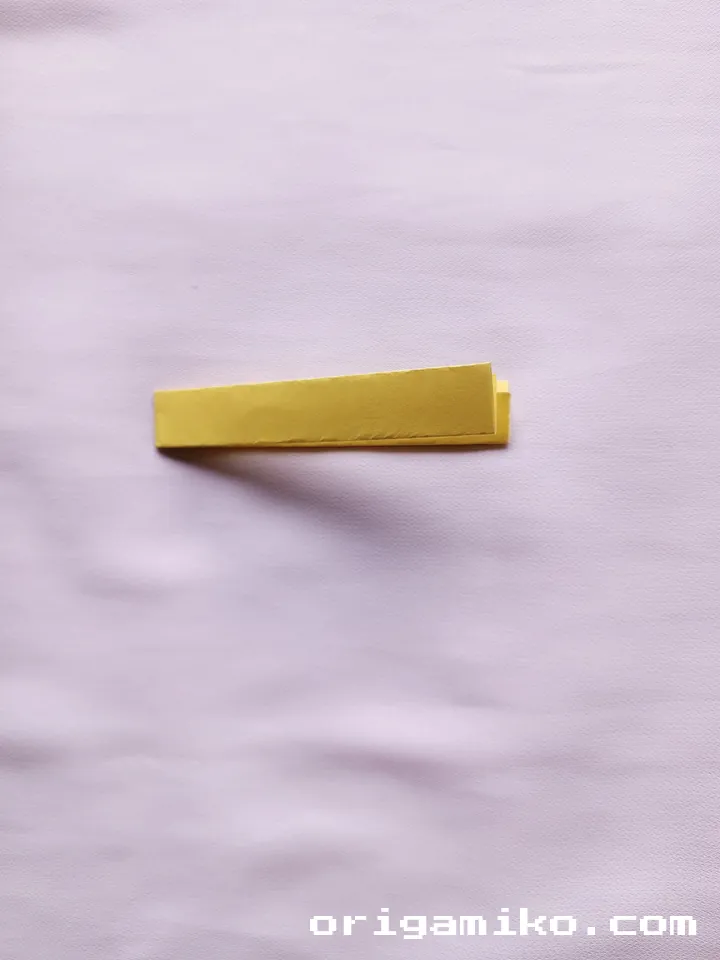
- Then fold it down the middle so it looks like a thick bar.
- This will help support the center of the basket.
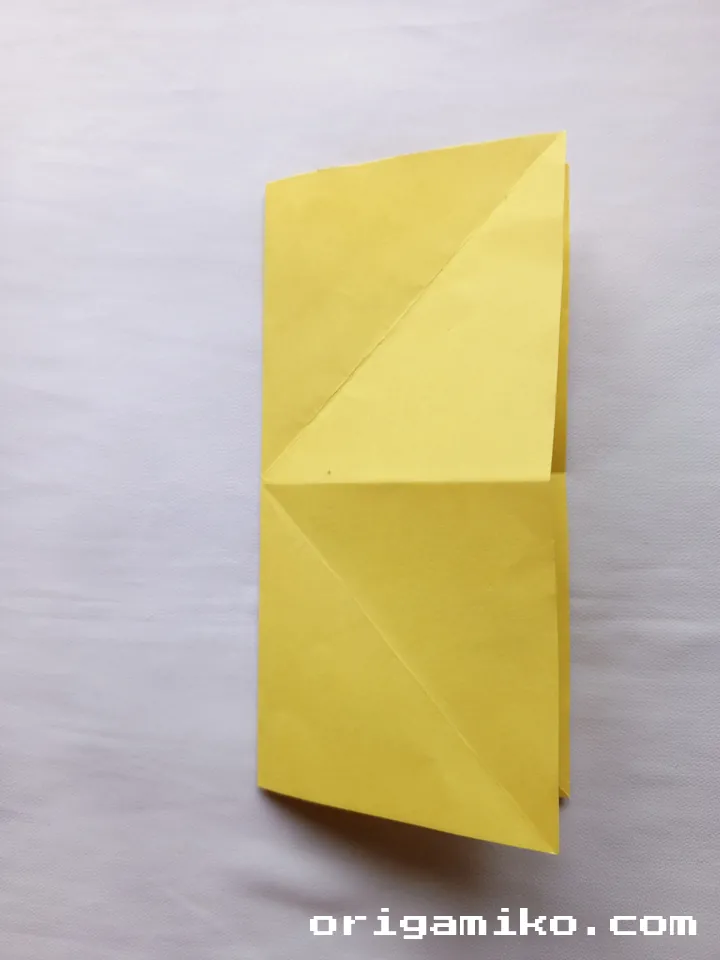
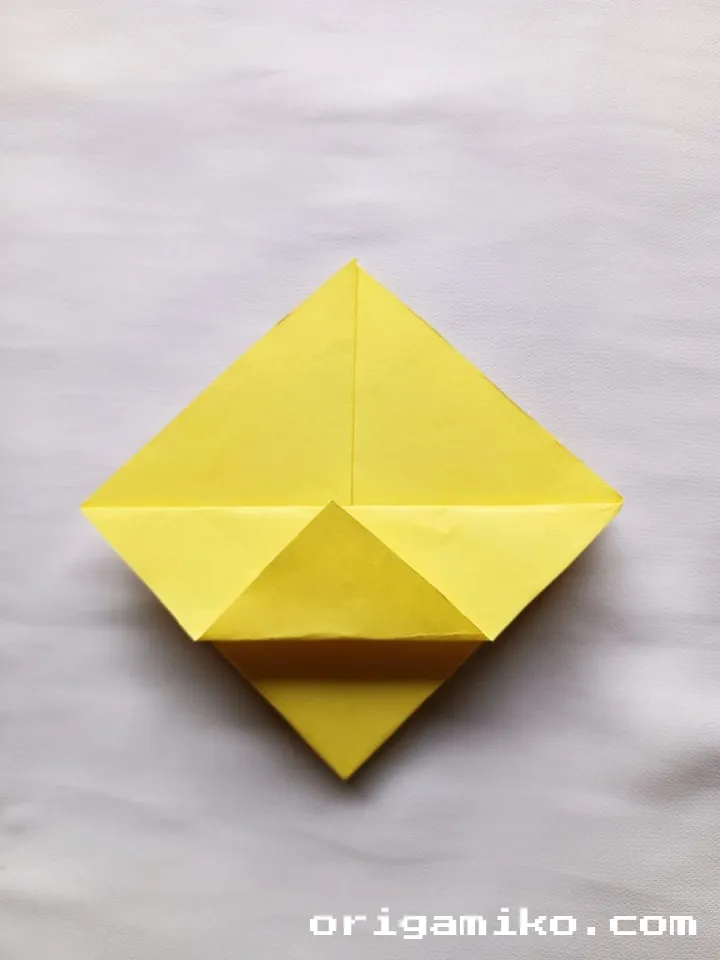
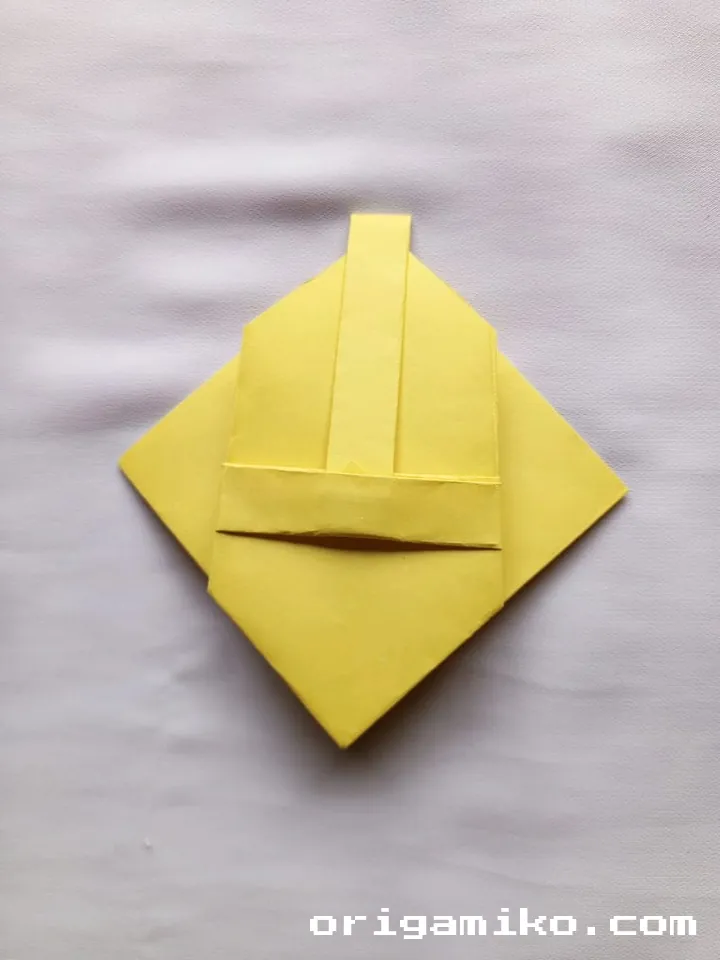
Step 6: Add It to the Basket Base
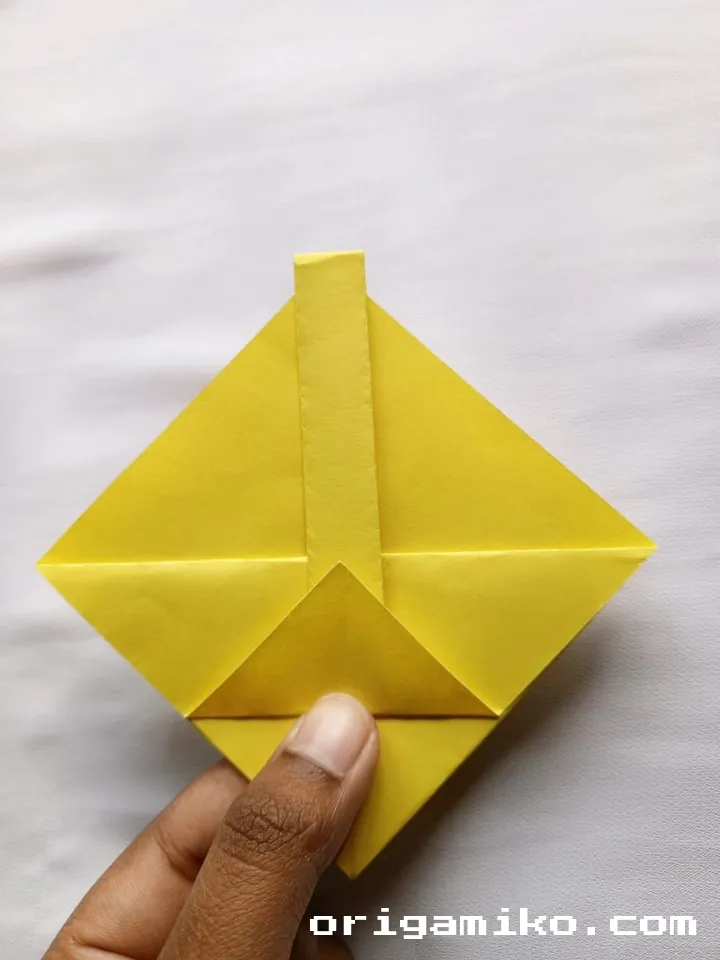
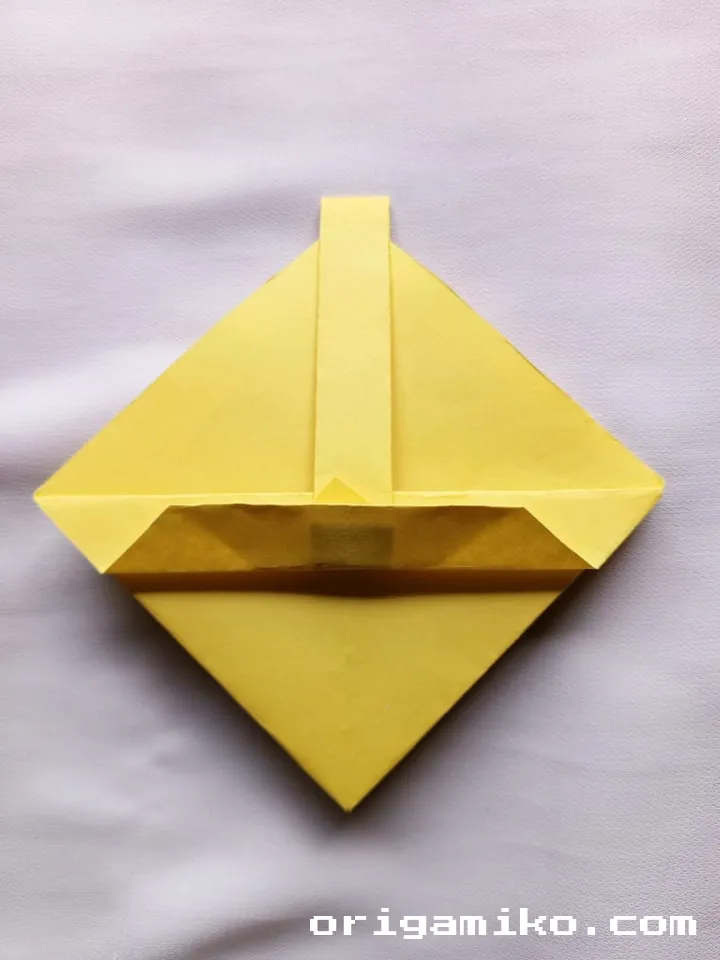
- Place this rectangular piece inside your folded square.
- Fold the base up and down a few times to “break in” the fold.
- Now fold both the left and right sides inward along existing creases.
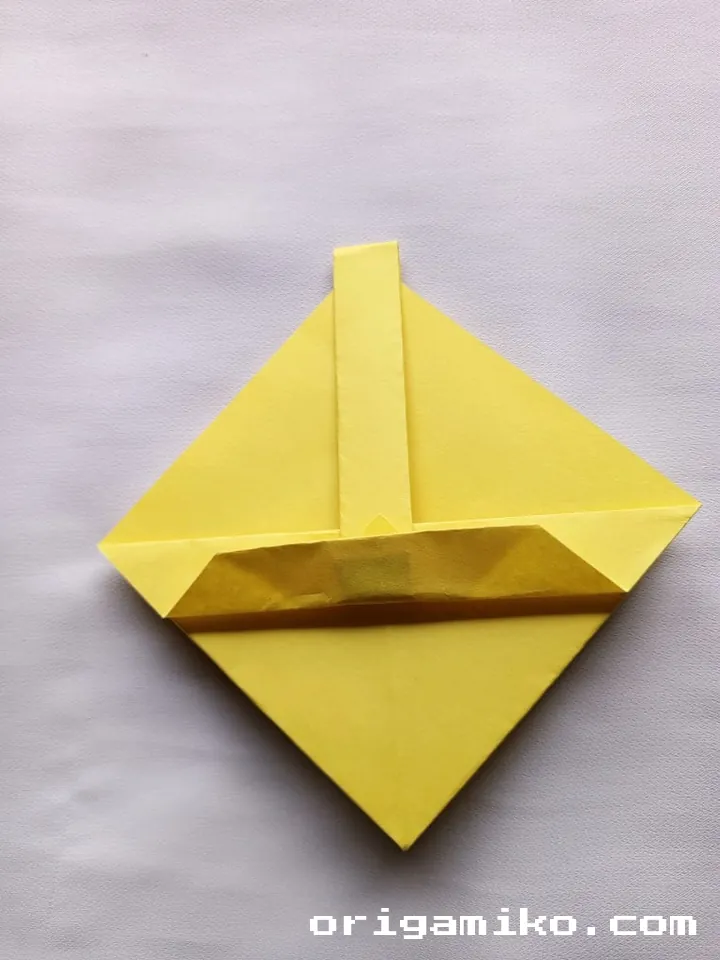
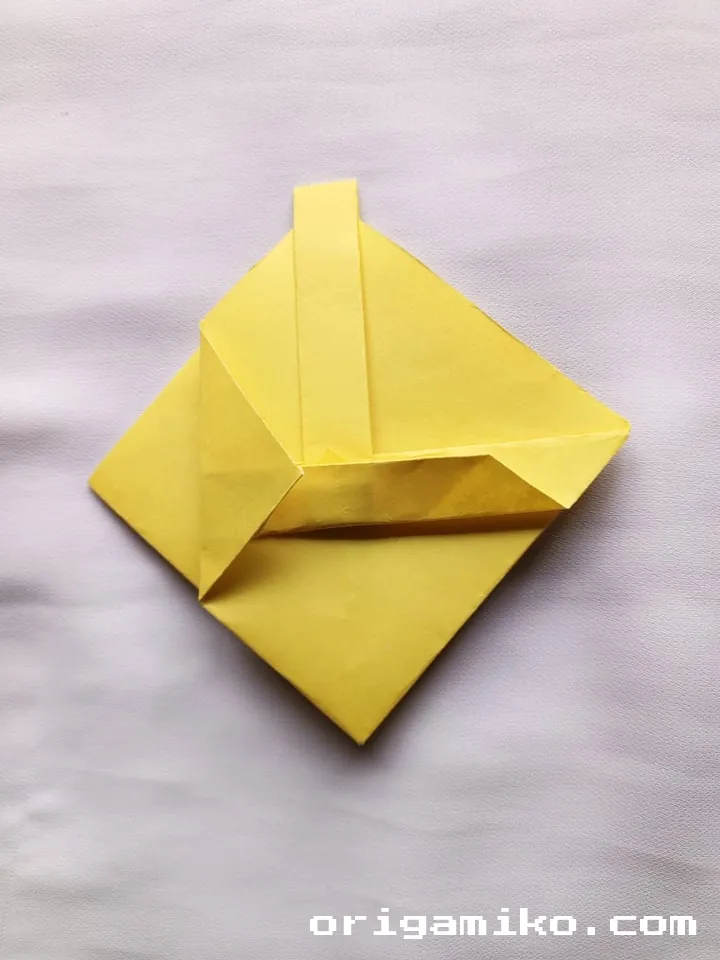
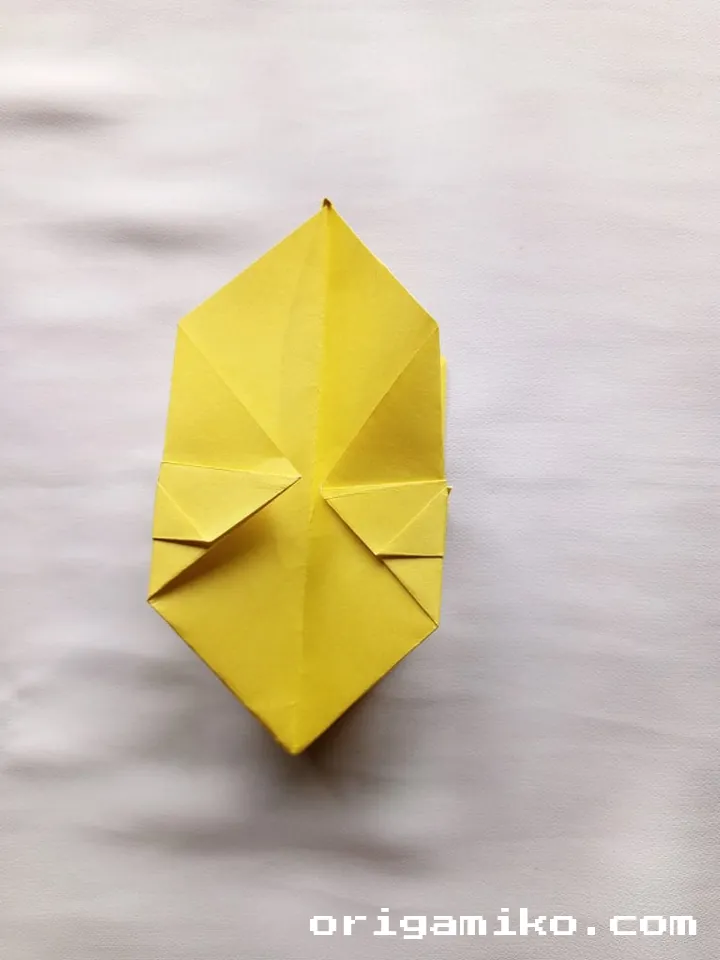
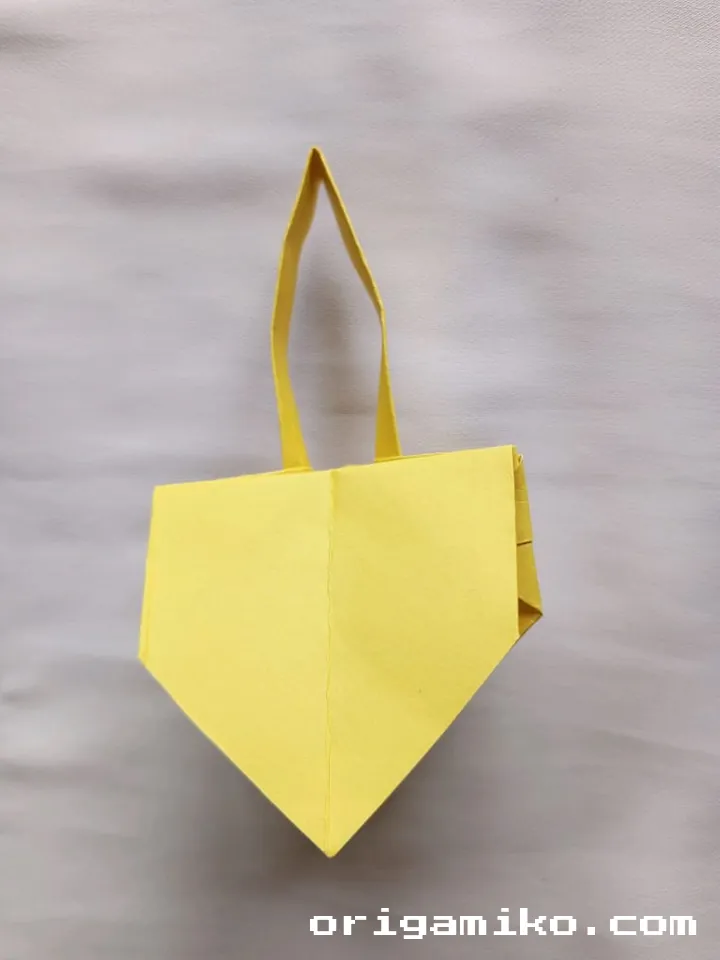
Step 7: Side Folds

- Fold the left edge toward the center crease. Unfold.
- Do the same with the right side. Unfold again.
Step 8: Back Folds
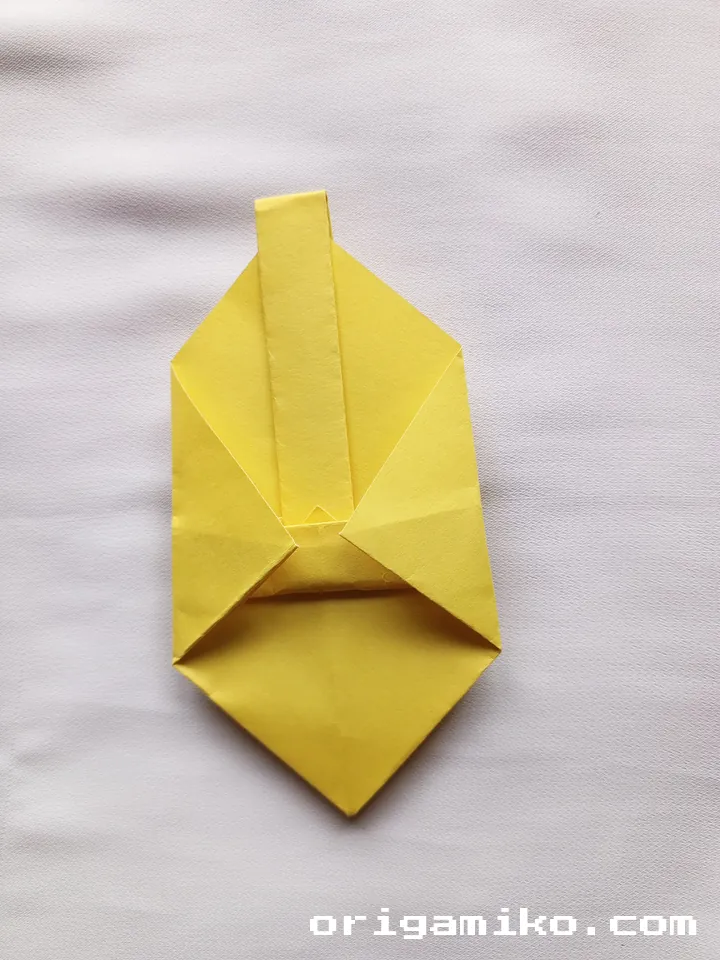
- Flip the paper over.
- Repeat the same side folds on the back side.
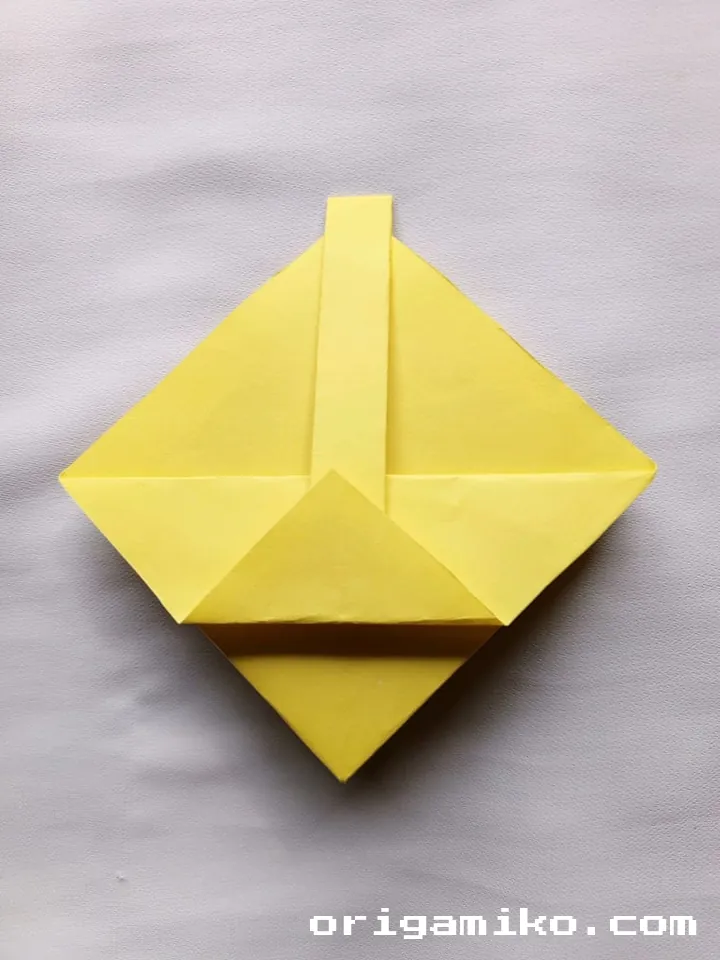
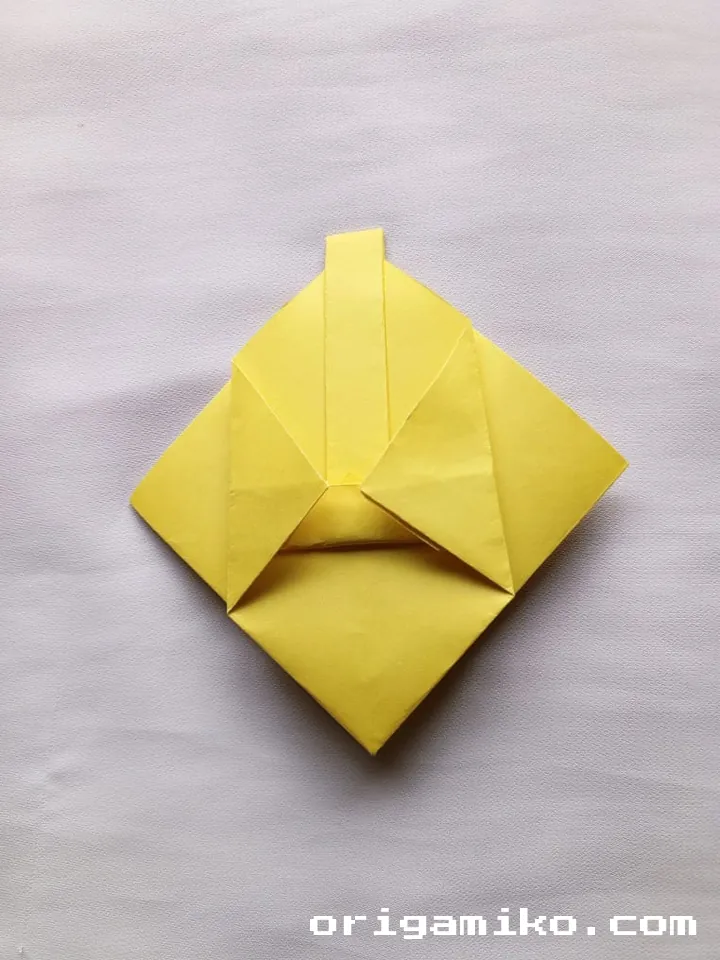
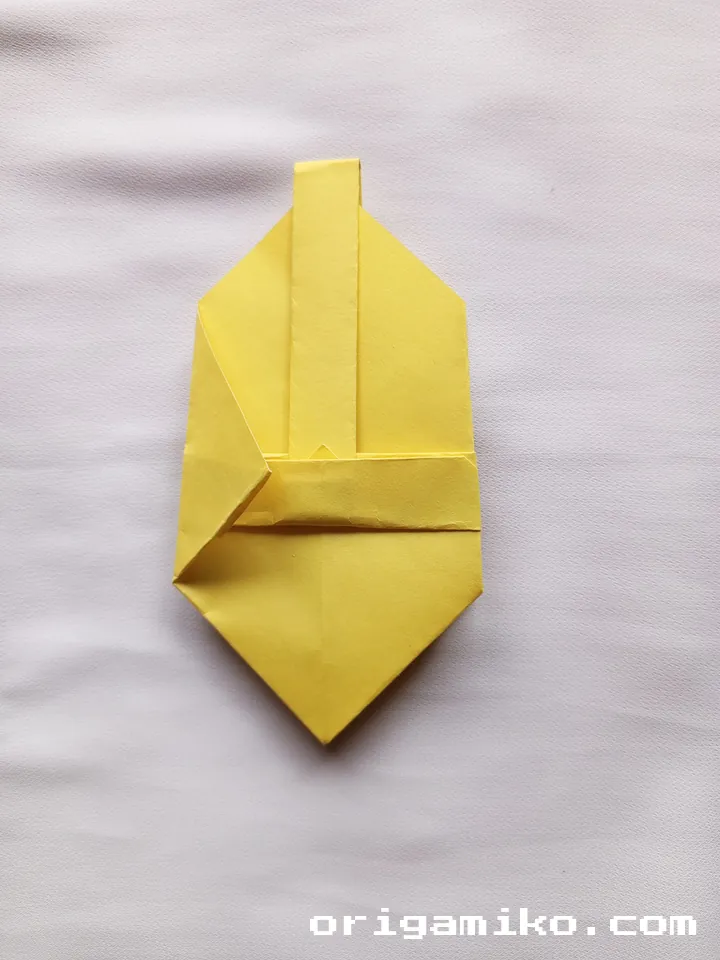
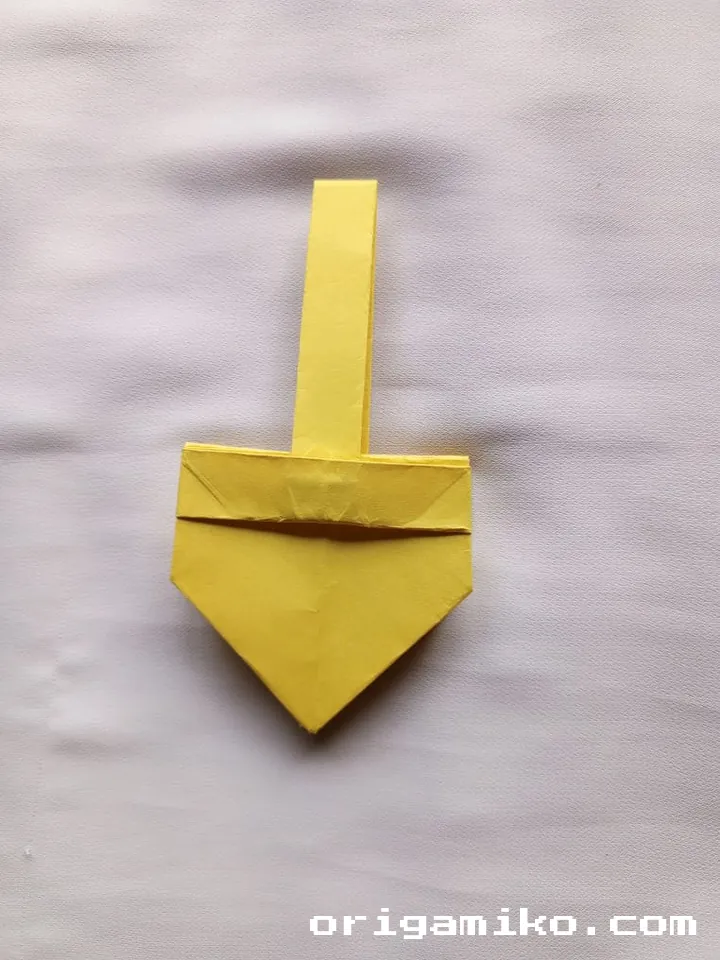
Step 9: Shape the Middle
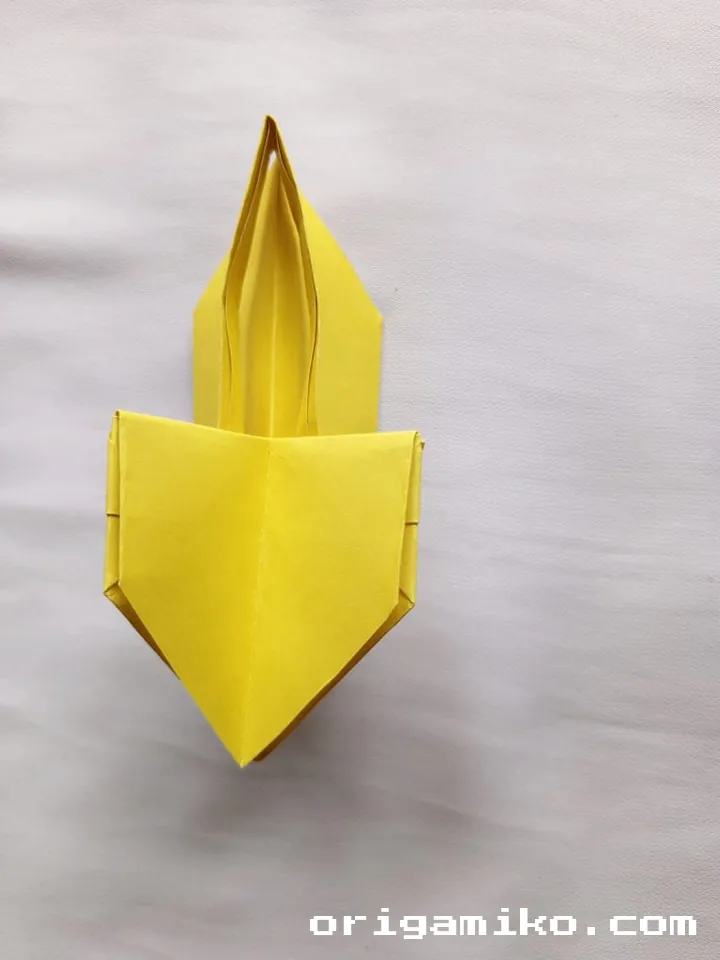
- Now, pinch the middle area on both sides and push slightly inward.
- This starts giving the paper that basket shape.
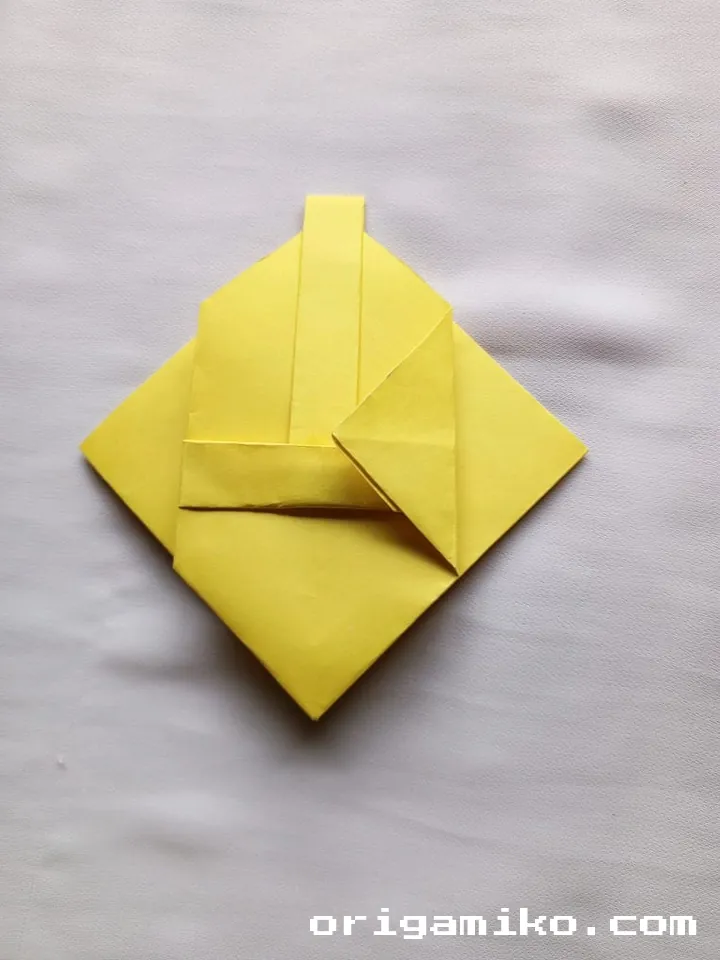
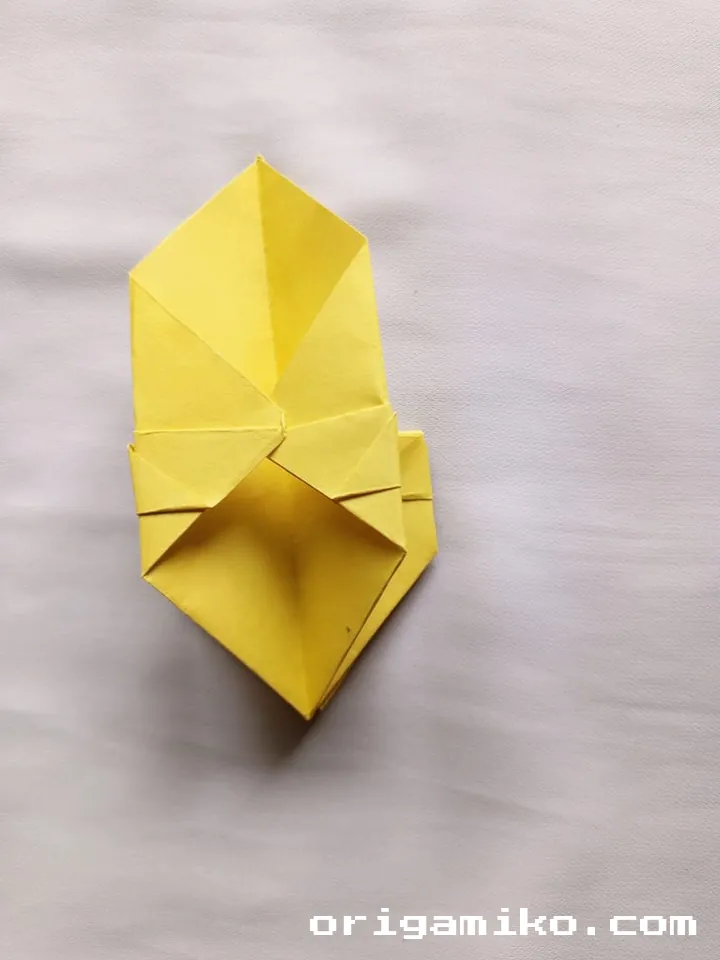
Step 10: Final Basket Form
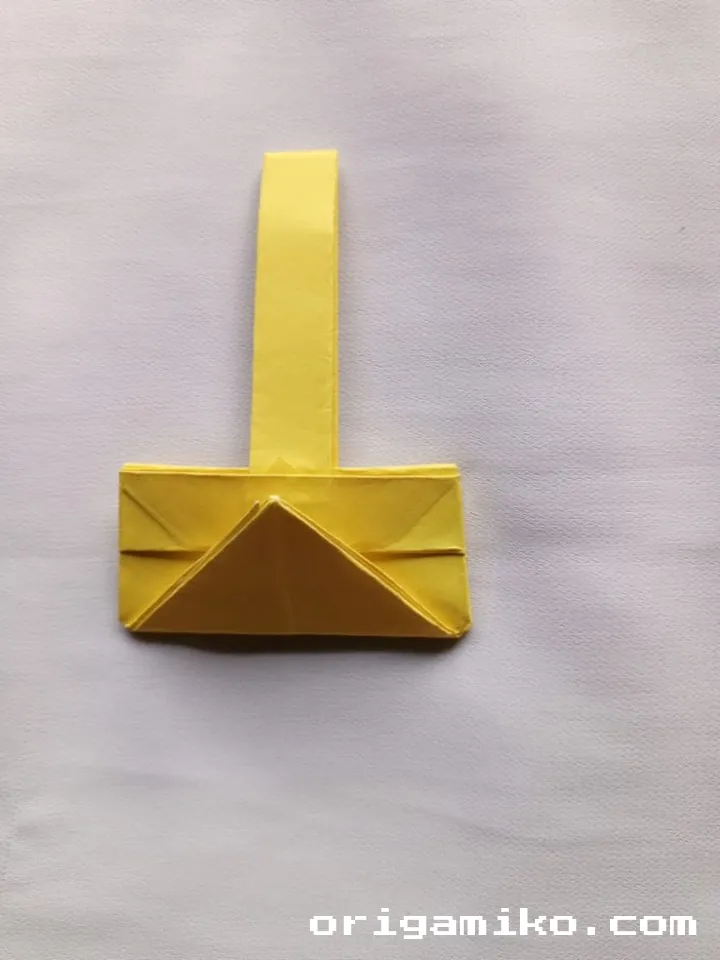
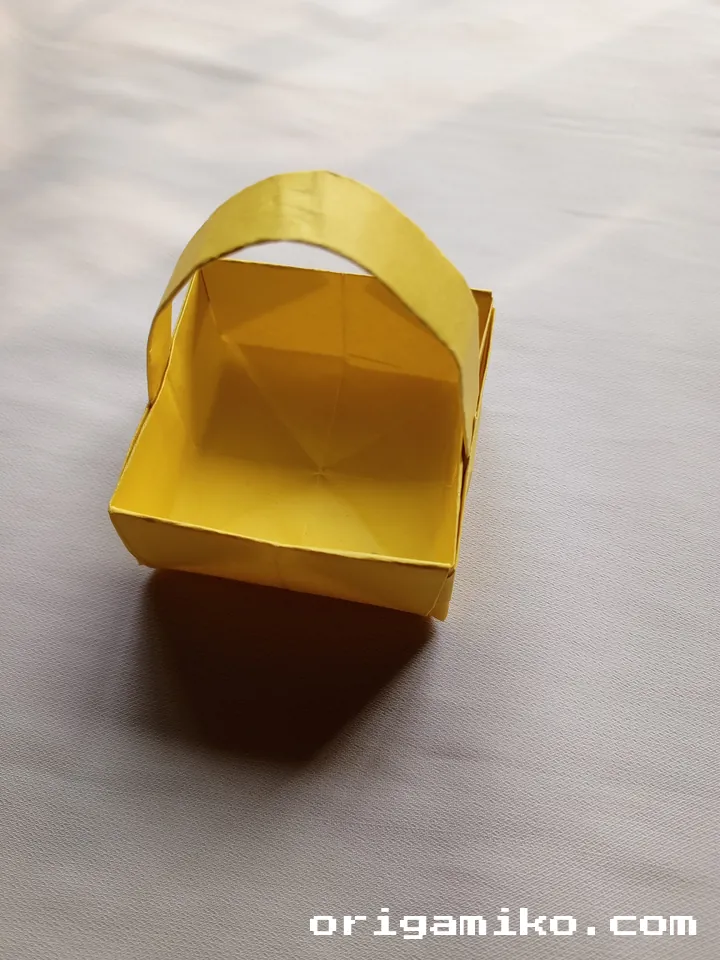
- Fold the bottom edge up to meet the center line.
- Gently open the paper… and there it is—a neat little origami basket!
Key Origami Terms
Here are a few terms I tossed around above. Let’s break them down.
- Crease: The fold line you press into the paper. This is your guide.
- Valley Fold: Fold that dips in like a valley (folding toward you).
- Mountain Fold: Fold that peaks like a mountain (folding away from you).
- Base: The initial folded shape from which the model grows.
- Reverse Fold: Folding something inside out—common in complex origami.
Tips for Success
Want your basket to turn out just right? Keep these tips in mind:
- Be patient. Origami is like yoga for your fingers.
- Use quality paper. Not too thick, not too thin.
- Flatten every fold. Crisp creases make everything cleaner.
- Practice with scrap paper first. That way, mistakes don’t matter.
- Watch your symmetry. Everything in origami is balanced.
Common Mistakes (And How to Avoid Them)
Even experienced folders mess up sometimes. Here’s what to watch for:
- Crooked folds
Fix: Use a ruler or align edges carefully. - Tearing the paper
Fix: Don’t press too hard or refold the same area too often. - Over-creasing
Fix: Only crease once unless the step says otherwise. - Losing track of folds
Fix: Keep your folding area well-lit and distraction-free.
Similar Variations You Can Try
Already finished one? Try tweaking it! Here are a few fun twists:
- Add a handle using a separate strip of paper.
- Try smaller or larger paper for different basket sizes.
- Decorate with stickers or paint for personal flair.
- Use printed paper for a textured look.
- Make a double-layer basket by nesting two inside each other.
FAQs
Q: Can I use rectangular paper instead of square?
Nope—for this design, square paper is essential for the folds to line up properly.
Q: How sturdy is the basket?
Pretty sturdy for light stuff—candy, paper clips, dried flowers. Not great for water or heavy things.
Q: Can I teach this to kids?
Absolutely! I’d recommend kids 7 and up. Just help them with creases if needed.
Q: What’s the best paper for beginners?
Use origami paper or any soft scrapbook paper that holds folds well.
Q: How long does it take to make?
Your first one might take 15–20 minutes. After that, 5–10 minutes tops.
Wrapping It Up
There you have it—easy Origami Basket, built from a single square and a few folds of love. You’ve just made something charming, simple, and totally handmade.
Now you know how to make basket art that’s both practical and heartwarming. Try out different sizes, colors, or even gift a few. Let your fingers do the crafting, and let the paper shine.
Got questions, feedback, or your own creative twist on this project? I’d love to hear about it! Drop a comment or check out my other origami tutorials—there’s always more paper fun waiting