

Ever wonder how to make Basketball out of just a piece of paper? Sounds impossible, right?
I felt the same until I gave it a try. Trust me, this easy Origami Basketball is surprisingly fun—and yes, it actually looks like a hoop.
And the best part? I’ll walk you through it with clear, friendly steps that work whether you’re new to paper folding or you’ve been folding cranes for years.
What Are We Making? A Basketball Hoop Out of Paper!
Okay, let’s set the scene.
We’re not just folding paper for fun—we’re creating a miniature Origami Basketball hoop. It’s clever, cute, and a blast to fold. I remember making my first one and thinking, “Wait, this actually looks like a basketball setup?”
You can use it as desk decor, part of a school project, or even turn it into a paper flick game with friends. That’s the beauty of it—it’s as fun to make as it is to use.
Let’s break down what you’ll need and how to get this creative ball rolling.
Materials Needed
I always like to start with what’s needed up front, so you’re not halfway into folding and realize you’re missing something.
| Item | Description | Notes |
|---|---|---|
| Rectangular Paper | Standard printer paper (A4 or Letter) | Any color works, orange is fun |
| Flat Surface | Clean and hard surface to fold on | A table or desk is perfect |
| Patience | A little bit goes a long way | Especially if it’s your first try |
| Ruler (Optional) | To make sharp creases | Totally optional |
| Pencil (Optional) | For light marking if needed | Helpful for beginners |
Key Terms to Know
Here’s a quick list of terms I’ll use throughout. Don’t worry—these are super beginner-friendly.
Housefold
Folding the top corners inward to form a triangle roof shape.
Unfold
Opening the fold you just made to leave a crease.
Goal Box
The bottom part of the hoop structure where the “basket” sits.
Inwards Fold
Bringing paper edges toward the center.
Origami Basketball Instructions: Step-by-Step Guide
Now the good stuff—let’s fold!
Step 1: Start With a Rectangular Paper
Pick your favorite sheet—standard size works great. Place it vertically in front of you.
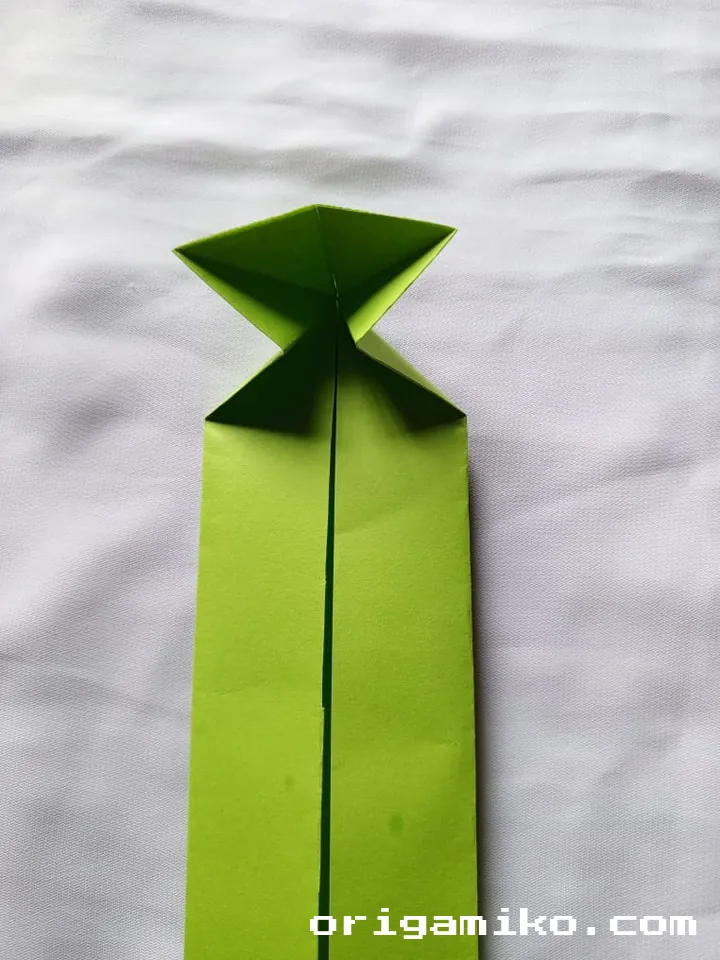
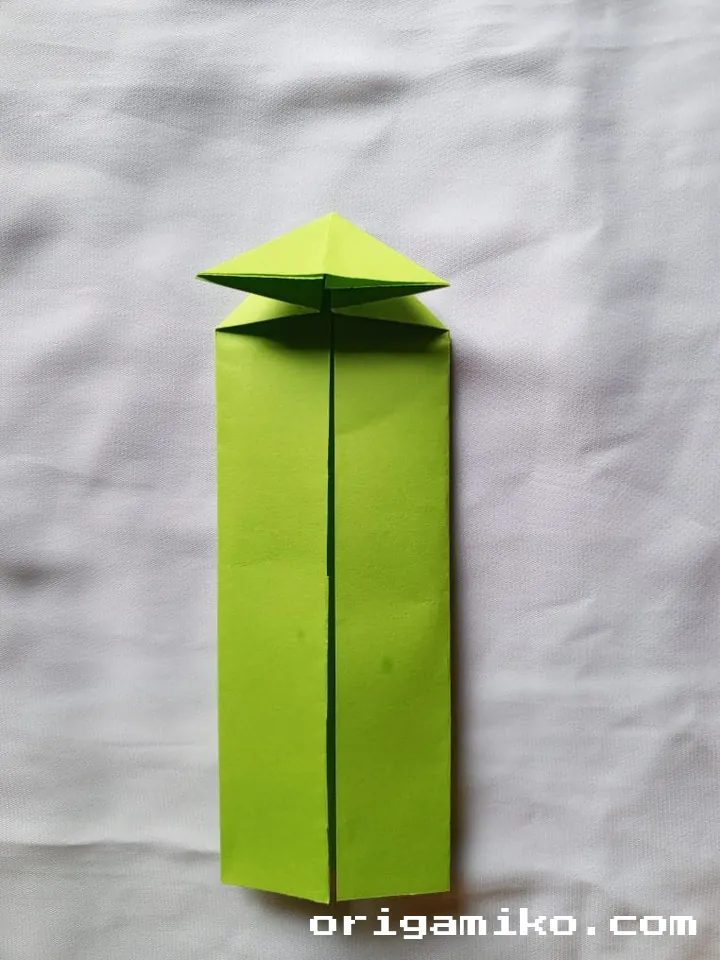
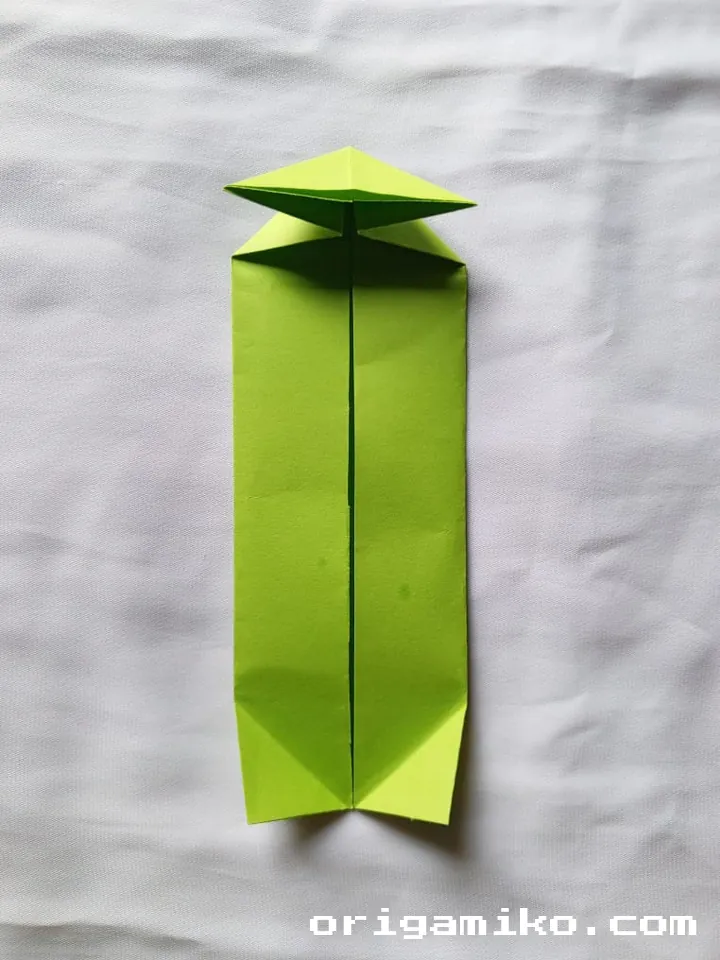
Step 2: Housefold and Unfold
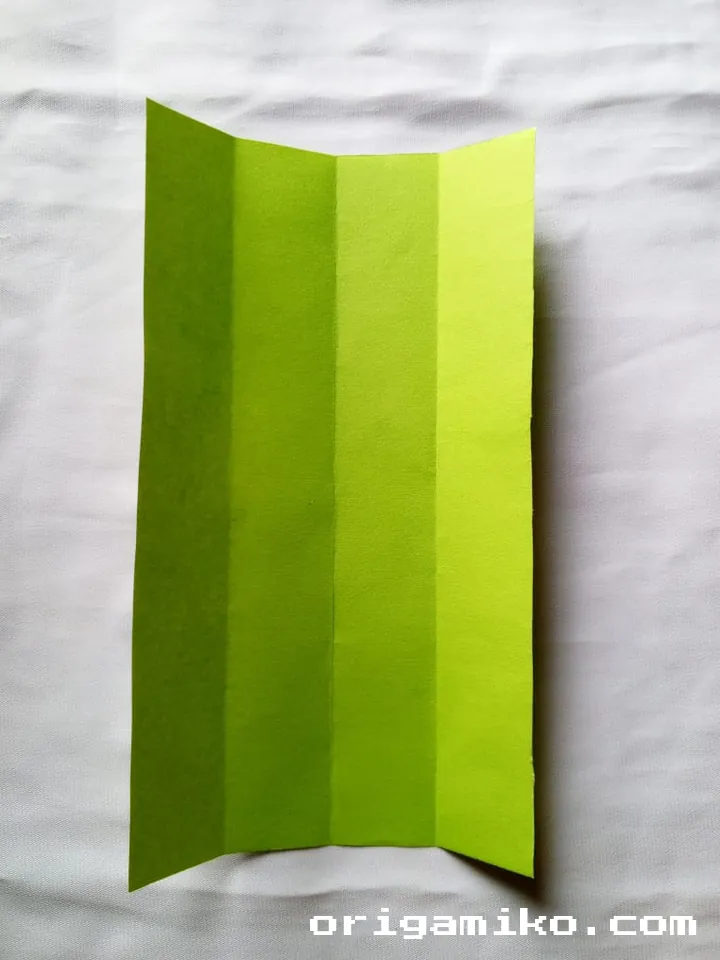
Fold both top corners inward so they meet in the center, forming a triangle (like a little house roof).
Now unfold. You’ll see crease lines forming an “X” at the top.
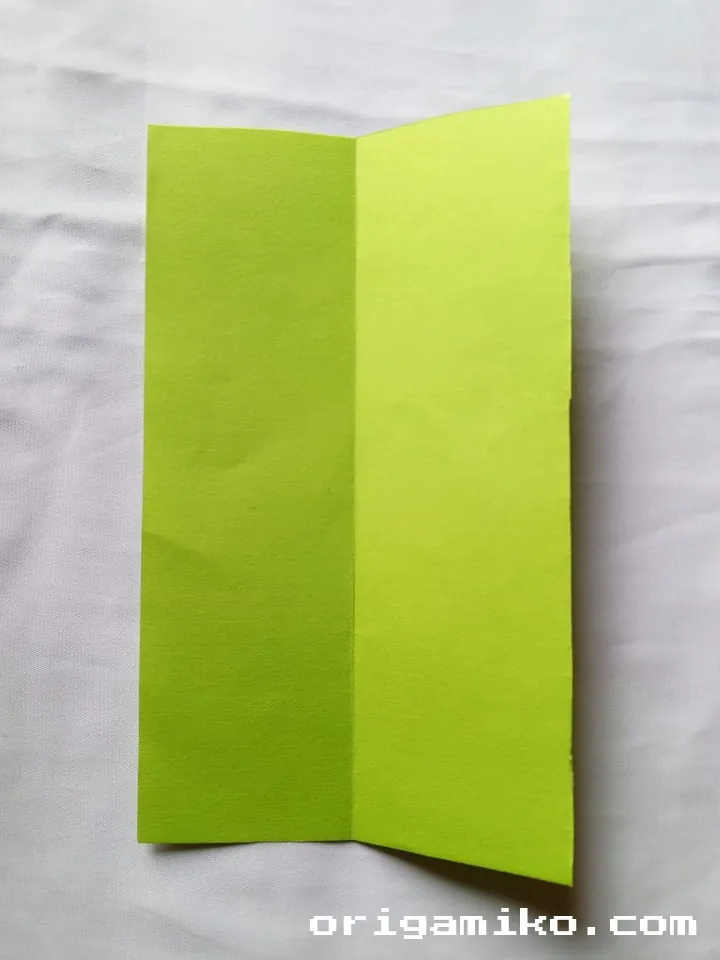
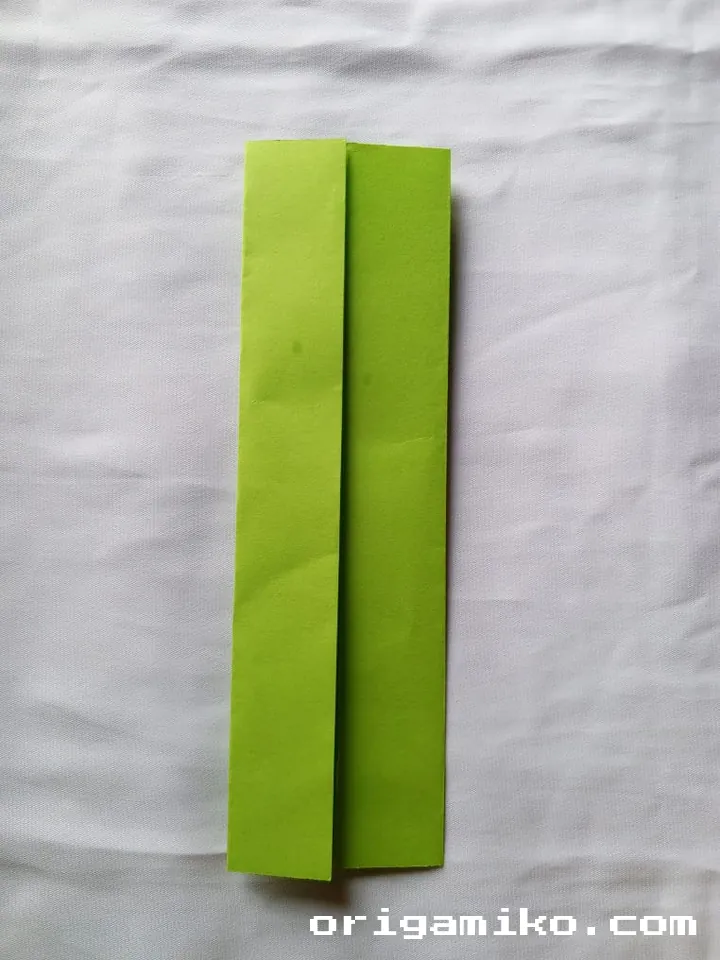
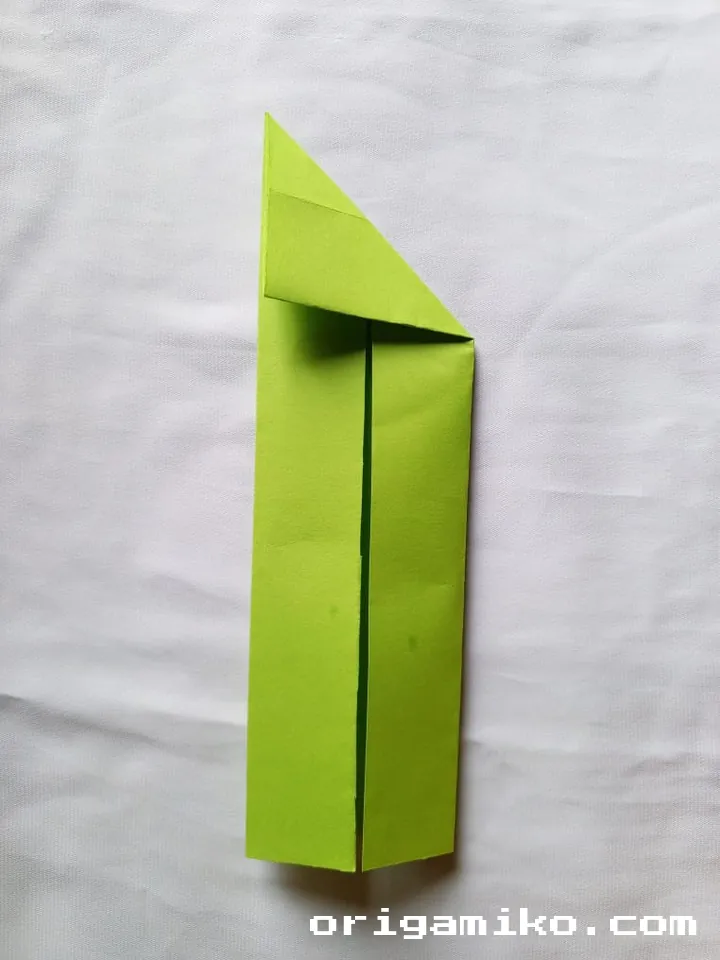
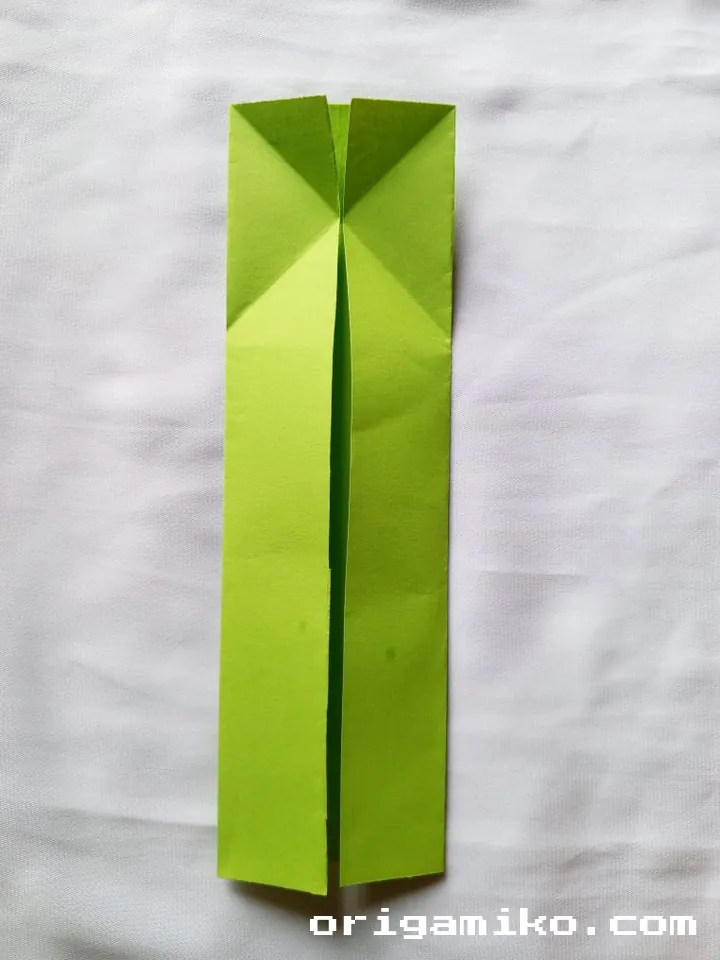
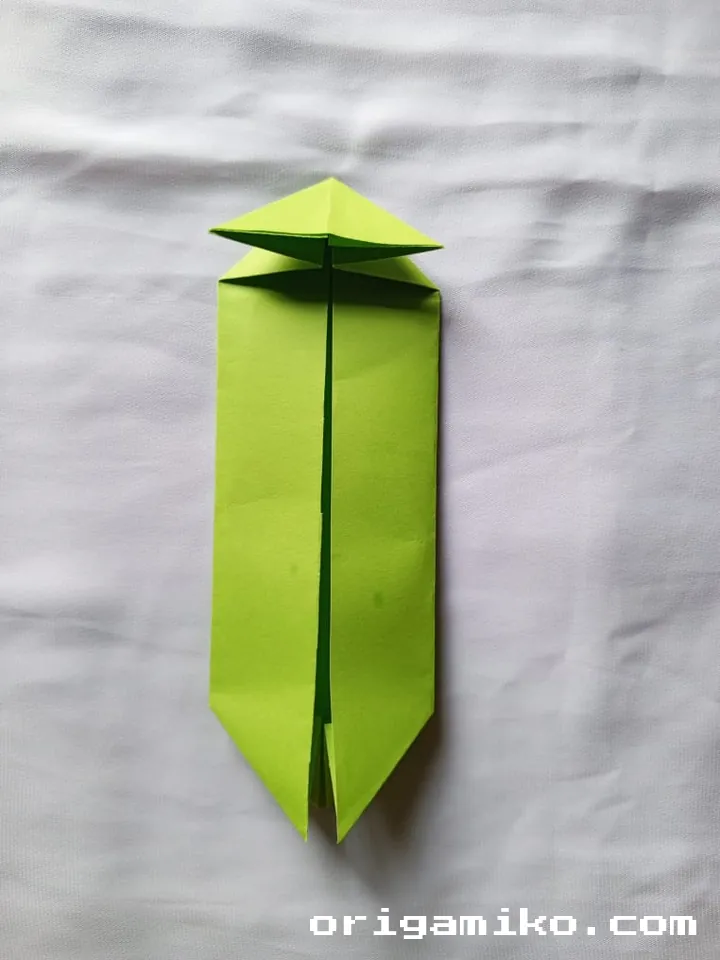
Step 3: Fold Both Sides Inward, Then Down
Take the left and right sides and fold them toward the center.
Then fold the top edge down, following the line where your “roof” ended.
Unfold everything. This creates a blueprint of creases.
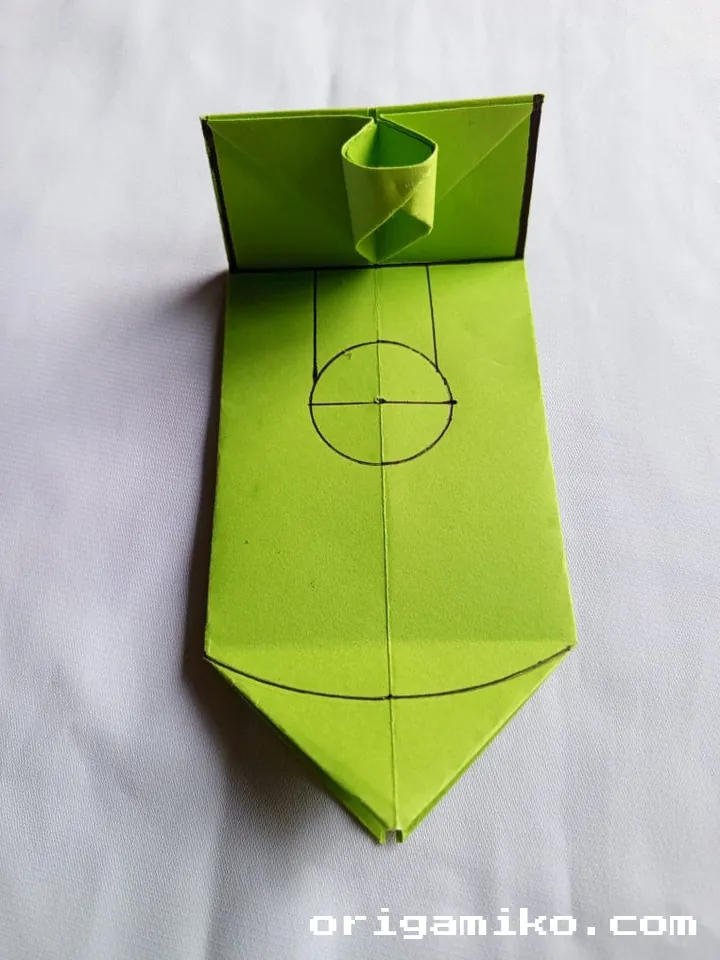
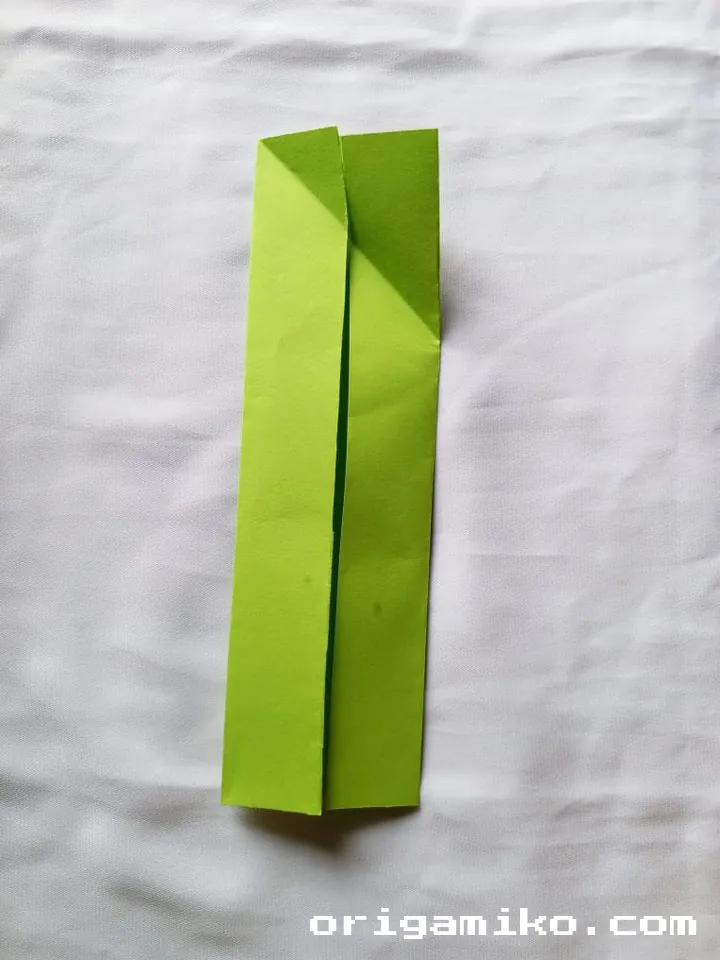
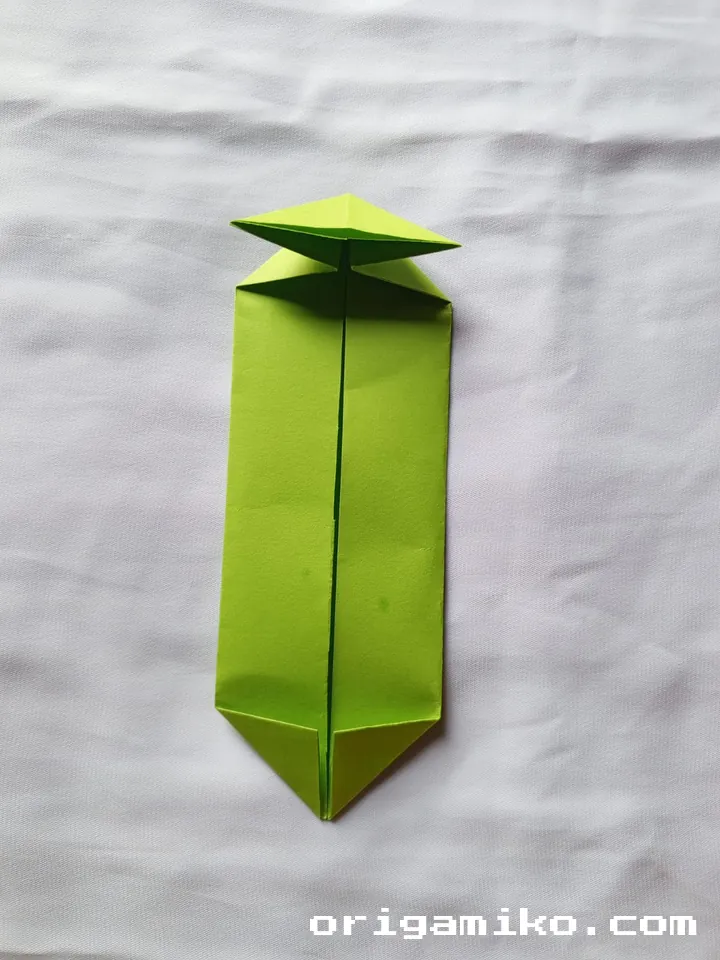
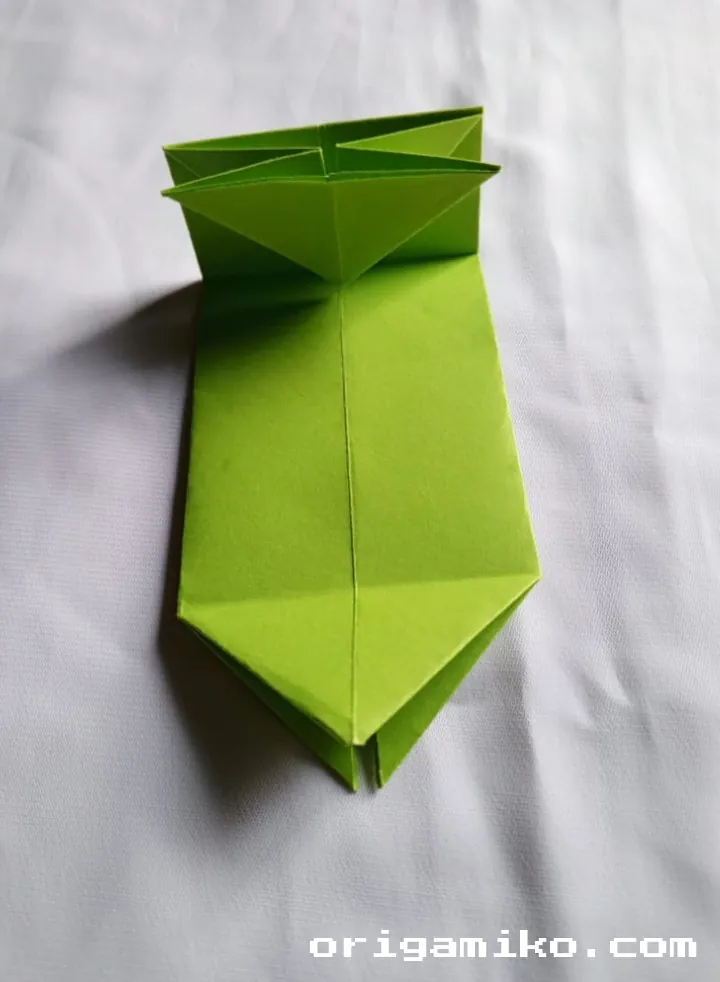
Step 4: Fold the Bottom Two Inwards
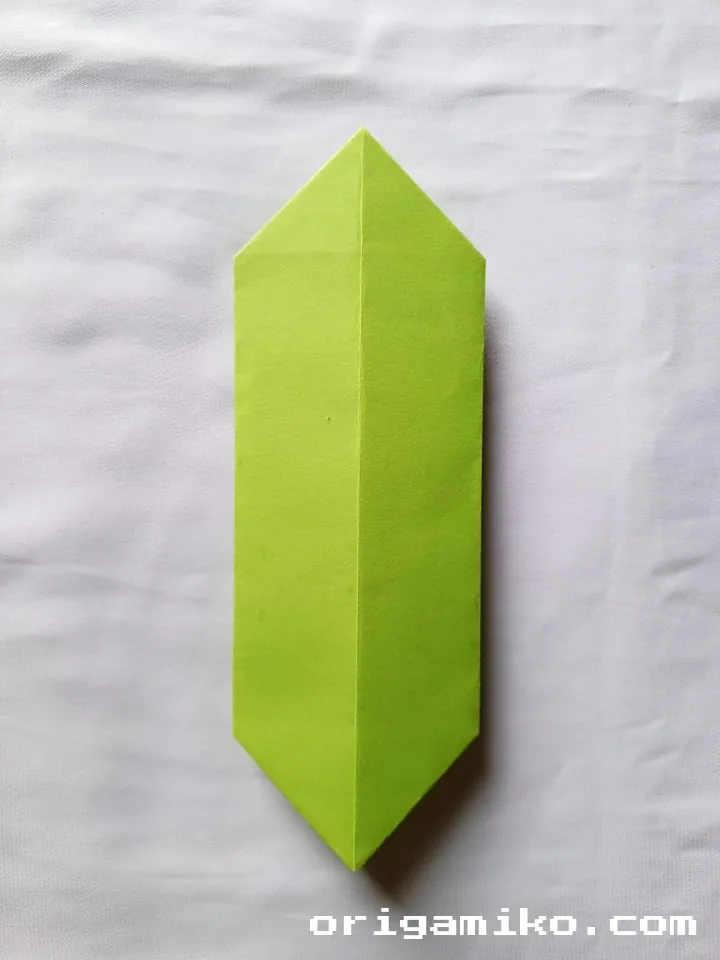

Now fold the bottom left and right corners toward the center.
Flip the paper over and do the same thing on the other side.
Then unfold. You should now have a pattern of triangular creases on both ends.
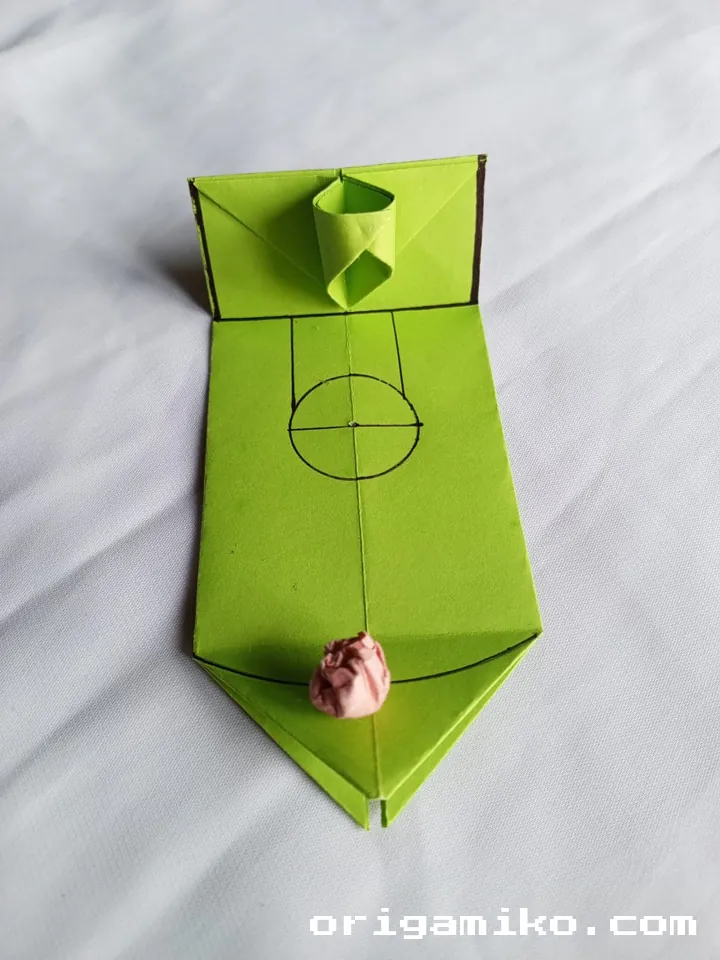
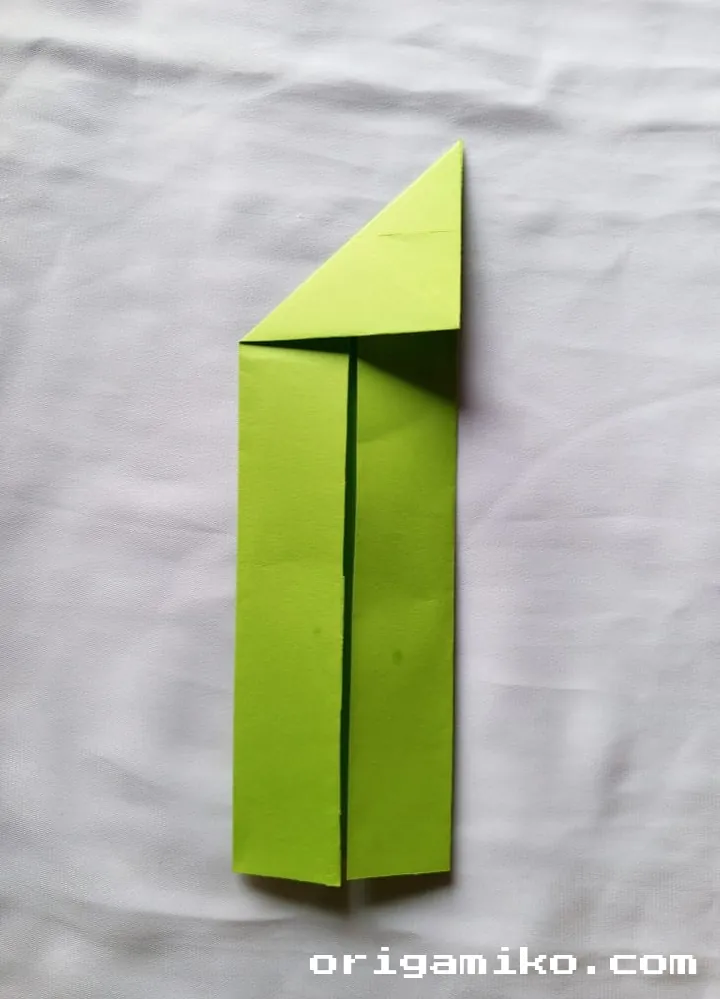
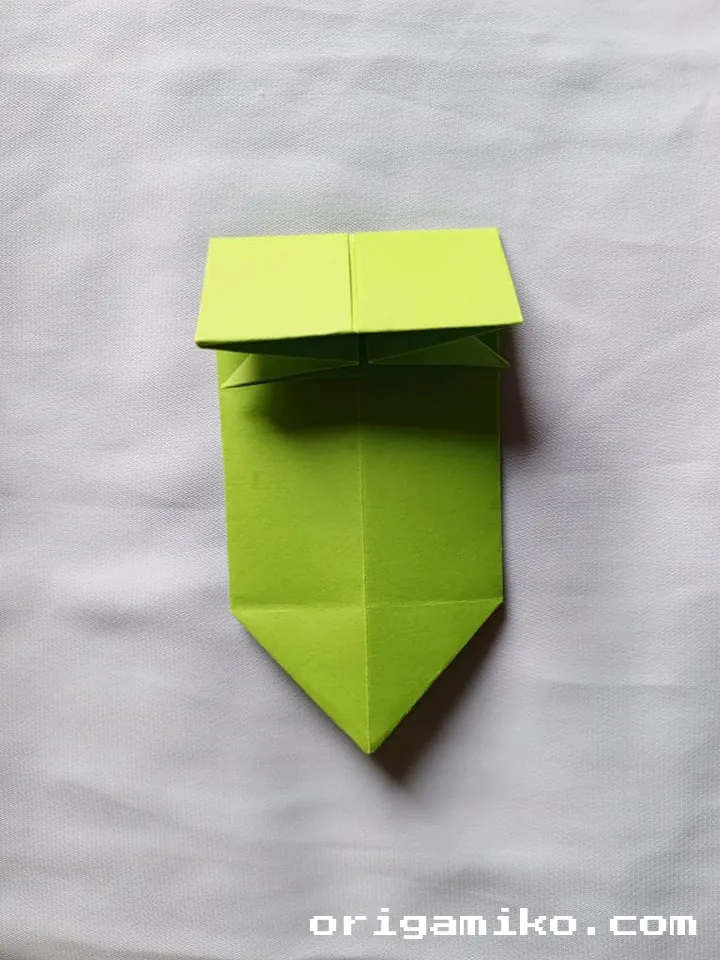
Step 5: Form the Goal Box (The Hoop!)
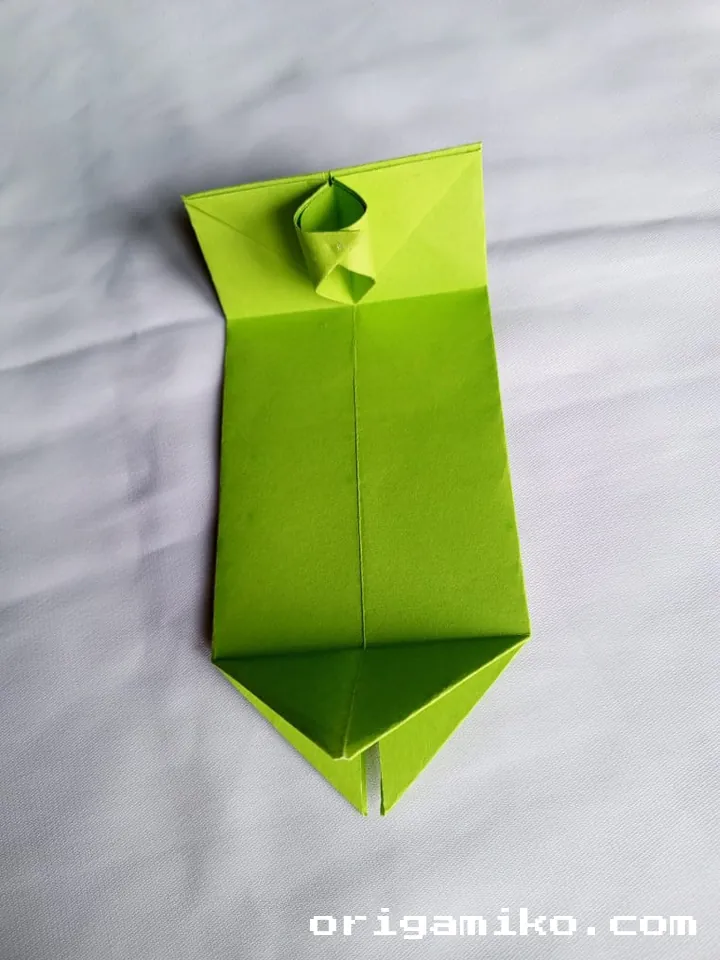
Here’s the magic part.
Using the side creases, fold the paper inward from both the right and left sides.
Shape it gently until you have a small box at the bottom—this is your basketball goal.
Press the folds to lock everything into place.
Boom. Your Origami Basketball hoop is complete.
Tips for Success
Making this once is fun—but here are a few tricks I learned after folding it a dozen times:
- Use thin paper: Thicker paper can be bulky and tricky to fold cleanly.
- Press your folds firmly: A clean crease makes all the difference.
- Practice the folds separately: Before trying all five steps at once, try folding just the house or the box first.
- Don’t rush: If it doesn’t look perfect the first time—totally normal.
Common Mistakes (And How to Avoid Them)
Even experienced folders slip up. Here’s what to watch for:
- Mistake: Using square paper.
Fix: Always use a rectangular sheet (A4 or US Letter). - Mistake: Uneven creases.
Fix: Fold slowly and align edges perfectly before creasing. - Mistake: Over-folding (creases where they shouldn’t be).
Fix: Follow the Simple Basketball Step by Step flow—one move at a time.
Similar Variations You Can Try
Already made the basic version? Here are a few fun twists:
- Origami Basketball with Backboard: Add a small rectangular flap on top.
- Mini Basketball Court: Use a second sheet to draw the court layout.
- 3D Paper Basketball: Fold a tiny ball and try to flick it into your hoop.
- Hanging Hoop: Use tape to mount it on a mini box or wall.
These little tweaks can turn your paper hoop into an interactive piece.
FAQs
Q: Can I use colored paper for this project?
Yes! Orange for the ball, red or black for the hoop—it’s totally up to you.
Q: Is this good for kids?
Definitely. Just help them with the sharp creases and folds.
Q: What if my folds aren’t perfect?
No worries—focus on getting the general shape. Precision comes with practice.
Final Thoughts
There you have it—a fun, easy Origami Basketball hoop anyone can fold. Whether you’re crafting with kids, decorating a workspace, or just trying something new, this little project delivers big satisfaction.
Want more fun folds like this? Check out my guide to Origami Card Holders or Origami Triangle Boxes. Until then—keep folding, keep smiling.
And now that you know how to make Basketball with just paper… why not try flicking a paper ball into your hoop?