

Ever wonder how to make an Origami Bell that looks adorable, sounds festive, and folds up in five simple steps?
I’ve got you. You don’t need fancy paper or origami skills to make this. Just a square sheet and a little focus.
By the end, you’ll hold a Simple Bell in your hand—something cute, handmade, and totally giftable.
Meet the Origami Bell: A Tiny Piece of Folded Joy
I remember the first time I made an Origami Bell. It felt like I was crafting a tiny ornament from a fairy tale. There’s something oddly magical about how just one square of paper can turn into a bell shape with so much charm.
This bell is part of the easy Origami Four Bell design series. You can use it to decorate your room, make cards more special, or just enjoy the relaxing vibe of paper folding. And the best part? It’s simple enough for beginners but still satisfying for experienced folders.
Materials Needed
Before we dive into the step by step instructions, let’s gather everything you’ll need. The list is short, but getting the right paper can make a big difference.
| Item | Details | Tips |
|---|---|---|
| Square Paper | 15 x 15 cm (standard origami size) | Lightweight origami paper works best |
| Flat Surface | Any table or desk with good lighting | Avoid carpeted or uneven spaces |
| Optional Tools | Bone folder, ruler, or pencil for alignment | Not required but helpful for sharp creases |
| Clean Hands | Always a must when working with paper | Keeps your model free of smudges and oil |
Key Terms You Should Know
Before we start, here are a few terms that will pop up in the instructions:
Fold Line
A crease made to guide the paper’s next shape.
Valley Fold
A fold that dips downward, forming a V-shape.
Mountain Fold
The opposite of a valley fold—it pops up like a mountain.
Turn Over
Flip the paper so the other side is facing up.
Step-by-Step Origami Bell Instructions
Let’s break this down into easy-to-follow steps. Stick with me—I promise this will be fun!
1. Take a Paper
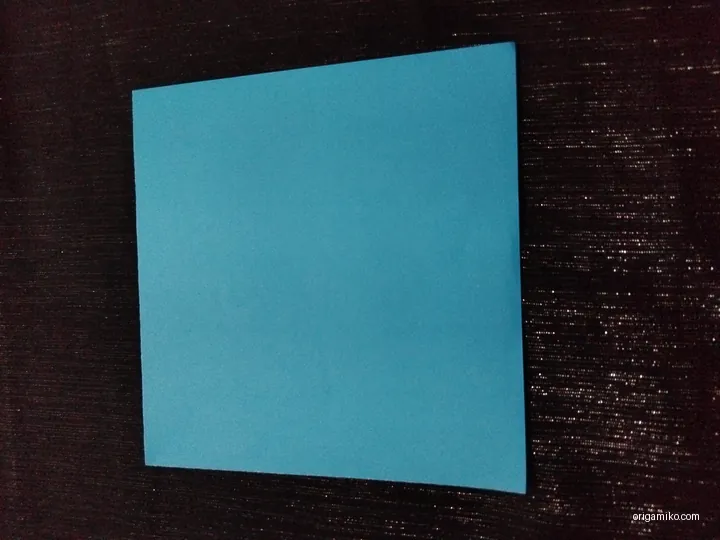
Choose a 15 x 15 cm square sheet. You can use single-color or double-sided paper. I prefer festive colors like red or gold for bells.
2. Fold It Horizontally and Vertically
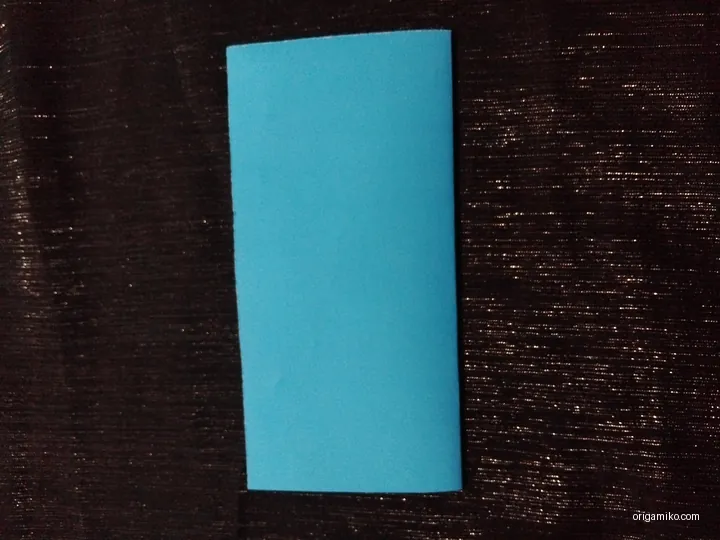
Fold the paper in half from top to bottom (horizontal fold).
Open it up.
Now fold it in half from left to right (vertical fold).
You should now see a cross-crease in the center.
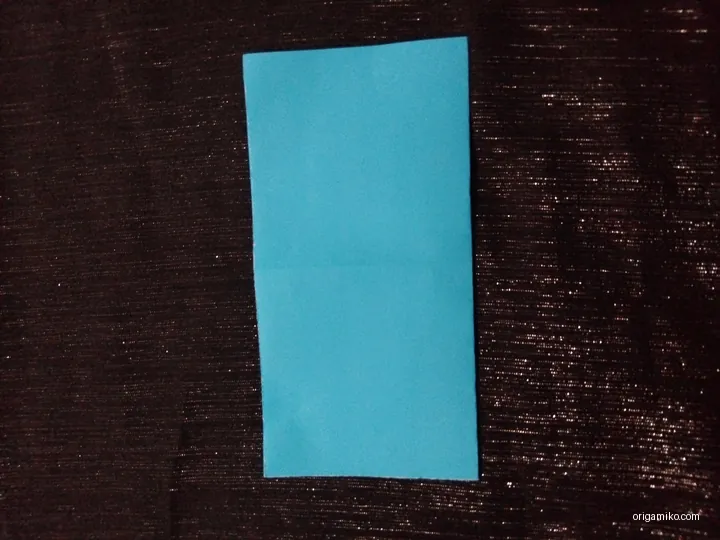
3. Fold Slightly from the Lower Side, Turn Over, and Fold the Upper
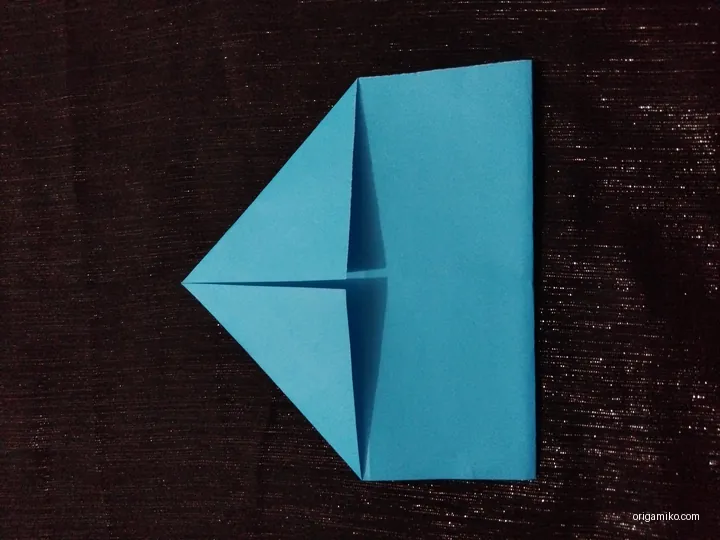
Take the bottom edge and fold it slightly upward—about an inch.
Turn the paper over.
Now fold the top edge downward to match the size of the fold you made before.
Then fold it once more to create a small band-like fold. This will become part of your bell’s shape.
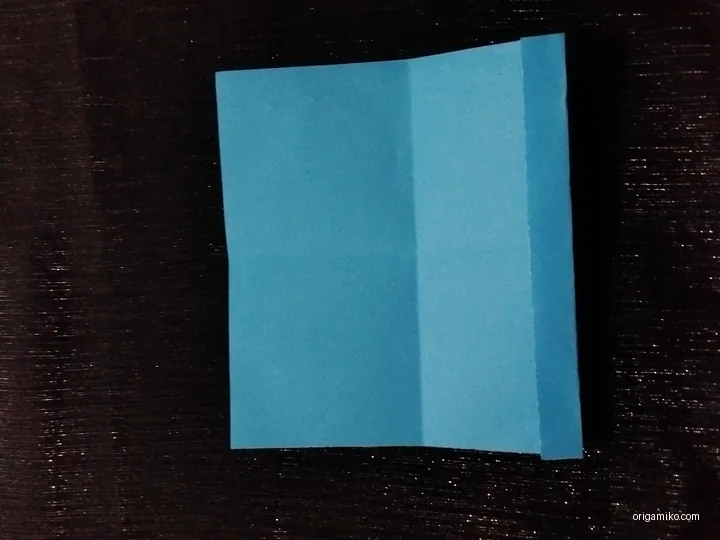
4. Half Fold and Slightly Fold Both Upper Corners
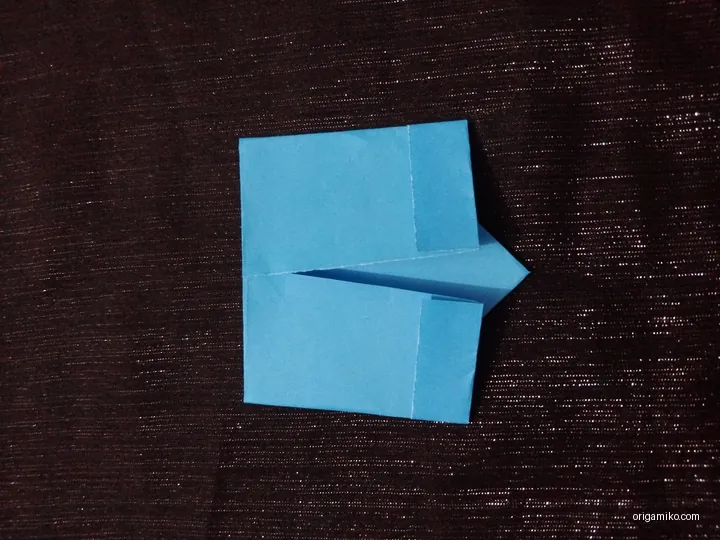
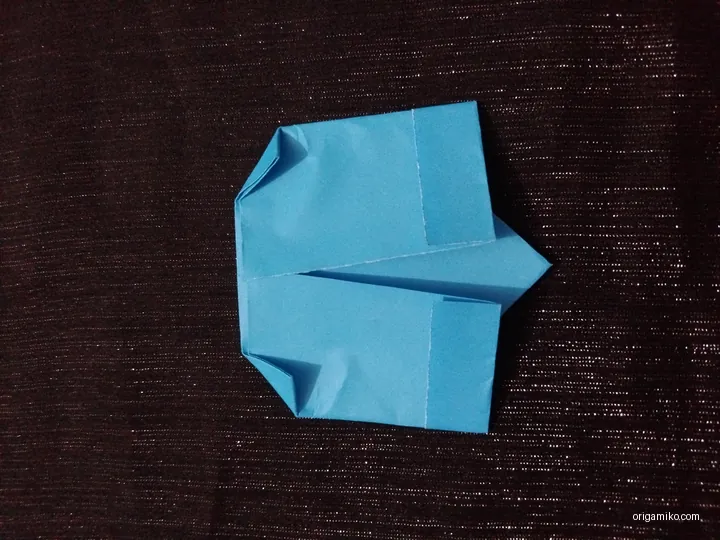
Fold the entire paper in half from top to bottom.
You should now have a horizontal rectangle.
Now take the top left and right corners and fold them slightly downward at an angle.
This gives the bell its soft, curved upper edge.
5. Done! Your Origami Bell is Ready
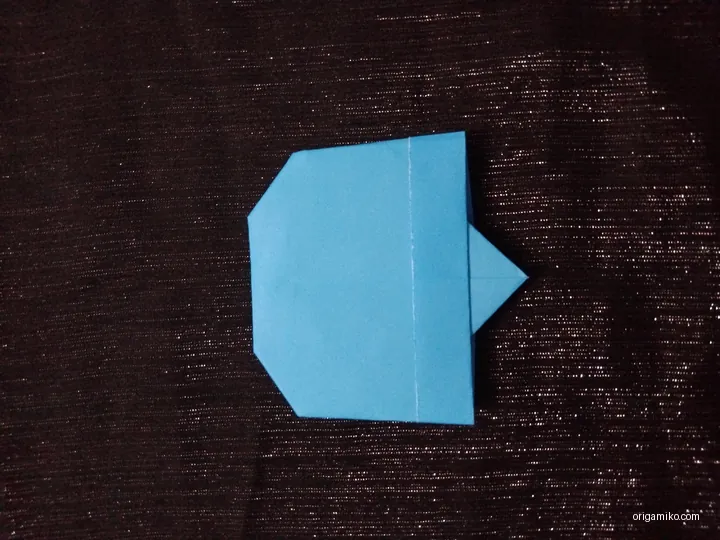
And just like that, you’re done! Unfold slightly to puff it out or leave it flat—it works either way.
You’ve created a charming Origami Bell with just five folds.
Tips for Success
- Use thinner paper: Easier to crease and shape.
- Crease firmly: A weak fold can mess up the shape.
- Be patient: Rushing leads to uneven lines.
- Follow the folds carefully: They set the tone for your final piece.
Common Mistakes and How to Avoid Them
Folds Not Lining Up
Fix: Take time to align corners and edges before creasing.
Paper Tearing
Fix: Don’t over-press the folds, especially with thick paper.
Uneven Bell Shape
Fix: Ensure all folds are symmetrical and crisp.
Similar Variations You Can Try
Want to explore more from the easy Origami Four Bell family? Try these:
- Mini Bells: Use 7.5 x 7.5 cm paper to make tiny versions.
- Double-Sided Bells: Use paper with different colors on each side for a colorful surprise.
- Bell Garland: String multiple bells together to create festive decorations.
- Glitter Accent: Add sparkle to your bell tips with a tiny dot of glue and glitter.
FAQs
Can I use regular printer paper?
Yes, but origami paper folds better and holds shape more cleanly.
How long does this take?
Just 3–5 minutes once you know the steps.
What can I do with the bell?
Use it for greeting cards, garlands, or DIY decorations.
Final Thoughts
Learning how to make an Origami Bell is a small but rewarding craft. It blends tradition, creativity, and a bit of magic into just a few folds.
So go grab a square of paper and give it a try. The next time someone asks where you got that cute little bell? You can smile and say, “I made it.”
Let me know how your bell turned out—I’d love to hear! You can also explore more folding fun like origami hearts, stars, or gift boxes next. Happy folding!