

Ever wanted to make a boomerang out of paper? It’s a fun and creative project that anyone can do! Today, I’m going to show you exactly how to make an easy Origami Boomerang. Grab some paper, and let’s get started on this exciting journey of paper folding!
What Is an Origami Boomerang?
An Origami Boomerang is a simple, yet fascinating, paper folding project that lets you create a boomerang shape. But the fun doesn’t stop there—this creation can actually fly back to you! The beauty of an Origami Boomerang lies in its simplicity and the joy of watching it fly through the air. Whether you’re new to origami or an experienced folder, this project is an enjoyable challenge that gives you a satisfying end result.
Origami is the Japanese art of paper folding, and it’s not just about making shapes. It’s a process that involves precision, patience, and creativity. When you fold paper, you’re not only making something fun, you’re also learning a new skill. The Origami Boomerang is one of those projects that shows how a simple sheet of paper can turn into something dynamic and interesting.
Materials Needed
Before we dive into the steps, let’s make sure you have everything you need for this project.
Materials List:
| Material | Description |
|---|---|
| Paper | 15×7 cm size (standard origami paper) |
| Flat Surface | A clean, smooth surface for folding |
| Patience | This one’s key to making your boomerang fly right! |
Simple Boomerang Step by Step
Now that we have everything ready, let’s move on to the fun part—folding your very own boomerang!
Step-by-Step Origami Boomerang Instructions:
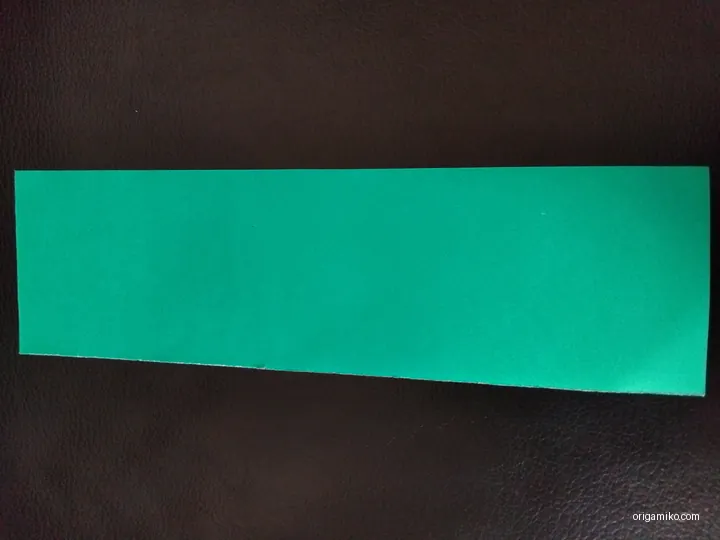
- Take a Piece of Paper
Grab your 15×7 cm piece of paper. Make sure it’s clean and flat. A crisp, smooth paper is ideal for precise folds. - Fold the Paper in Half
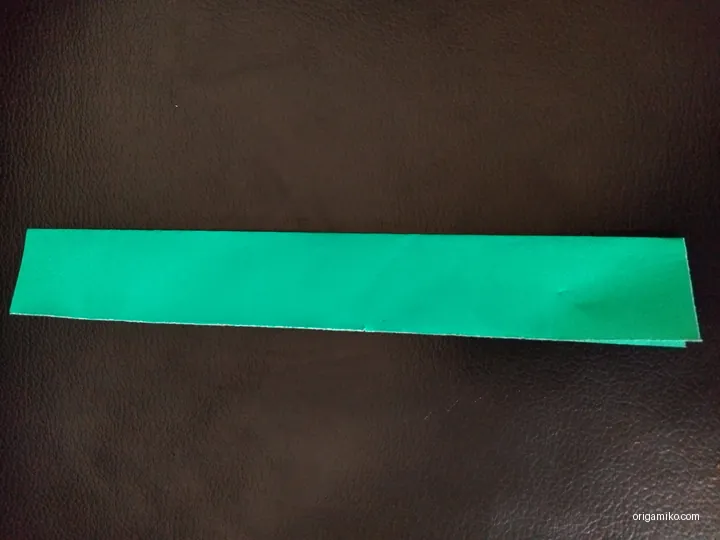
Fold the paper in half from the middle. The goal here is to create a crease down the center that divides the paper into two equal halves. Press down the fold to ensure it’s sharp. - Fold the Upper Corners
Open the paper and fold both of the upper corners down so they meet at the center crease. This gives the boomerang its initial shape. Once again, press down the folds firmly to set them in place. - Make Folds Like the Picture
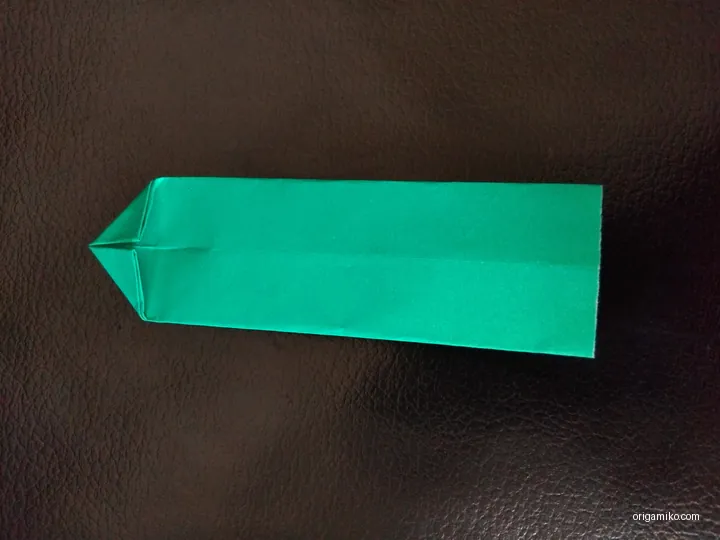
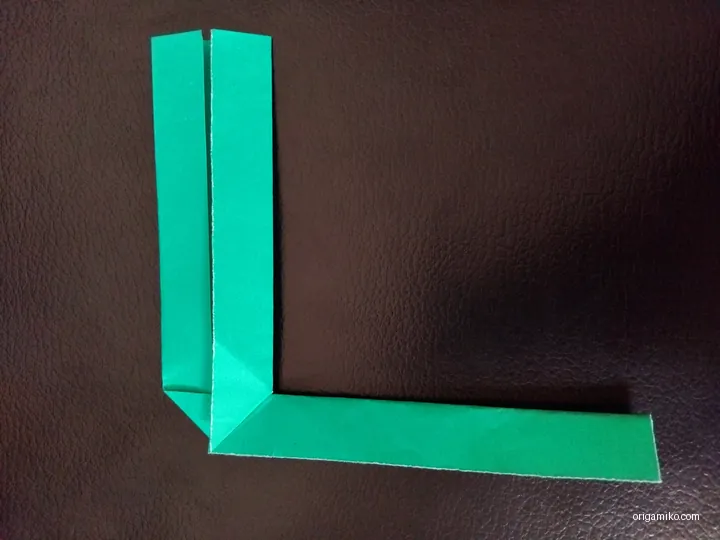
At this point, follow the folds you see in the picture closely. These folds create the boomerang’s wings, which are essential for its flight. Align the edges neatly to maintain symmetry. - Fold the Upper and Lower Sides, Then Fold the Corners
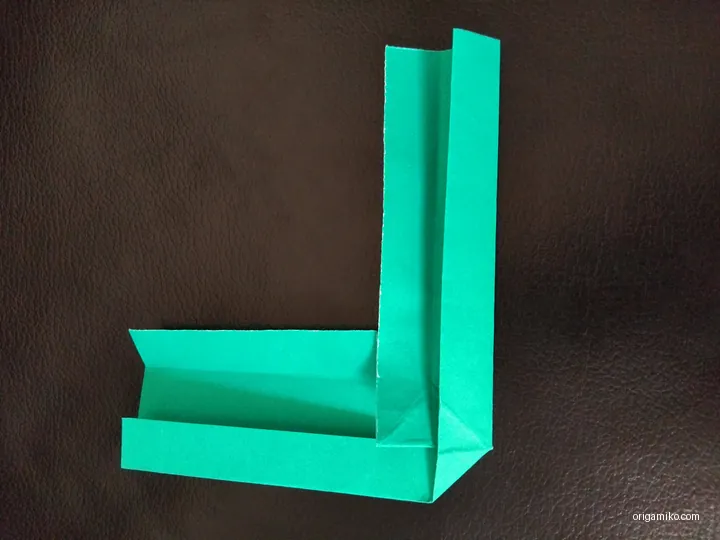
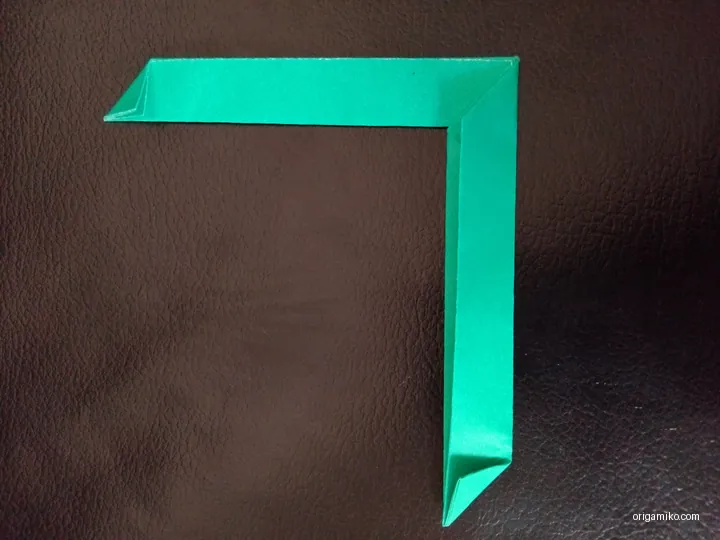
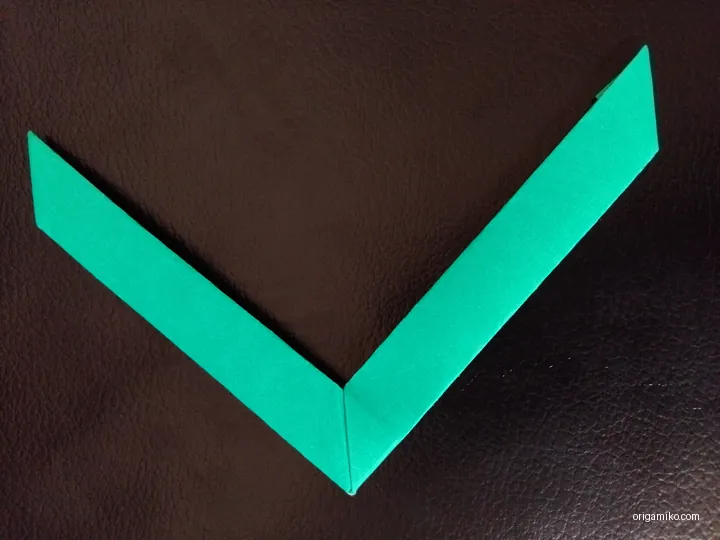
Now, fold both the upper and lower sides inwards toward the center. After this, fold the corners in to complete the basic shape. Take your time to ensure the folds are clean and precise. - The Origami Boomerang is Ready!
Once you’ve made all the folds, your boomerang should be complete. Give it a quick test flight by tossing it lightly into the air. With some practice, you’ll be able to make it come back to you!


Tips for Success
- Use Thin Paper: If your paper is too thick, the boomerang might not fly as well. Choose a thinner origami paper for better results.
- Crease Well: Each fold needs to be sharp for the best flight. Use your fingernail or a bone folder to make the creases crisp.
- Test and Adjust: If your boomerang doesn’t fly back at first, don’t worry. You might need to adjust the folds slightly to get it just right.
Common Mistakes and How to Avoid Them
Mistakes:
- Uneven Folds
If your folds aren’t symmetrical, the boomerang will not fly properly. Solution: Always measure and align your folds with care. - Incorrect Paper Size
If the paper size is wrong, the boomerang may be too big or too small. Solution: Stick to the recommended paper size of 15×7 cm. - Too Many Folds
Adding extra folds can affect the shape and function of the boomerang. Solution: Follow the steps exactly as outlined, keeping the folds minimal and clean.
Similar Variations You Can Try
Once you’ve mastered the basic Origami Boomerang, you can experiment with some variations to make things even more exciting!
- Different Sizes: Try making your boomerang with different-sized paper for varied flying experiences.
- Colored Paper: Use colorful paper to make your boomerang stand out when it’s in the air.
- Double Boomerang: Combine two smaller boomerangs together for a double return effect!
FAQs
Can I make the Origami Boomerang bigger or smaller?
Yes, you can adjust the size of the paper, but keep in mind that the boomerang’s flight may change depending on the size. For the best results, start with the recommended 15×7 cm size.
How do I get my Origami Boomerang to fly back to me?
The key to a successful flight is in the precision of your folds. Make sure your boomerang is symmetrical, and when you throw it, aim for a gentle toss at an angle.
Can I use this method to make other shapes?
Absolutely! The basic folding techniques can be applied to other origami projects. Once you get comfortable with this, you can move on to more complex designs.
Conclusion
Making an Origami Boomerang is a simple and rewarding experience, especially if you follow the easy step-by-step instructions provided. Whether you’re a beginner or an experienced origami artist, you’ll enjoy the process and the results. With just a few folds, you’ll have your own boomerang to throw and watch return to you.
Happy folding, and don’t forget to share your experience with others—who knows what creative variations you’ll come up with next!