
")
Ever wonder how to make an Origami Bow that doesn’t fall flat? One that looks crisp, elegant, and—let’s be real—pretty enough to top a handmade card?
You’re in the right place. I’ve folded bows that looked like crushed paper and others that were mini works of art. Today, I’ll walk you through the step by step journey.
The best part? It’s easier than you think. You’ll only need one sheet of paper, a few folds, and a little patience. Let’s dive in!
What Are We Making? The Origami Bow
This isn’t just any bow. This is a paper-crafted beauty. It’s perfect for decorating gift boxes, scrapbooks, greeting cards—or just for fun. What I love about this project is how it brings a pop of dimension without needing tape, glue, or glitter.
And yes—it’s 100% fold-only. Pure origami magic.
It’s part of the easy Origami Four Bow family, but we’re sticking to one for now. You’ll learn how to create clean edges, symmetric loops, and that satisfying center knot. And trust me—once you make one, you’ll want to make five more.
What is Origami?
Before we fold, let’s talk about the art.
Origami
The traditional Japanese art of folding paper into decorative shapes and figures. No cuts. No glue. Just folds.
Bow (in Origami context)
A symmetrical paper fold that mimics a ribbon bow. Often used as a topper or decor piece.
Easy Origami
A term used for beginner-friendly models that involve fewer folds and simpler steps.
Simple Bow
A clean and easy design for a bow using one square sheet of paper.
Materials Needed
Here’s what you’ll need to get started. Keep it simple. No special tools required.
| Item | Description | Why You Need It |
|---|---|---|
| Origami Paper | 15 cm x 15 cm square paper (any color/pattern) | Thin, foldable, and holds shape well |
| Flat Surface | Table or desk | Stability helps with precision |
| Fingernails | Your built-in creasing tool | For sharp, clean folds |
| Optional Tweezers | For tiny corner tucks (if you’re picky) | Helps refine the bow’s center knot |
Step-by-Step Origami Bow Instructions
Follow this step by step breakdown closely. You can reword, sure—but don’t skip or rush the folds.
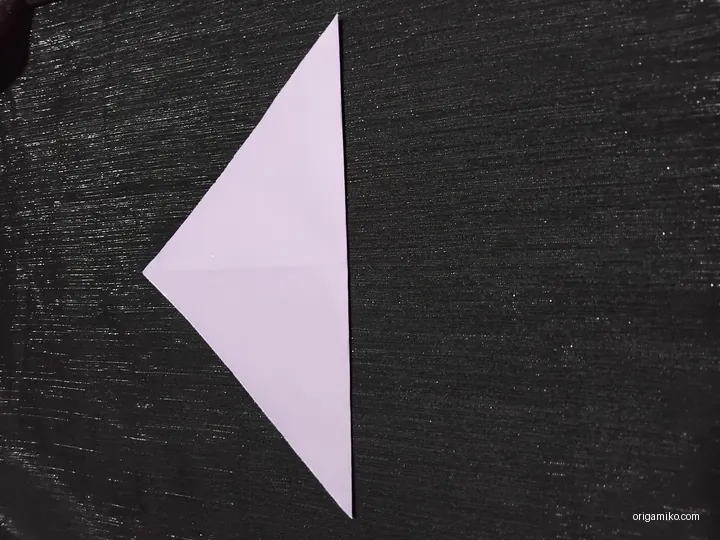
- Start with a square sheet of origami paper.
I always go with 15 x 15 cm for balance. Big enough to fold easily, small enough to look cute. - Fold corner to corner diagonally.
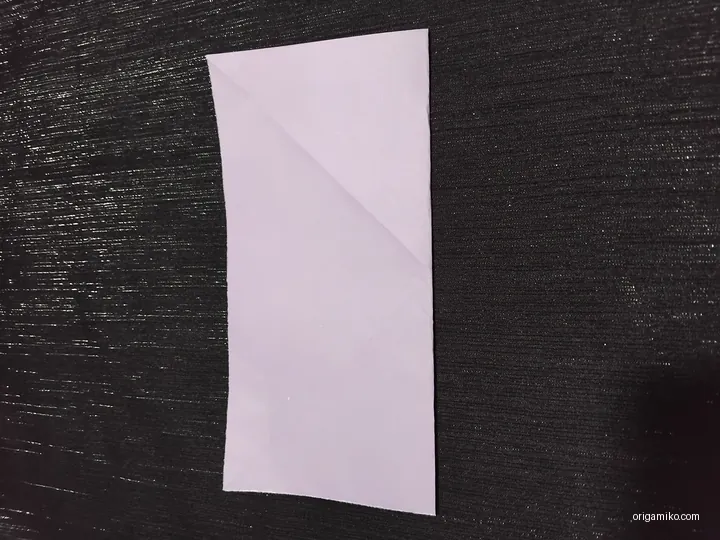
Then, fold it again diagonally the other way. Now, fold it vertically. And then horizontally.
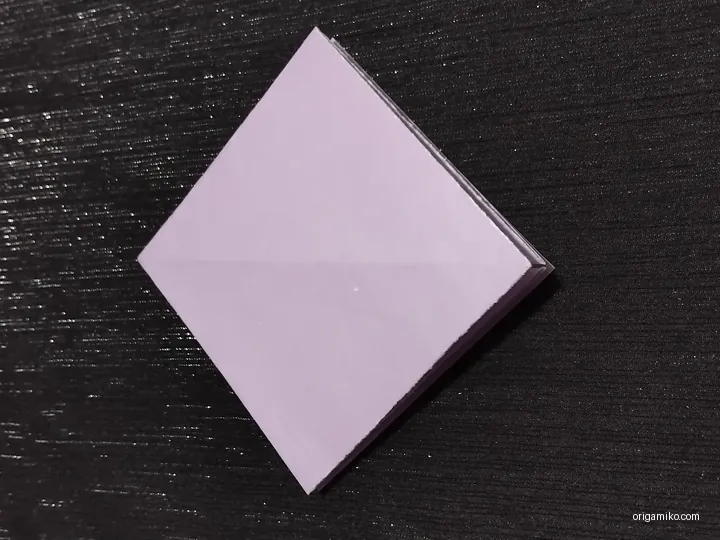
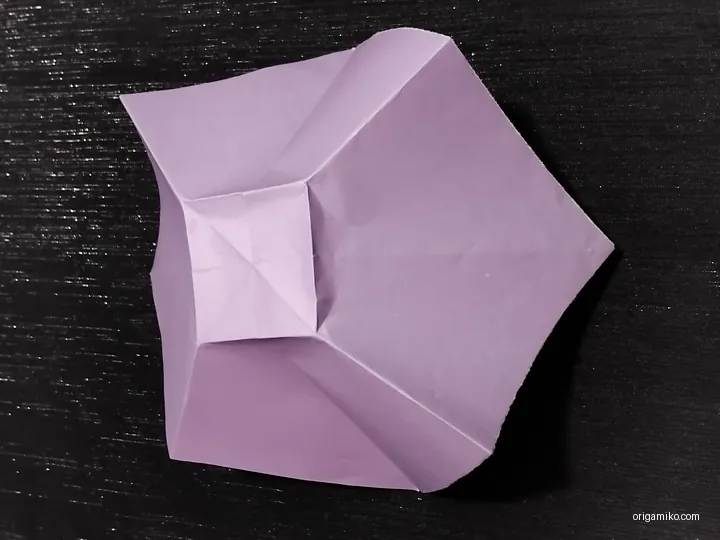
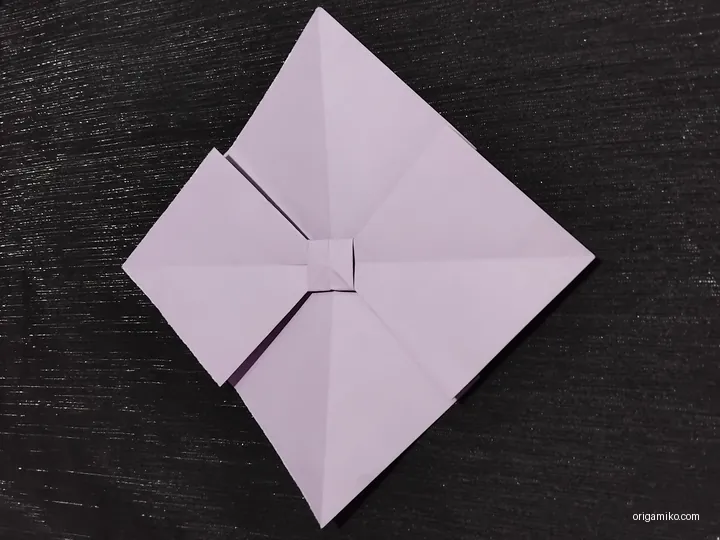
You’ll end up with a grid of creases. - Collapse it into a square base.
Pinch in the sides to create a smaller square. Then, fold the top corner slightly downward—just a gentle crease. - Unfold and make a new crease.
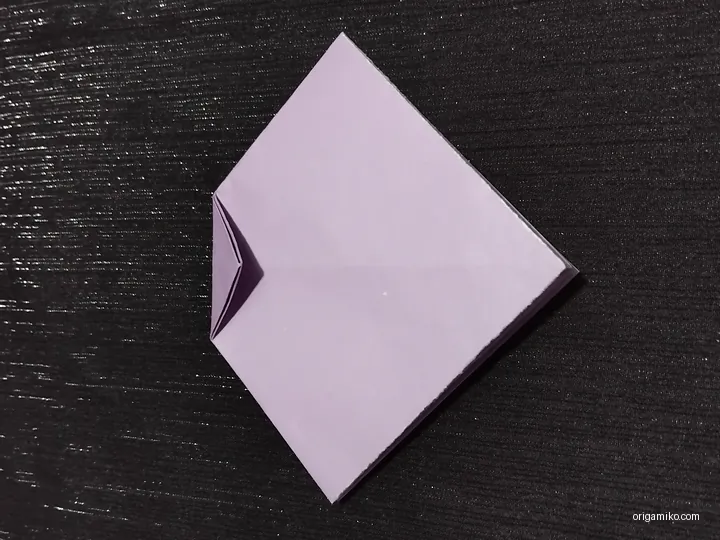
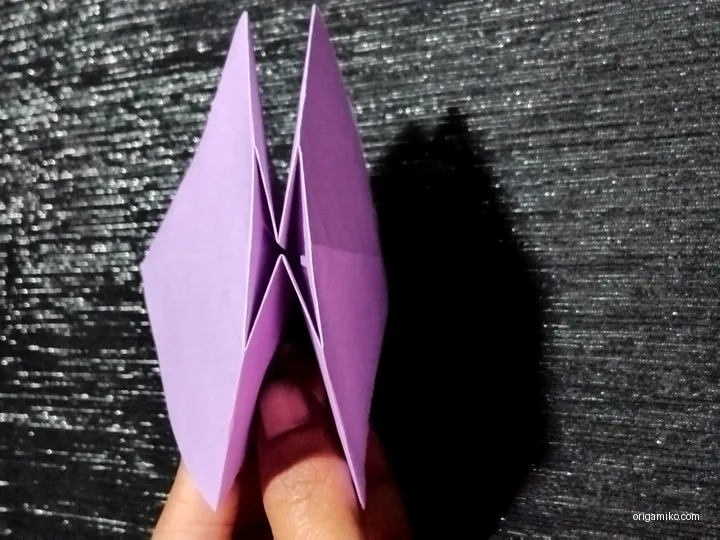
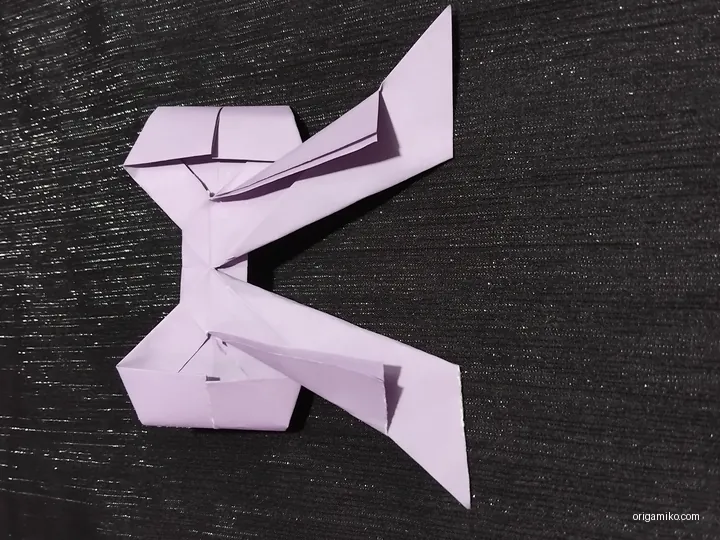
This part gets a little tricky. Reverse that fold so it creates a triangle shape on the top corner. Trust me, this gives the bow its curve. - Refold it all like the image you might’ve seen online.
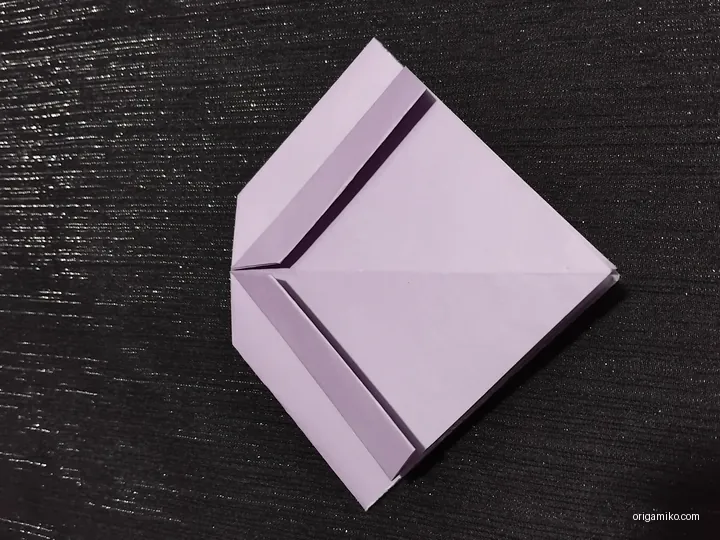
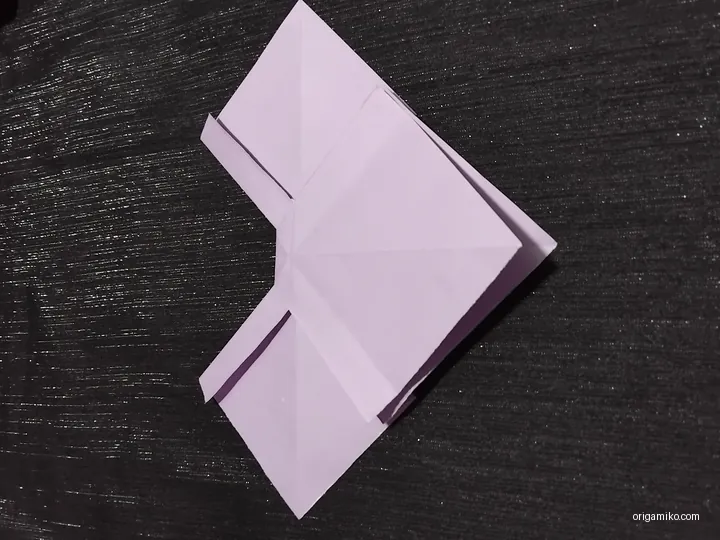
Line everything up so it forms a triangle with a center crease running through. - Open the sides and tuck them in.
You’ll see little flaps on either side. Tuck them gently into the inner layer.
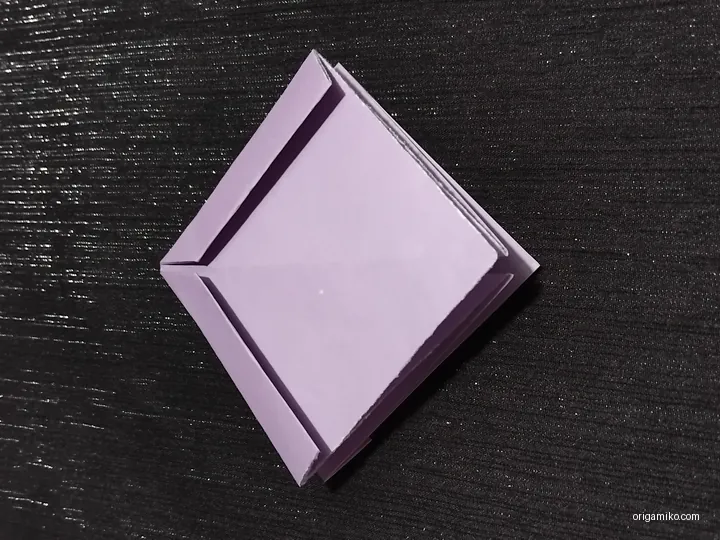
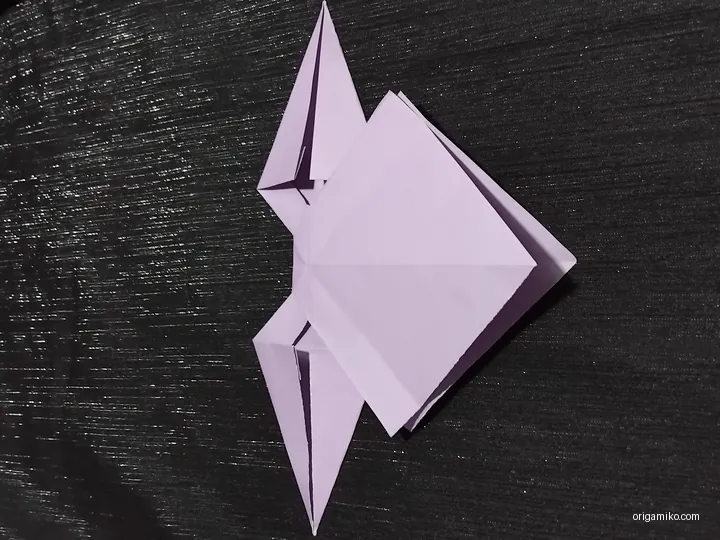
Kind of like slipping envelopes into a pocket. - Flatten and shape the bow.
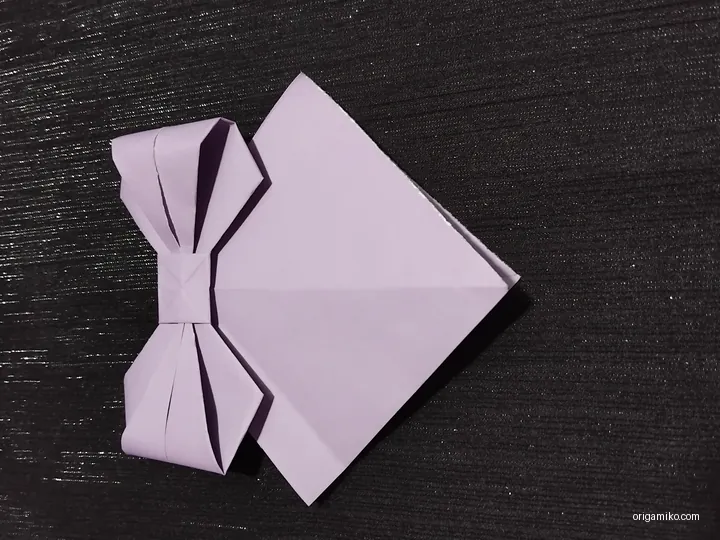
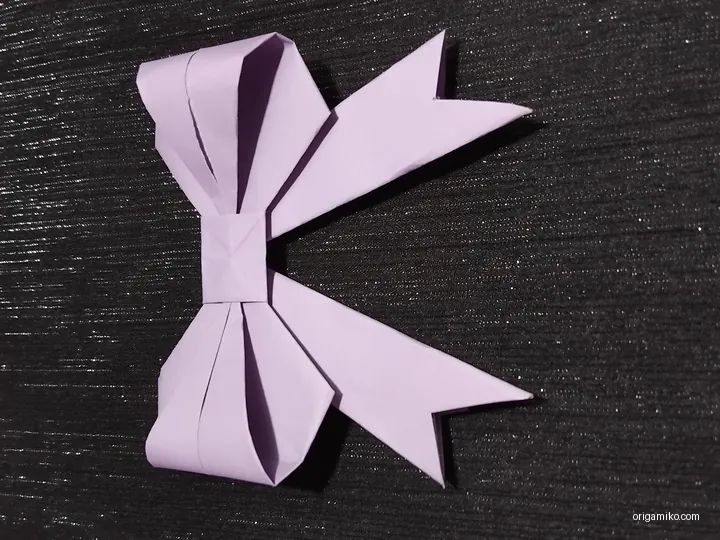
At this point, everything should be tucked in. Press gently to define the loops.
And just like that—you’re done. Your Origami Bow is ready.


Tips for Success
Want your bow to look clean, tight, and symmetrical? Here’s what’s worked for me:
- Use thinner paper. Thick paper makes bulky folds.
- Crease sharply. Use your nails or a ruler edge.
- Fold slowly. One rushed crease can throw off the symmetry.
- Keep hands clean. Oils or sweat can smudge the paper or weaken it.
Common Mistakes and How to Avoid Them
Even seasoned folders mess up now and then. Here’s what usually goes wrong:
- Crooked folds:
Fix: Align corners precisely before pressing down. - Paper tearing:
Fix: Use thinner paper or fold more gently. - Flaps won’t tuck in:
Fix: Check if previous folds are crisp enough to create space. - Uneven loops:
Fix: Go back and re-crease the diagonal folds evenly.
Similar Variations You Can Try
Once you’ve nailed this one, you’ll want to explore more. Trust me—I’ve tried them all.
- Double Origami Bows – Two layers stacked for a 3D look.
- Mini Gift Bows – Tiny versions for decorating cards.
- Origami Bow Ties – Slightly longer middle and rectangular tips.
- Curled Paper Ribbons – Combine with your bow for full gift wrap flair.
Each one follows a similar process but gives a new flair. You can also experiment with patterned paper or foil sheets.
FAQs
Q: Is this bow good for beginners?
Yes! This is a simple bow design and is considered part of the easy Origami Four Bow category.
Q: What kind of paper works best?
Standard origami paper or any thin, square paper. Avoid cardstock or anything too thick.
Q: Can I use this for gift wrapping?
Absolutely. I’ve used these on boxes, jars, even handmade cards.
Q: How long does it take to fold one?
About 5–10 minutes. Less once you’ve practiced.
Q: Can kids make this?
Yes—but younger kids may need help with the tucking steps.
Final Thoughts
That’s it—your complete guide on how to make Origami Bow with confidence. It’s one of those folds that’s quick, beautiful, and strangely addictive. Seriously, once you’ve made one, don’t be surprised if you find yourself making an entire rainbow of them.
Try it out, tweak the size, change the paper, and make it your own. Have fun, and feel free to share your creations with fellow paper lovers. You’ve got this!
Ready to explore more? Check out my other tutorials on origami card holders or paper stars for your next fold-friendly adventure.