
Ever wondered how a simple square of paper transforms into nature’s sweetest symbol? Today I’ll show you exactly how to make an Origami Cherry that’ll make your friends think you’re some kind of paper-folding wizard. Trust me, it’s easier than you think.
This isn’t just another craft project. It’s your gateway into the mesmerizing world of Japanese paper folding. And by the end of this guide, you’ll have a beautiful cherry blossom sitting right in your hands.
What is an Origami Cherry?
The Origami Cherry represents one of nature’s most beloved symbols – the delicate cherry blossom that signals spring’s arrival. I’ve been folding paper for years, and there’s something magical about creating these tiny flowers from nothing but a square piece of paper.
In Japanese culture, cherry blossoms symbolize the fleeting nature of life and beauty. When you fold an Origami Cherry, you’re not just making a decoration. You’re connecting with centuries of tradition and artistry.
Cherry Blossom (Sakura) : The iconic pink or white flowers of cherry trees, celebrated in Japanese culture as symbols of renewal and the ephemeral nature of life.
Origami : The traditional Japanese art of paper folding, literally meaning “folding paper” (ori = folding, kami = paper).
Petal : Individual segments of the flower that form the cherry blossom’s distinctive shape.
Materials Needed
Here’s everything you’ll need to create your Simple Origami Cherry Step by step:
| Material | Specifications | Purpose | Where to Find | Cost Range |
|---|---|---|---|---|
| Origami Paper | 15cm x 15cm square | Main folding material | Craft stores, online | $0.10-$0.50 per sheet |
| Regular Paper | 15cm x 15cm (if no origami paper) | Alternative folding material | Any paper, cut to size | $0.05-$0.10 per sheet |
| Scissors | Sharp, precise cutting | Trimming and shaping | Household or craft store | $2-$15 |
| Flat Surface | Clean, smooth workspace | Proper folding support | Any table or desk | Free |
| Good Lighting | Bright, even illumination | Clear visibility of folds | Natural or lamp light | Free |
The beauty of this project? You probably have most of these materials lying around your house right now.
Step-by-Step Origami Cherry Instructions
Let me walk you through how to make Origami Cherry with crystal-clear directions. I’ve broken this down so even complete beginners can follow along.
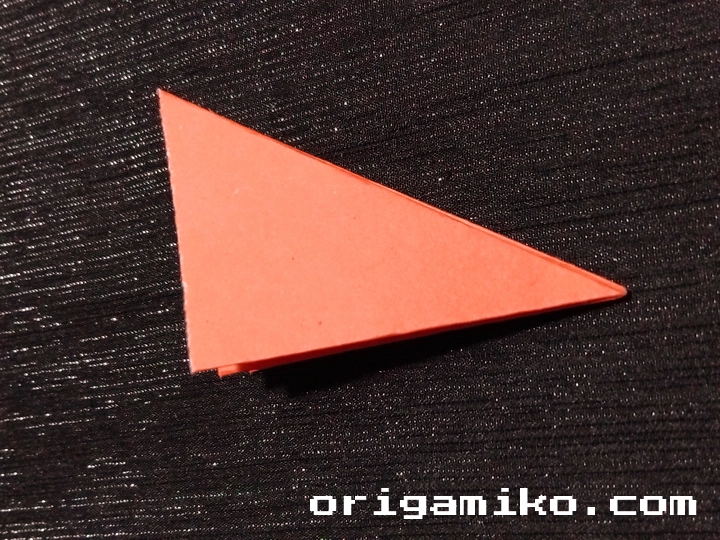
Step 1: Prepare Your Paper
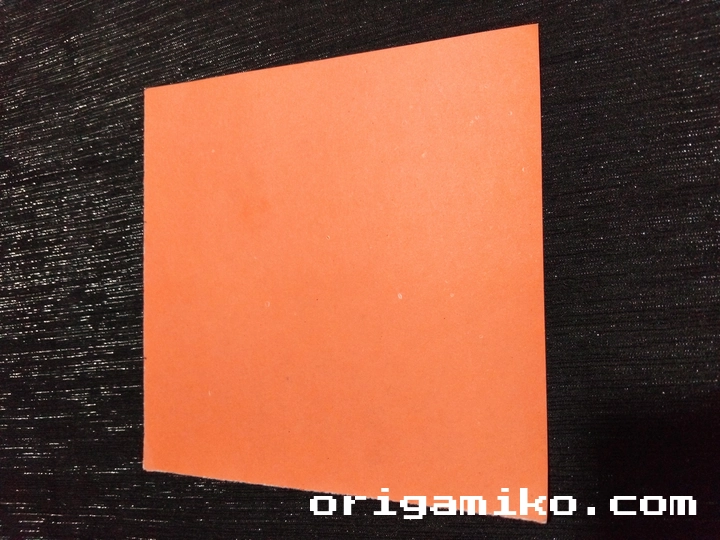
Take your 15cm x 15cm paper square. Make sure it’s clean and flat. Any wrinkles will show up in your final cherry, so start fresh.
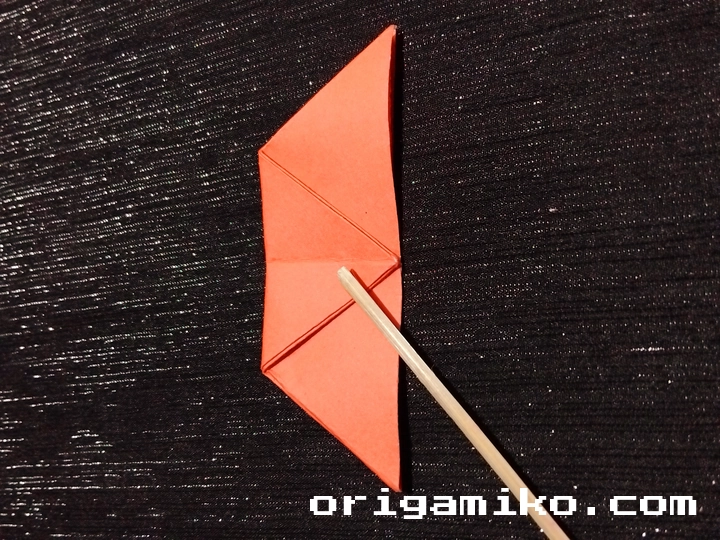
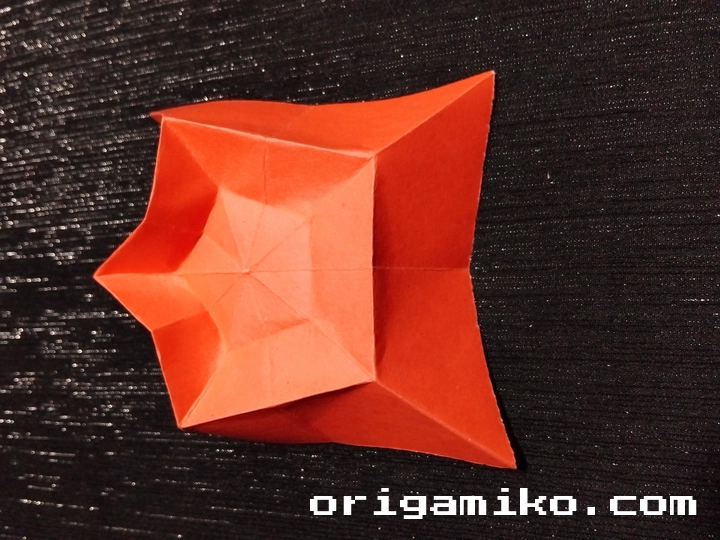
Step 2: Create the Basic Folds
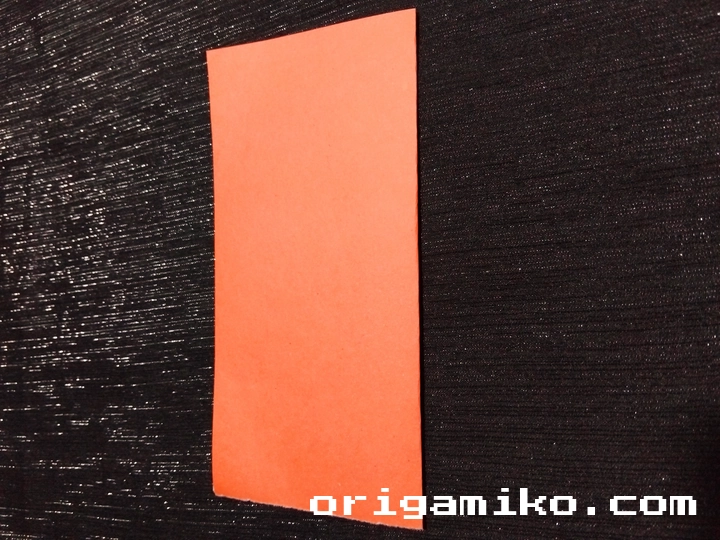
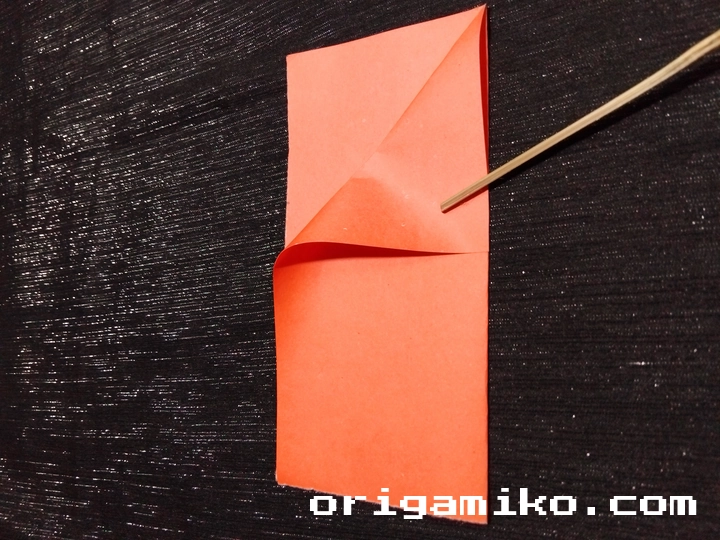


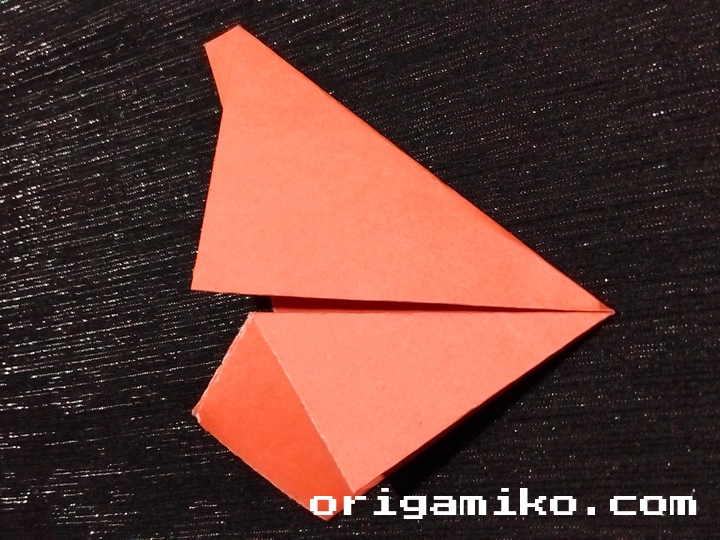

• Half fold your paper diagonally • Fold the right corner inward • Half fold it again along the center line • Now fold the left corner to match the picture reference • Cut the upper portion as shown • Create valley and mountain folds following the pattern
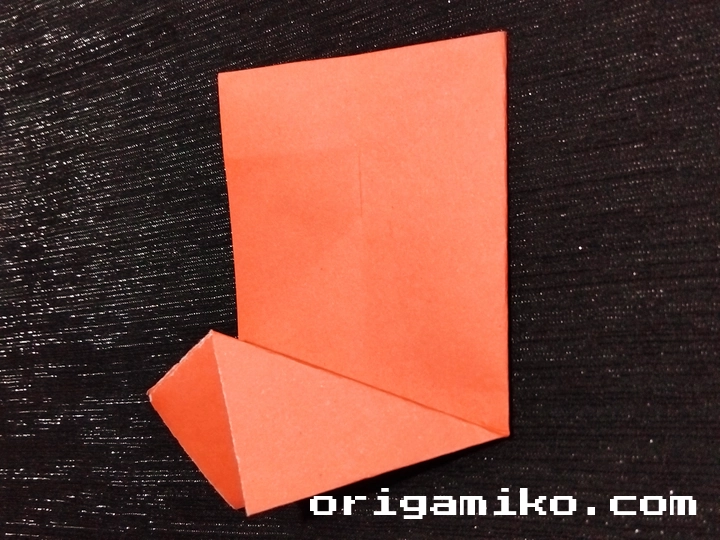
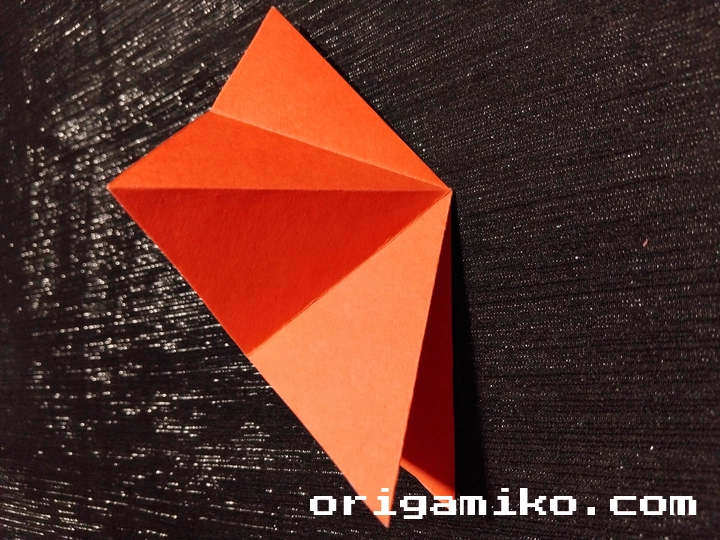
Step 3: Shape the Petals
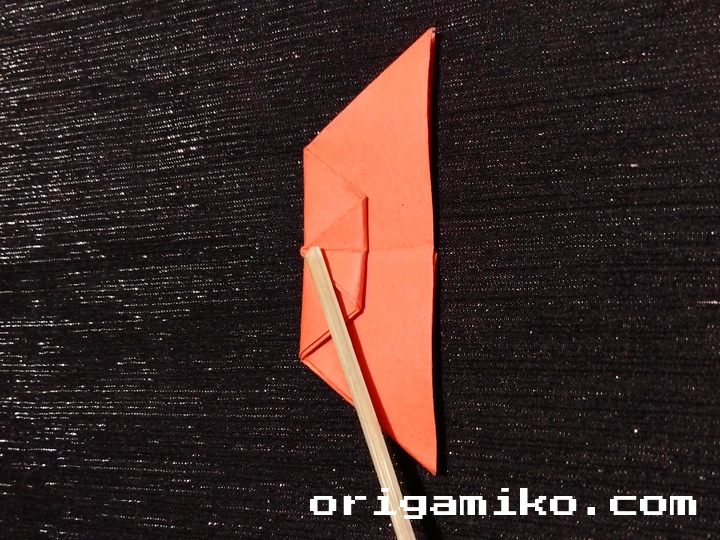
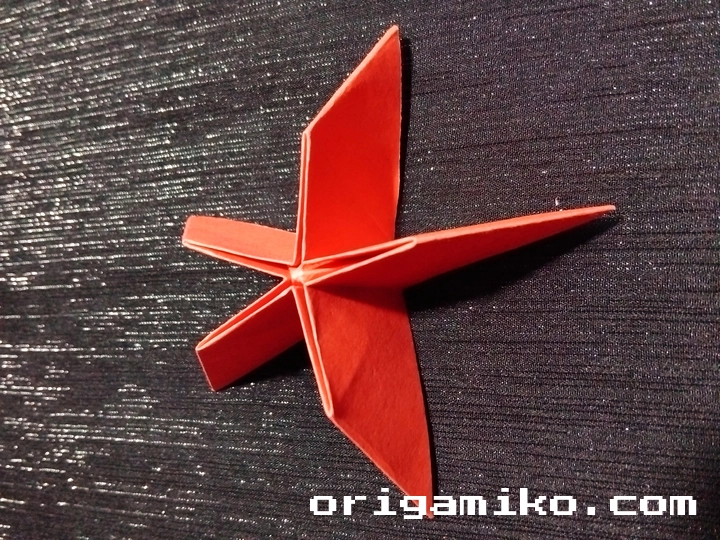
• Fold the upper corner down toward the center • Half fold this section again • Carefully unfold the entire paper • Make precise creases following the fold lines you’ve established
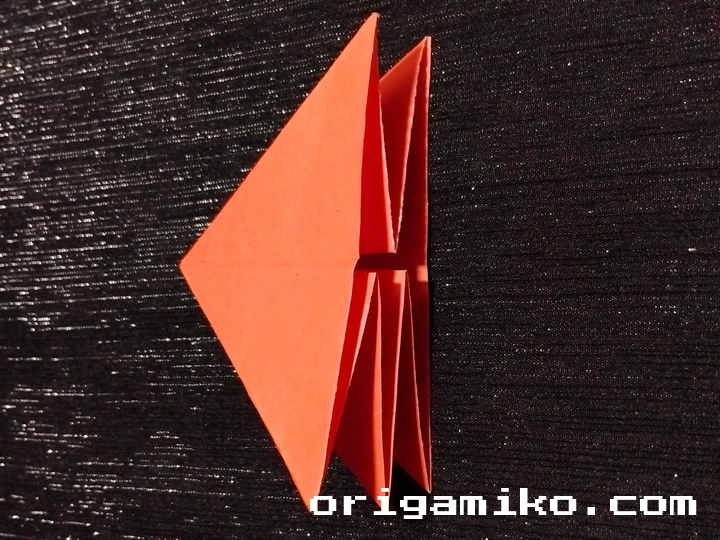
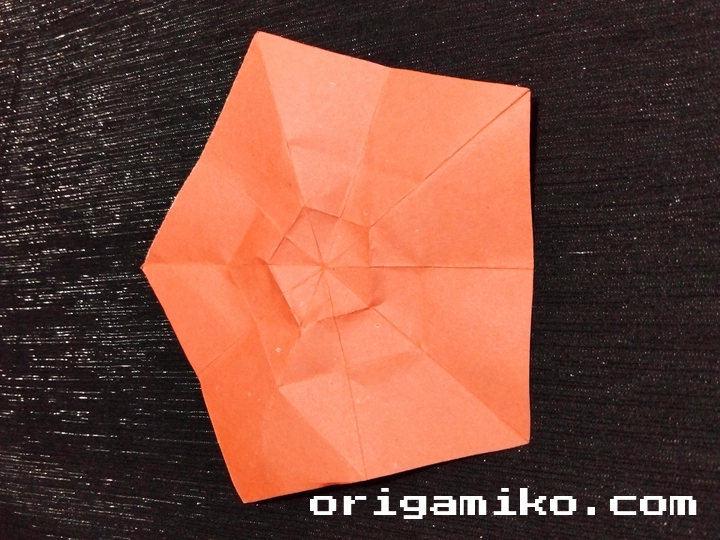
Step 4: Form the Cherry Blossom
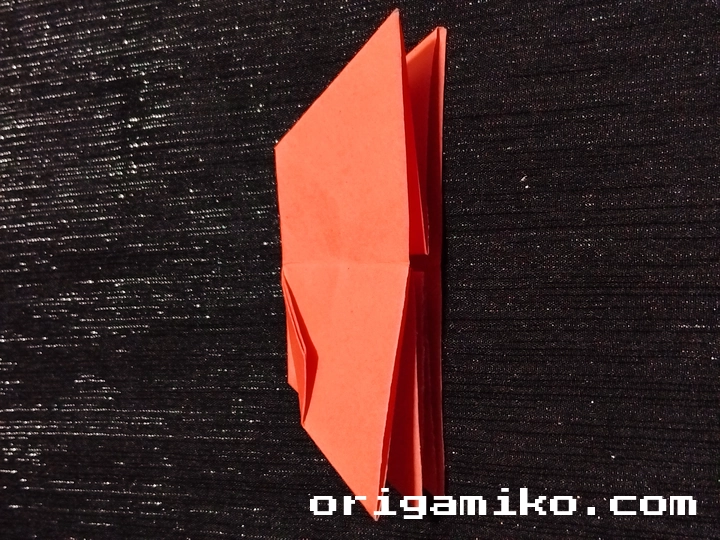
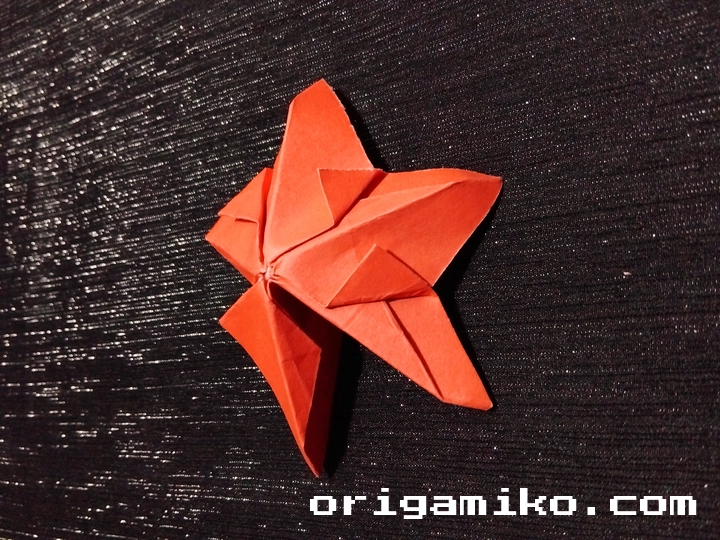
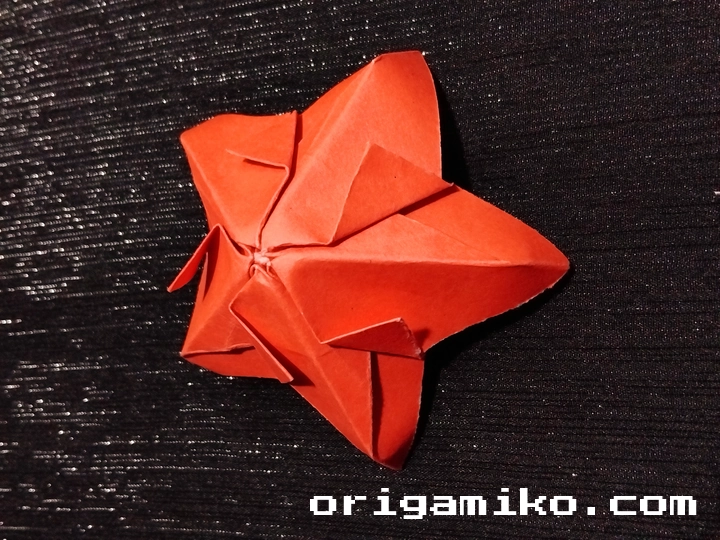
• Fold the upper portion of each individual petal • Fold each petal from the middle, creating dimension • Work slowly and deliberately – rushing here ruins the final look
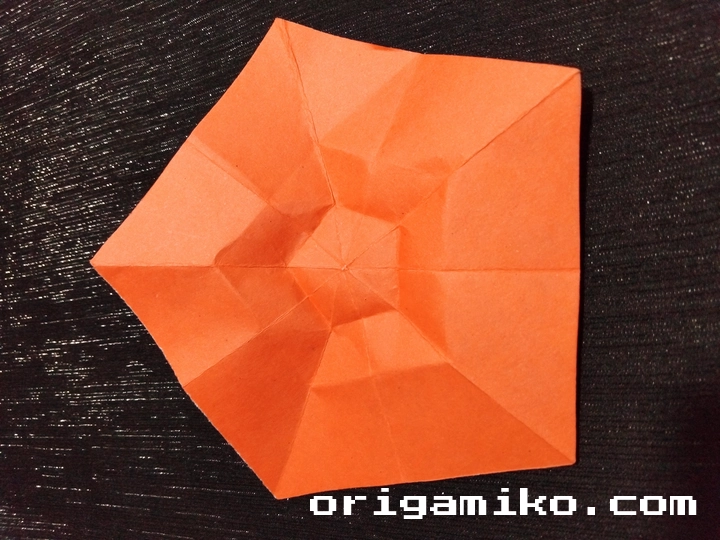
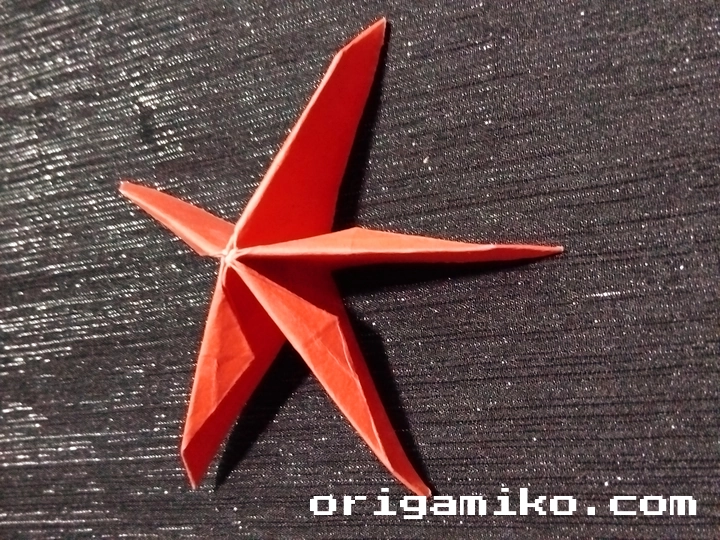
Step 5: Final Assembly
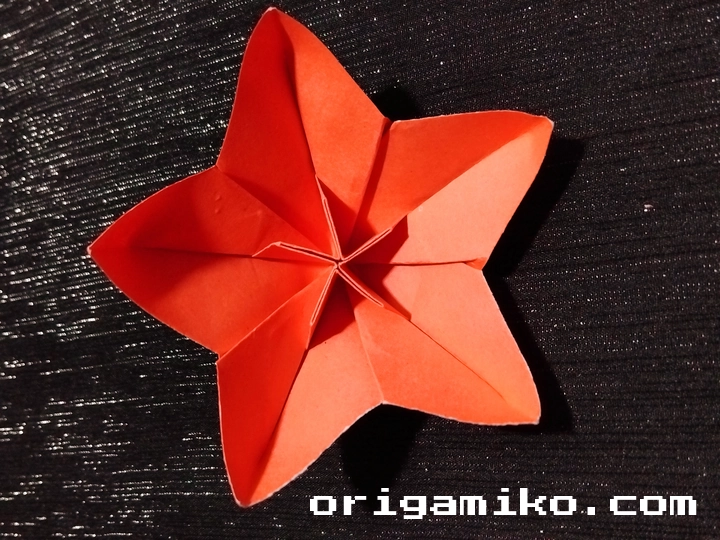
Your Origami Cherry is now complete! Take a moment to adjust the petals and ensure everything sits naturally.
Tips for Success
I learned these tricks the hard way, so you don’t have to:
• Start with thin paper – Thick paper fights back and creates bulky folds
• Make sharp creases – Use your fingernail or a bone folder for crisp lines
• Work on a hard surface – Soft surfaces make precise folding nearly impossible
• Take breaks – If you get frustrated, step away for five minutes
• Practice the basic folds first – Master valley and mountain folds before attempting complex projects
• Keep your workspace clean – Dust and debris will stick to your paper
• Use consistent pressure – Light, even pressure creates the best results
The biggest game-changer? Patience. I know it sounds boring, but every expert folder I know swears by taking their time.
Common Mistakes and How to Avoid Them
Here are the pitfalls I see beginners fall into constantly:
Mistake 1: Rushing the Initial Folds Solution: Each fold sets up the next one. If your foundation is sloppy, everything that follows will be off.
Mistake 2: Using the Wrong Paper Size Solution: Stick to exactly 15cm x 15cm. Bigger or smaller changes the entire dynamic of the folds.
Mistake 3: Ignoring Grain Direction Solution: Paper has a grain, just like wood. Folding against it creates ugly, uneven lines.
Mistake 4: Over-handling the Paper Solution: Too much touching makes the paper limp and hard to work with. Make your folds decisively.
Mistake 5: Skipping the Unfold Step Solution: When instructions say unfold, do it. These moments let you see the fold pattern clearly.
I made every single one of these mistakes when I started. Learn from my failures!
Similar Variations You Can Create
Once you’ve mastered the basic Origami Cherry, try these related projects:
• Simple Rose – Uses similar petal-folding techniques but with different proportions
• Lotus Flower – More complex but follows the same basic principles
• Iris Blossom – Adds color variation and slightly different fold patterns
• Plum Blossom – Traditional Japanese flower with five petals instead of the cherry’s varying numbers
• Camellia – Rounder petals that teach you different shaping methods
Each variation builds on the skills you’ve just learned. Think of them as your next challenges.
Troubleshooting Your Origami Cherry
Problem: Petals won’t stay in place Solution: Your folds aren’t sharp enough. Go back and re-crease each fold firmly.
Problem: Paper tears during folding Solution: You’re using too much force. Gentle, consistent pressure works better than aggressive folding.
Problem: Final shape looks lopsided Solution: Check that your initial cuts were symmetrical. An uneven start creates an uneven finish.
Problem: Folds keep opening up Solution: Make sure you’re folding in the right direction. Valley folds go down, mountain folds go up.
Creative Ways to Use Your Origami Cherry
Don’t just make one and call it done. Here’s what I do with mine:
• Create a whole branch by making multiple cherries and attaching them to a real twig • Use them as unique gift toppers instead of bows • Make a seasonal garland for spring decorating • Frame a single perfect cherry as wall art • Create greeting cards with cherries attached • Use them as place cards for dinner parties
The possibilities are endless once you start thinking creatively.
FAQs
Q: Can I use regular printer paper instead of origami paper? A: Absolutely! Just cut it to the exact 15cm x 15cm size. Regular paper is actually easier for beginners because it holds creases well.
Q: How long does it take to make one Origami Cherry? A: For beginners, expect 15-20 minutes. Once you get the hang of it, you can fold one in under 5 minutes.
Q: What if I don’t have scissors? A: You can tear the paper carefully, but scissors give cleaner lines and a more professional look.
Q: Can kids do this project? A: Yes! Kids around 8 years old can handle this with some adult guidance. It’s great for developing fine motor skills.
Q: Why does my cherry look different from the pictures? A: Small variations are normal and actually add character. As long as the basic shape is there, you’ve succeeded.
The Science Behind Paper Folding
Here’s something cool I learned: origami isn’t just art – it’s applied mathematics and engineering. Every fold you make follows geometric principles that scientists use to solve real-world problems.
When you fold your Origami Cherry, you’re working with concepts like: • Symmetry – Each petal mirrors the others • Proportion – The size relationships create visual harmony
• Tension and compression – The paper holds its shape through balanced forces
NASA actually uses origami principles to design solar panels that fold for space travel. Pretty amazing, right?
Building Your Origami Skills
The Origami Cherry is your stepping stone to more complex projects. I always tell people to master this before moving on because it teaches you:
• Precision folding – Every crease matters • Spatial thinking – You learn to visualize the final shape • Patience – Good origami can’t be rushed • Problem-solving – When something goes wrong, you figure out why
These skills transfer to every other origami project you’ll ever attempt.
Summary
Creating an Easy Origami Cherry connects you to an ancient art form while producing something genuinely beautiful. I’ve walked you through every step, from selecting your materials to troubleshooting common problems.
Remember, your first cherry might not be perfect – mine certainly wasn’t! But each fold teaches you something new, and before you know it, you’ll be creating these delicate blossoms with confidence and ease. The journey from that first awkward fold to a graceful Origami Cherry is absolutely worth taking.