

Ever wondered how to make coffee cup from just one sheet of paper?
Stick with me—I’ll walk you through a simple, satisfying fold you’ll want to make again and again.
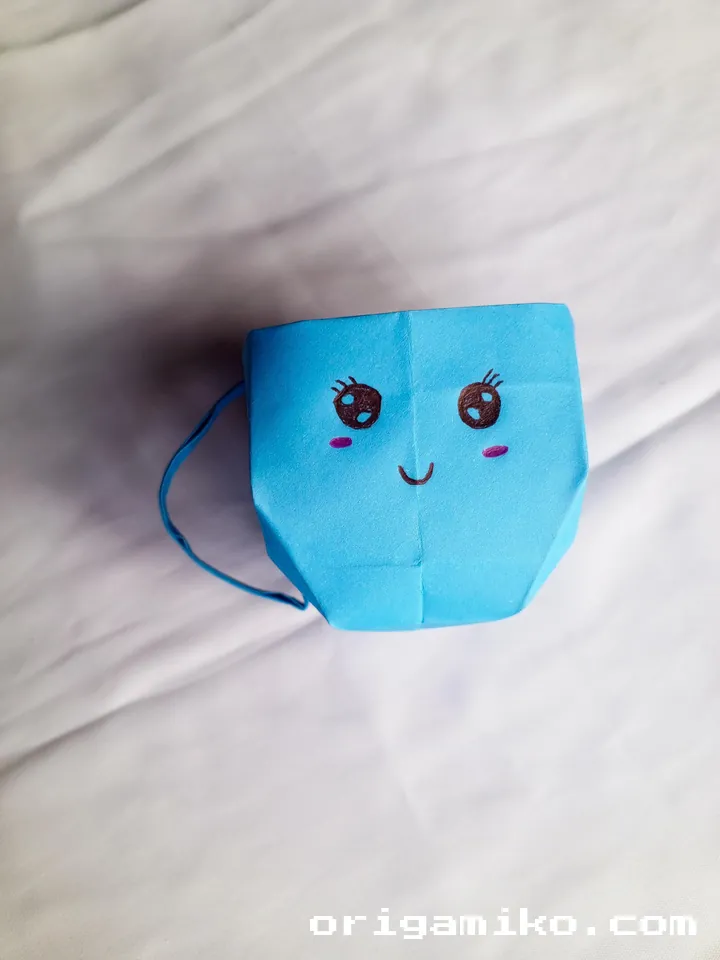
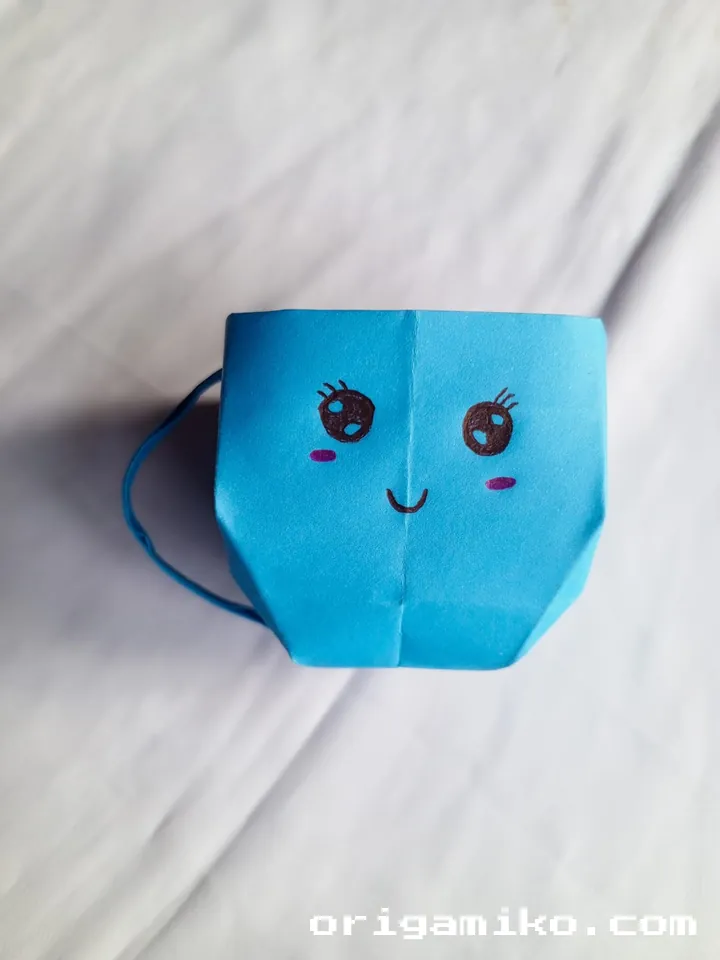
This easy Origami coffee cup offers just the right blend of creativity and charm, all in one fold-at-a-time journey.
What Are We Folding Today?
Let’s talk paper magic. Today, we’re making a simple coffee cup, step by step, using traditional origami techniques. And let me tell you, it’s more than just paper—it’s a little sculpture that sparks joy.
I’ve folded this design many times—sometimes as a conversation starter, sometimes just to unwind. It’s relaxing and practical, and makes a surprisingly cute desk piece or party favor.
It doesn’t matter if you’re brand new to origami or you’ve got a drawer full of folded creations—this little coffee cup is a must-try.
Materials Needed
| Item | Description | Notes |
|---|---|---|
| Square Origami Paper | 15 inches × 15 inches | Preferably thick for better structure |
| Rectangular Paper | About 4 inches × 1.5 inches | Used for the cup’s handle |
| Flat Surface | A clean and solid table or desk | Helps with precise folding |
| Optional Tools | Bone folder or ruler | For making sharp creases (optional) |
| Good Lighting | Natural daylight or a desk lamp | Better visibility while folding |
Key Origami Terms (Quick Definitions)
Valley Fold
Fold the paper toward you, forming a “V” shape.
Mountain Fold
Fold the paper away from you so it peaks like a mountain.
Crease
The visible line created by a fold.
Reverse Fold
A fold made by flipping the crease in the opposite direction.
Step-by-Step Origami Coffee Cup Instructions
Let’s walk through this together. These Origami coffee cup instructions are beginner-friendly but detailed enough for seasoned folders too.
Step 1: Begin With a Square Sheet

- Use a 15″ × 15″ square piece of origami paper.
- Lay it with the color side facing down (if it’s colored).
- Make sure the edges are aligned for cleaner folds.
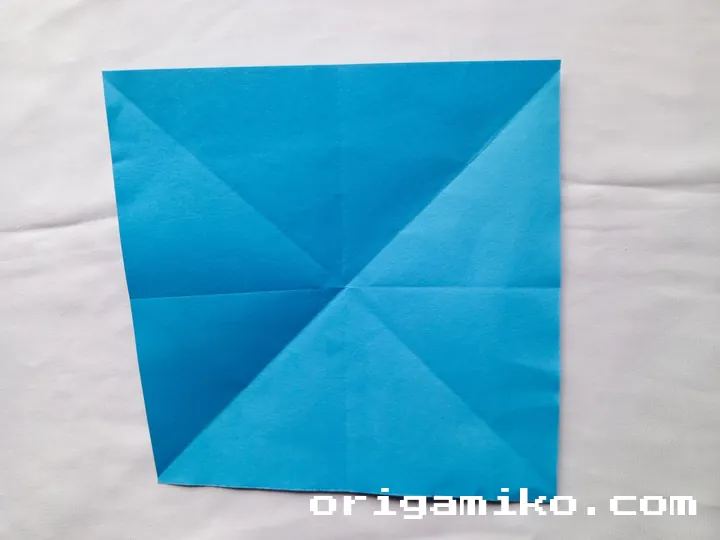
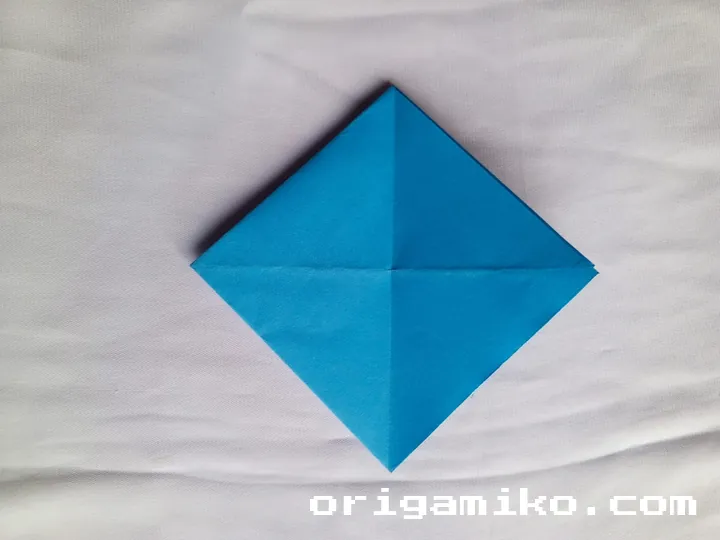
Step 2: Fold Vertically and Horizontally
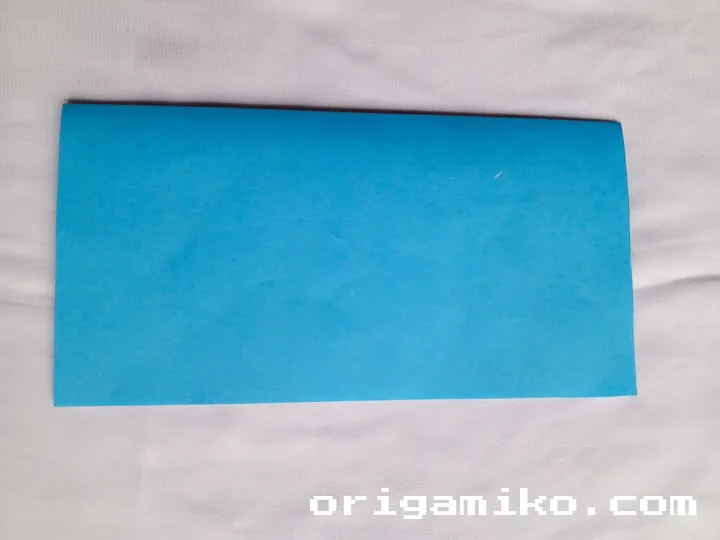
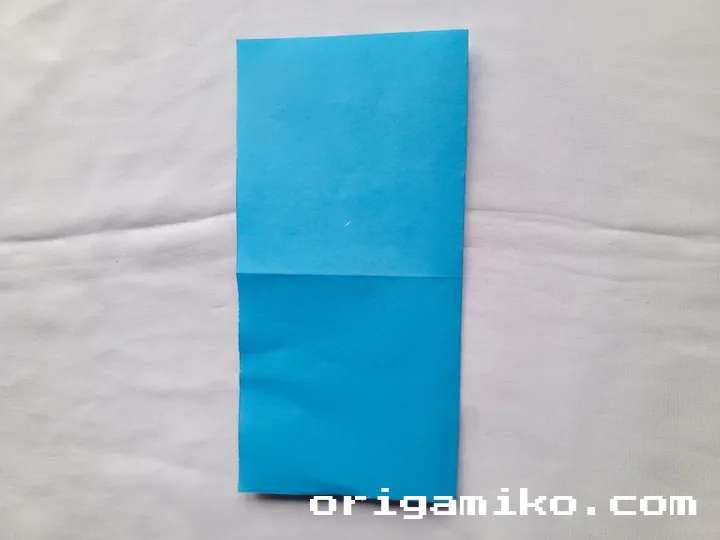
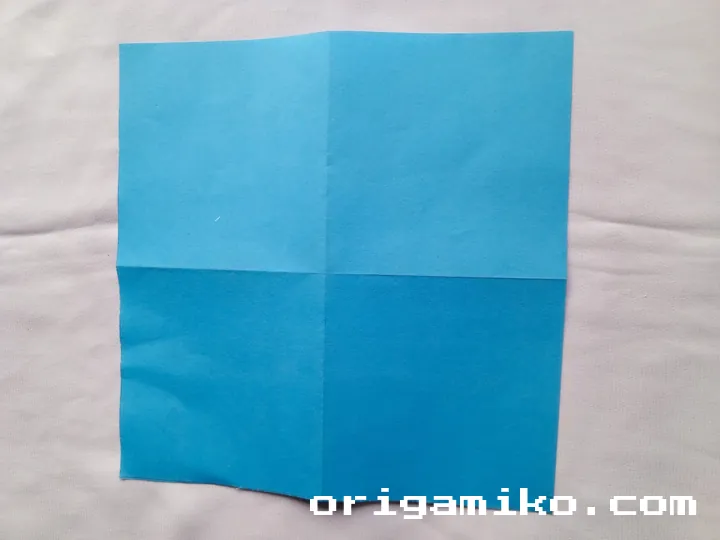
- Fold the paper in half vertically. Crease well and unfold.
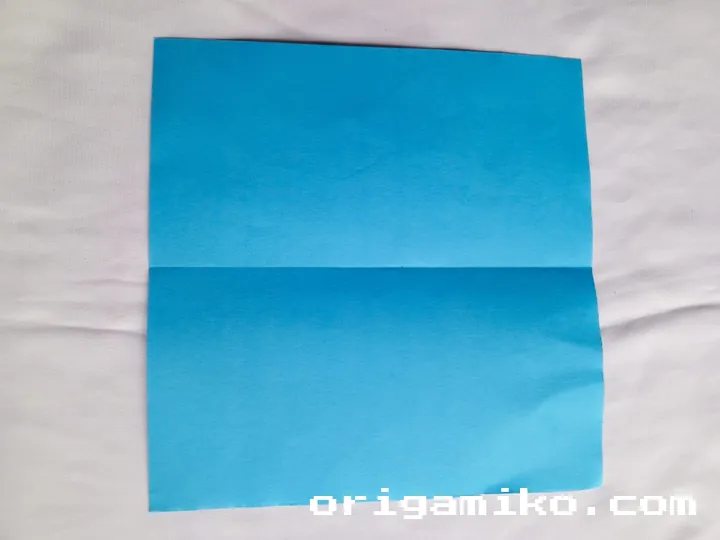
- Now fold it horizontally. Again, crease and unfold.
- You should now have a cross-shaped crease in the middle of your square.
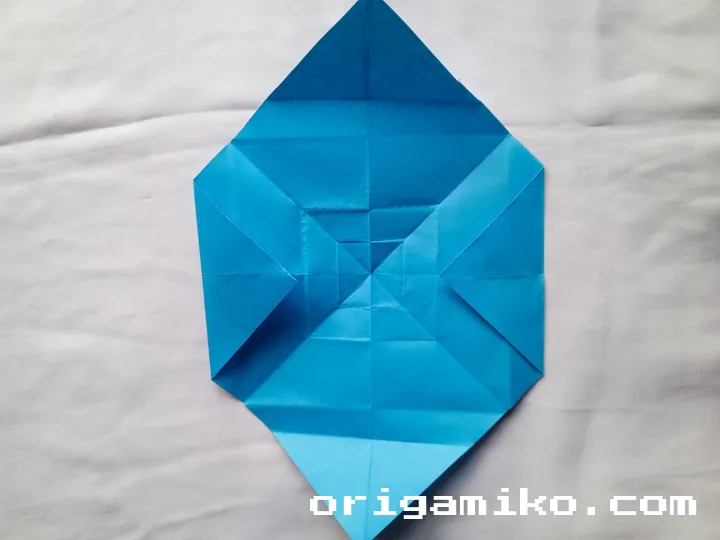
Step 3: Fold Corners, Sides, and Center
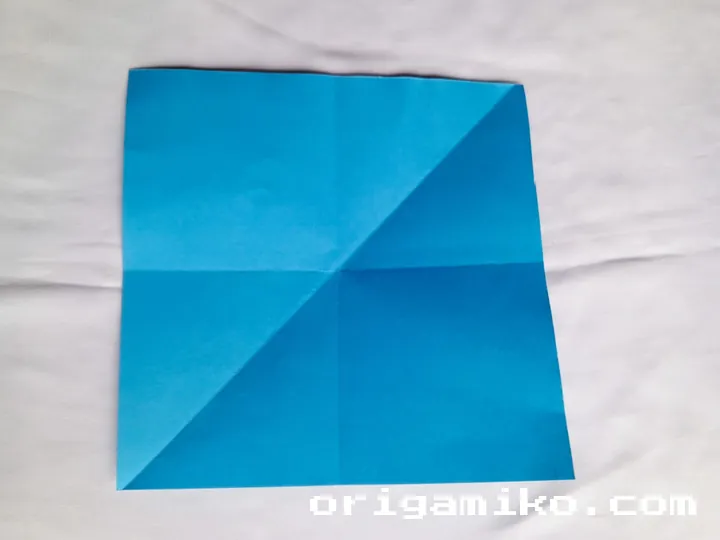
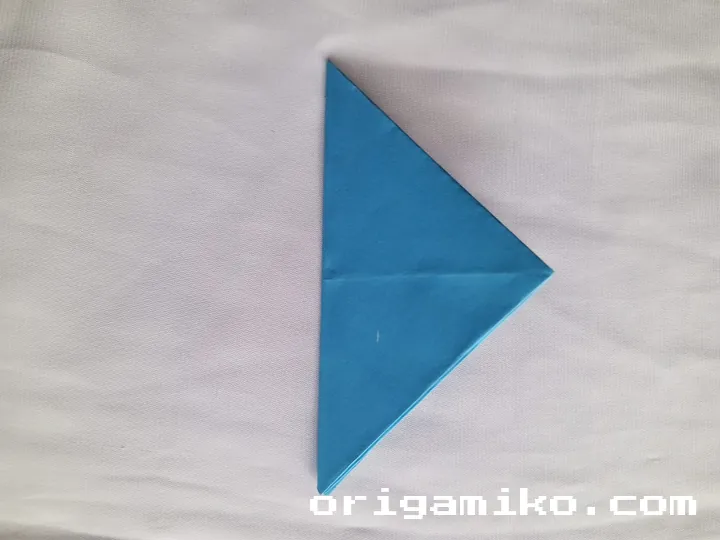
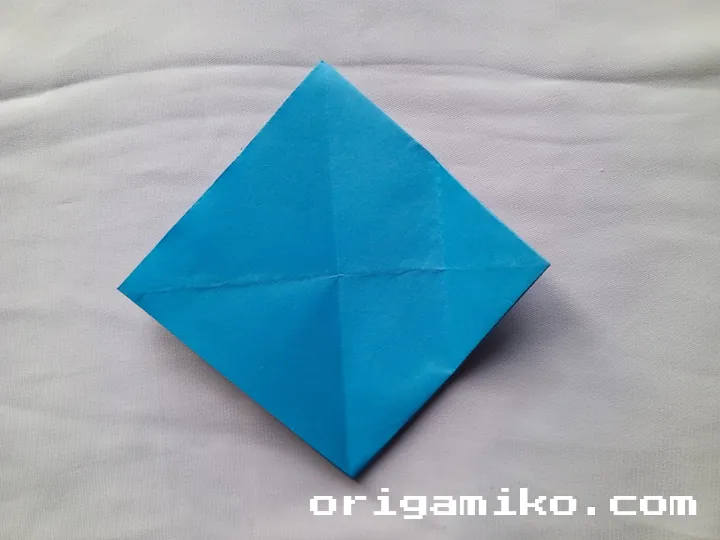
- Fold each of the four corners into the center and unfold.
- Then fold the left and right edges inward to the center crease. Crease and unfold.
- Next, fold the top and bottom edges inward to the center and unfold.
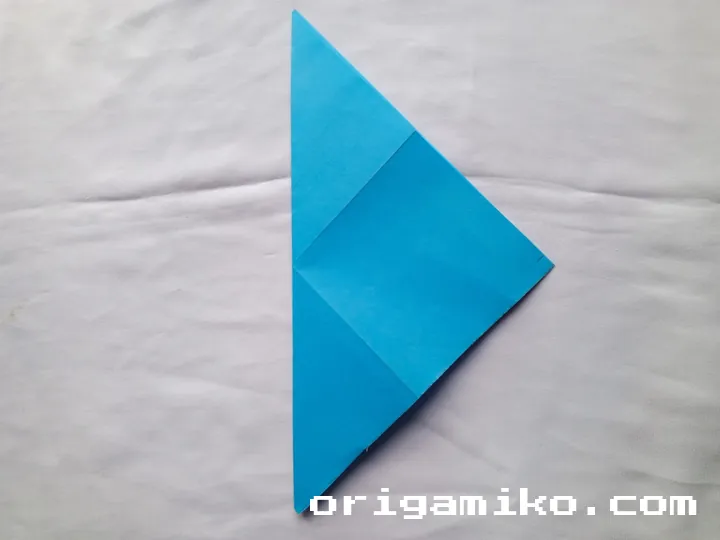
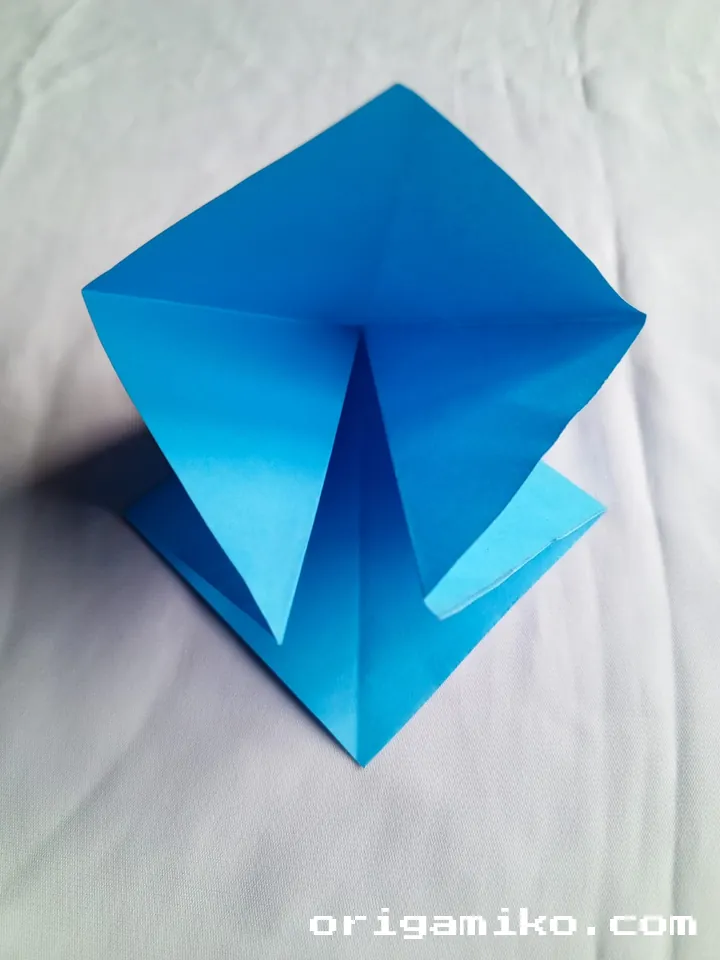
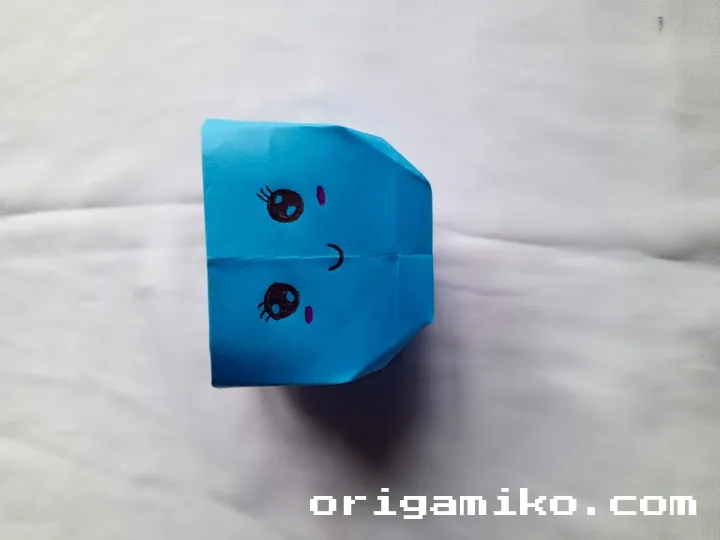
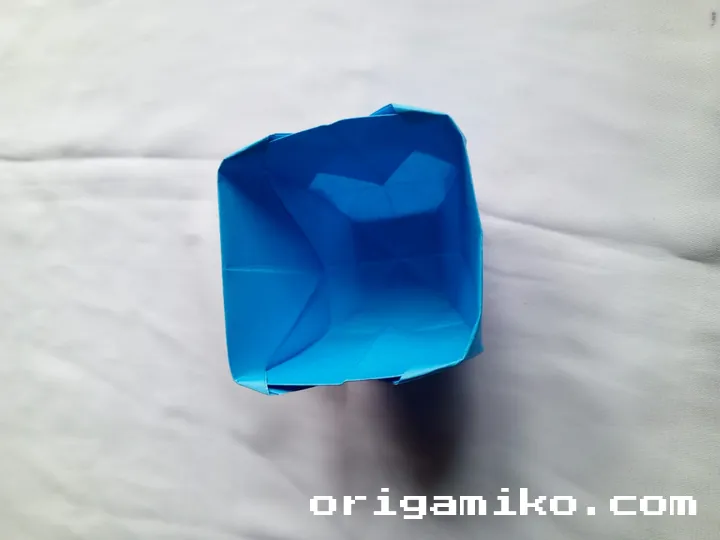
Step 4: Create the Base of the Cup
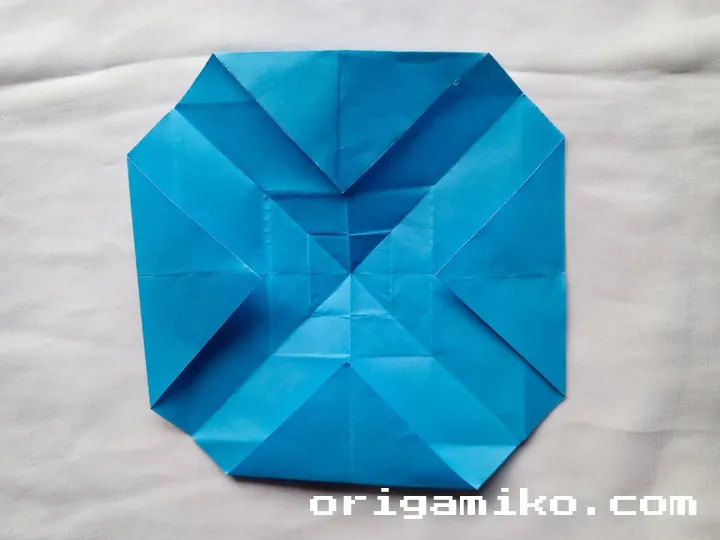
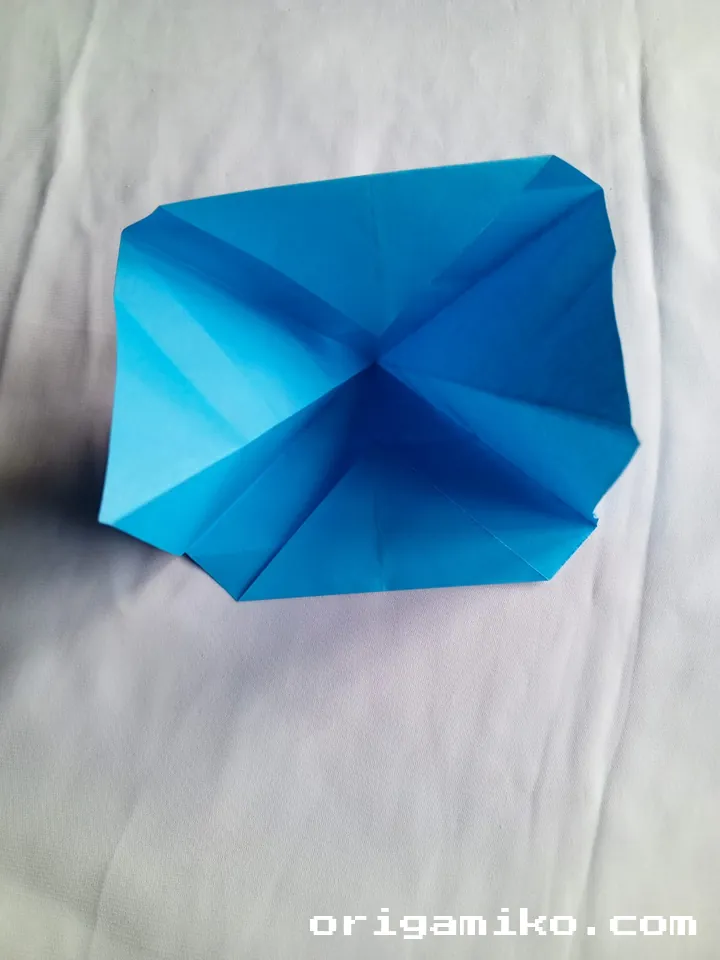
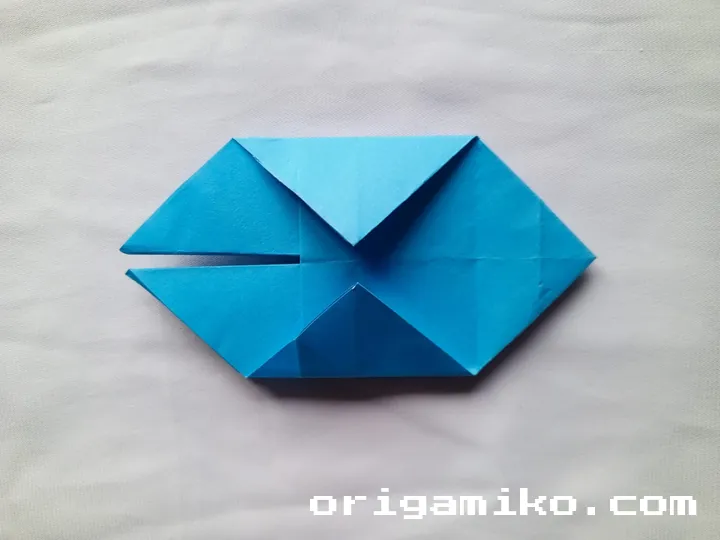
- Fold the entire square diagonally, corner to corner, and unfold.
- Open the two corner folds on one side. You’ll start to see a cup-like form emerging.
- Fold the exposed triangles inward to help form the cup’s base.
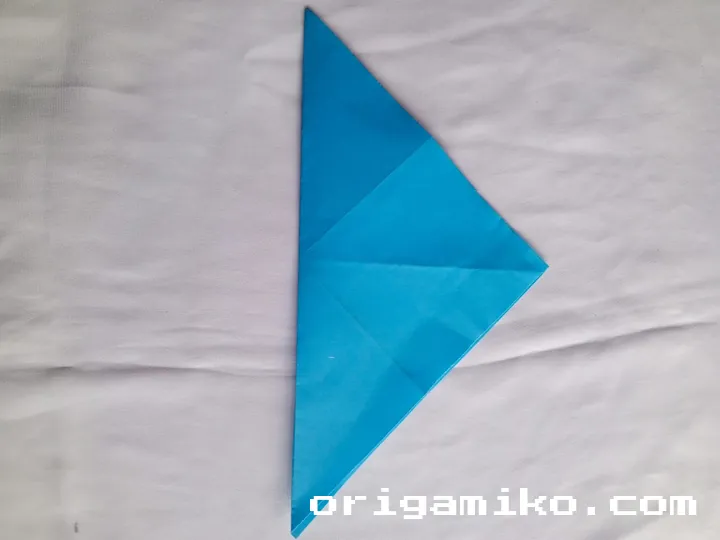
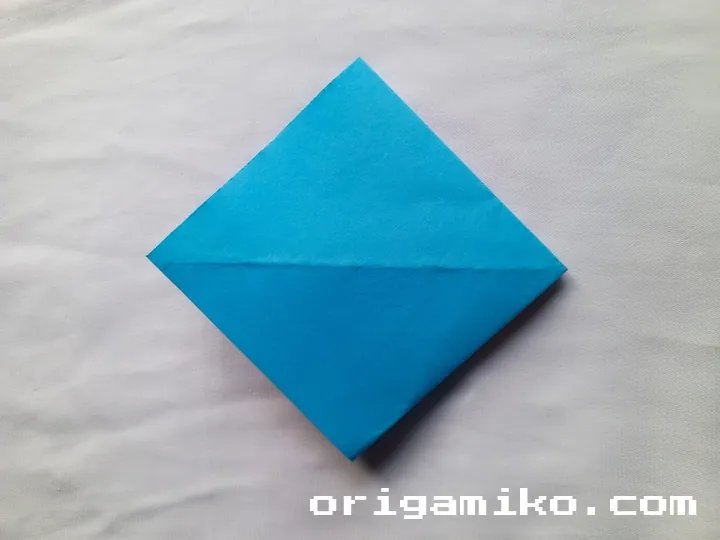
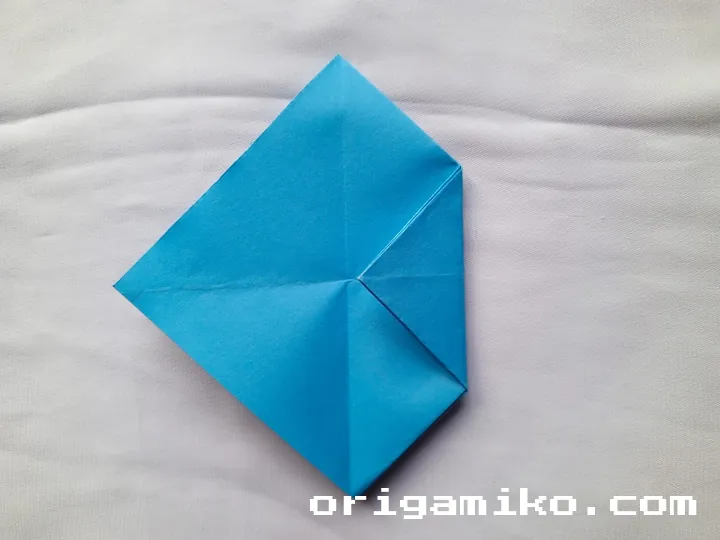
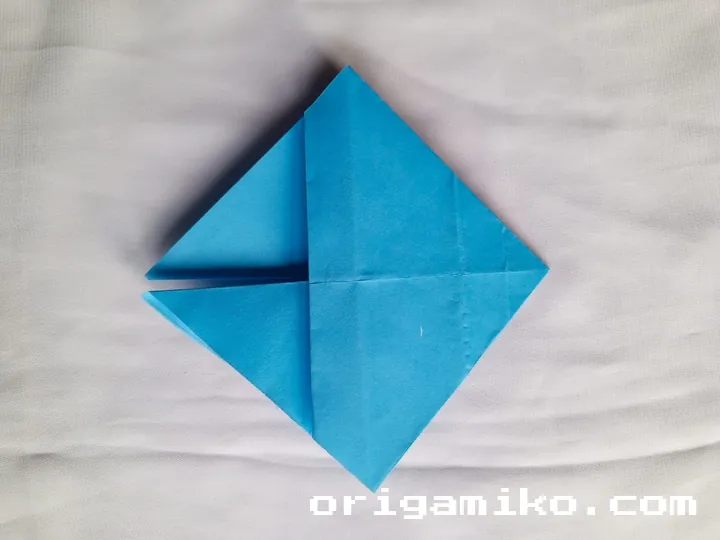
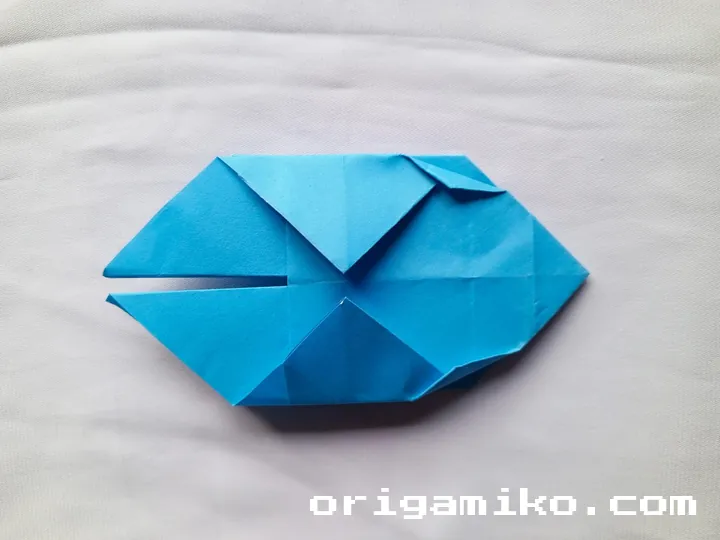
Step 5: Shape the Body of the Cup
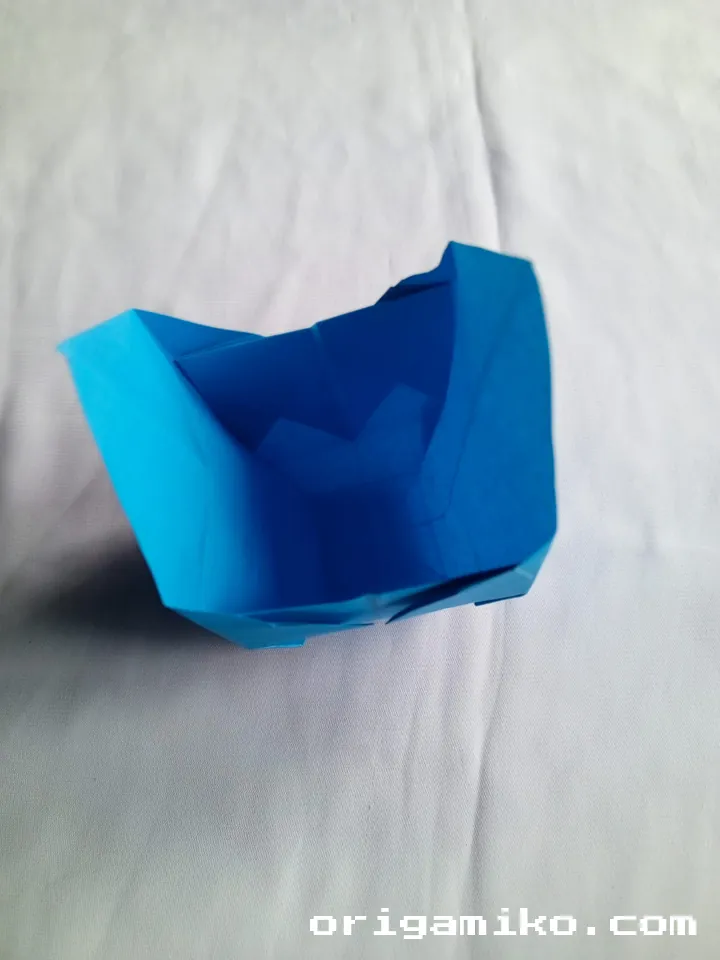
- Unfold the square again.
- Now, carefully fold the left and right edges of the square inward, so the sides meet along the central vertical crease.
- This forms the rounded body of the coffee cup.
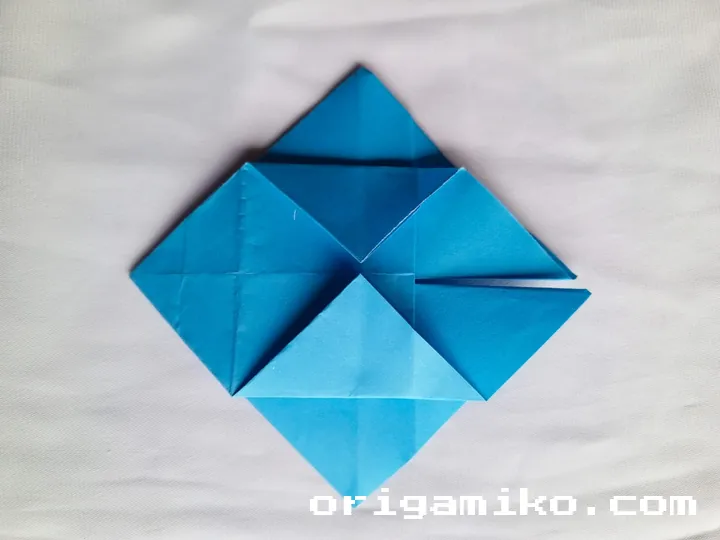
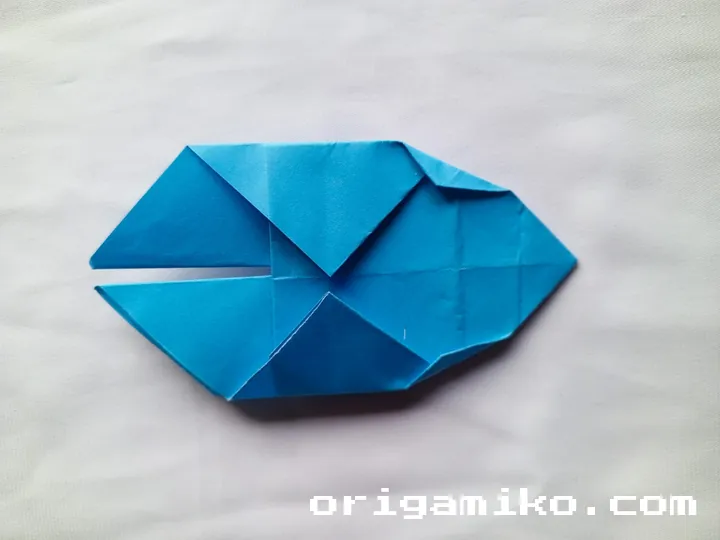
Step 6: Add the Handle
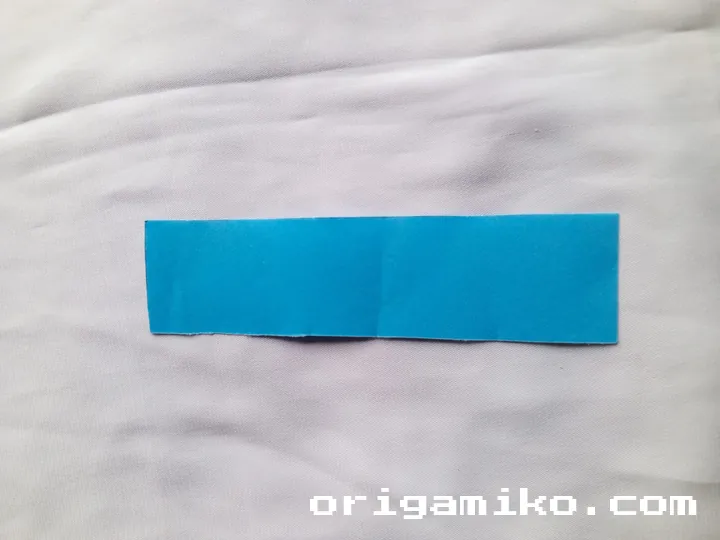
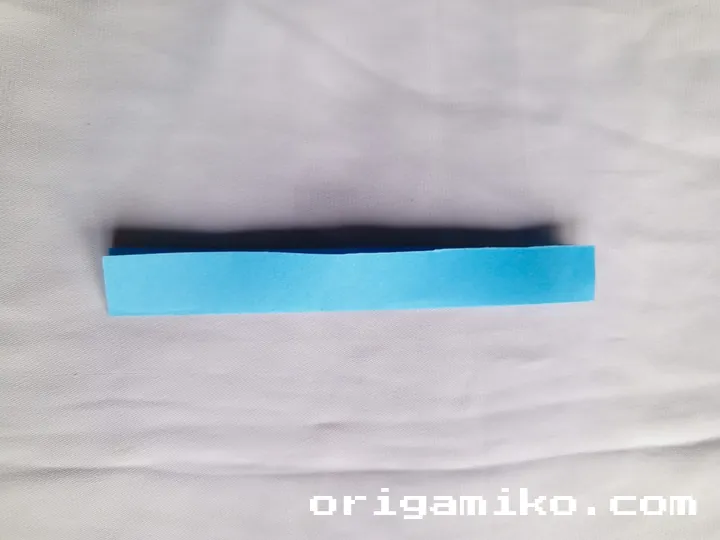
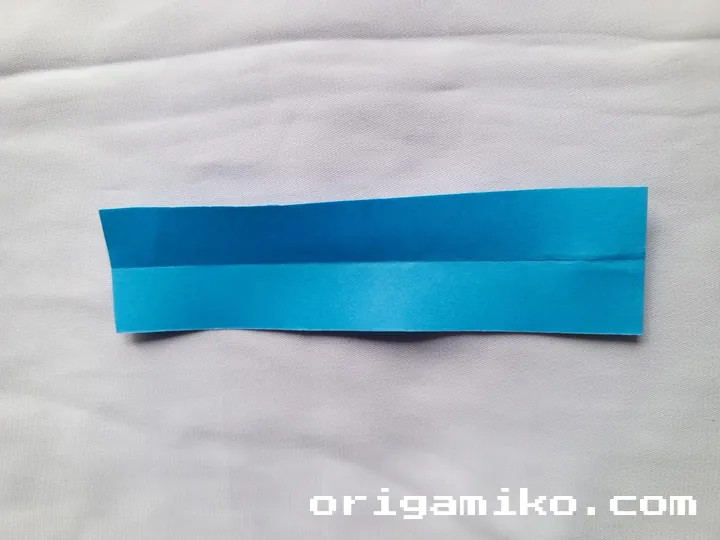


- Grab your small rectangular paper.
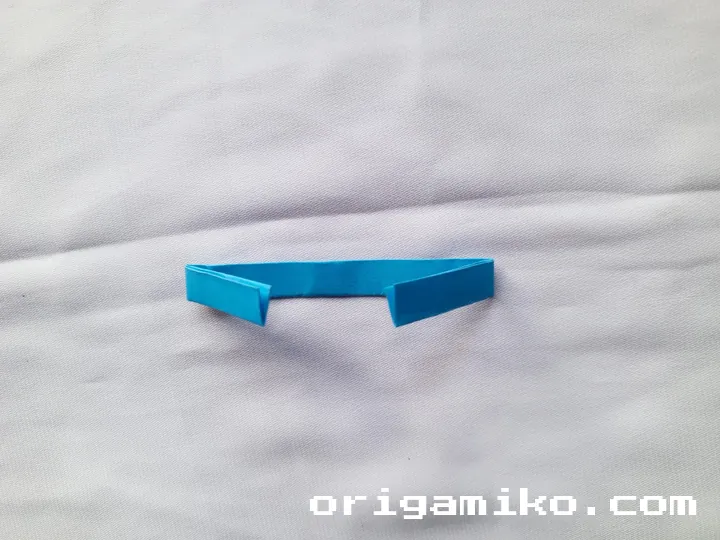
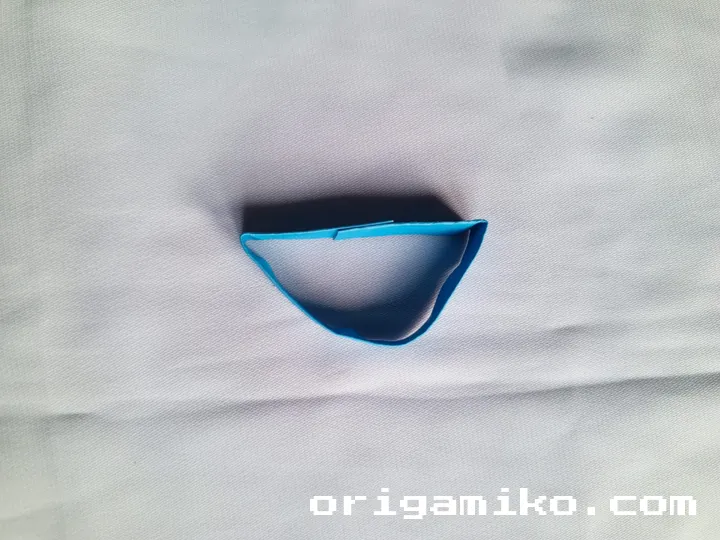
- Fold both ends inward like you’re folding a paper ring.
- Tuck or tape this behind the cup so it looks like a handle sticking out—your origami coffee cup is now complete.
Tips for Success
Want cleaner folds and better results? Here’s what’s helped me every time:
- Use slightly thicker paper for a sturdier cup shape.
- Always crease firmly—this makes your folds more accurate.
- Work on a flat surface with good lighting.
- Practice with scrap paper before using your favorite design.
Common Mistakes and How to Avoid Them
Even experienced folders get stuck. Here’s what I’ve learned:
- Misaligned folds
Don’t rush. Line up the corners carefully before creasing. - Weak structure
Use firmer paper and crease sharply to keep the cup’s shape strong. - Handle falling off
Secure it with a small piece of tape or glue if needed—no shame in that. - Overhandling the paper
Try not to refold too many times. Paper wears out and looks messy.
Similar Variations You Can Try
Once you’ve nailed this basic fold, you can play around with different designs.
- Mini Origami Tea Cup
Use smaller square paper and skip the handle for a teacup look. - Origami Coffee Mug
Fold a deeper base and add a taller handle for a mug style. - Decorative Cup with Lid
Make a second, slightly larger cup and invert it as a lid.
FAQs
Can I use regular printer paper?
Yes, but it’s better if you cut it into a perfect square first.
Is this cup waterproof?
Nope. It’s decorative only. No real drinks here!
Can kids try this project?
Absolutely. Just help them with the creases and maybe attach the handle for them.
How long does it take?
First time? Maybe 10–15 minutes. After that, you’ll do it in 5.
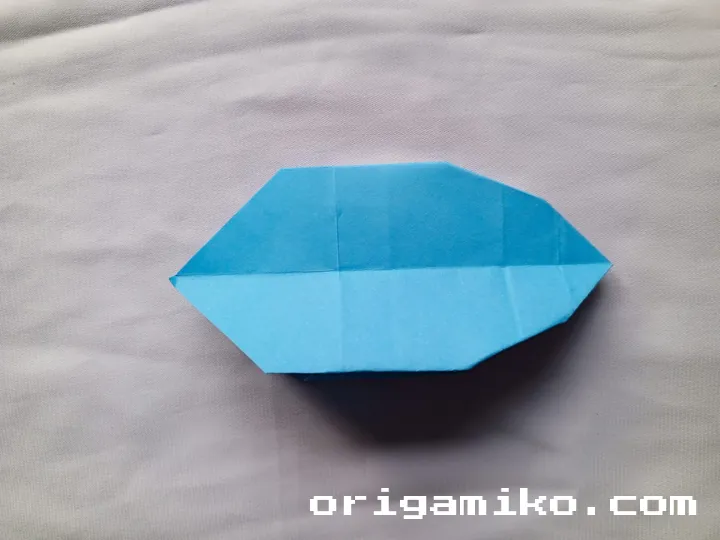
Summary and Final Thoughts
Creating a simple coffee cup step by step like this one really brings paper to life. It’s quick, satisfying, and can be styled in so many fun ways.
I hope this guide on how to make coffee cup using origami techniques has inspired you to give it a try. Whether for fun, learning, or a crafty afternoon, this easy Origami coffee cup is a winner.
Feel free to share your results or ask me questions—I’d love to hear how your cup turns out.
Happy folding!