

Are you ready to make something exciting with just a square of paper? Making an Origami Dreidel is an enjoyable way to dive into the world of paper folding. With a few easy steps and the right guidance, you’ll have your own spinning top in no time! This easy Origami Dreidel project is perfect for beginners and anyone interested in creating something simple but satisfying. Let’s get started!

What is an Origami Dreidel?
An Origami Dreidel is a traditional Jewish spinning top, commonly associated with the holiday of Hanukkah. Made entirely from paper, it’s a fantastic project for those looking to combine creativity and culture. The beauty of this simple dreidel lies in its elegance, created through the art of origami, a Japanese paper folding technique.
Not only does this project allow you to practice your paper-folding skills, but it also offers a unique decoration for the holiday season or a fun way to play the dreidel game. By the end of this article, you’ll know exactly how to make an Origami Dreidel and impress your friends and family with your paper-folding talents.
Materials Needed
Before we dive into the steps, let’s gather everything we need:
| Material | Size | Notes |
|---|---|---|
| Square Paper | 9×9 cm | Regular origami paper works best. |
| Scissors (optional) | – | Only if you need to trim your paper. |
| Flat Surface | – | Any clean, smooth area will do. |
Simple Dreidel Step by Step
Now, let’s break down the folding process to make your Origami Dreidel. I’ll guide you through each step, and soon enough, you’ll be spinning your creation.
Step 1: Take a Paper
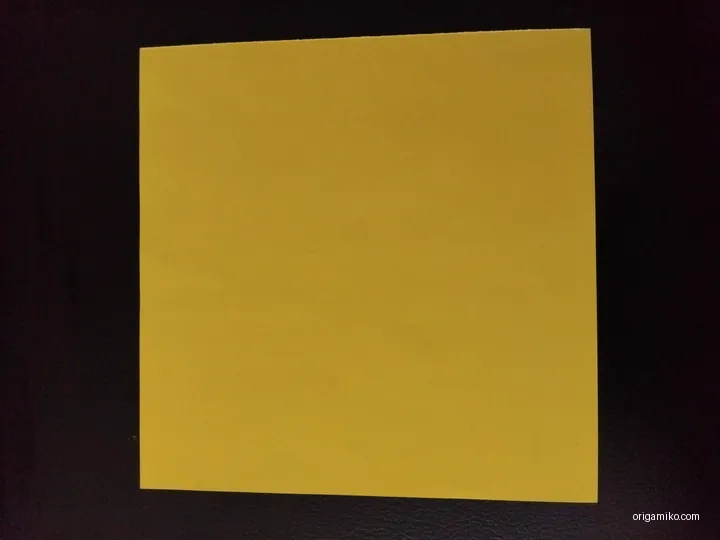
Begin by taking a 9×9 cm square of paper. You can use any color or pattern you like. This will be the base for your Origami Dreidel.
Step 2: Fold it in Crisscross, Then Horizontally and Vertically
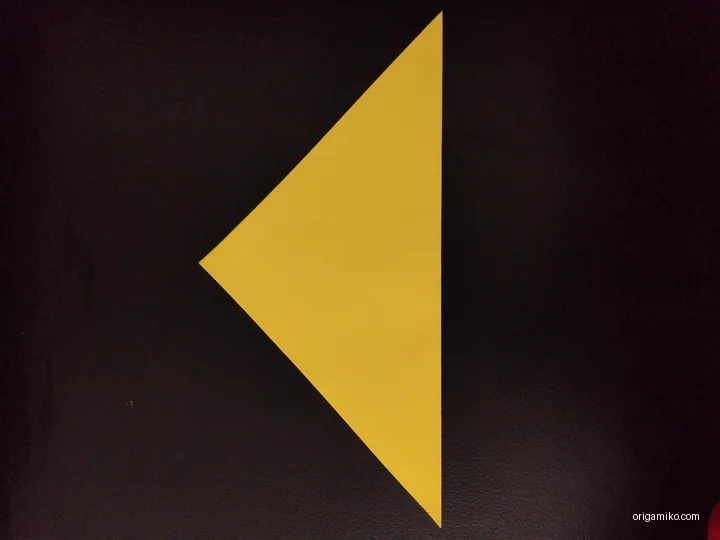

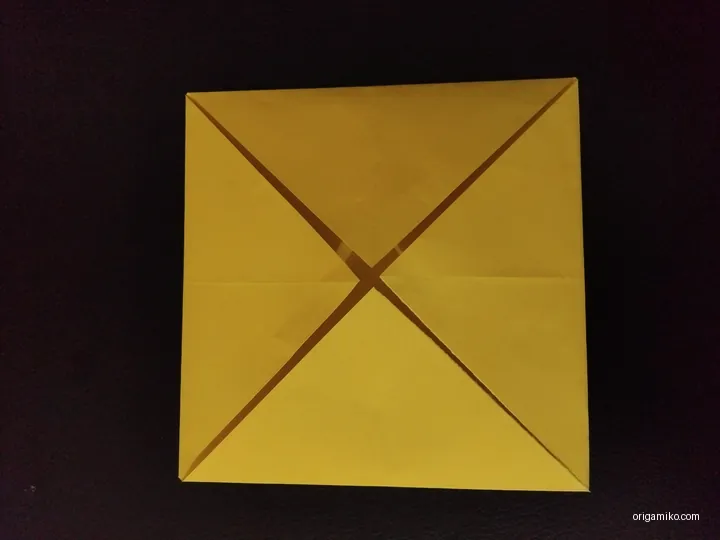
Now, fold the paper in half diagonally in both directions (forming an “X” or crisscross pattern). Afterward, fold the paper horizontally and vertically to make creases that will guide your folds.
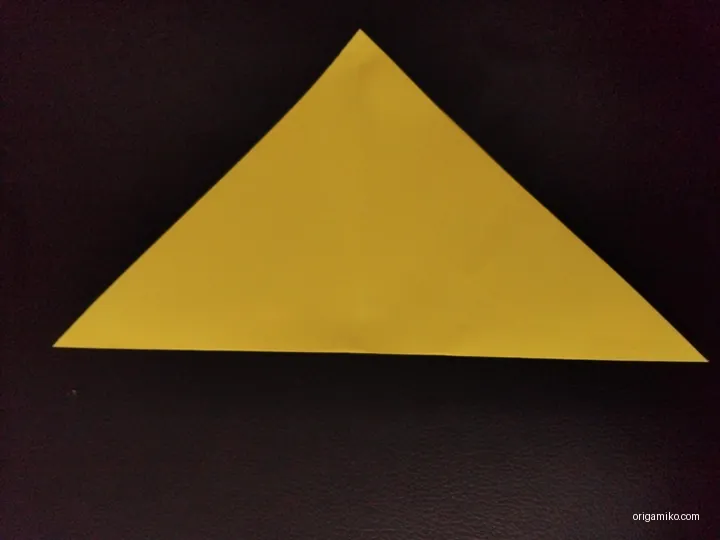
Step 3: Fold Like the Picture, Then Fold Horizontally and Vertically Again
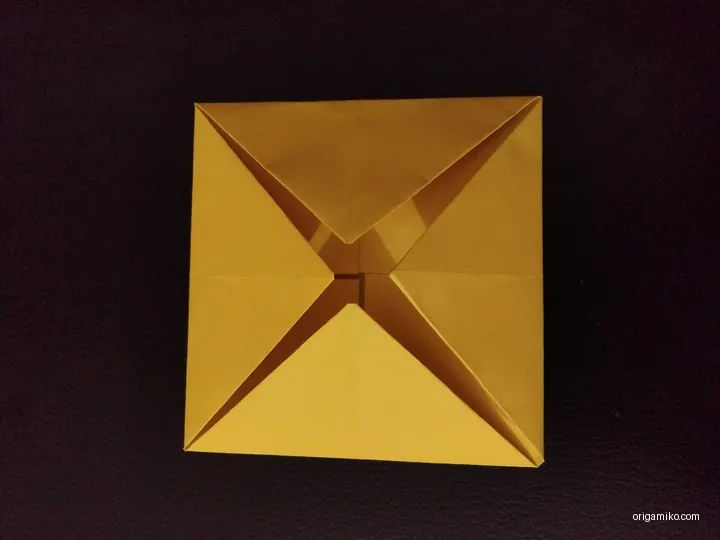
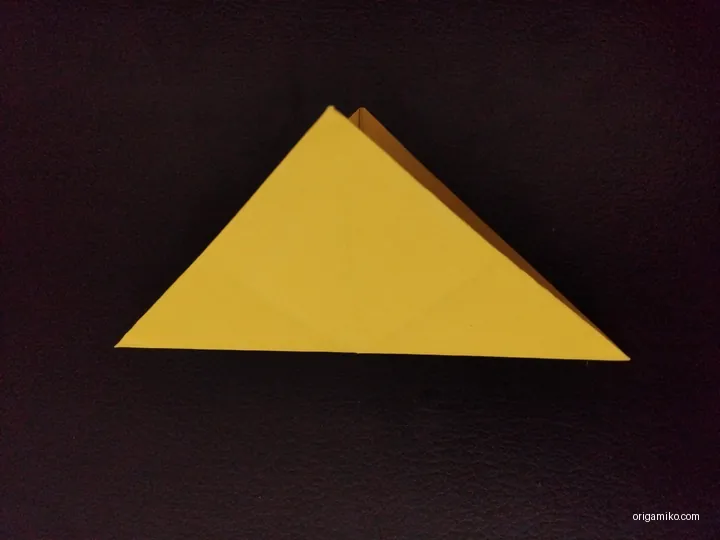
Next, fold the paper as shown in the picture (the guide step), then repeat the horizontal and vertical folds. These folds should create even sections and help you shape the dreidel later.
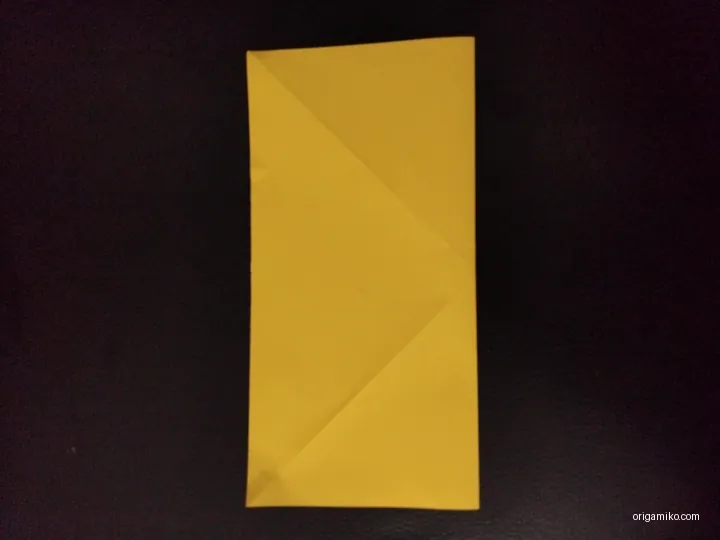
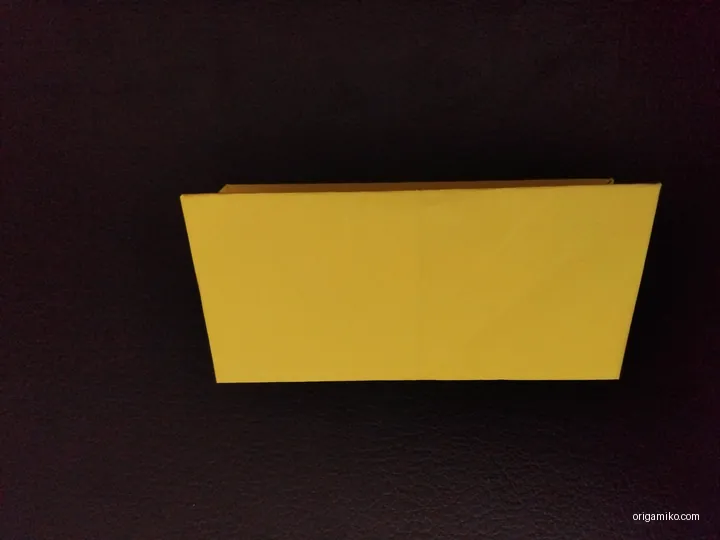
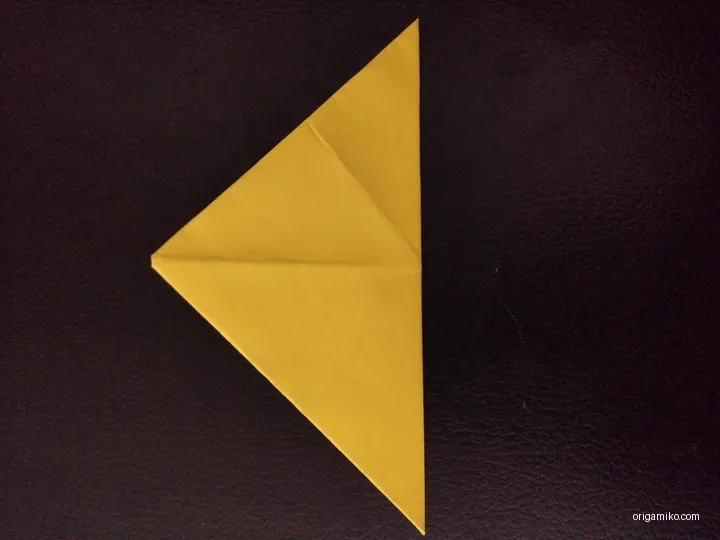
Step 4: Make Folds Like the Picture
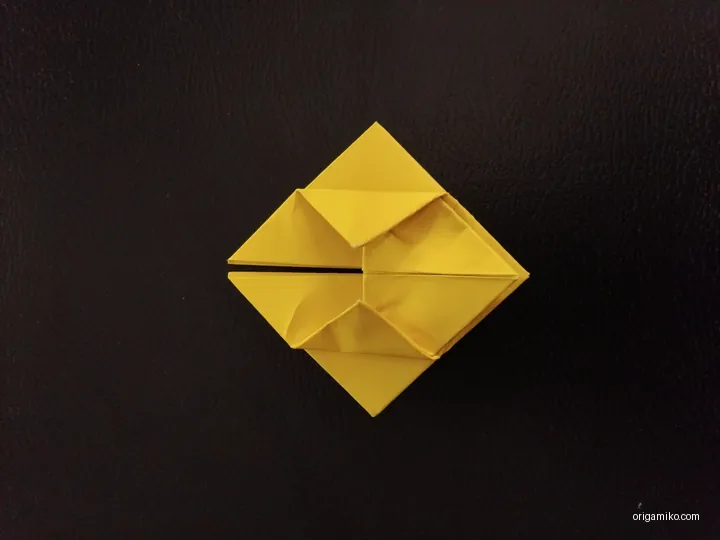
Follow the visual guide again to fold the paper. This will give you the proper structure to start forming the shape of your dreidel.
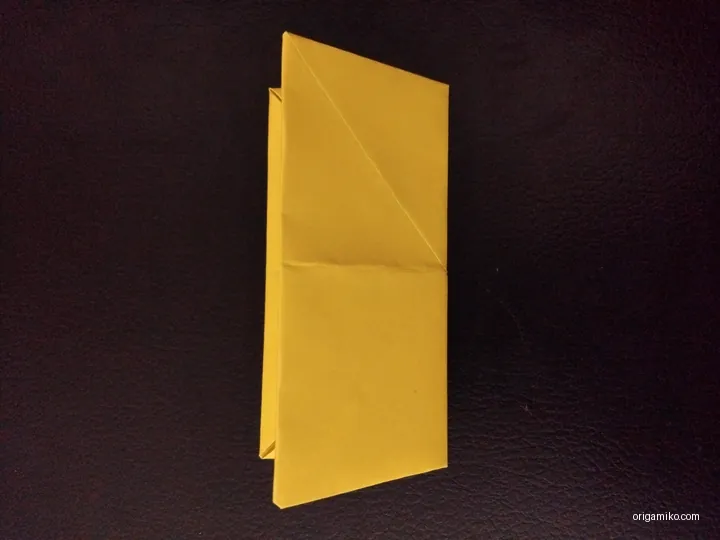
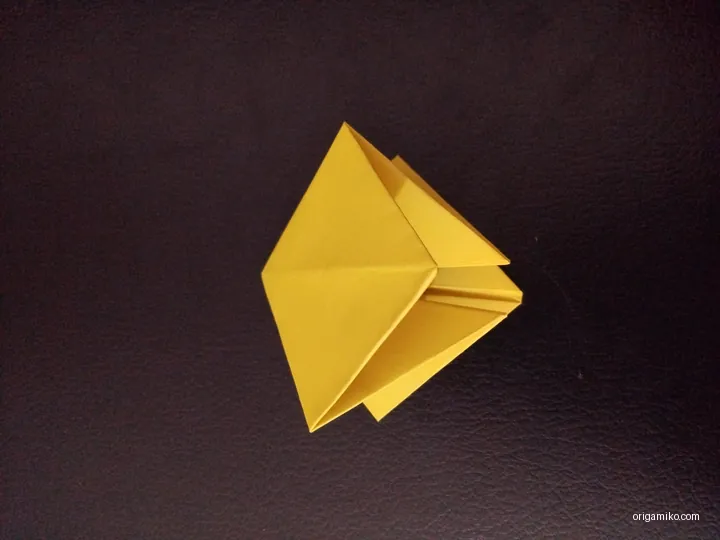
Step 5: Unfold It, Then Fold the Lower Part from Both Sides
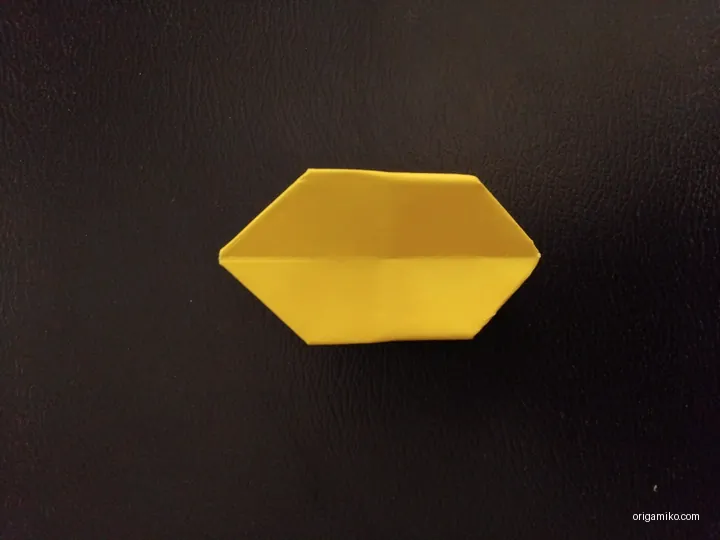

Carefully unfold the paper to reveal the creases. Afterward, fold the lower part of the paper from both sides, aligning the edges. This will form the bottom portion of your dreidel.
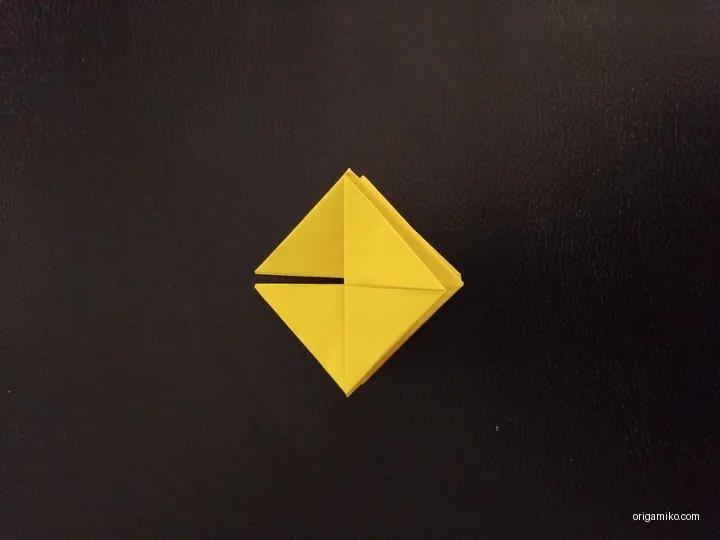
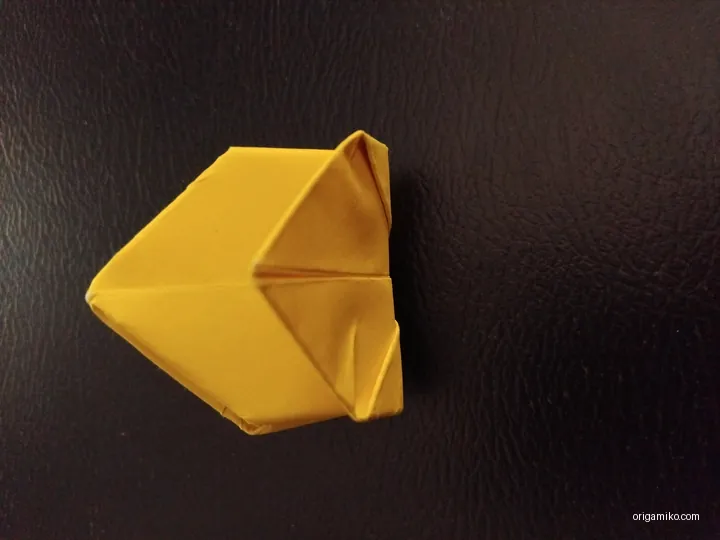
Step 6: Now the Origami Dreidel is Ready!

You’re almost done! After folding, your Origami Dreidel is complete. Adjust any creases as needed to make the shape sharper, and give it a spin to see it in action.
Tips for Success
- Smooth Folds: Make sure each fold is crisp and sharp. The more precise your folds, the cleaner the final dreidel will look.
- Paper Size: Although I’ve used a 9×9 cm piece, feel free to experiment with larger or smaller sizes for different effects.
- Patience: Don’t rush! Origami requires a little patience, but it’s totally worth it when you see the result.
Common Mistakes and How to Avoid Them
- Uneven Folds: One common mistake is making uneven folds. This can affect the symmetry of the dreidel. To avoid this, always check your folds against the edges and make sure they’re aligned.
- Wrong Paper Size: If your paper is too large or too small, the dreidel may not form correctly. Stick to the 9×9 cm size for the best results.
- Skipping Steps: It’s tempting to rush through, but each fold builds on the last. Follow every step carefully to ensure success!
Similar Variations That Can Be Made
If you’ve mastered the Origami Dreidel, why not try some variations? Here are a few ideas to keep your creativity flowing:
- Origami Hanukkah Star: Another fun, holiday-themed project.
- Paper Spinning Top: Create a different style of spinning top, perhaps with more intricate folds.
- Origami Gift Boxes: Perfect for presenting your dreidel as a gift.
FAQs
Q: Can I make a larger Origami Dreidel?
A: Yes! Simply increase the size of your paper, and adjust the folds as needed. Larger paper will create a bigger dreidel.
Q: How do I make my dreidel spin better?
A: Make sure the folds are sharp and the base is even. You can also try making the base a little smaller for a faster spin.
Q: Can I add decorations to my dreidel?
A: Absolutely! You can draw or paint on your dreidel to give it a personal touch.
Summary
And there you have it! You now know how to make an easy Origami Dreidel using the Simple Dreidel Step by Step method. Whether you’re doing it for a holiday craft or just for fun, this project is both rewarding and engaging. Remember, each fold takes you closer to your creation, so enjoy the process! Let me know how it goes, and feel free to share your creations with others. Happy folding!