

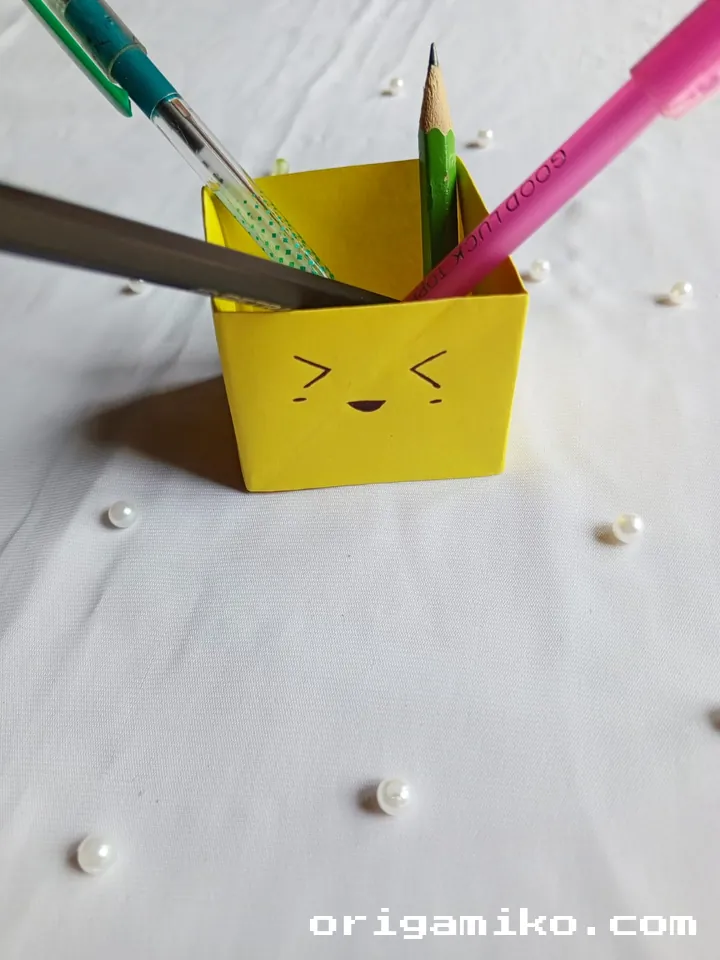
Origami is an art that can transform a simple sheet of paper into something beautiful and useful. Today, I’ll show you how to make a simple origami holder with just a few easy steps. It’s a perfect project for beginners and experienced crafters alike!
By the end of this guide, you’ll have a functional paper holder that you can use for storing small items, pens, or even as a decorative piece.
What is an Origami Holder?
An origami holder is a small, folded paper object designed to hold things. It’s a perfect beginner project that combines creativity with functionality. The best part? You only need a sheet of paper and a few folds to make it!
Materials Needed
Before you begin, gather the following:
| Item | Quantity | Description |
|---|---|---|
| A4 Paper | 1 | Standard 8.5 x 11-inch paper. |
| Scissors (optional) | 1 | For cutting the paper, if necessary. |
Once you have these, you’re ready to begin!
Step-by-Step Instructions
Follow these four simple steps to create your origami holder.
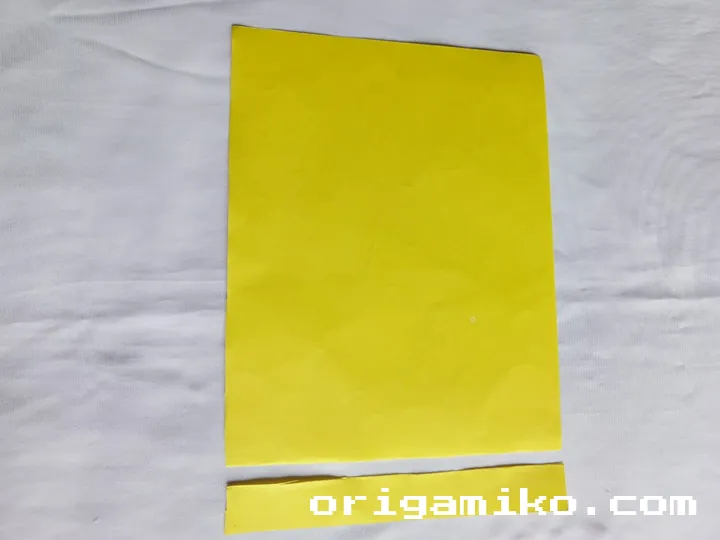
Step 1: Take A4 Shape Paper
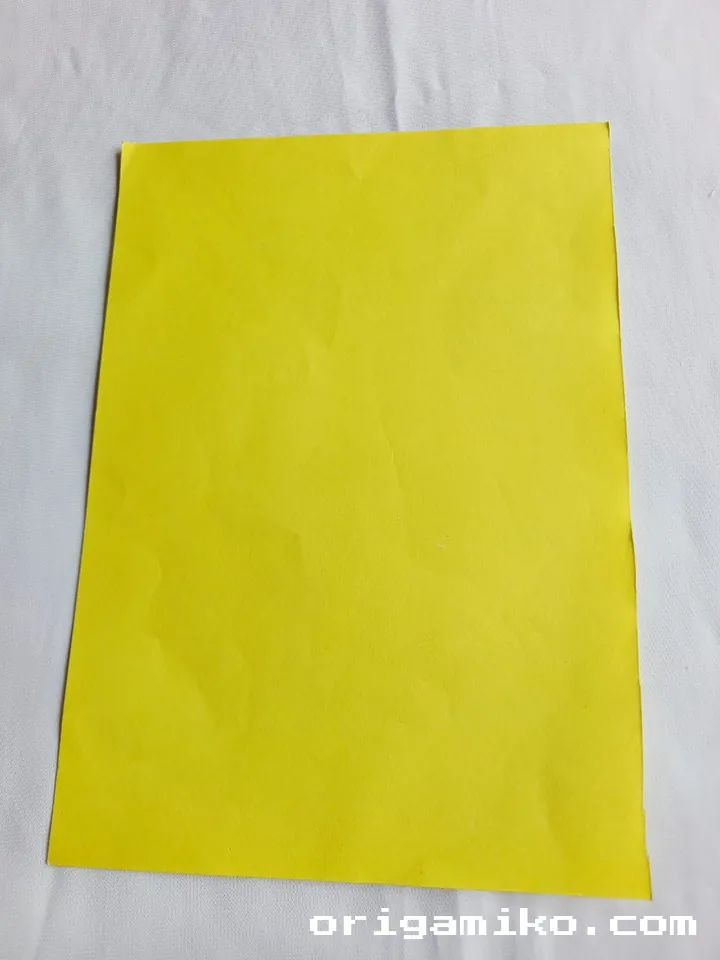
Start with a standard A4 sheet of paper. If needed, trim it to the desired size, but A4 works perfectly for this project.
Step 2: Make a Fold from the Side and Cut It
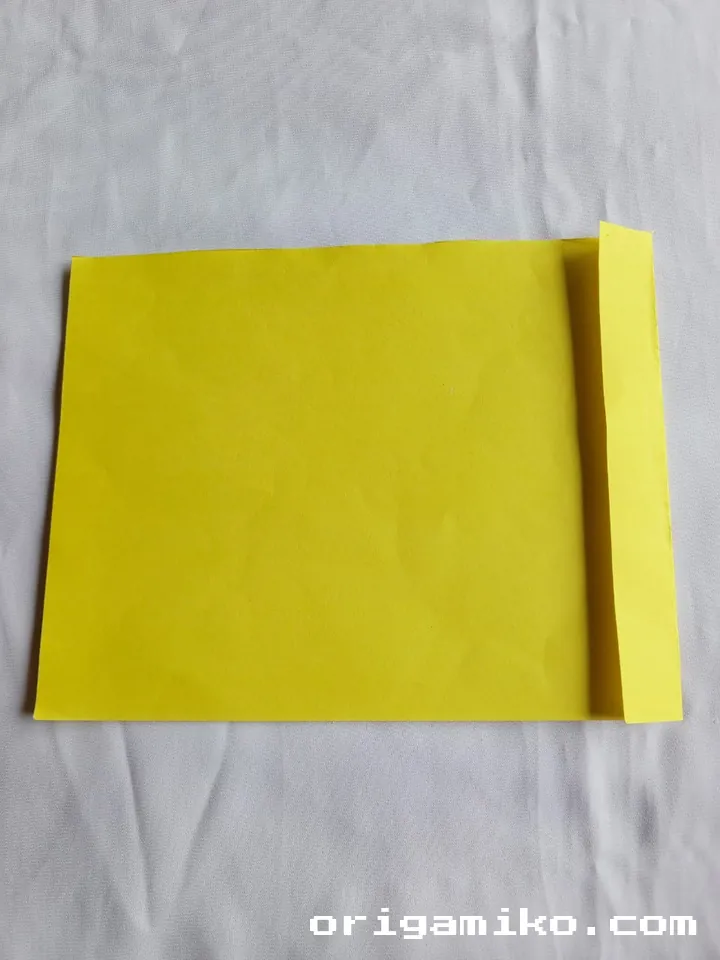
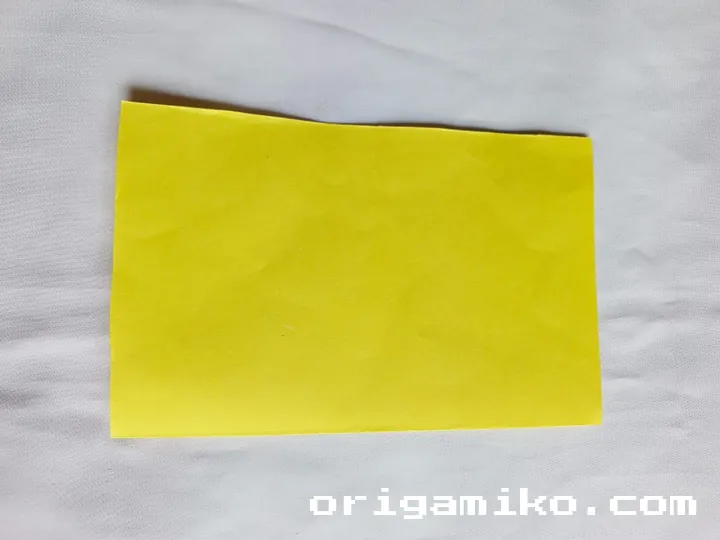

Take one side of the paper and fold it over to the other side. Once folded, cut off the excess portion to make the paper the right size.
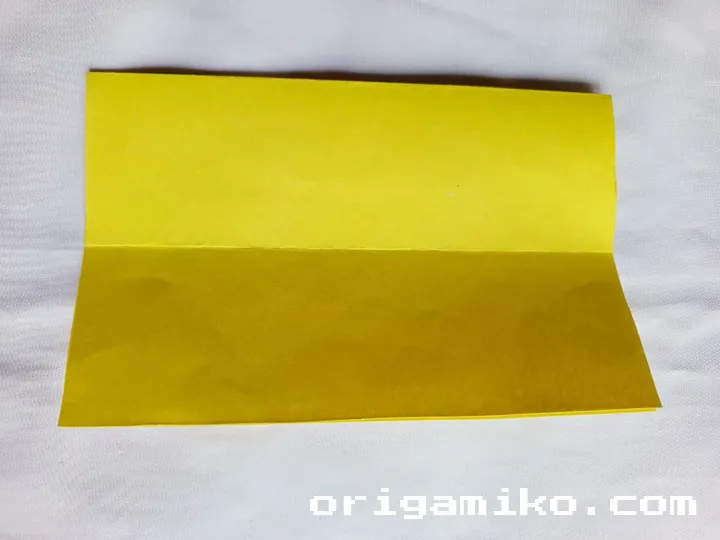
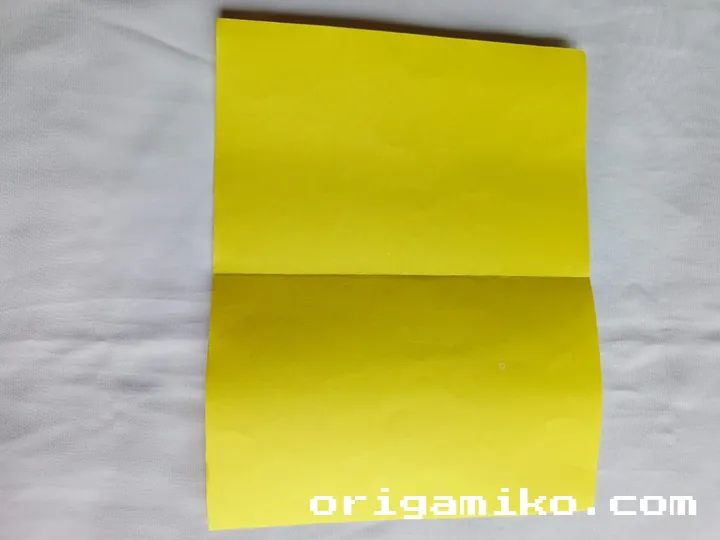
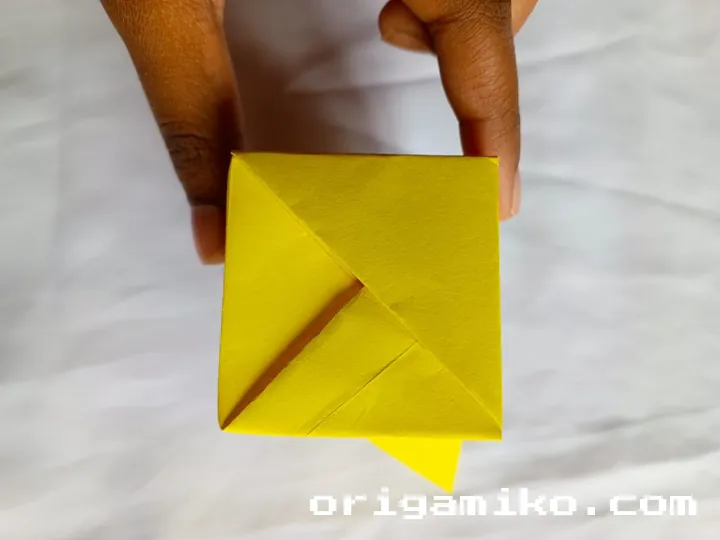
Step 3: Fold Both Sides and Unfold
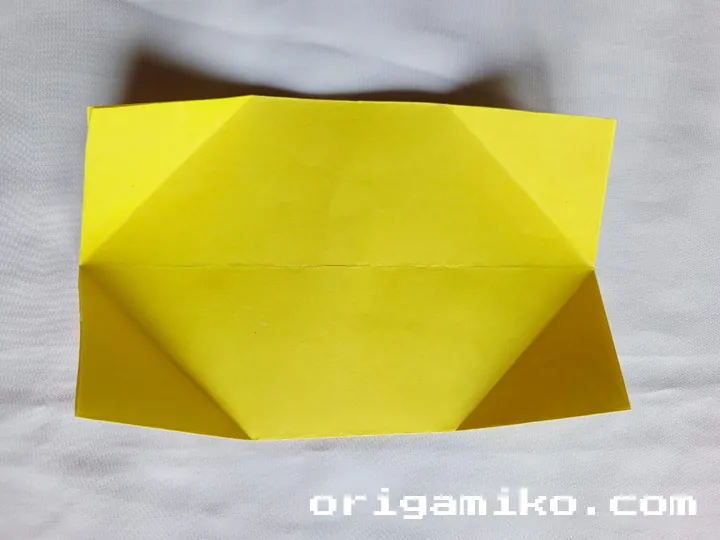
Now, fold both sides of the paper towards the center. Once you’ve made the folds, unfold the paper. Then, fold the top part down and unfold it as well. This helps create the necessary creases for shaping the holder.
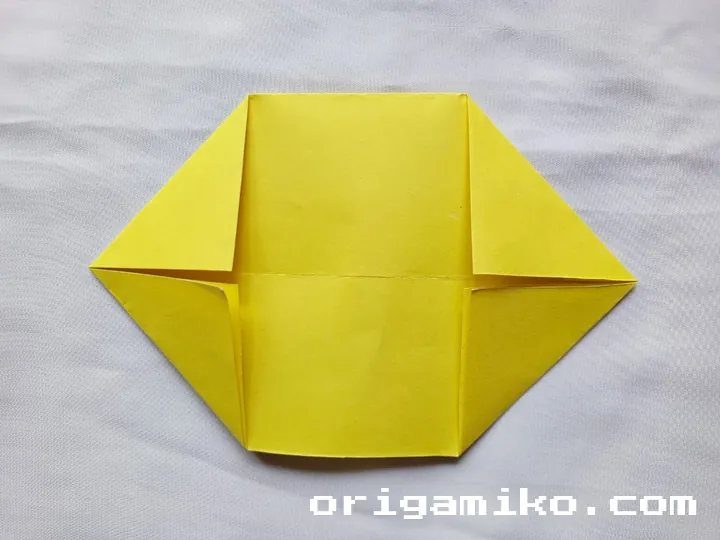
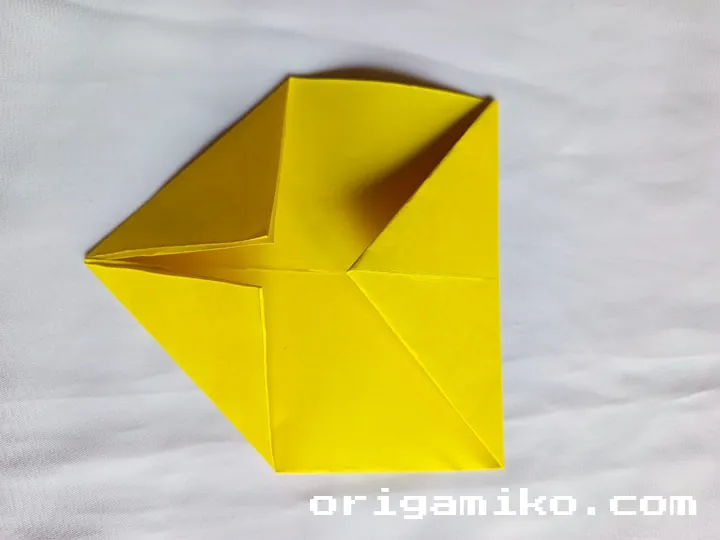
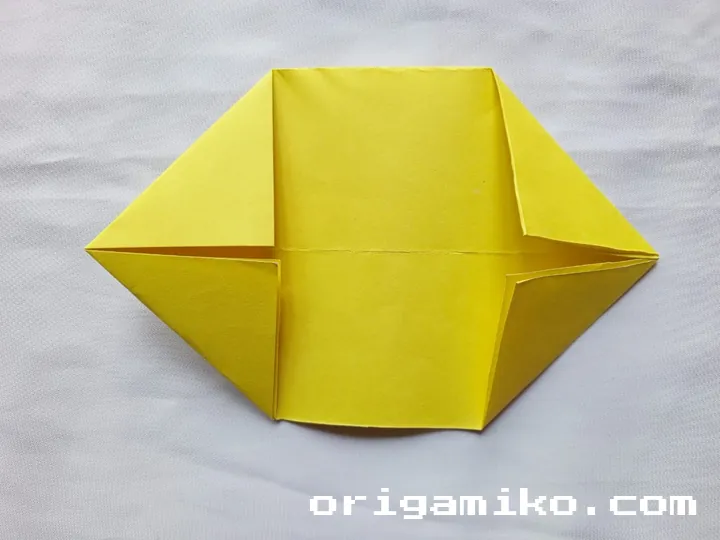
Step 4: Fold as Shown in the Picture and Tuck the Sides In
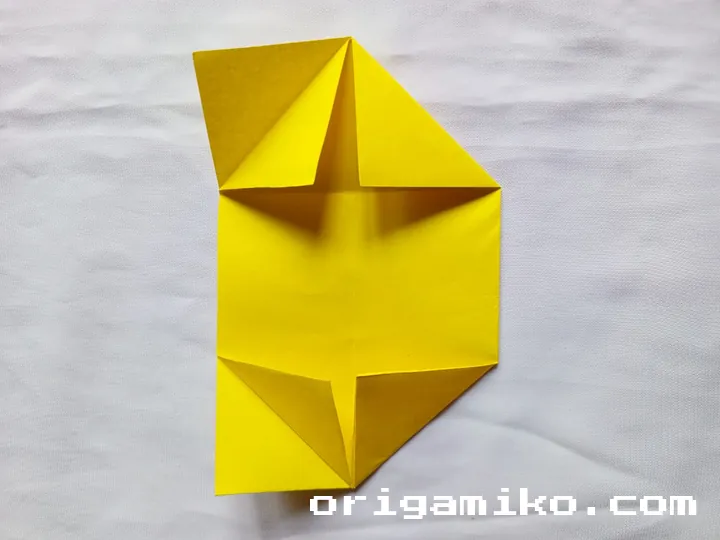
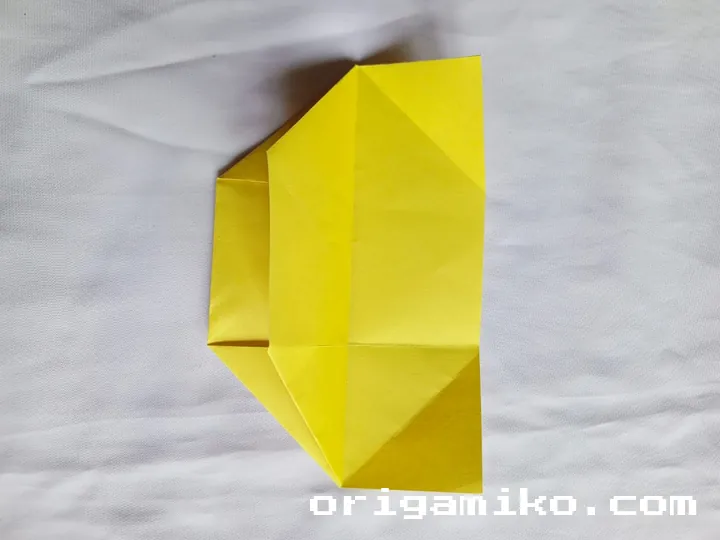
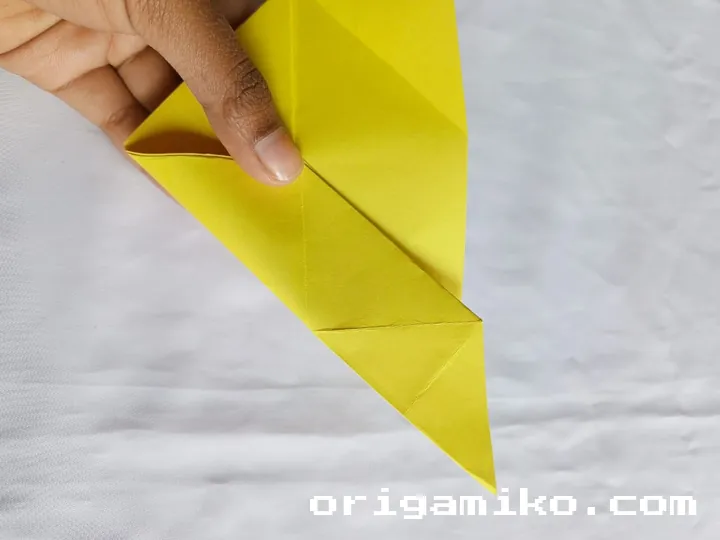
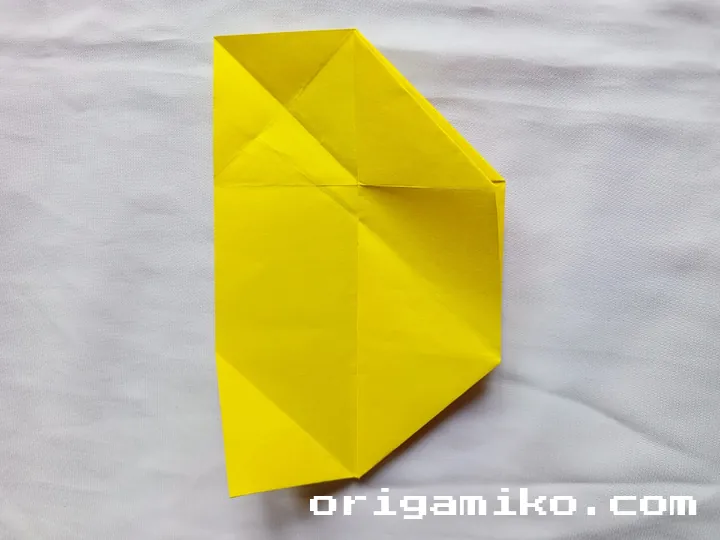
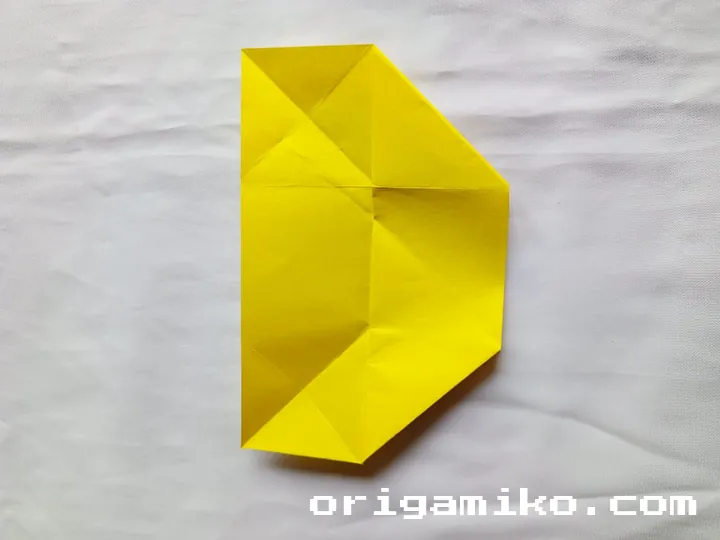
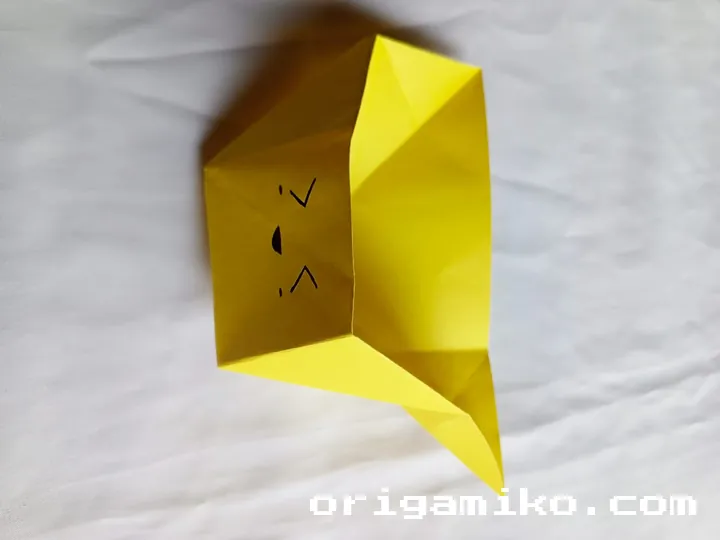
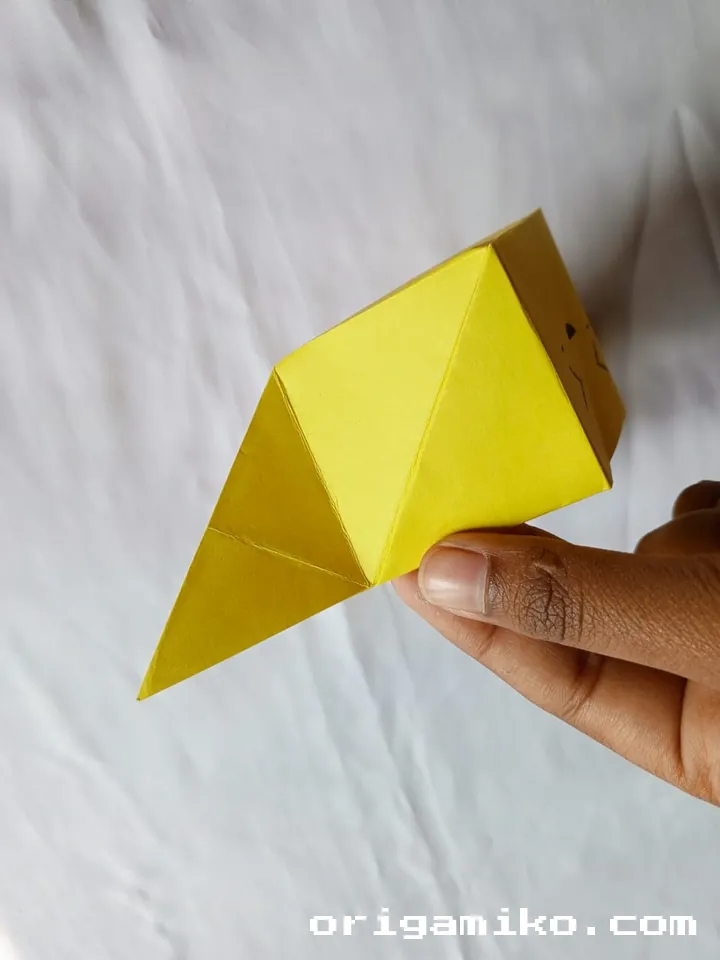
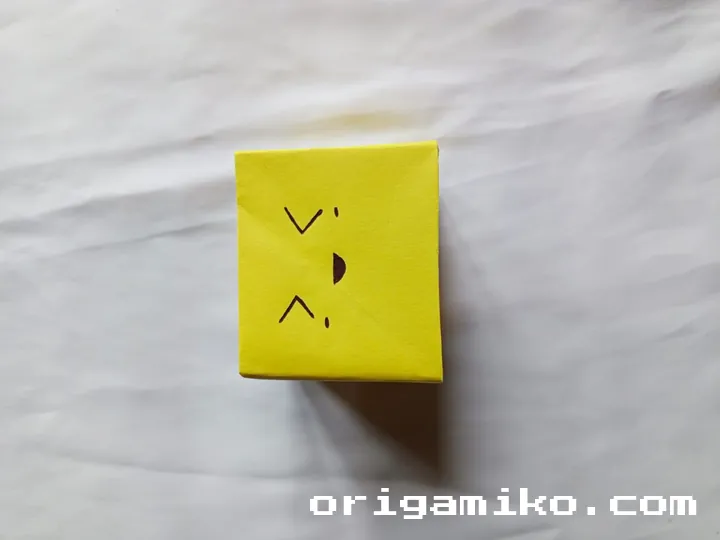
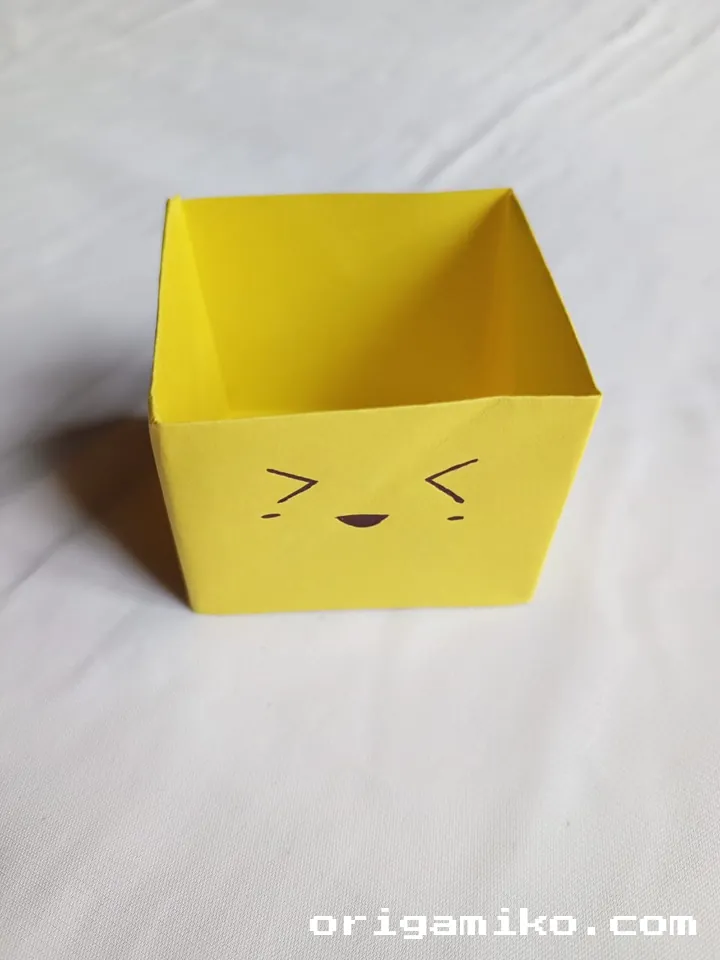
Follow the folding pattern shown in the diagram. After making the folds, unfold and tuck the edges inside to form the holder. Repeat for the other side, and your origami holder is complete!
Tips for Success
- Sharp Folds: Be sure to crease the paper firmly to get neat, sharp folds.
- Take Your Time: Don’t rush through the steps. Precision is key in origami.
- Experiment: Once you’ve mastered the basic holder, try making different sizes or shapes.
Common Mistakes and How to Avoid Them
- Uneven Cutting: If your paper isn’t cut evenly in Step 2, it might not fold properly. Make sure the cut is straight.
- Skipping Creases: Every crease serves a purpose, so be sure to fold and unfold as instructed to guide your paper in the right direction.
- Incorrect Folding: If the folds aren’t aligned properly, the holder may not hold together correctly. Always follow the instructions closely.
Similar Variations
Once you’re comfortable with the basic origami holder, you can try variations:
- Origami Boxes: Instead of a simple holder, create a small box to hold more items.
- Multi-Pocket Holders: Experiment by adding more folds to create sections within the holder for organizing small objects.
Conclusion
Making an origami holder is a fun and practical project that anyone can try, no matter your skill level. With just a few easy steps, you’ll have a neat, handmade paper holder that’s perfect for organizing small items or adding a personal touch to your space.
So grab a piece of paper and give it a try—you’ll be amazed at what you can create!