
")
Ever feel like folding something sweet, zesty, and fun?
This easy Origami lemon is the perfect project to brighten your desk or teach your kids.
And guess what? You only need a square paper and a few folds to get started.
In this post, I’ll walk you through how to make lemon using simple, clear steps—even if you’ve never tried origami before.
We’ll make the process so easy, you might want to fold a whole fruit basket.
Whether you’re a student, a teacher, or just curious, you’re in the right place.
Let’s dive in and discover the magic of folding a simple lemon step by step.
Trust me—it’s a rewarding journey that’s part play, part precision, and all joy.
So, grab a square paper, and let’s make something zesty!
What Are We Making Today? The Origami Lemon
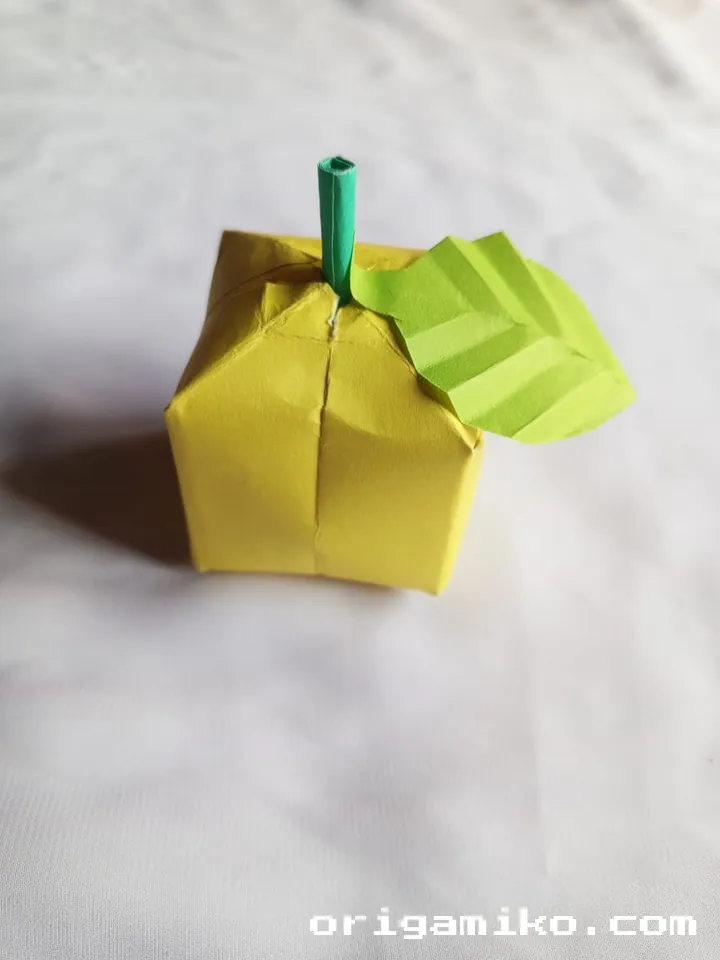
Imagine a tiny, plump lemon made out of paper—bright, cheerful, and bursting with charm. That’s what we’re creating today. The origami lemon isn’t just fun to fold—it’s the kind of thing that makes people say, “Wait, you made that?”
I remember the first time I folded one. I was just fiddling around with paper at my kitchen table and ended up with this adorable, balloon-like citrus. It looked like a lemon and even felt kind of squishy, like a stress ball!
Whether you’re doing this for fun, for a school craft, or just to unwind—it’s perfect. Plus, the shape makes it great for party décor, classroom activities, or even a handmade gift topper.
Definition of Key Terms
Origami
The traditional Japanese art of paper folding, transforming a flat sheet into a sculpture without cuts or glue.
Simple lemon step by step
A beginner-friendly, broken-down process for folding a lemon using origami techniques.
Easy origami lemon
A project using basic folds to create a 3D lemon shape that looks complex but is actually very doable.
Blow-fold technique
A method where you inflate the paper form by blowing air into a small hole—used in this lemon project.
Materials Needed
Before we start, here’s everything you’ll need to make your easy origami lemon. Check the table below and prep your materials.
| Item | Details | Why It’s Needed |
|---|---|---|
| Square paper | 12″ × 12″ (yellow works best) | The base for your lemon; color adds pop |
| Flat surface | Desk or table | Helps keep folds neat and crisp |
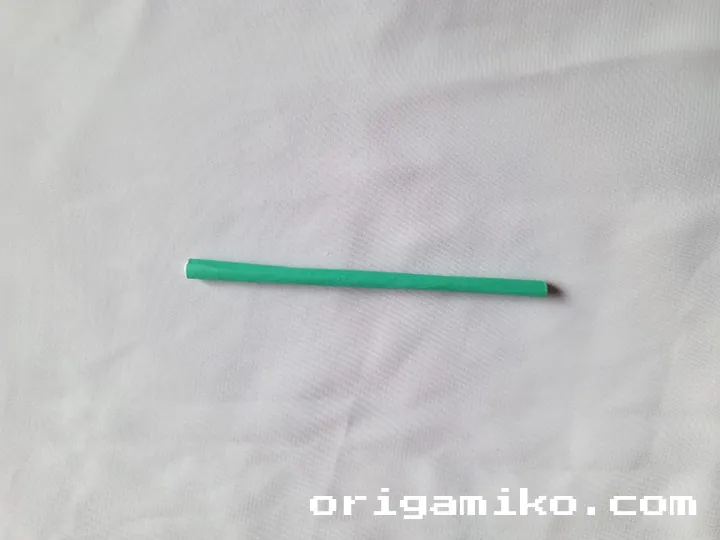
| A thin stick | Toothpick or skewer | Acts as the lemon stem |
| Blowing space | Your mouth + open area | For inflating the lemon |
| Patience | Optional, but helpful | Folding magic takes a little focus |
How to Make Lemon – Step-by-Step Instructions
Here’s the fun part! Follow these clear directions. I’ll explain it like I would to a friend.
Step 1: Start With a Square

- Take a 12″ × 12″ square piece of paper.
- Yellow is perfect, but any color will do!
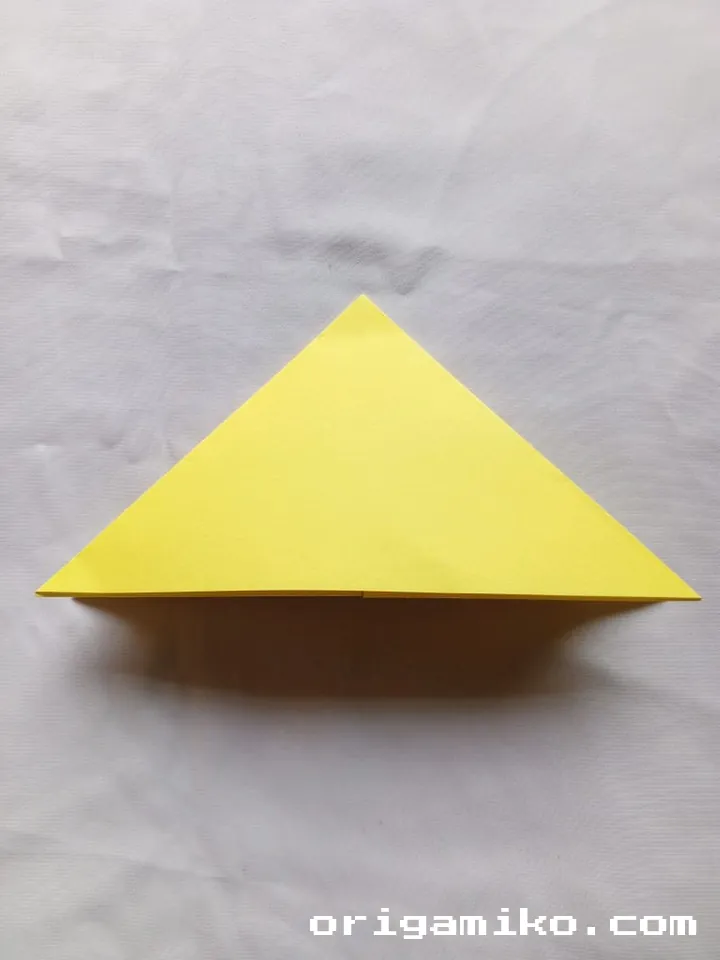
Step 2: Make Your Base Folds
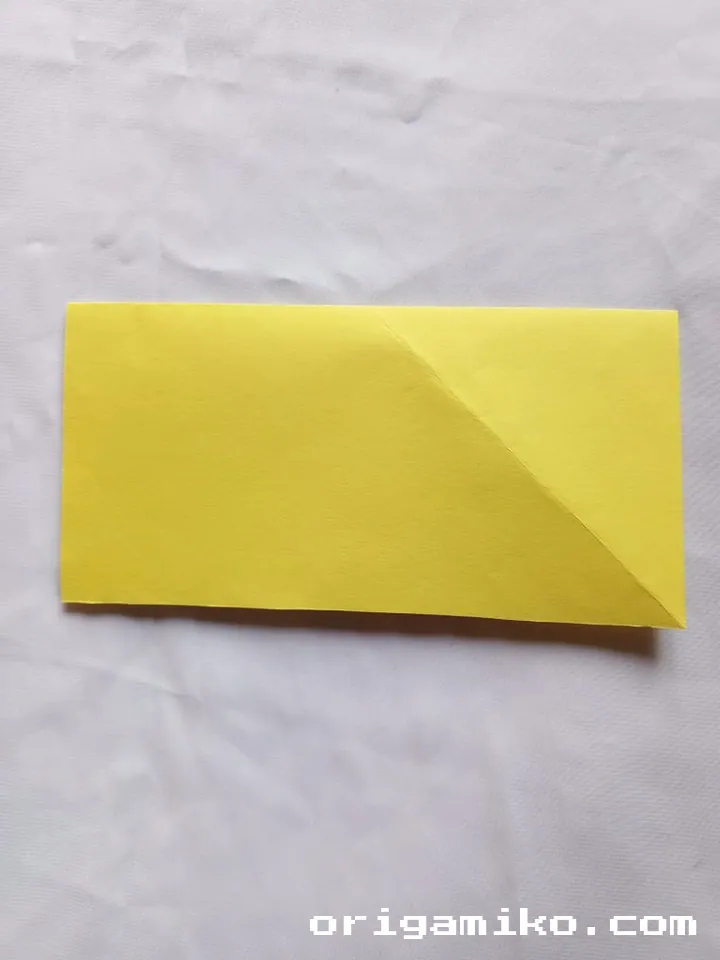
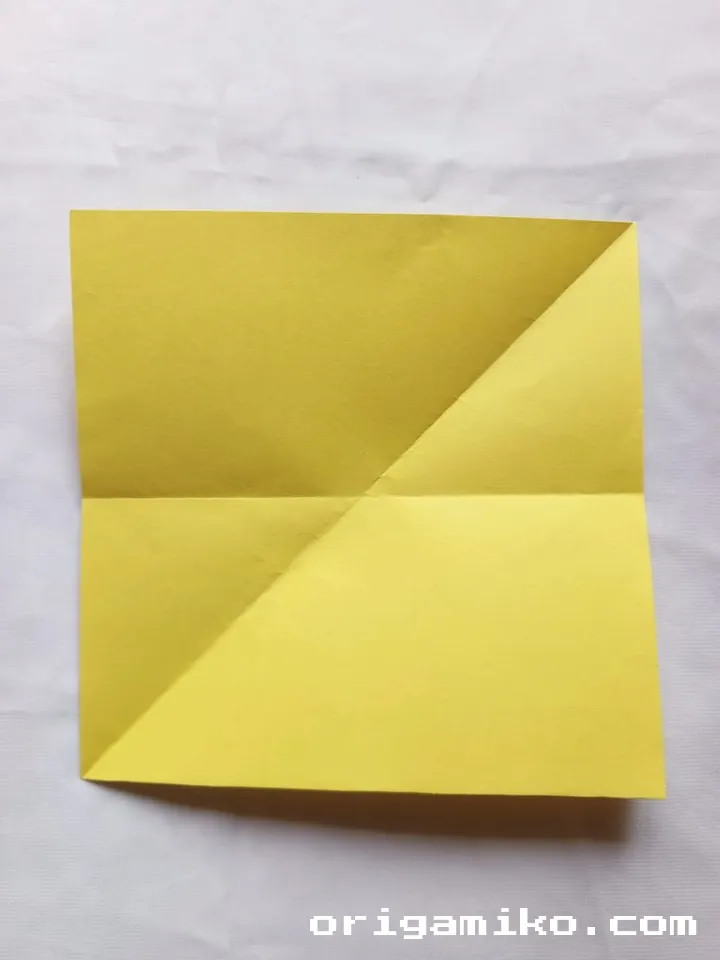
- Fold the paper horizontally, crease it, then unfold.
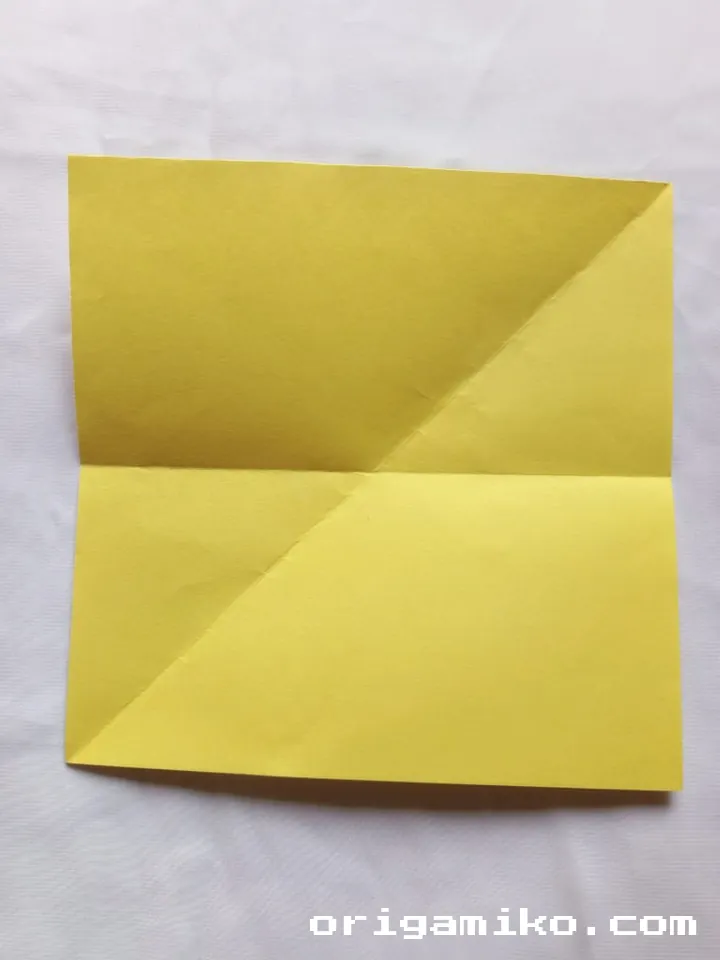
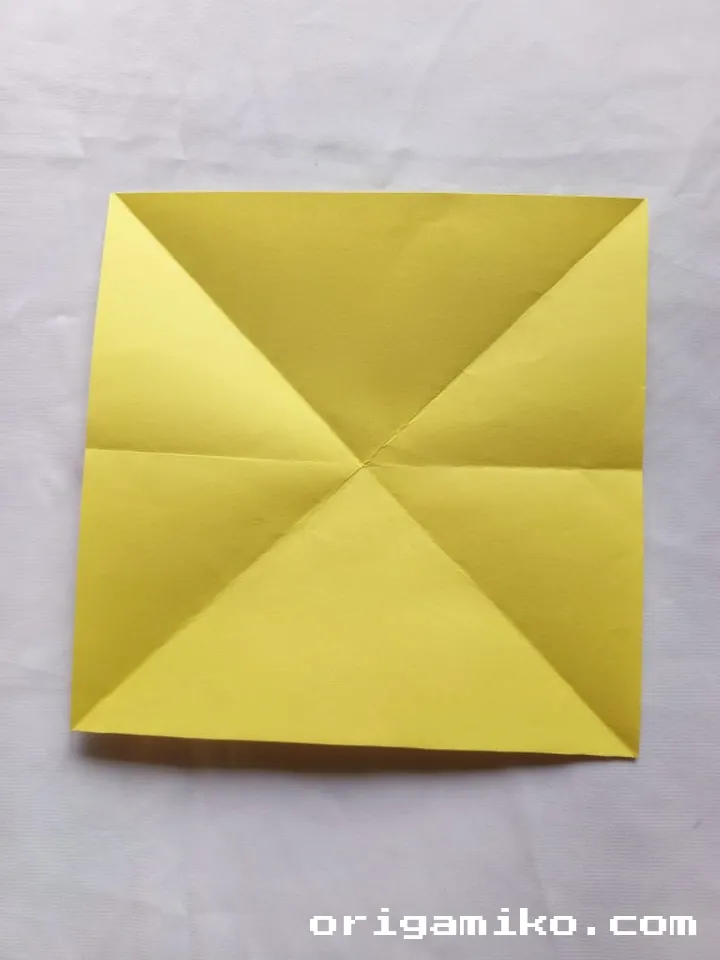
- Now, fold each of the four corners to the center point, crease well, and unfold again.
- This gives you guidelines for later folds.
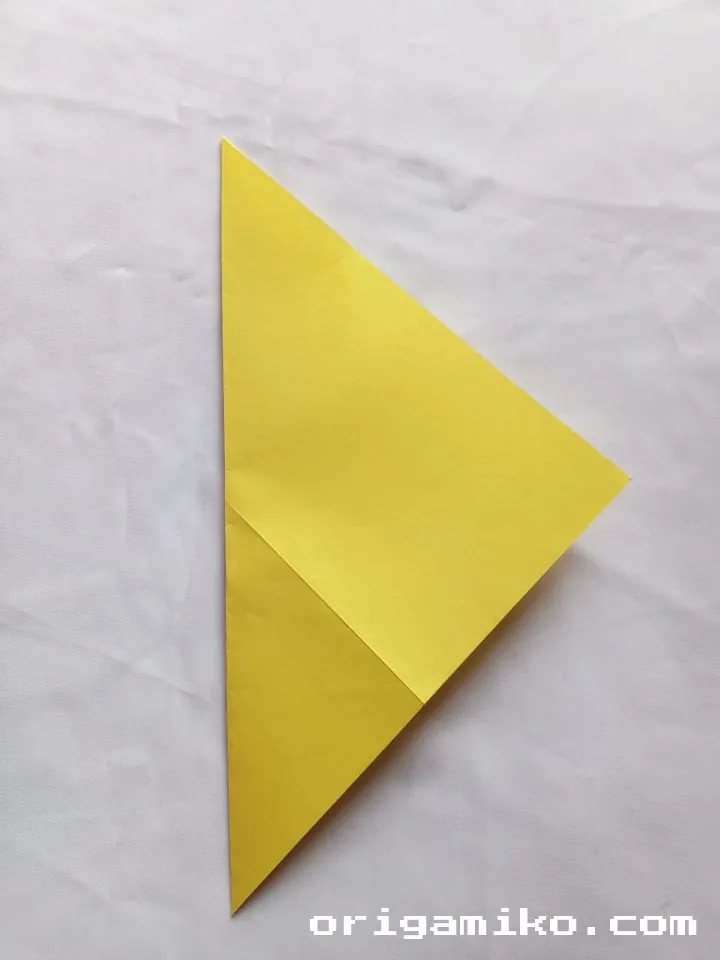
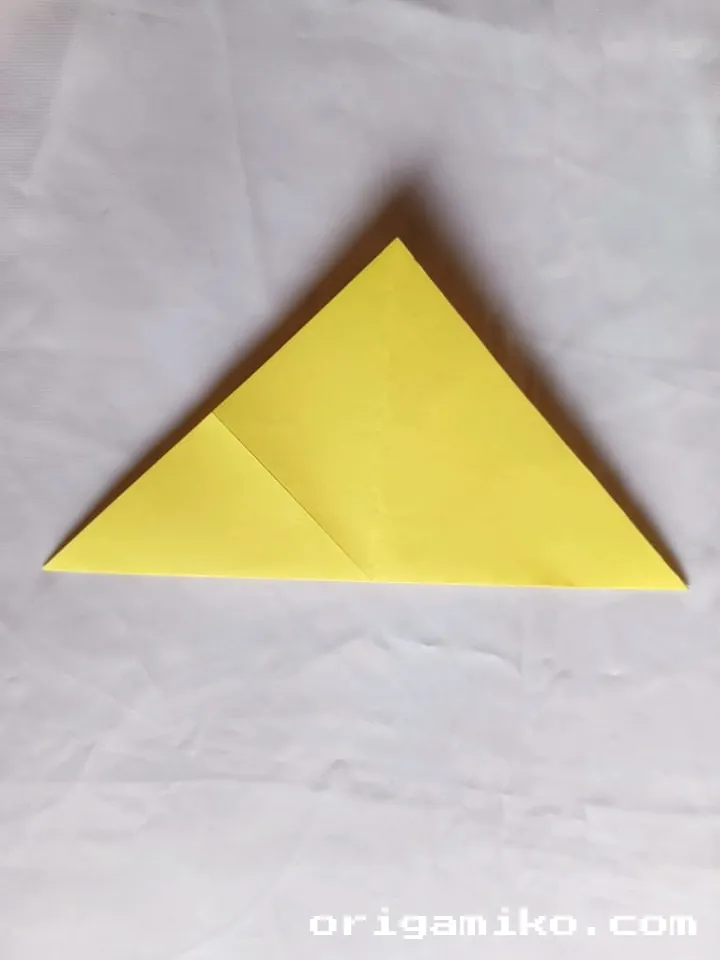
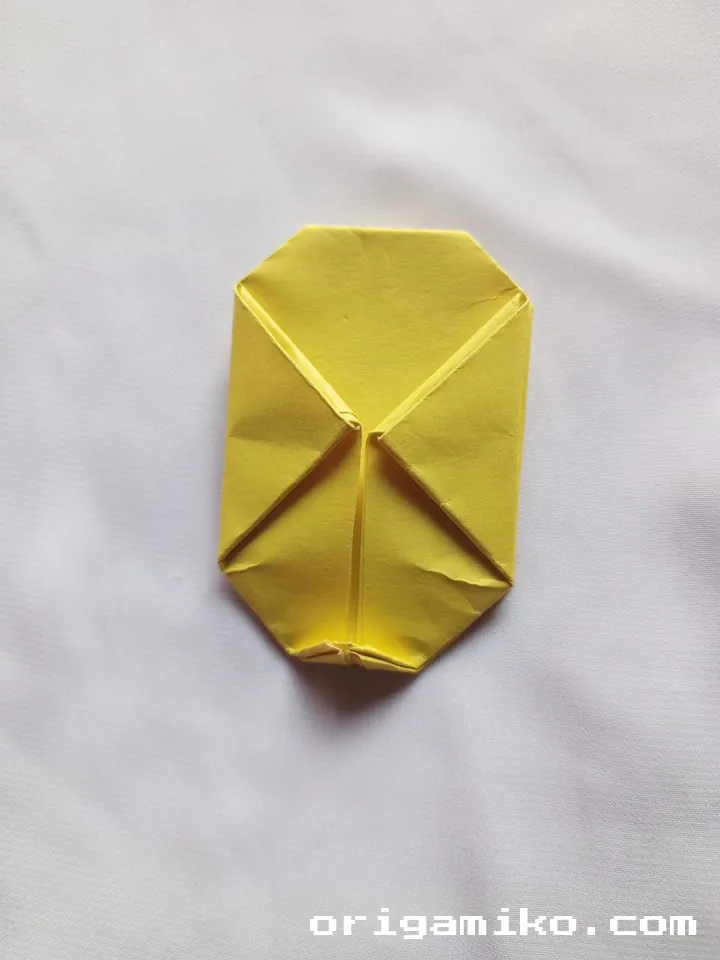
Step 3: Form the Lemon’s Structure

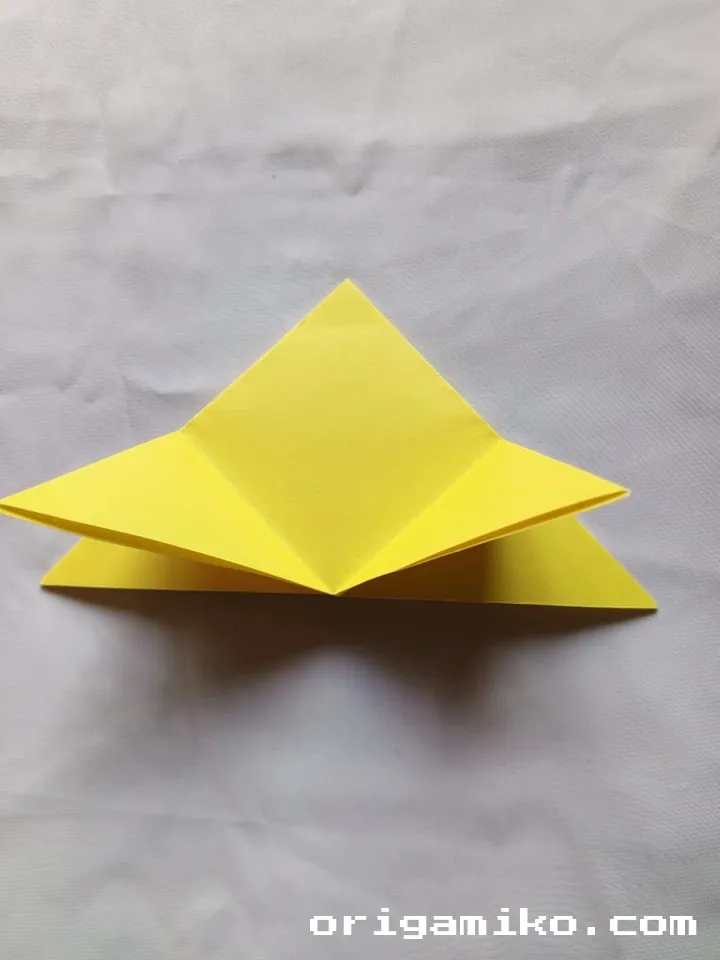
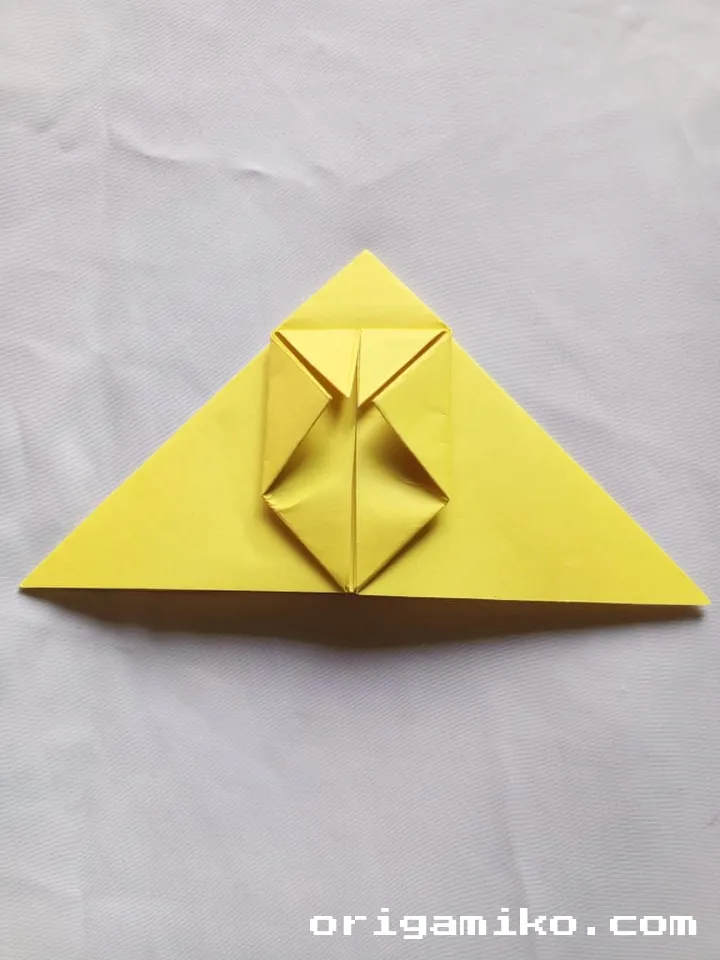
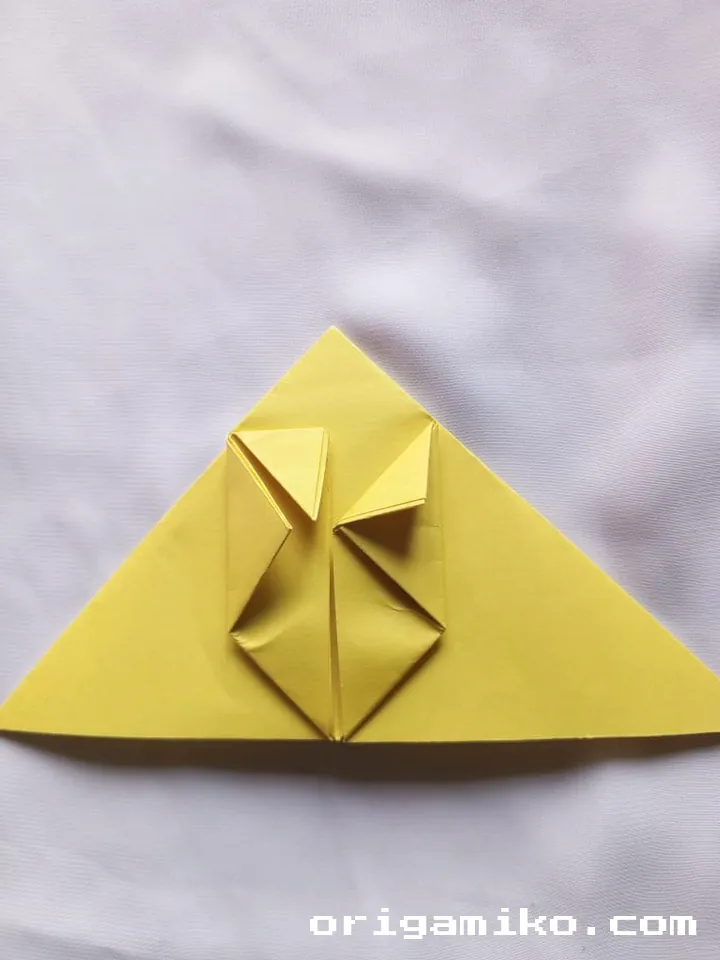
- Fold each corner inward again as shown in guides or visual instructions.
- Then fold the top-left and top-right corners upward, crease, and unfold.
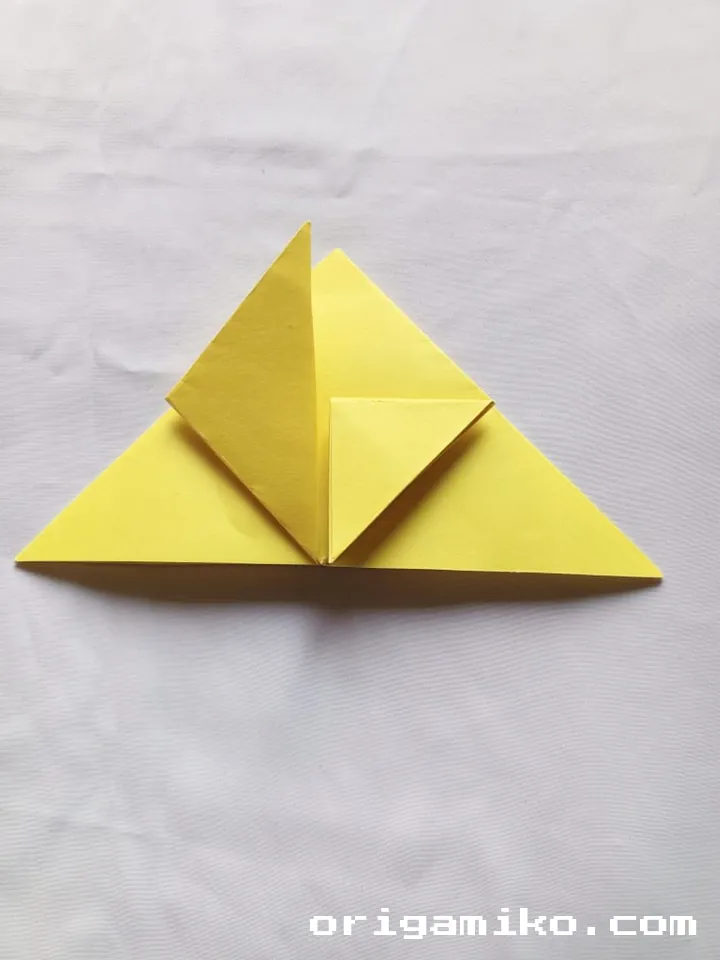
- Now fold the left and right sides inward, then unfold them again.
- Finally, fold down the top triangle part, crease it well, and do the same on the bottom.
This folding combo might feel strange, but trust the process—it builds the lemon’s puff shape!
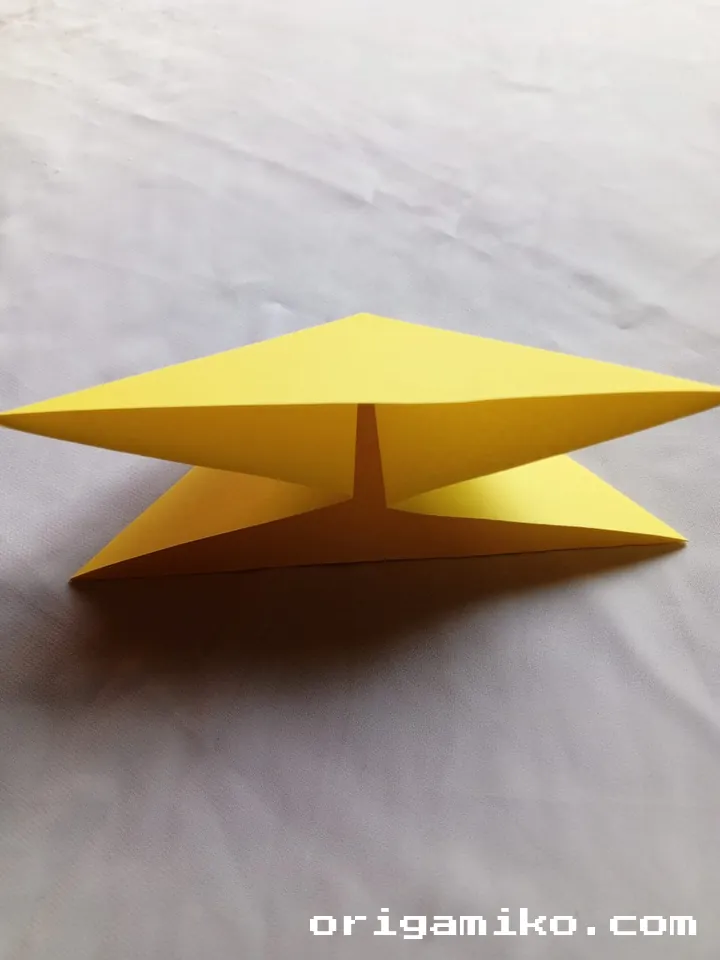
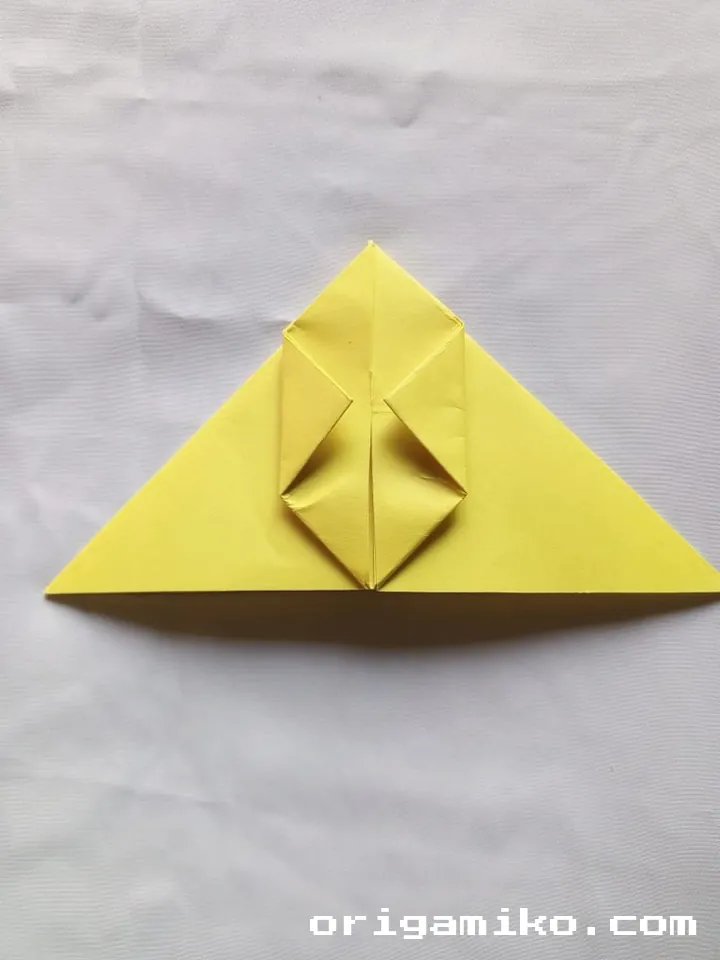
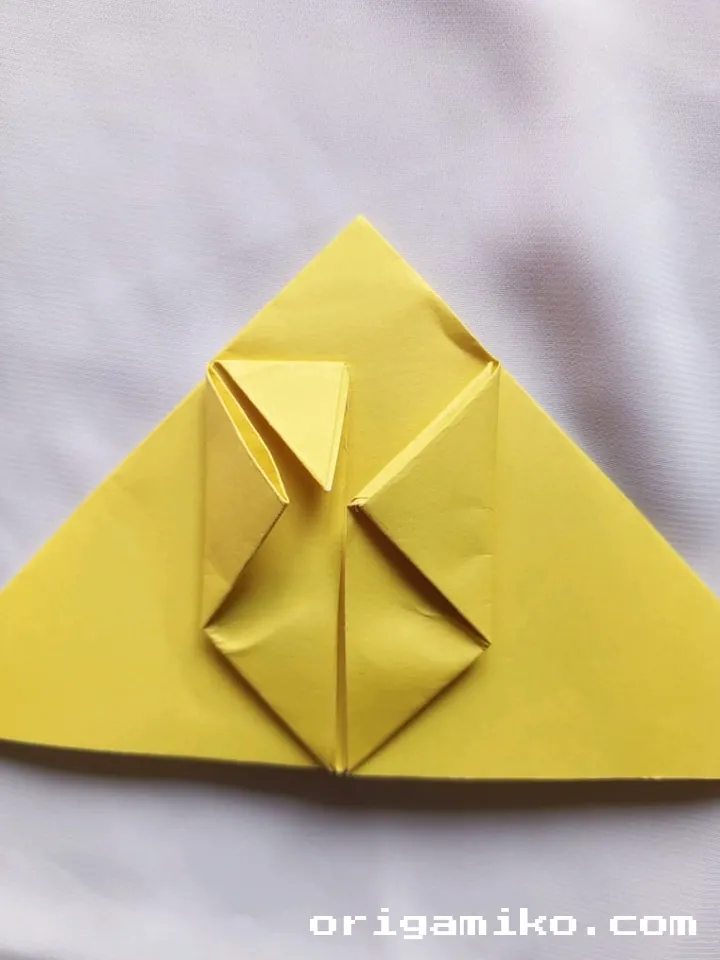
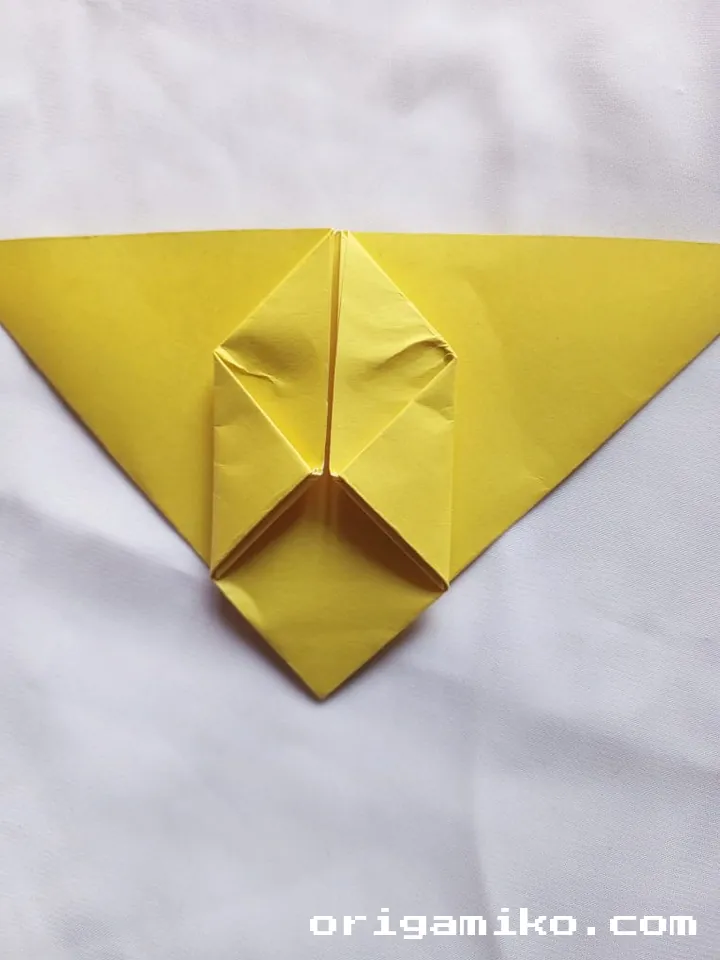
Step 4: Inflate and Add Your Stick
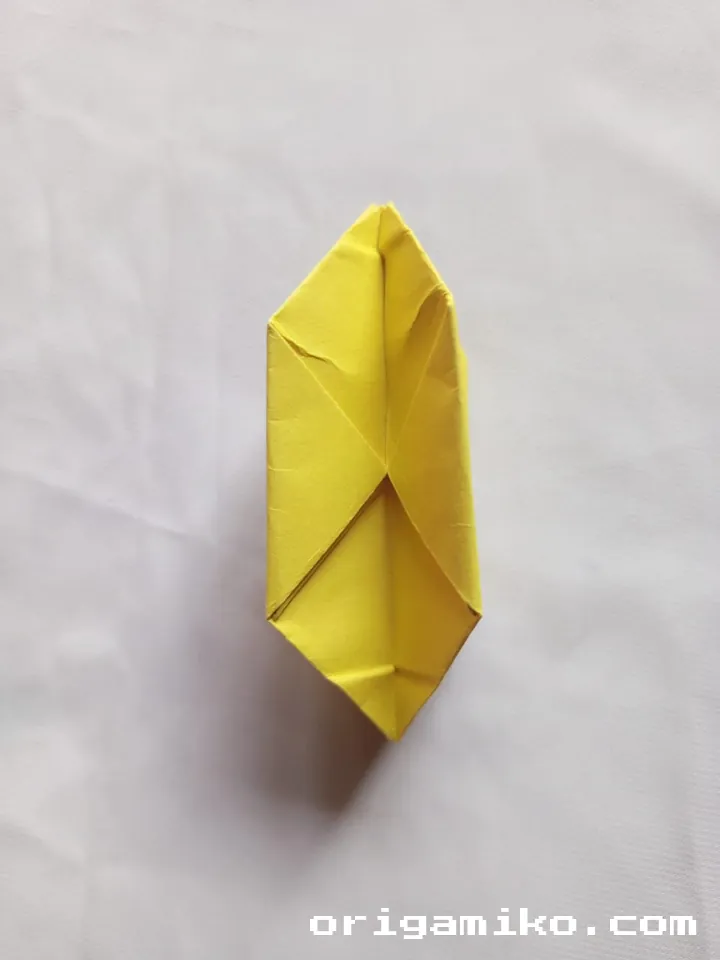
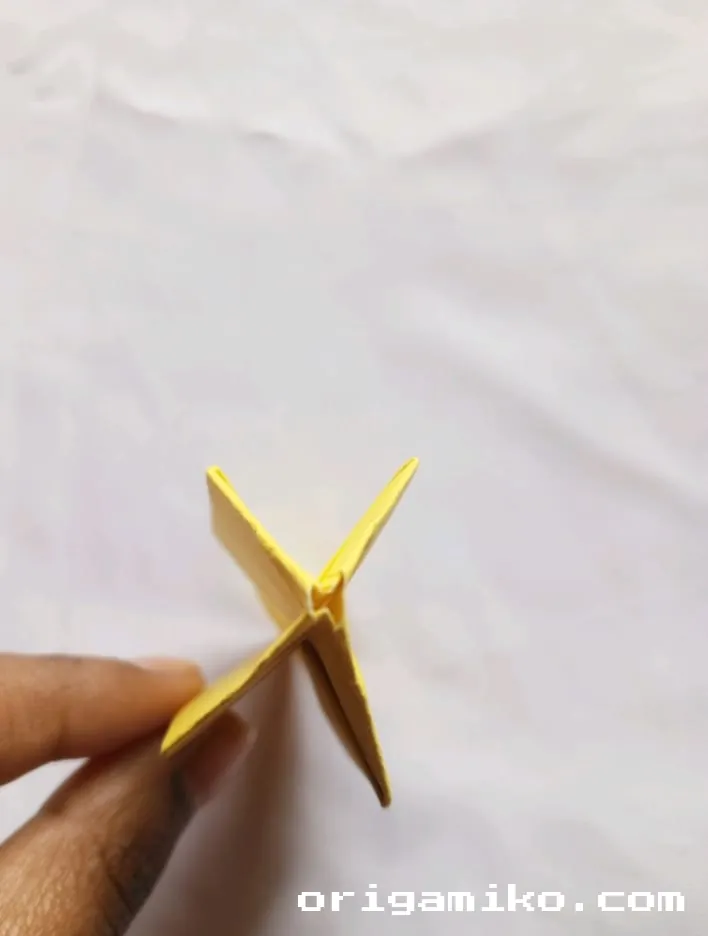
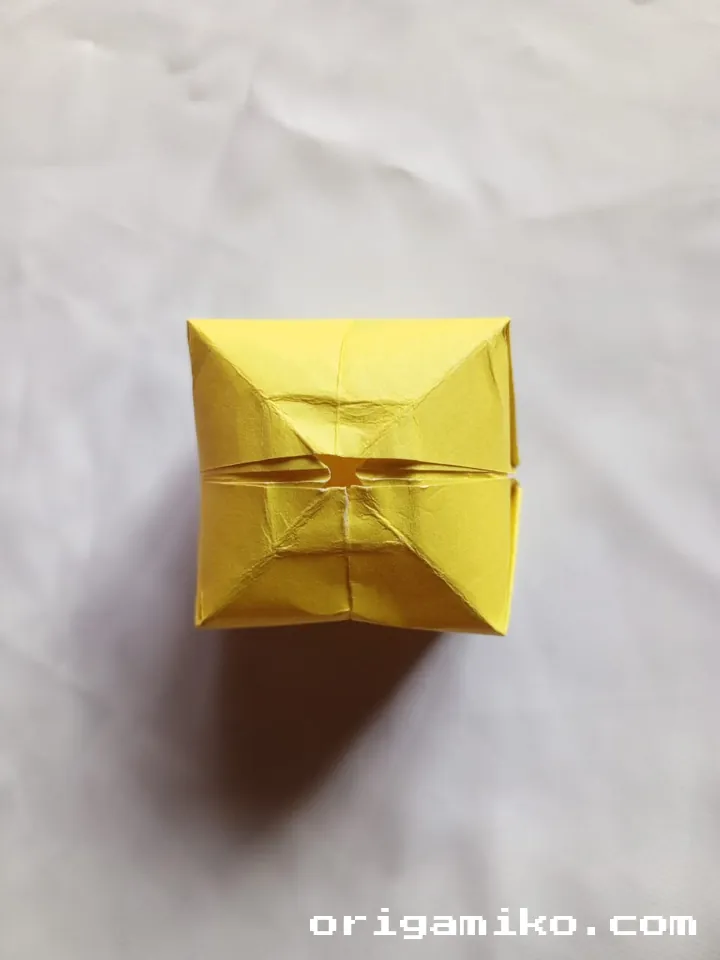
- Unfold the top and bottom triangle flaps you just made.
- Now here comes the fun part: gently blow into the small hole at the top.
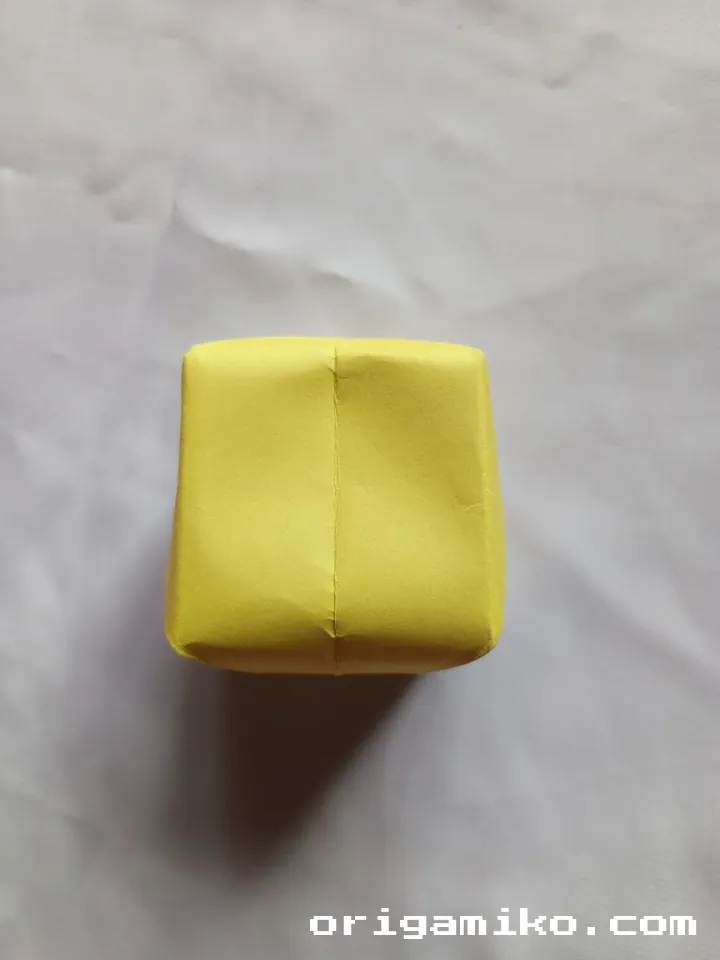
- Watch it puff up into a round lemon shape.
- Insert a stick into the top for that lemon-on-a-branch look.
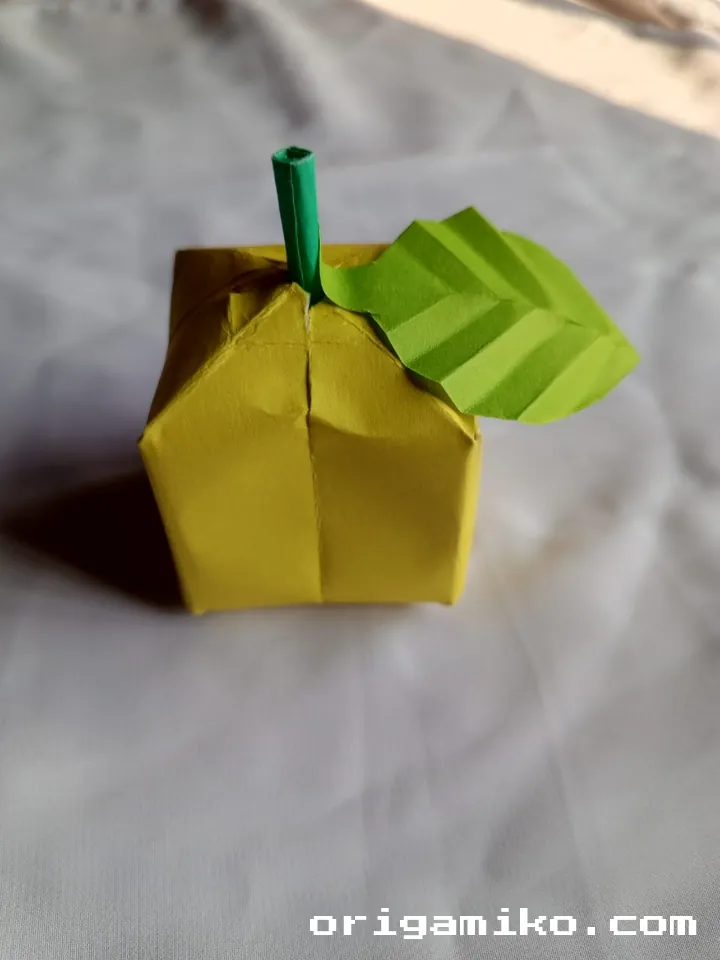
And there you go—your very own easy origami lemon is ready to show off!
Tips for Success
Want to make the cleanest, cutest lemon possible? Keep these tips in mind:
- Crease every fold sharply – use a ruler or fingernail if needed.
- Don’t rush the steps – fast folds can lead to crooked lemons.
- Use thicker origami paper – it holds air better and forms shape nicely.
- Blow gently – too hard and you might crumple your work.
- Practice on scrap paper first – especially if you’re showing kids how to do it.
Common Mistakes (And How to Avoid Them)
Even experienced folders mess up sometimes. Here’s what to watch for:
- Paper tears while blowing
→ You may have used thin or brittle paper. Try a sturdier one. - Lemon won’t inflate
→ Make sure the folds aren’t too tight and there’s an open hole to blow into. - Uneven shape
→ Double-check that your base folds are symmetrical. - Lemon deflates quickly
→ You might have small holes in the folds. Press gently or reinforce with tape inside (if you’re not doing pure origami).
Similar Variations You Can Try
Once you’ve mastered the origami lemon instructions, why stop there? Try these fun offshoots:
- Origami apple – Use red paper and slightly different puff folds.
- Origami orange – Bright orange paper and same structure as lemon.
- Lemon wedge – Fold just a half version for a slice of fruit.
- Mini citrus garland – Make 5–6 mini lemons and string them together for a cute decoration.
- Scented origami fruit – Add essential oils inside before inflating.
FAQs
Q: Can I use a smaller or larger paper?
A: Yes! Just keep it square. A 12″ × 12″ works best for beginners.
Q: Do I have to blow into the lemon?
A: Yep—that’s what gives it the 3D shape. Just don’t blow too hard.
Q: Can kids do this craft?
A: Totally! I’ve helped 6-year-olds do it. Just help with the tricky folds.
Q: What type of paper is best?
A: Thick origami paper or construction paper. Avoid regular printer paper—it tears easily when inflated.
Q: How long does it take?
A: Your first lemon might take 10–15 minutes. After that, it’s quick and easy.
Final Thoughts
There you have it—a bright, bouncy, paper lemon that’s fun to fold and fun to flaunt. We’ve gone over every detail, from the simple lemon step by step method to pro tips and fun variations.
The best part? You now know how to make lemon using nothing but your hands, some paper, and a little puff of air. Give it a try, share it with a friend, or teach it to a group—either way, the joy of origami just got a little zestier.
Let me know if you made one—I’d love to hear how your easy origami lemon turned out!