

Origami has a wonderful way of making magic happen with just a simple sheet of paper.
Today, we’re diving into a charming project: creating an easy Origami Orange that’s bursting with life.
This step-by-step adventure promises creativity, fun, and a beautiful final piece you’ll be proud of.
The Joy of Folding an Origami Orange
If you’ve ever dreamed of turning ordinary paper into something enchanting, an Origami Orange is the perfect project. It’s simple, colorful, and surprisingly satisfying. Plus, it’s an easy craft that even beginners can master with just a bit of patience and excitement!
The beauty of this project lies not only in its cheerful appearance but also in the journey of folding itself. Each step brings you closer to holding a tiny, vibrant orange that feels almost magical in your hands. Whether you’re new or experienced in origami, this project promises a rewarding journey.
Materials You’ll Need
Before we begin, gather everything you’ll need:
- A rectangular piece of paper (any color, but orange is ideal!)
- A flat surface for easy folding
- A little bit of patience and creativity!
That’s all you need for this easy Origami Orange — simple supplies for a beautiful result.
Simple Orange Step by Step: How to Make It
Now, let’s jump right into the Simple Orange step by step process! Follow along carefully and you’ll have your own bright orange masterpiece before you know it.
Step 1: Take a Rectangular Piece of Paper
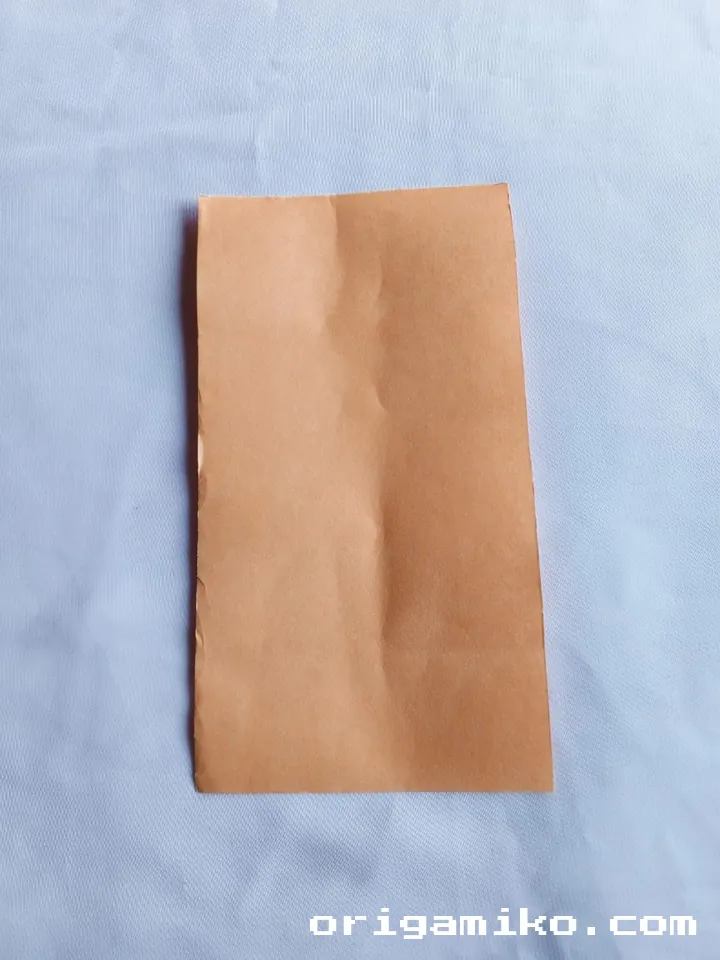
Start by choosing a nice rectangular sheet of paper.
If you want a classic look, orange-colored paper is ideal, but feel free to experiment with different shades for a playful twist!
Make sure your paper is smooth and without creases — this will help your folds look neat and professional.
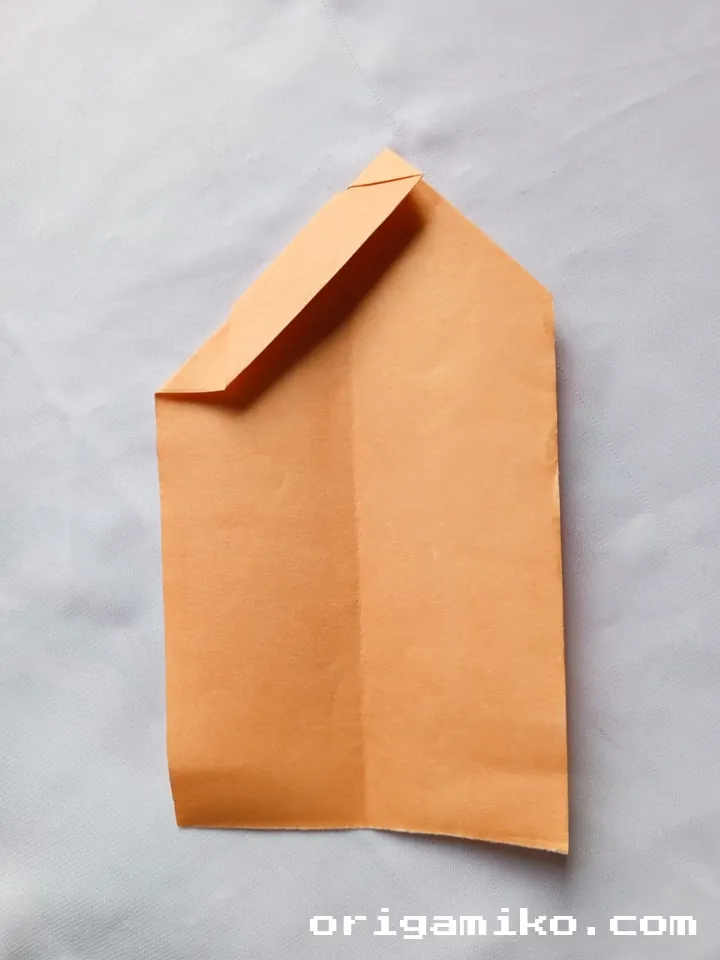
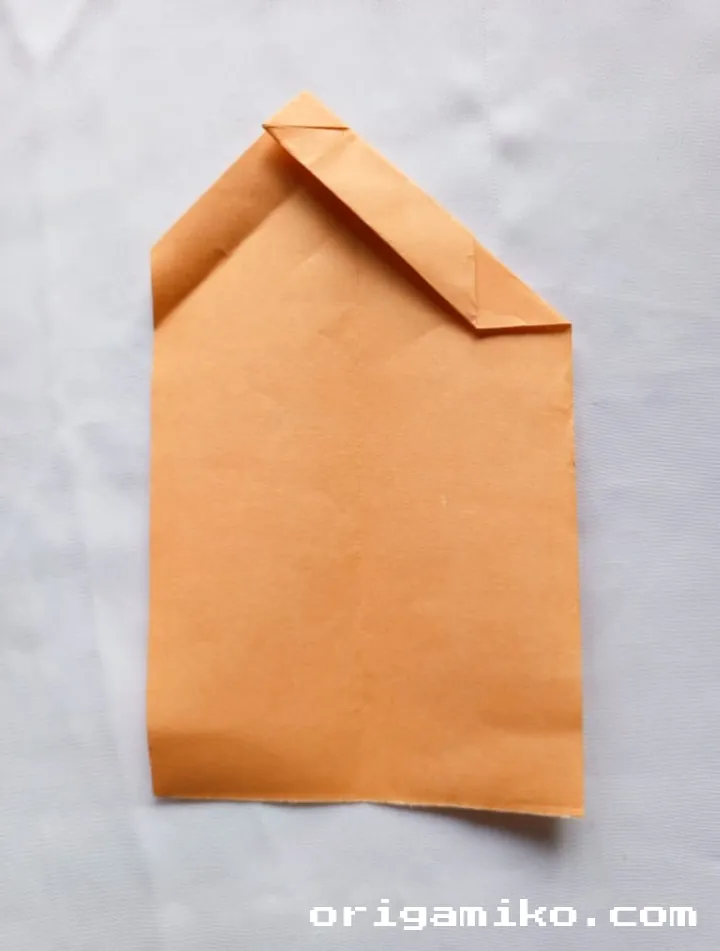
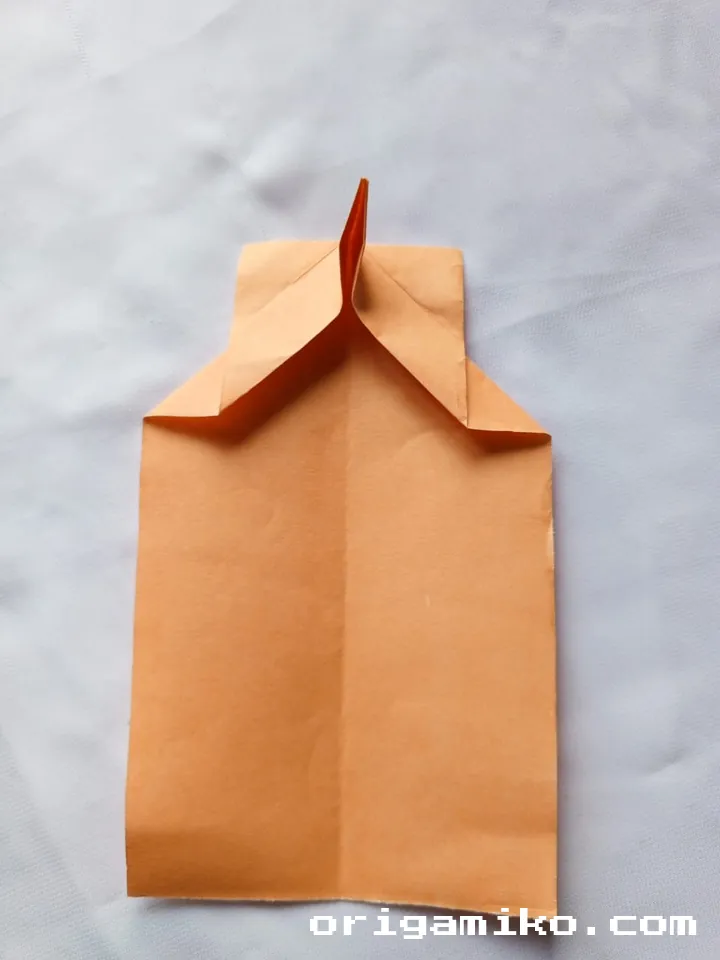
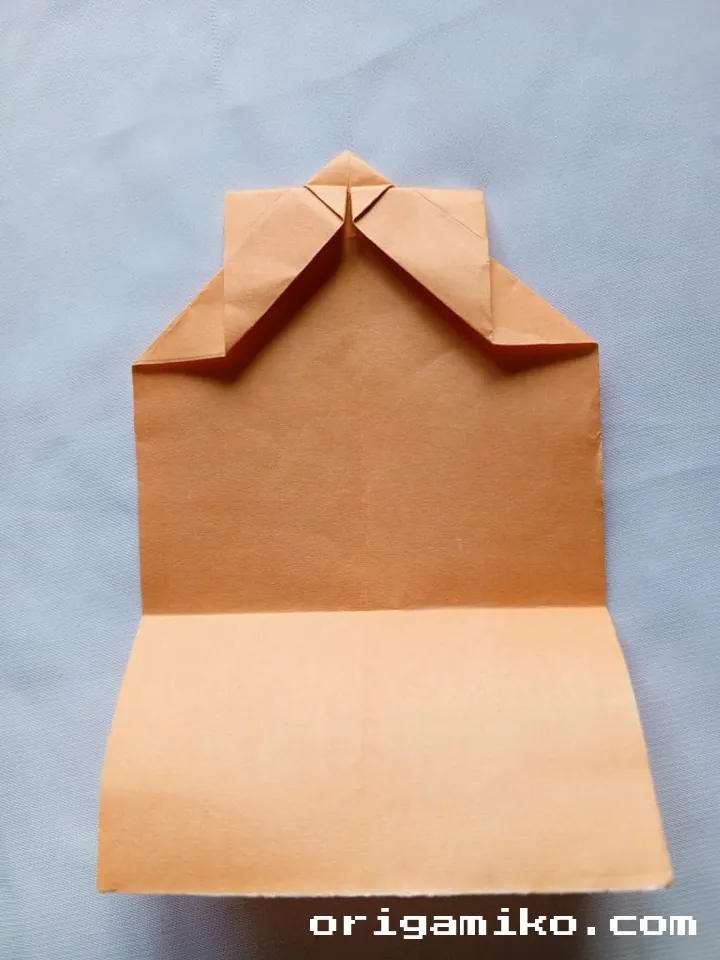
Step 2: Fold Along the Middle and Housefold the Top Two Corners
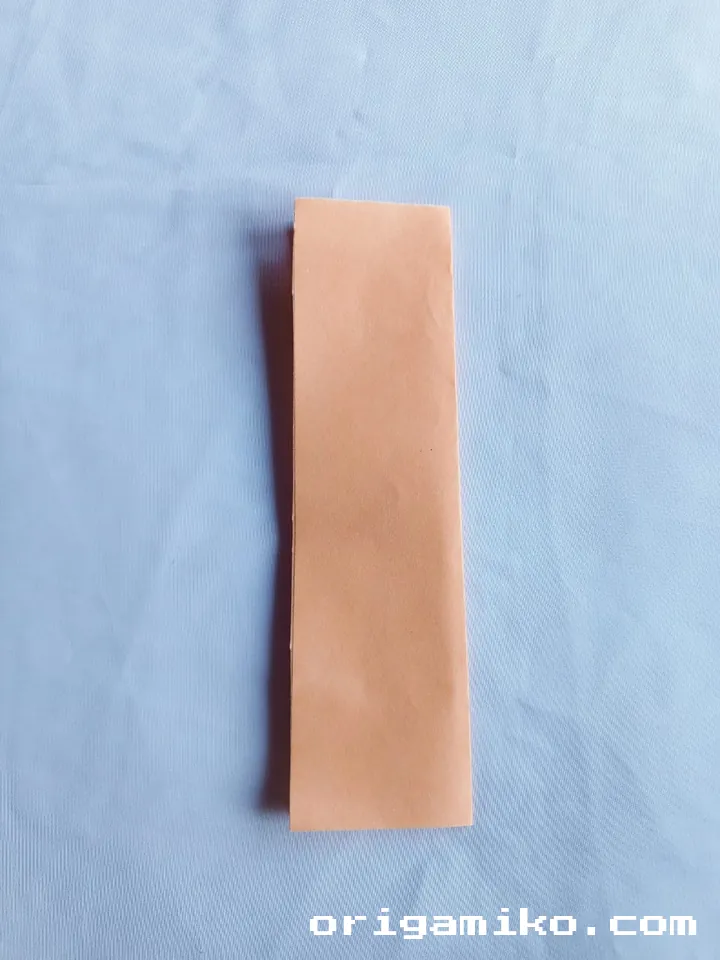
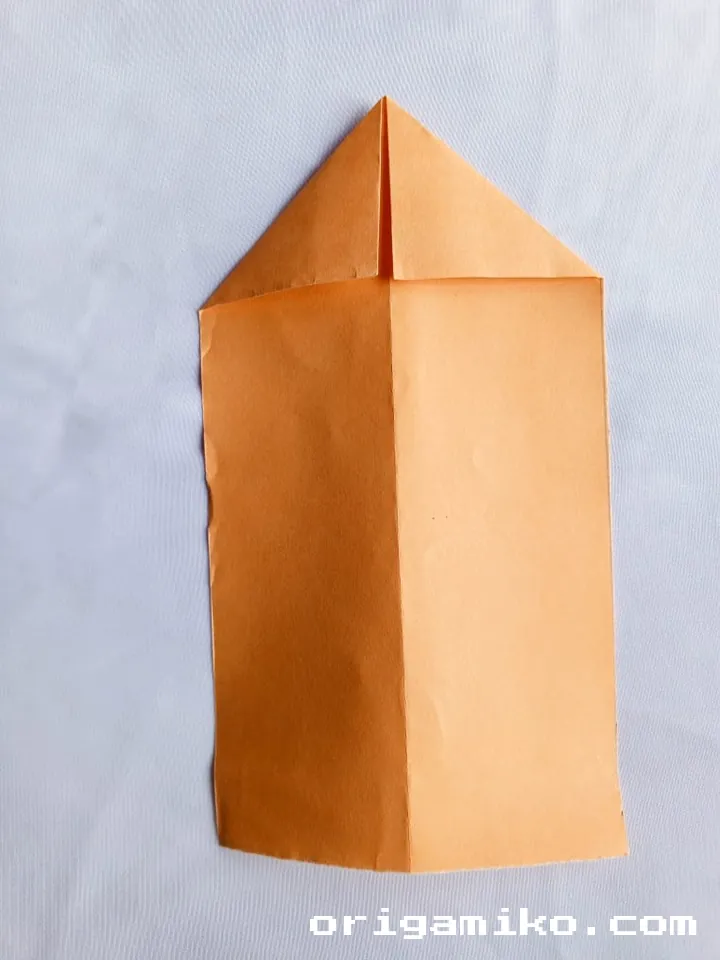
First, fold the paper exactly in half lengthwise, creating a crisp center crease.
Unfold it, and then bring the top two corners inward so they meet neatly at the center line — like forming a house shape.
This “housefold” is a classic move that starts giving your orange its rounded top!
Step 3: Fold and Unfold the Back as Shown
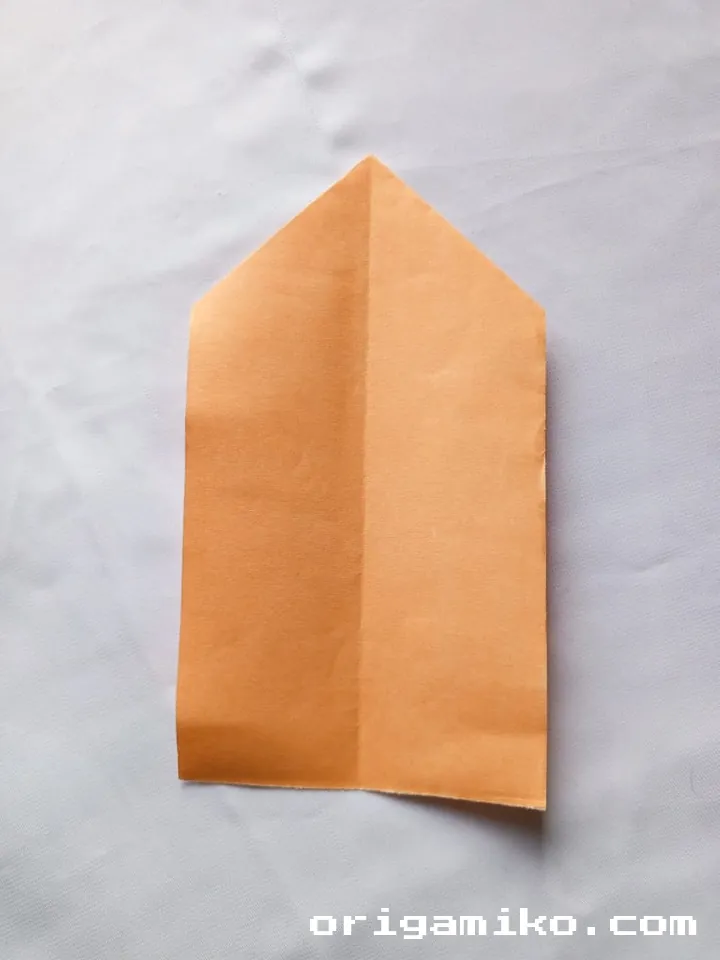
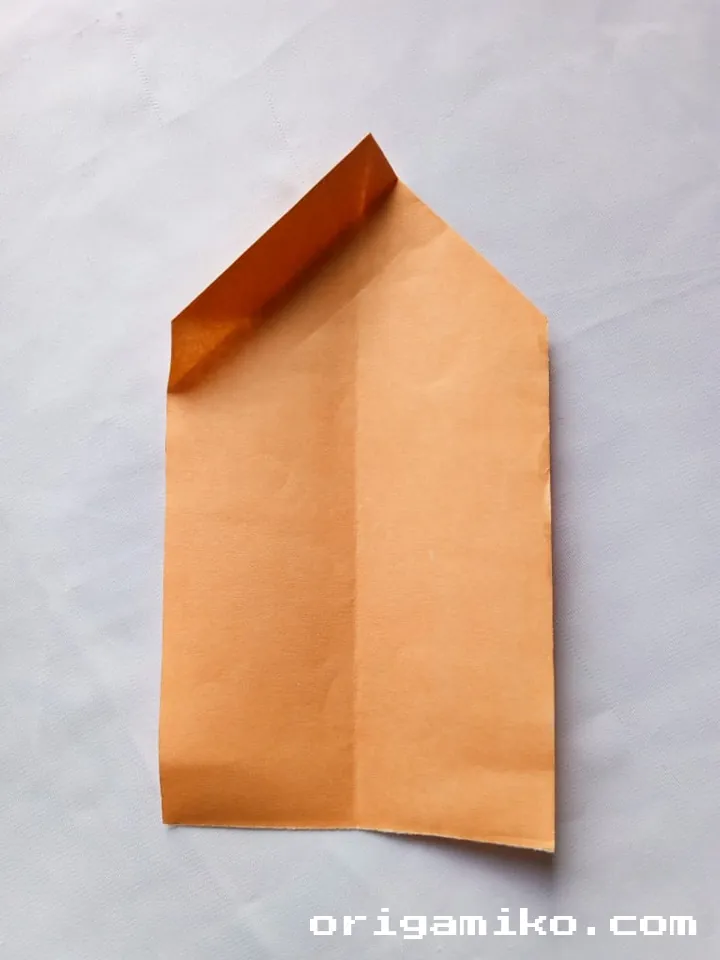
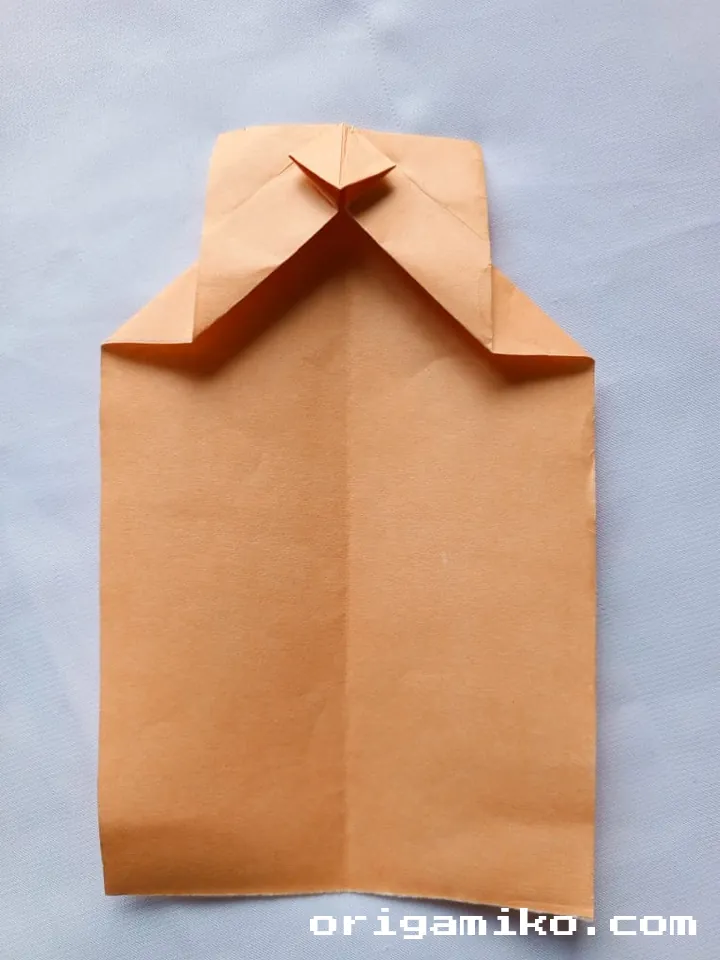

Now, carefully turn your paper over to the back side.
Fold the bottom edge up toward the center, creating a crease, and then immediately unfold it.
This fold will help guide the next shaping steps and add structure to your Origami Orange.
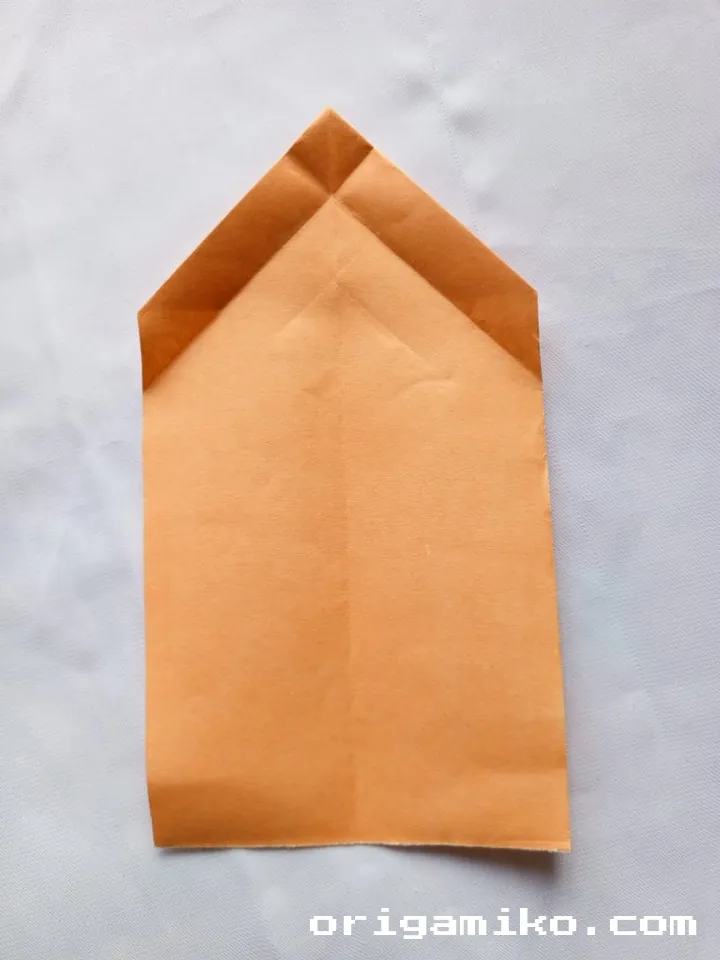
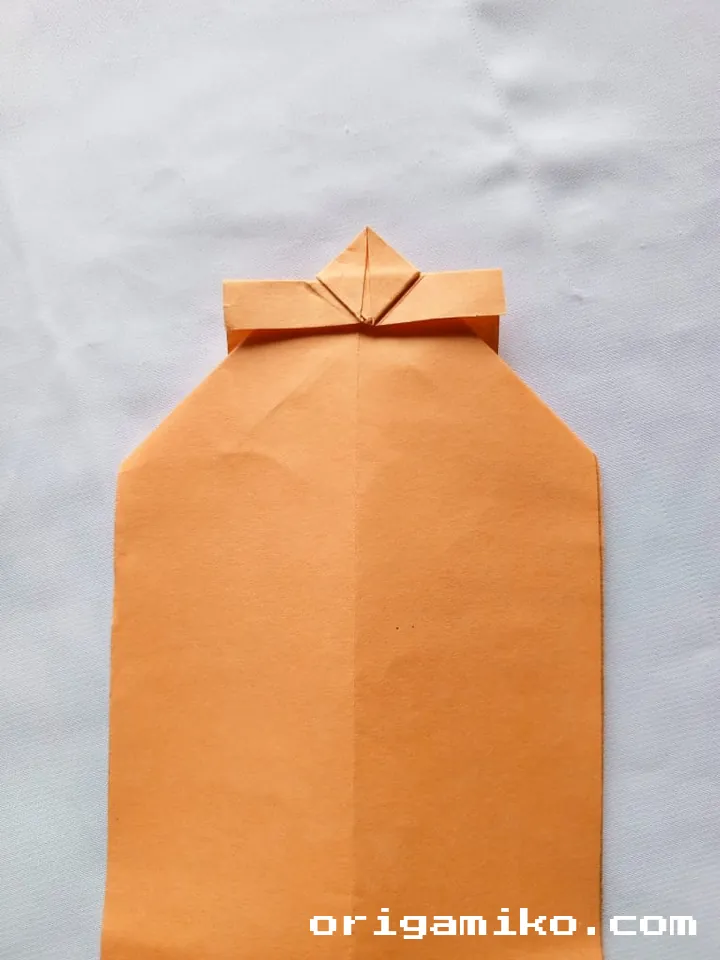
Step 4: Fold the Paper in the Middle and Unfold It
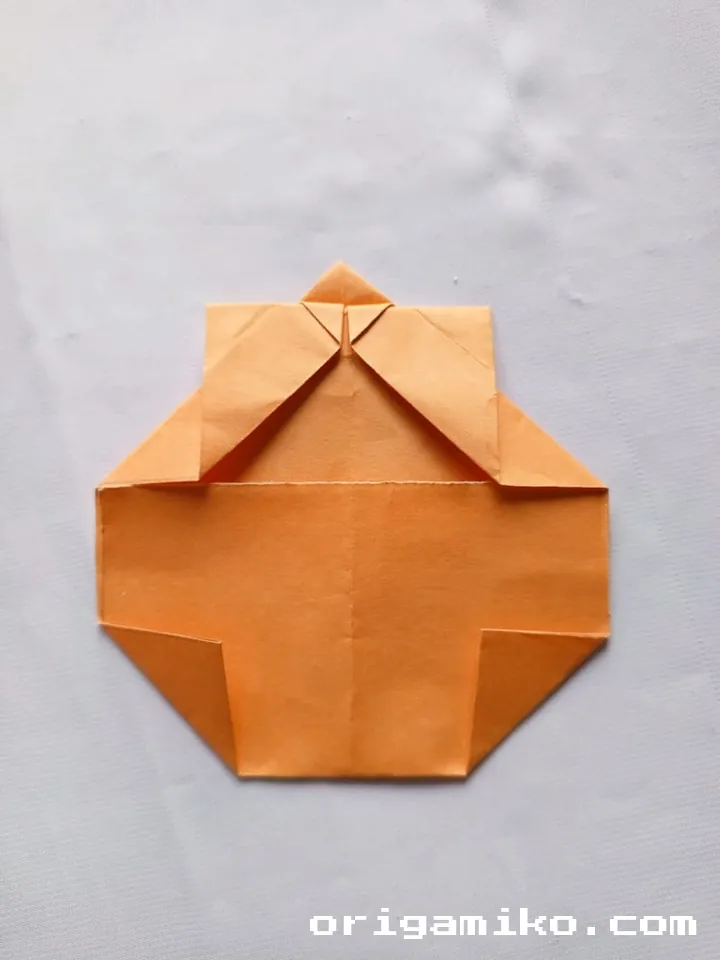
Finally, fold the entire paper in half again (this time from bottom to top), pressing gently but firmly along the center.
Unfold it — and now your paper will have essential guiding creases ready for the final shaping!
By folding two corners properly, you lay the foundation for a beautiful orange form.
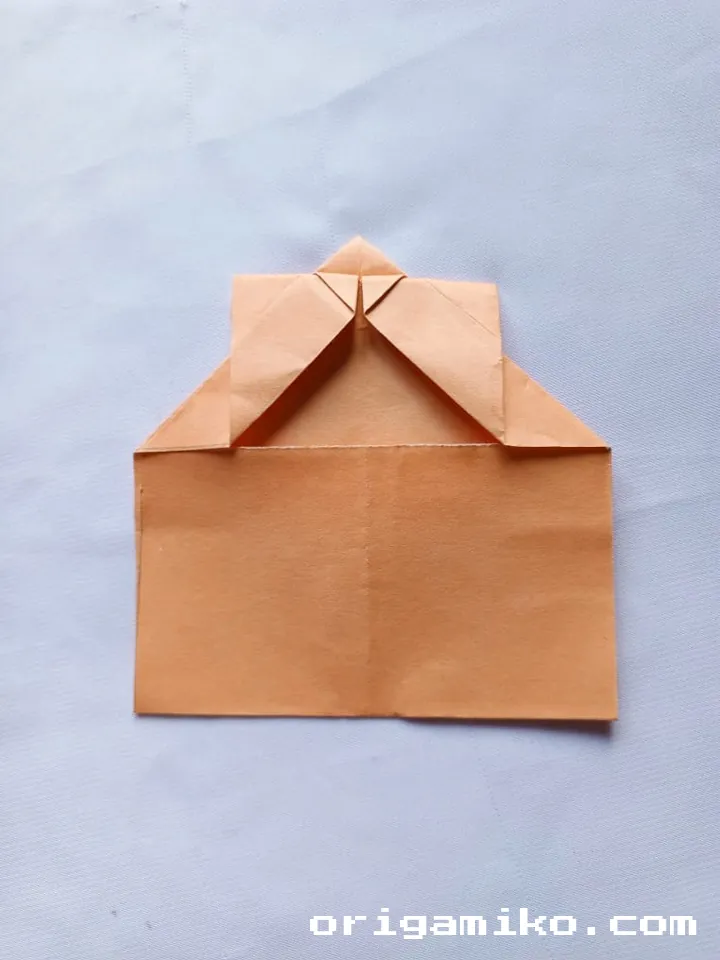
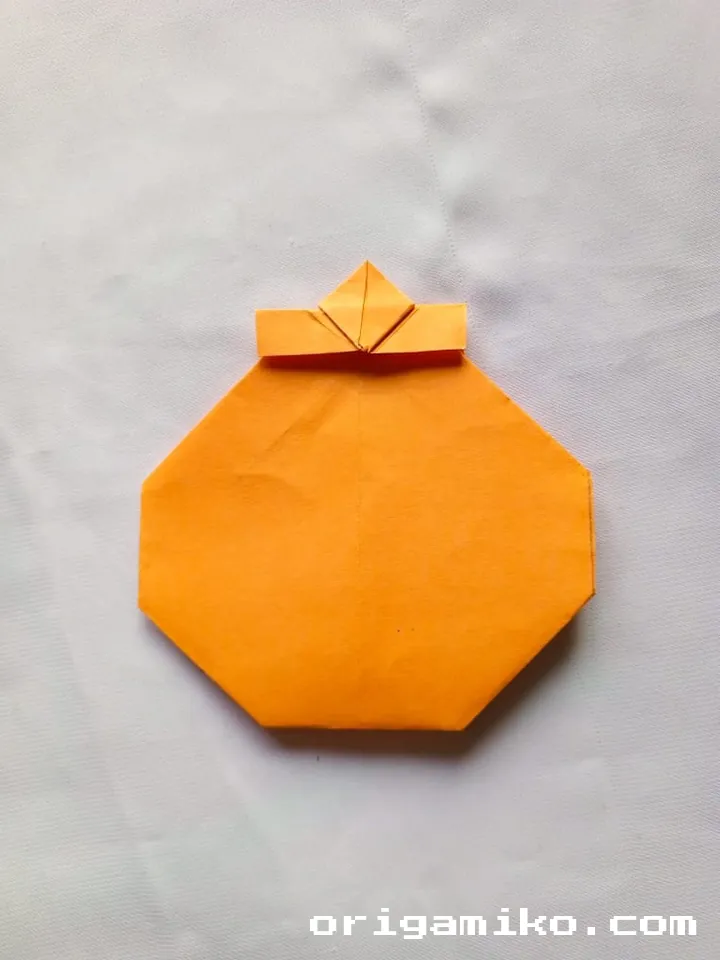
Final Touches: Shaping Your Origami Orange
After you’ve completed the basic folds, you can gently press and adjust the paper to round out the shape.
Tuck in the edges slightly if you want a plumper look, or leave them as-is for a more geometric style.
This step allows you to personalize your orange — every fold gives it a little more character!
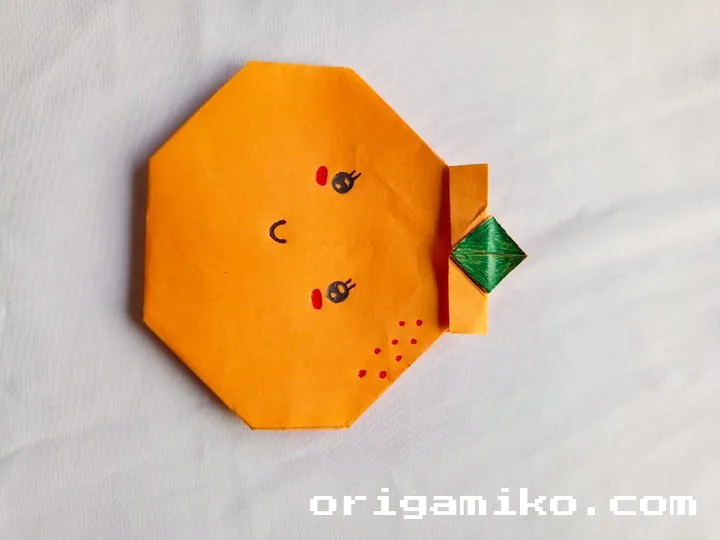
You can even add a tiny green stem at the top by folding a small strip of paper if you like. It’s completely optional but adds an extra touch of charm.
Helpful Tips for Beginners
If you’re learning how to make Orange crafts through origami for the first time, here are a few tips:
- Take your time with each fold; rushing can lead to mistakes.
- Always crease firmly but gently to keep your paper looking clean.
- Practice on scrap paper before using your favorite color.
- Follow the Origami Orange instructions slowly — each step is important!
Remember, origami is as much about the process as the final product. Enjoy each moment!
Why Everyone Loves the Easy Origami Orange
The easy Origami Orange isn’t just adorable — it’s versatile too!
Use your paper oranges to decorate a table centerpiece, brighten up a classroom, or even add to a festive holiday garland.
Their bright color and cheerful shape bring instant happiness wherever they go.
And best of all? This project captures everything wonderful about origami: creativity, simplicity, and a touch of magic.
Start Folding Your Simple Orange Today!
Now that you have the full Simple Orange step by step guide, you’re ready to create your very own Origami Orange.
With just a rectangular piece of paper and a few thoughtful folds, you can bring a delightful splash of color into your day.
Grab your paper, take a deep breath, and begin — an enchanting world of paper folding awaits you!