

Have you ever wondered how to transform a simple piece of paper into something functional?
I’m excited to share this easy origami pen tutorial with you today.
Let’s dive into this creative project that combines simplicity with practicality!
What is an Origami Pen?
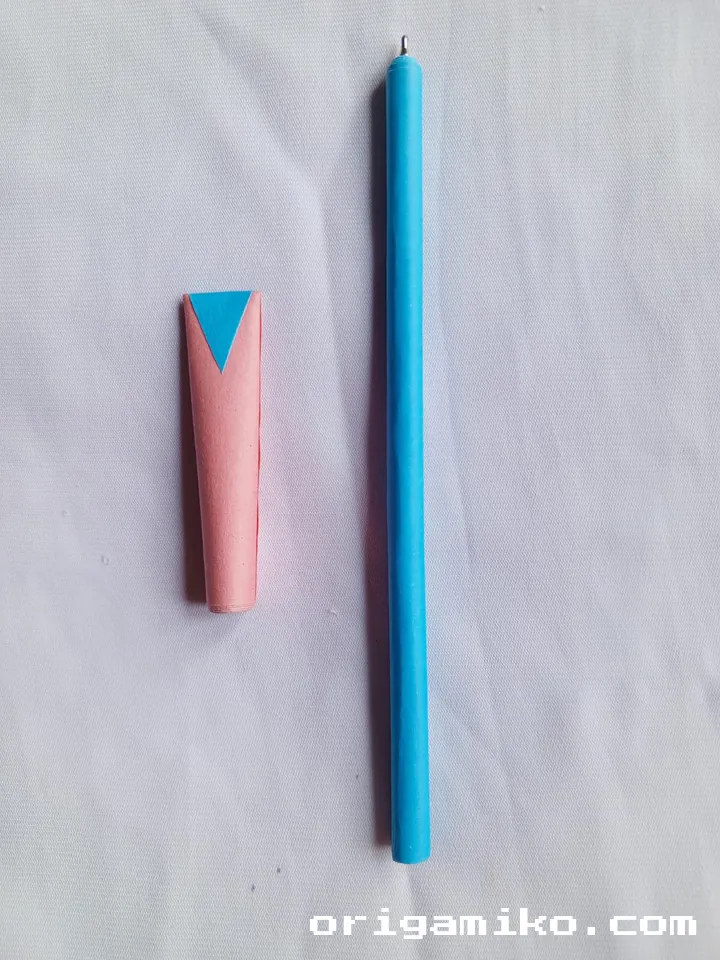
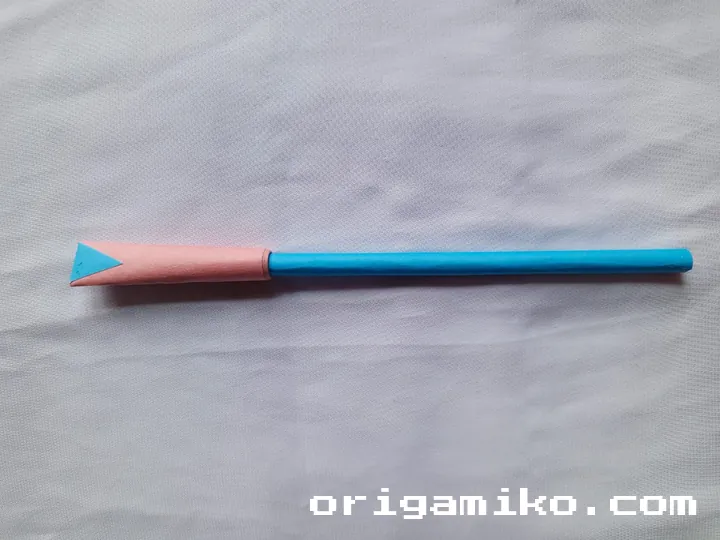
When I first discovered how to make an origami pen, I was amazed at how something so simple could be so useful. An origami pen is essentially a decorative paper covering for a regular pen that adds a personal touch to an everyday item. It’s one of those projects that looks impressive but is actually quite simple to create.
The beauty of this craft is that you can customize it to your heart’s content—different colors, patterns, and even textures can completely transform the look of your pen. I’ve made these as gifts, party favors, and even as a fun activity with my nieces and nephews on rainy afternoons.
The origami pen instructions I’m sharing today are perfect for beginners, but even experienced paper folders might enjoy this quick and satisfying project. So let’s get started with this simple pen step by step guide!
Materials Needed
Before diving into the origami pen instructions, let’s gather all the materials. I’ve created this detailed table to ensure you have everything you need before starting:
| Material | Description | Alternatives | Notes |
|---|---|---|---|
| Rectangular paper | 6″ x 3″ works well | Origami paper, colored printer paper, scrapbook paper | Thinner paper works better than thick cardstock |
| Pen pin | Regular ballpoint pen | Gel pen, marker, pencil | Make sure it’s comfortable to hold |
| Clear tape | Small piece needed | Washi tape, double-sided tape | Transparent tape is less visible |
| Scissors | For trimming paper if needed | Paper cutter | Sharp scissors give cleaner edges |
| Ruler | For measuring paper | Measuring tape | Optional but helpful for precision |
| Bone folder | For crisp folds | Credit card, popsicle stick | Optional but makes neater folds |
I recommend using colorful or patterned paper for a more personalized touch. When I make these with my friends, we often use origami paper with beautiful designs that really make the pens stand out.
Step-by-Step Instructions
Now let’s dive into creating your easy origami pen:
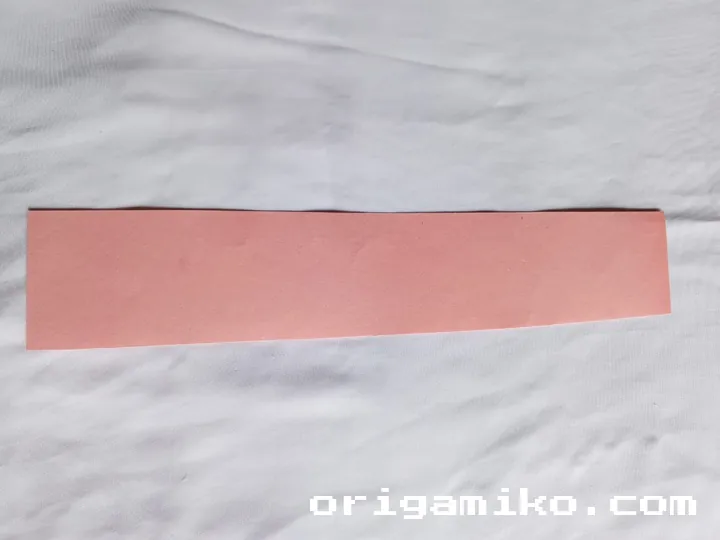
- Take a rectangular paper and a pen pin
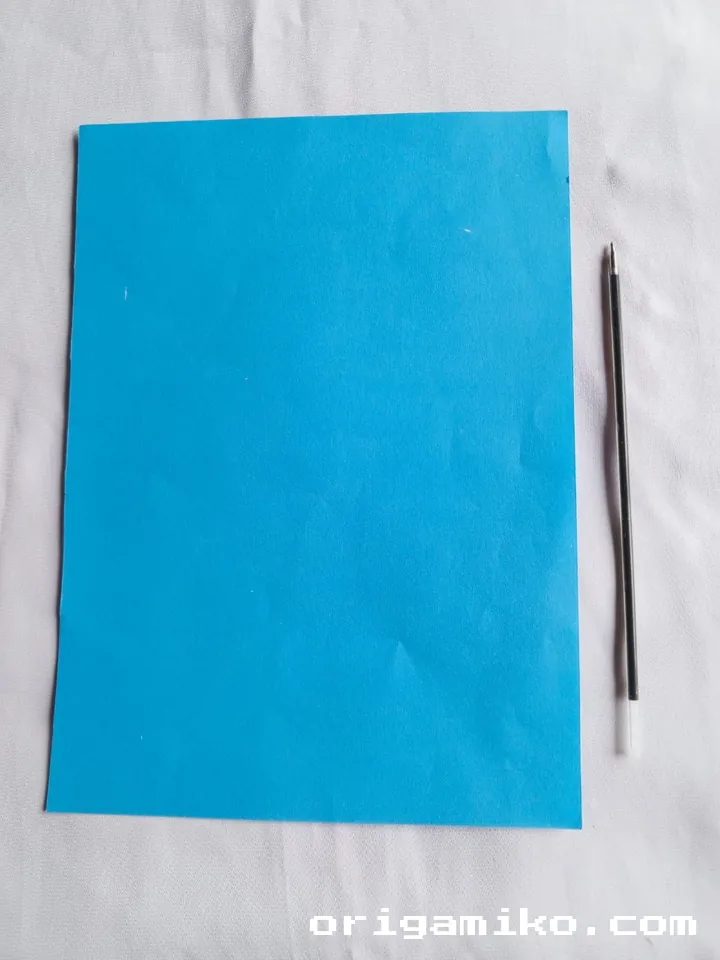
- Choose your favorite colored or patterned paper
- Have your pen pin ready to use
- Make sure your workspace is clean and flat
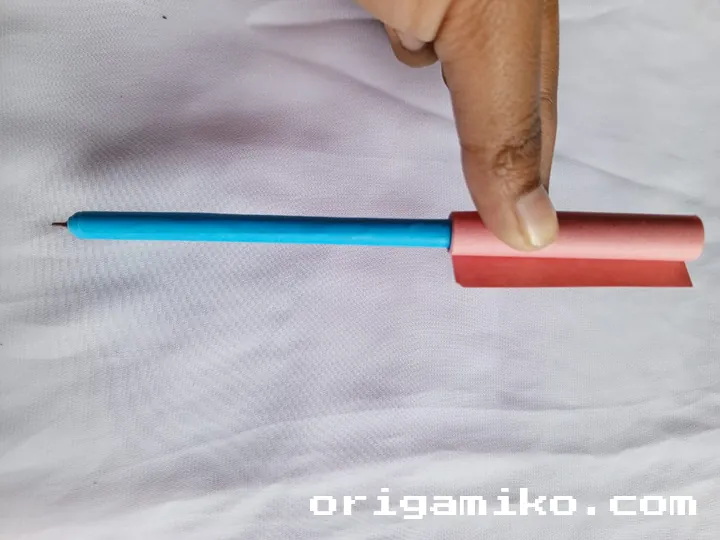
- Wrap the paper with the pen pin and attach the tape
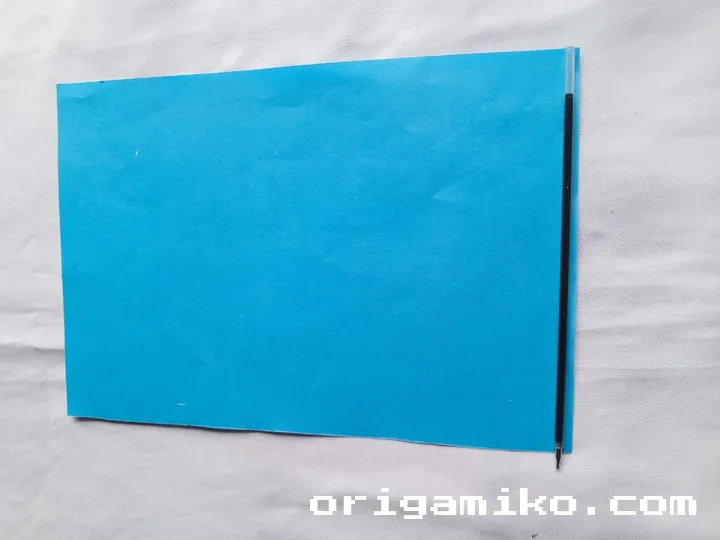
- Place the pen in the center of the rectangular paper
- Carefully wrap the paper around the pen
- Secure the edge with a small piece of tape
- Take a long piece of paper and fold it behind the pen and unfold it. Now add a piece of paper by pressing it from the top and you will get an origami pen
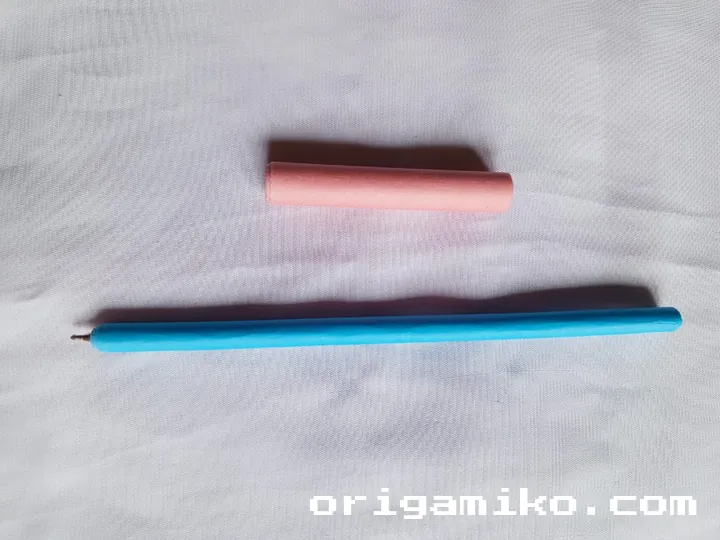
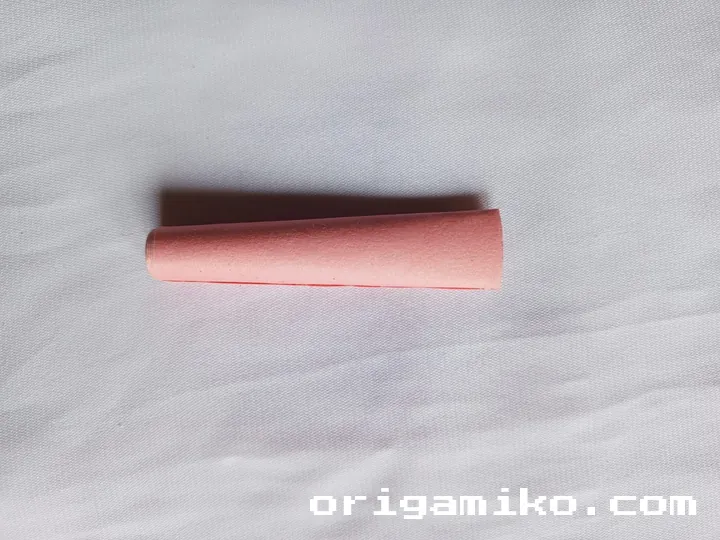
- Cut another strip of paper for the decorative top
- Create a fold by placing it behind the pen and then unfolding
- Press the paper from the top to secure the design
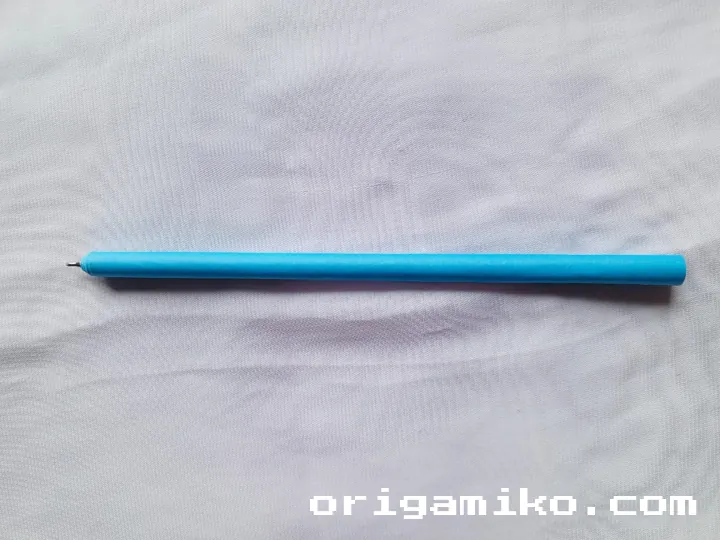
- Voilà! Your origami pen is complete
The first time I made one of these, I was surprised at how quick and easy it was. Within minutes, I had transformed a plain pen into something much more personalized and visually appealing. Following these simple pen step by step instructions ensures success every time.
Tips for Success
When making your origami pen, keep these helpful tips in mind:
- Paper Selection Matters: I’ve found that medium-weight paper works best—not too thick that it won’t fold easily, but not so thin that it tears.
- Practice Makes Perfect: My first origami pen wasn’t perfect, and yours might not be either! Don’t worry if it takes a couple of tries to get it right.
- Fold with Precision: Take your time with each fold to ensure clean, sharp creases. This makes a big difference in the final appearance.
- Test Your Pen: Make sure the pen still writes comfortably after wrapping. If it feels bulky, you might need to adjust your paper size.
- Experiment with Decorations: Try adding small paper flowers, tassels, or even tiny origami shapes to personalize your pen even further.
Common Mistakes and How to Avoid Them
In my experience making origami pens, here are some common pitfalls and how to avoid them:
- Paper Too Thick: Using cardstock or other heavy paper makes wrapping difficult and creates bulky results. Stick to medium-weight paper for best results.
- Loose Wrapping: If the paper isn’t wrapped tightly enough, it will slip off the pen. Make sure to wrap firmly and secure well with tape.
- Sloppy Tape Application: Visible or wrinkled tape detracts from the finished look. Apply tape neatly and consider using decorative washi tape if the tape will be visible.
- Incorrect Paper Size: Paper that’s too wide or too narrow won’t wrap properly. Measure your pen circumference before cutting your paper.
- Rushing the Process: Taking your time with the origami pen instructions ensures better results. The few extra minutes of care make a big difference!
Similar Variations That Can Be Made
Once you’ve mastered how to make origami pen designs using this basic method, you might want to try these creative variations:
- Dual-Color Pen: Use two different colored papers—one for the main body and another for the top decoration.
- Themed Pens: Create holiday-themed pens with seasonal papers for Christmas, Halloween, or birthdays.
- Message Pens: Write a small message or quote on the paper before folding for a personalized touch.
- Origami Pen Set: Make a matching set with coordinating papers for a thoughtful gift.
- Textured Papers: Experiment with textured papers like rice paper or handmade paper for an elevated look.
FAQ About Origami Pens
Q: How long does it take to make an origami pen? A: Once you have the materials ready, the actual process takes just 3-5 minutes. Even beginners can complete this project quickly!
Q: Can I remove the paper covering if I need to? A: Yes! Since it’s only attached with tape, you can carefully remove it without damaging the pen.
Q: Will this work with any type of pen? A: This origami pen technique works best with straight, cylindrical pens. Pens with unusual shapes might require modifications to the technique.
Q: Is this appropriate for children to make? A: Absolutely! I’ve done this craft with children as young as 6 with some assistance. It’s a great introduction to paper folding.
Q: Can I wash or clean the origami pen? A: The paper covering isn’t waterproof unless you add a protective coating. I recommend avoiding moisture or replacing the covering if it gets dirty.
Conclusion
Creating an easy origami pen is a delightful way to add a personal touch to an everyday object. Whether you’re making one for yourself, as a gift, or as a fun activity with friends or family, this simple project brings joy and creativity to something as ordinary as a pen.
I hope you’ve enjoyed learning how to make an origami pen through this tutorial. Remember, paper folding is all about patience and practice, so don’t be discouraged if your first attempt isn’t perfect. With these origami pen instructions, you’ll be creating beautiful custom pens in no time!