

Ever wondered how to organize your desk with a personal touch?
I’ve discovered that creating an origami pencil holder transforms mundane stationery into something special.
Let me guide you through this simple paper-folding adventure that’s both practical and fun.
What is an Origami Pencil Holder?
When I first started exploring origami, I was amazed at how a simple piece of paper could become something so useful. An origami pencil holder is exactly what it sounds like – a container made entirely from folded paper that stands upright and holds your pencils, pens, and other writing instruments.
What I love most about creating an origami pencil holder is that it combines functionality with artistic expression. You can customize it with different papers, colors, and even decorative elements to match your personal style or desk decor.
Plus, there’s something deeply satisfying about using something you’ve created with your own hands. Every time I grab a pen from my handmade holder, I feel a little spark of pride in my craftsmanship.
Materials Needed
Before we dive into making our simple pencil holder step by step, let’s gather all the necessary materials. I’ve found that proper preparation makes the folding process much smoother.
| Material | Description | Why It’s Important |
|---|---|---|
| A4 paper | Standard 8.27″ × 11.69″ paper | Creates the perfect size for a functional holder |
| Colored paper (optional) | A4-sized decorative or colored paper | Adds personality and visual appeal |
| Ruler | For measuring and creating straight folds | Ensures precision in your creases |
| Bone folder (optional) | Tool for creating crisp folds | Makes cleaner, sharper creases |
| Scissors | For any final trimming | Helpful for customization options |
| Decorative materials (optional) | Stickers, markers, washi tape | Personalizes your finished holder |
Step-by-Step Instructions for an Easy Origami Pencil Holder
Now let’s dive into the folding process! I’ll walk you through each step of creating your origami pencil holder with clear instructions.
Step 1: Prepare Your Paper
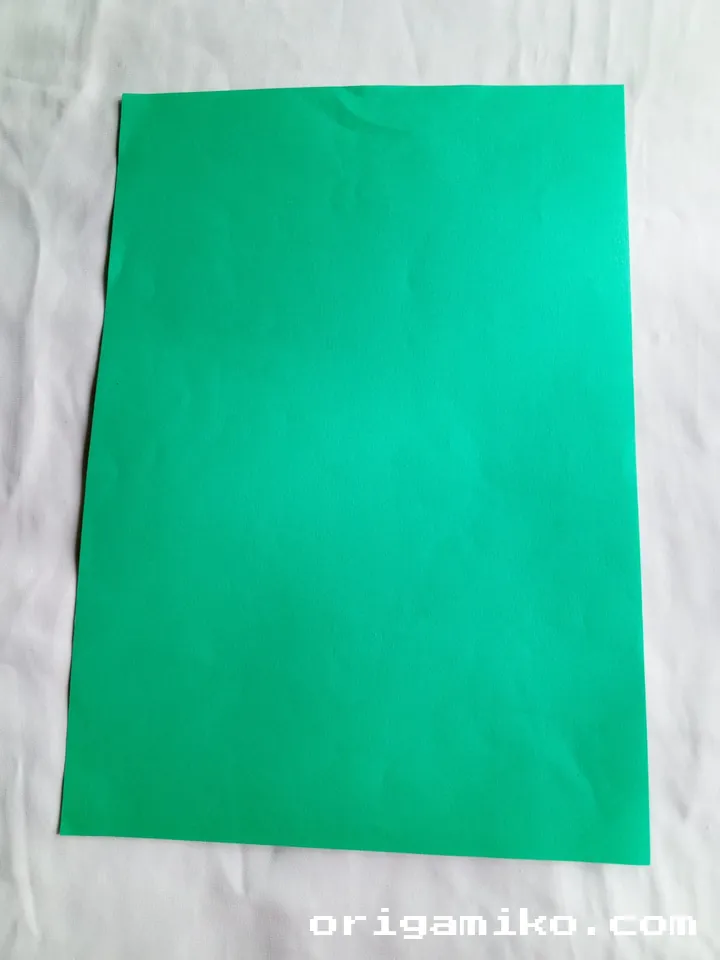
- Start with a standard A4 sheet of paper.
- Make sure the paper is clean and unwrinkled.
- If using decorative paper, place it with the colored/patterned side facing down.
Tip: I prefer slightly heavier paper (80-100 gsm) as it creates a sturdier pencil holder that will last longer.
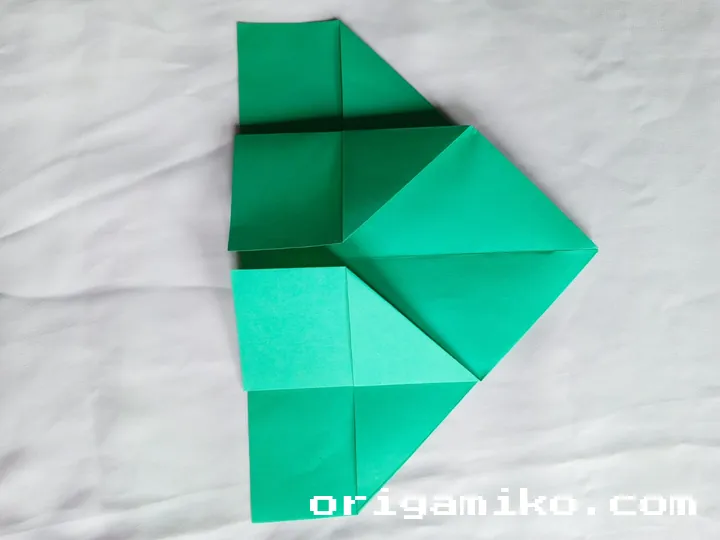
Step 2: Create Your Basic Folds
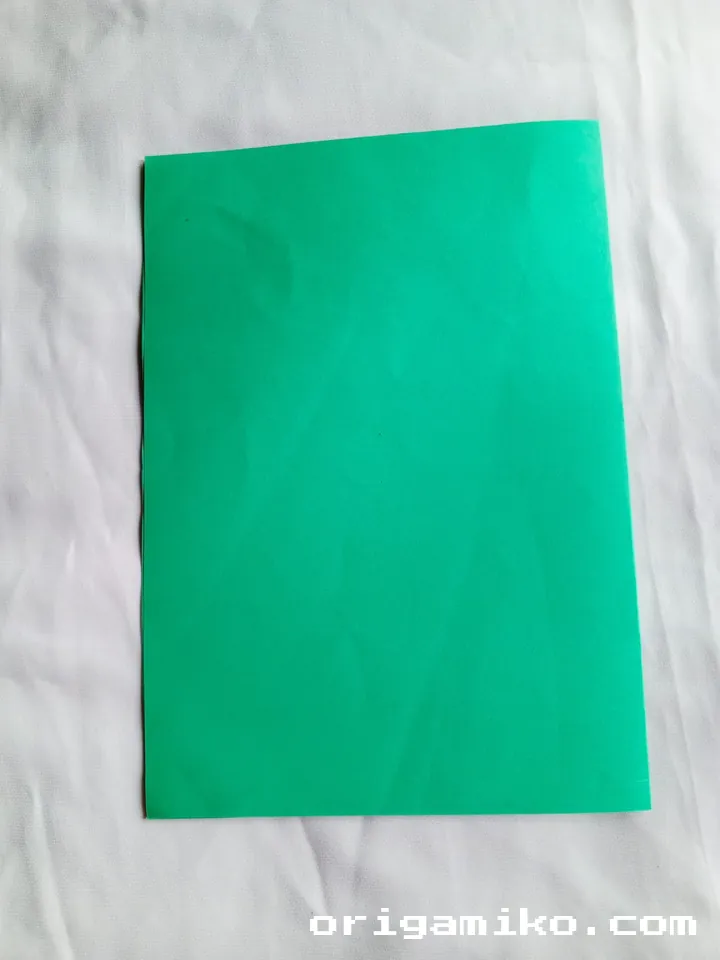
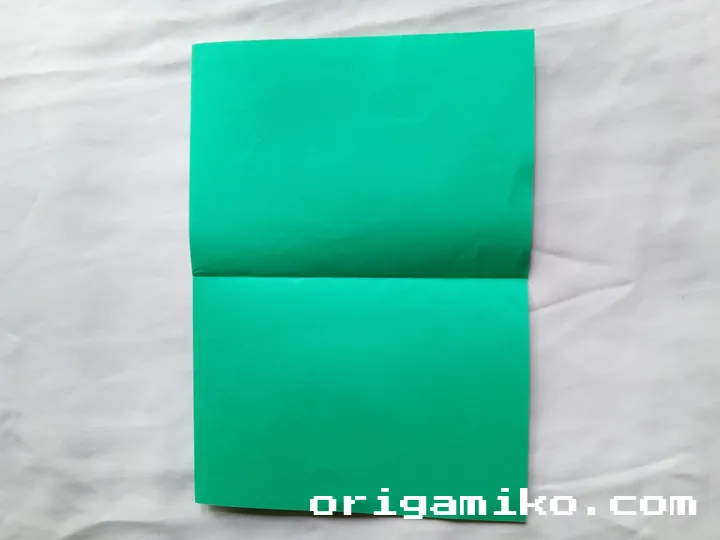
- Take your A4 paper and fold it in half lengthwise, creasing firmly.
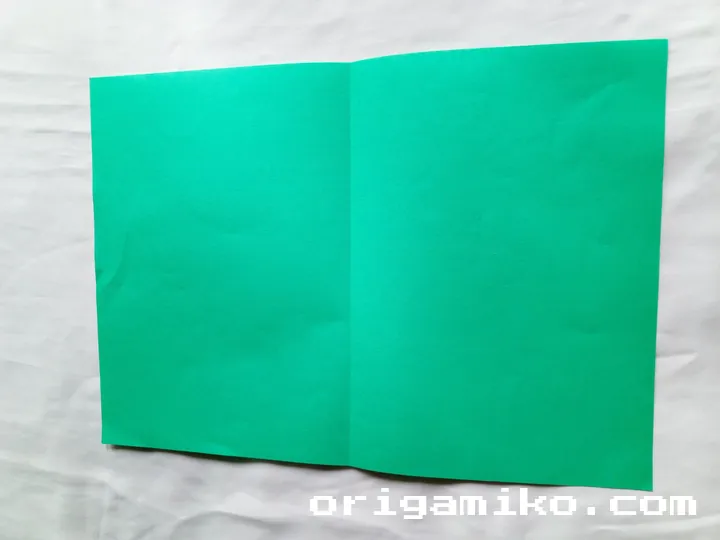
- Unfold completely so you can see the center crease.
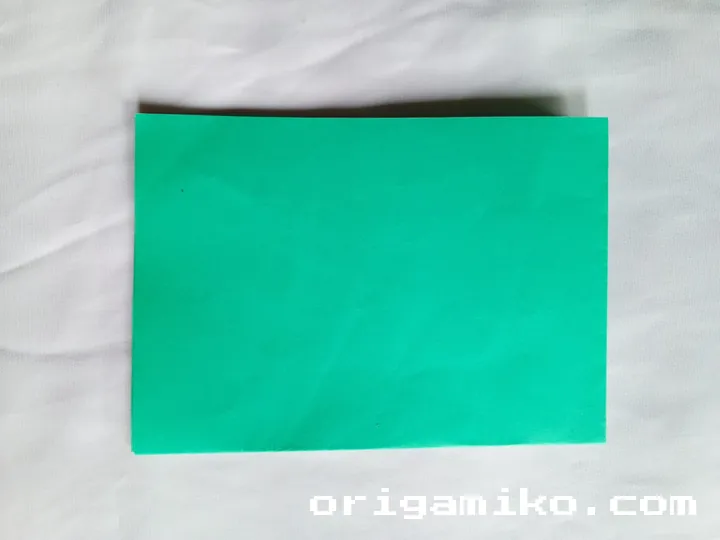
- Fold in half again, this time widthwise, and unfold.
- Now fold both sides inward toward the center crease.
At this point, your paper should have several creases forming a grid-like pattern. These foundational folds will guide the rest of our origami pencil holder instructions.
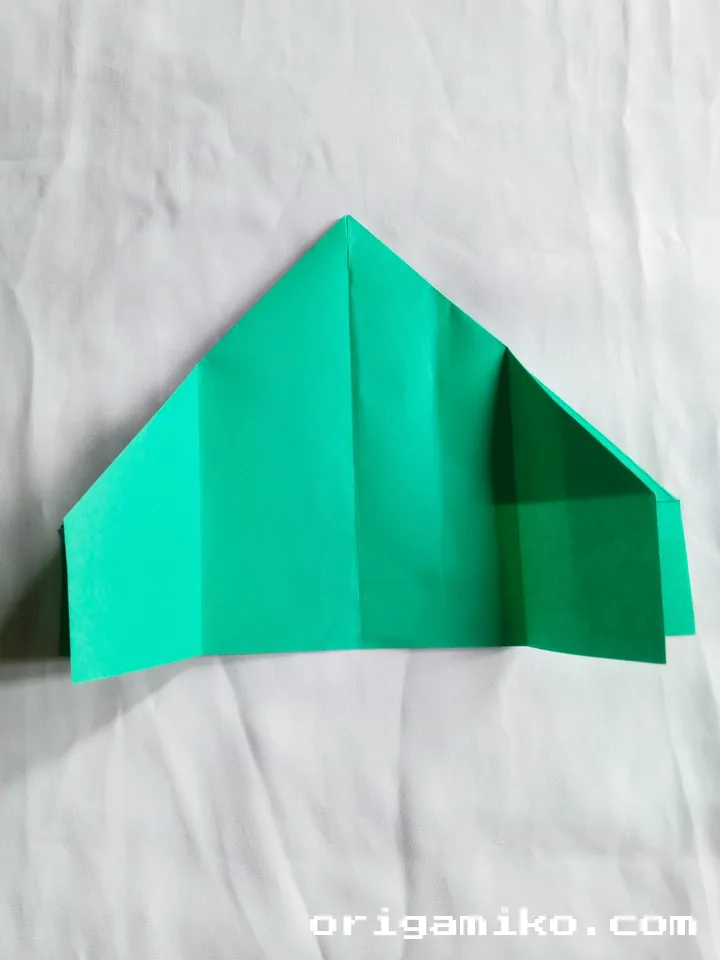
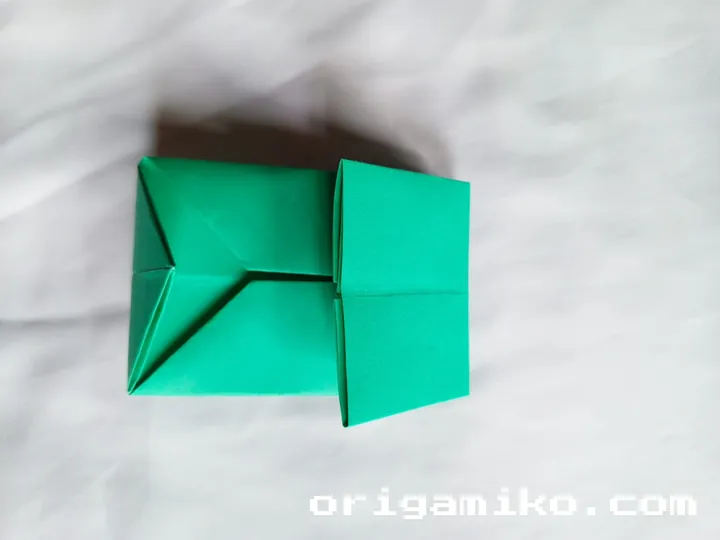
Step 3: Form the Base Structure
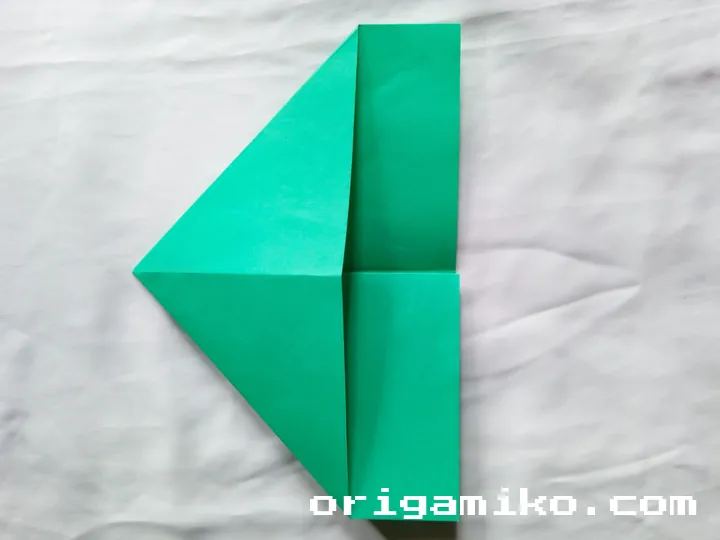
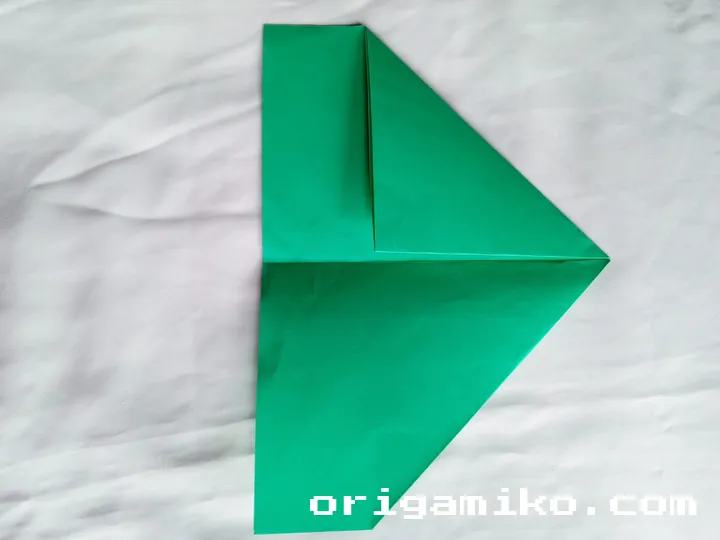
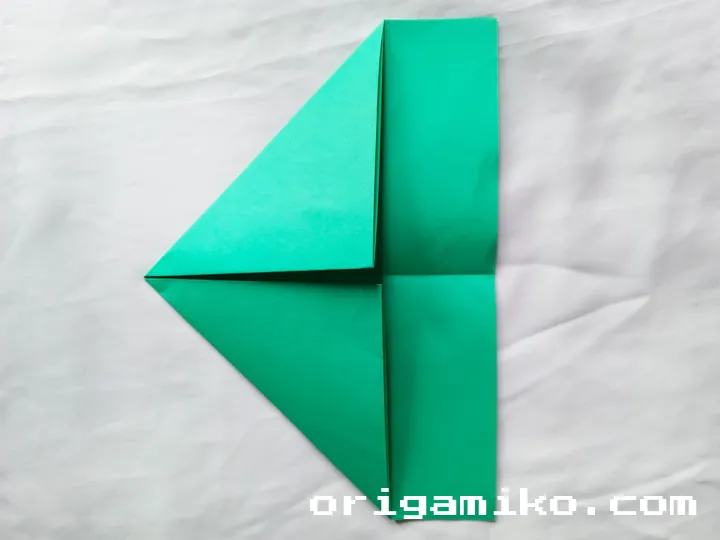
- Open one side fold and give a fold on both sides, creating triangular flaps.
- Press firmly along all crease lines to reinforce them.
- Your paper should now have a more three-dimensional structure taking shape.
Tip: I always take my time with this step because it establishes the structural integrity of the holder.
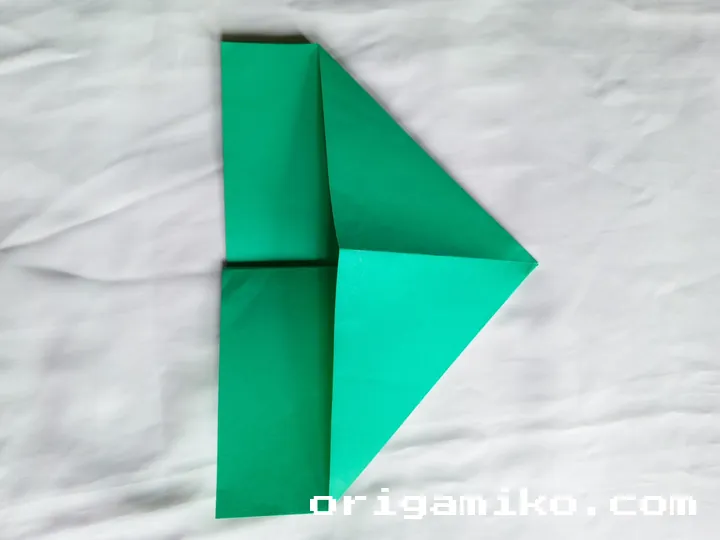
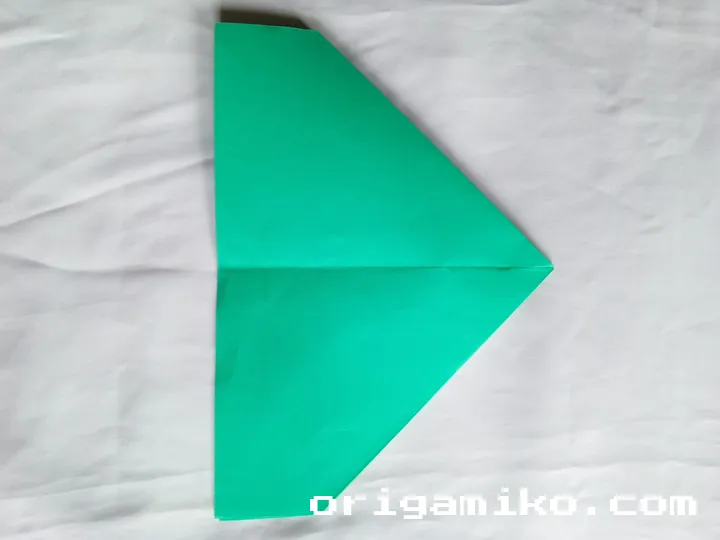
Step 4: Create the Holder Shape
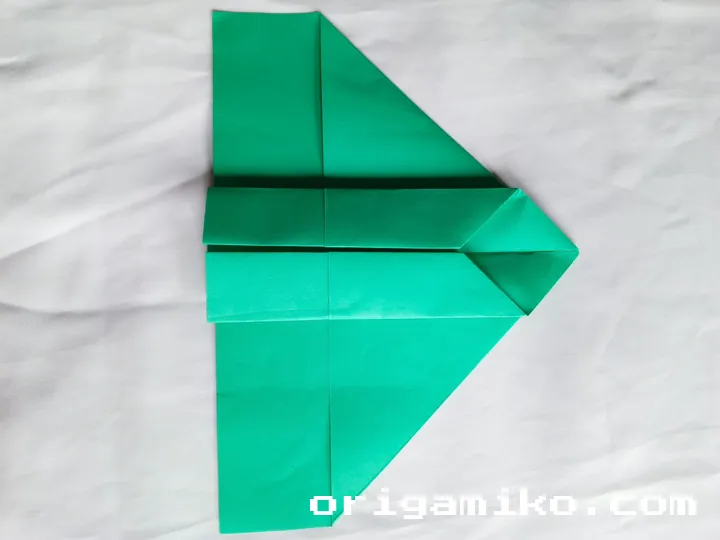
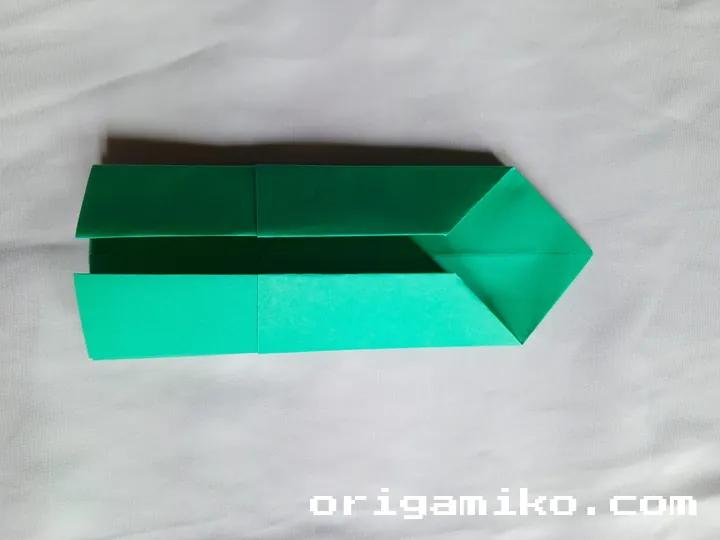
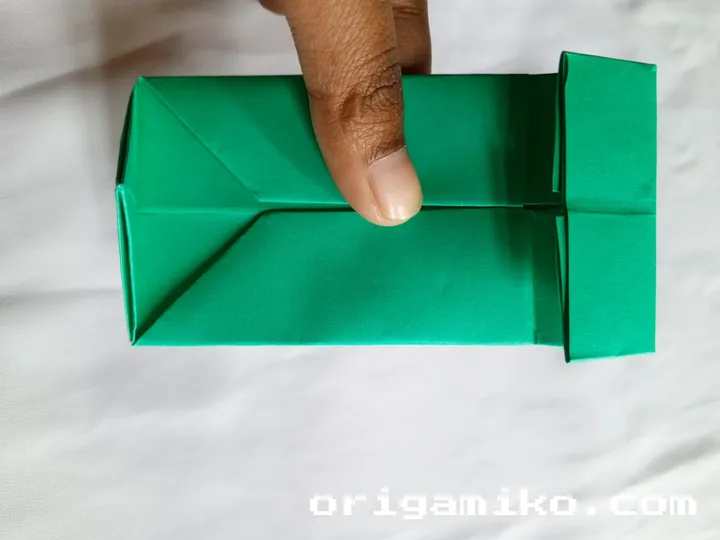
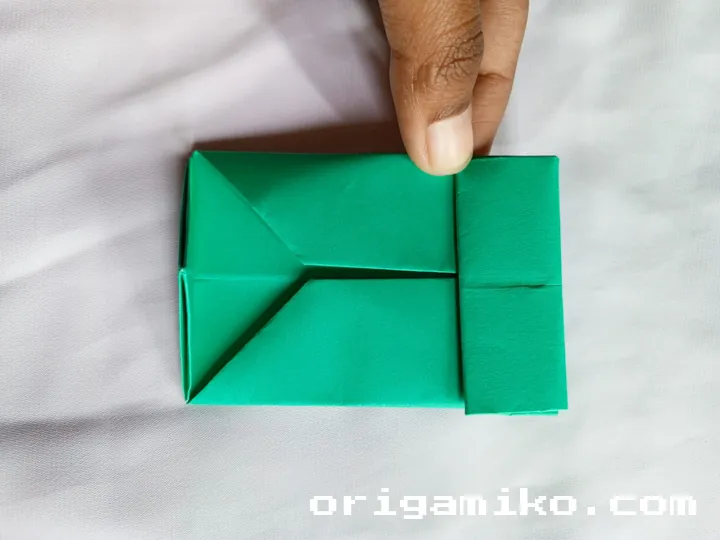
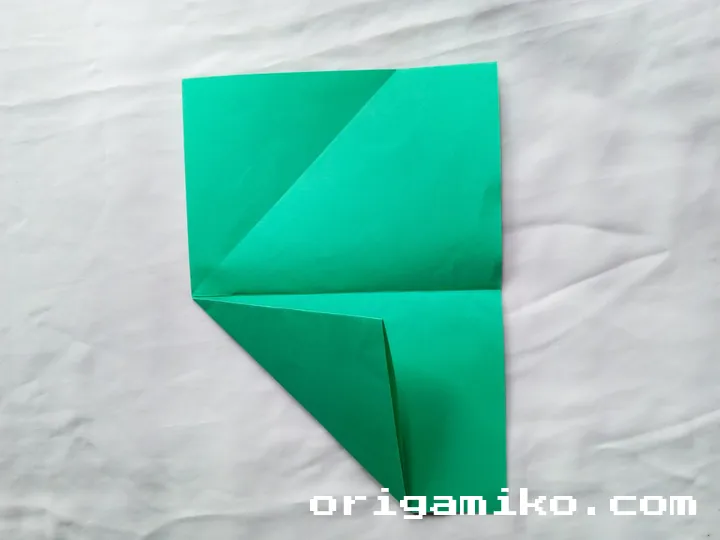
- Fold both sides inward again and unfold, reinforcing these crease lines.
- Fold again on both sides, this time maintaining the fold.
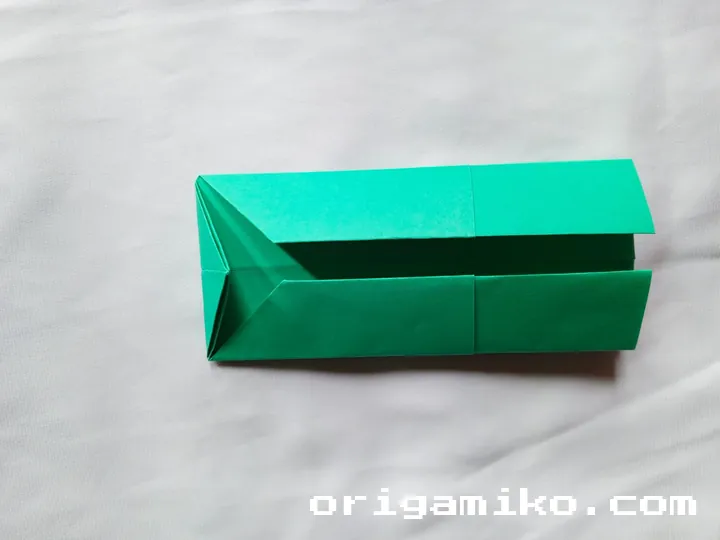
- Finally, fold from above and unfold from below to complete the basic origami pencil holder structure.
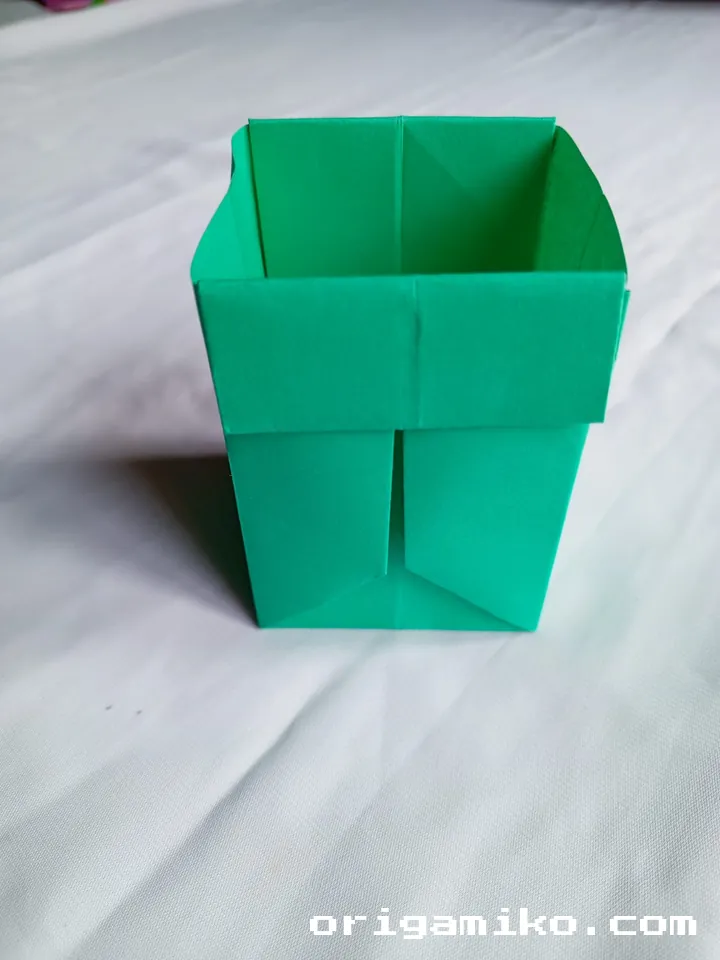
When you’ve completed this step correctly, your paper should stand upright with an opening at the top perfect for holding pencils!
Tips for Success
Making an origami pencil holder might seem straightforward, but I’ve learned a few tricks along the way that can help make yours exceptional:
- Crisp Creases Matter: Always run your fingernail or bone folder firmly along each crease. The sharper your folds, the sturdier your final holder will be.
- Work on a Flat Surface: I always make sure to work on a clean, hard surface when folding. This ensures even pressure and better results.
- Take Your Time: Rushing through folds often leads to mistakes. I’ve found that slow, deliberate folding produces the best results.
- Practice Makes Perfect: If your first attempt isn’t perfect, don’t worry! My first origami pencil holder wasn’t great either. Each one you make improves your skills.
- Experiment with Paper: Try different weights and types of paper to see what works best for your needs. Heavier paper makes a sturdier holder but might be harder to fold precisely.
Common Mistakes and How to Avoid Them
In my experience making how to make origami pencil holders, I’ve noticed several common pitfalls that can affect the final result:
Uneven Folds
Problem: Creases that aren’t aligned properly lead to a lopsided holder. Solution: Always align edges carefully before making each fold, and use reference points like the center crease to guide you.
Weak Structure
Problem: The holder collapses under the weight of pencils. Solution: Use slightly heavier paper and ensure all creases are sharp and well-defined.
Rushed Construction
Problem: Skipping steps or rushing leads to a messy final product. Solution: Follow the step-by-step origami pencil holder instructions carefully, and don’t hurry through the process.
Ignoring the Paper Grain
Problem: Paper folds more easily in one direction than the other, affecting your results. Solution: Be aware of the paper’s natural grain and work with it rather than against it.
Similar Variations to Try
Once you’ve mastered the basic simple pencil holder step by step, why not experiment with these creative variations?
Multi-Compartment Holder
By adding a few extra folds to divide the space, you can create separate sections for different types of stationery.
Decorative Edge Holder
Fold the top edges into patterns for a more decorative look that still maintains functionality.
Double-Layer Holder
Use two sheets of paper to create a reinforced holder with inner and outer layers, perfect for heavier items.
Mini Holder
Scale down your design using smaller paper to create cute desktop organizers for paper clips, erasers, or other small items.
Customizing Your Origami Pencil Holder
What I really love about making these holders is the opportunity for personalization. Here are some ways I’ve made mine special:
- Color Combinations: Try using different colored papers for a vibrant look.
- Patterns and Prints: Origami paper with patterns can create stunning visual effects.
- Decorative Elements: Add washi tape along the edges or use stamps to decorate the exterior.
- Reinforcement: For a holder that will see heavy use, consider adding a light coat of clear nail polish or modge podge to strengthen the paper.
FAQs About Origami Pencil Holders
How long does an origami pencil holder last?
With proper care and quality paper, your holder can last for months or even years. I still have one I made over a year ago!
Can I use regular printer paper?
Absolutely! While specialty paper is nice, I often use regular printer paper for practice or when I need a quick holder.
Is this project suitable for children?
Yes! This easy origami pencil holder is great for kids around 8 years and older. Younger children might need some assistance with the precise folds.
Can I make it waterproof?
You can add water resistance by applying clear contact paper or laminating sheets to your paper before folding, though this makes the folding process more challenging.
How many pencils can it hold?
Depending on the size of your starting paper, a standard holder can fit 5-10 pencils comfortably.
Conclusion
Creating your own origami pencil holder isn’t just about organizing your desk – it’s about bringing a touch of handcrafted charm to your everyday life. I hope this guide has inspired you to try this simple yet rewarding paper craft.
Remember, the beauty of origami lies in practice and patience. Each fold brings you closer to mastering the art of paper transformation, and before you know it, you’ll be creating origami pencil holder variations of your own design!