

Ever dreamed of creating something colorful, charming, and tropical with just a piece of paper?
You’re in the right place because today, we’re diving into the enchanting world of origami pineapples.
Step-by-step, I’ll guide you through every delightful fold, ensuring a rewarding and fun-filled experience.
Why Make an Origami Pineapple?
An origami pineapple isn’t just a craft — it’s a little piece of magic! The vibrant, layered folds mirror the texture of a real pineapple, offering a playful, exotic touch to your décor or party themes. Plus, it’s the perfect project for beginners craving a little challenge and experienced folders looking for a fun, beautiful design.
Imagine gifting a handmade pineapple at a summer party or using it as a quirky desk accessory. With just a few folds and a dash of patience, you can bring a slice of the tropics right into your hands!
Materials You’ll Need
Before we dive into the folds, gather everything you need:
- Paper size: 12″ × 12″ (a bright yellow or orange works best for that true pineapple vibe!)
- A flat, clean surface to work on
- Optional: Green paper (for making the leafy top)
- Patience and creativity — your best tools!
Step-by-Step Guide: Folding the Origami Pineapple
Now, let’s start crafting your beautiful pineapple! I’ll walk you through each step slowly, like a friend sitting beside you, folding away together.
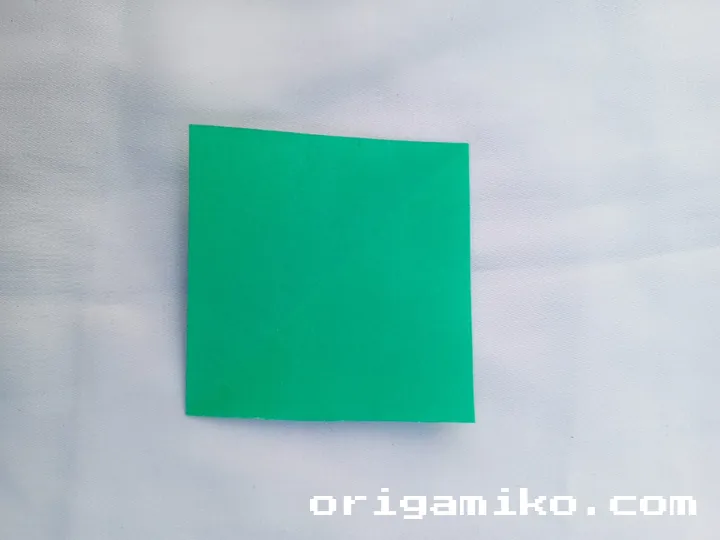
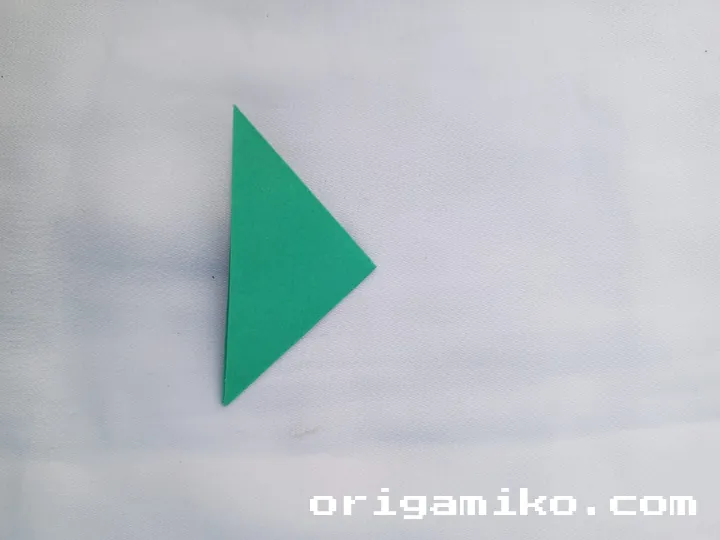
Step 1: Start with a Square Paper
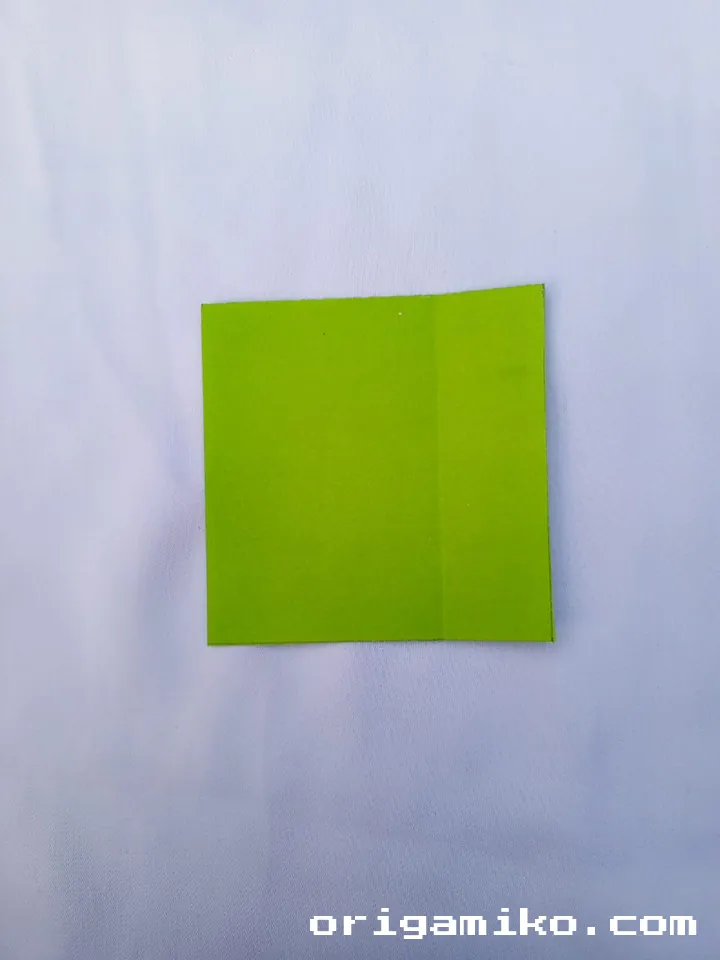
Take your 12″ × 12″ square paper. Make sure the paper is neatly cut — precision will help in achieving clean, crisp folds later on. Place it color-side down if your paper has one.
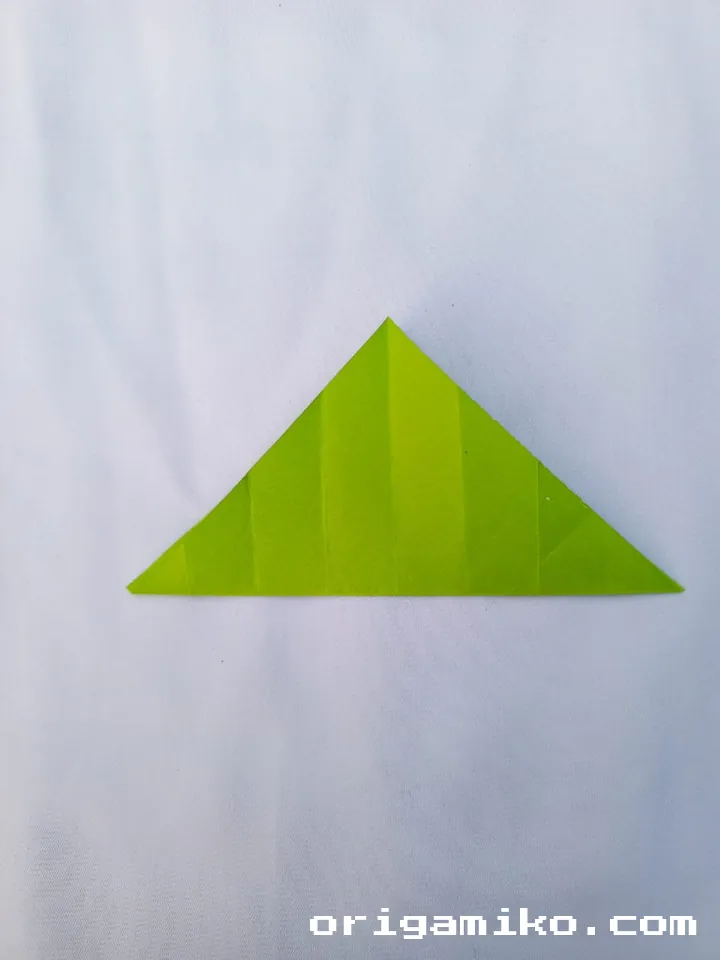
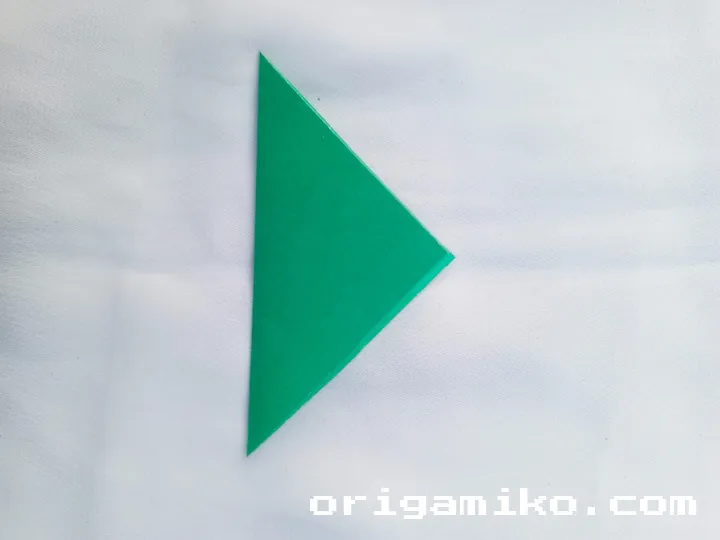
Step 2: First Diagonal Folds
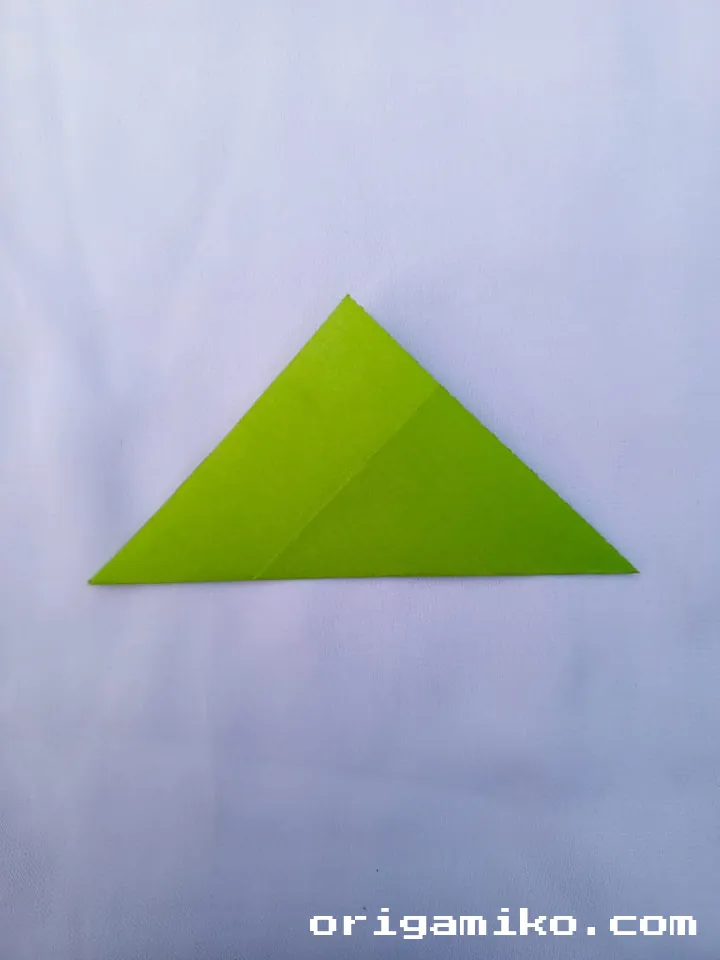

Pick one corner of your square and fold it over to meet the opposite corner. Press the crease firmly.
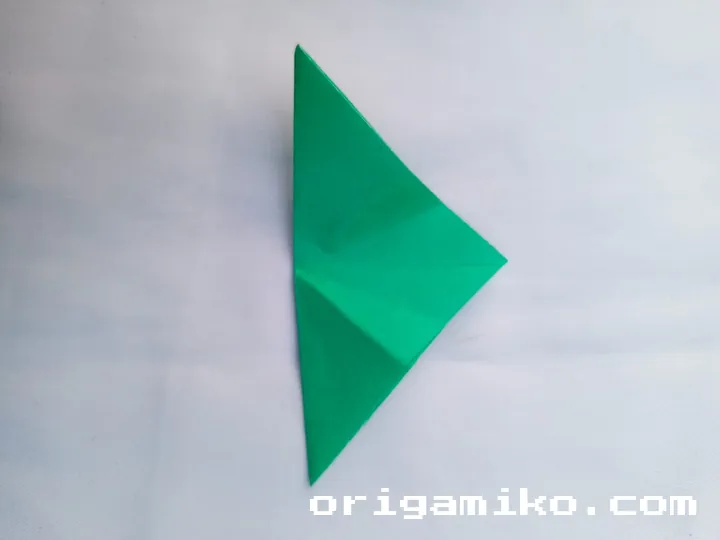
Now, without unfolding, fold the newly made triangle in half again, bringing the pointy corner to the base’s straight edge — and then unfold it.
This second fold helps establish neat guidelines for shaping later.
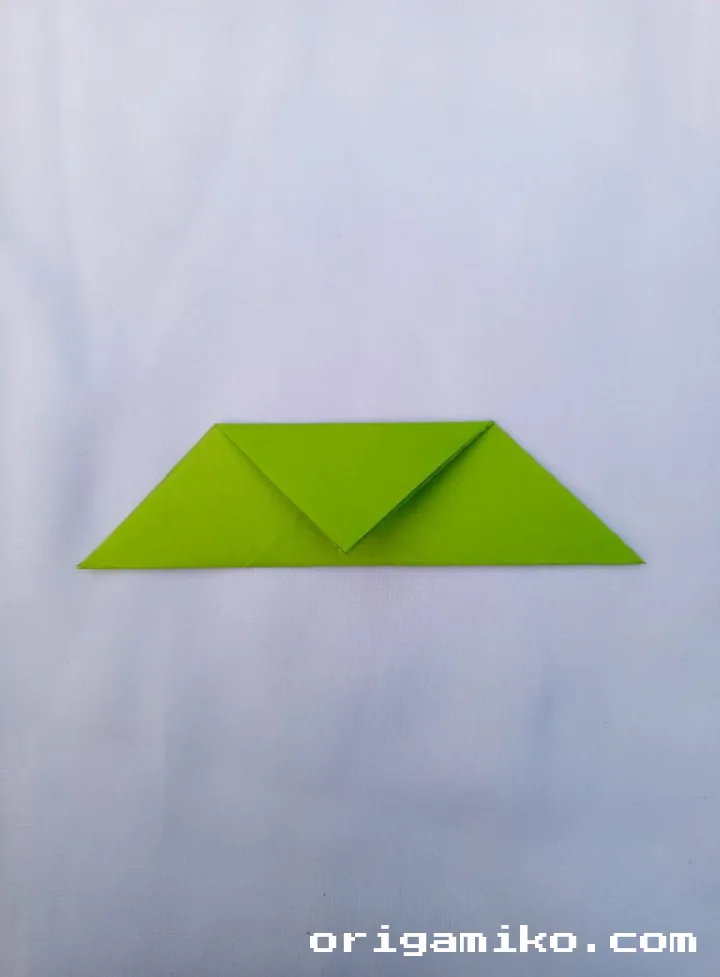
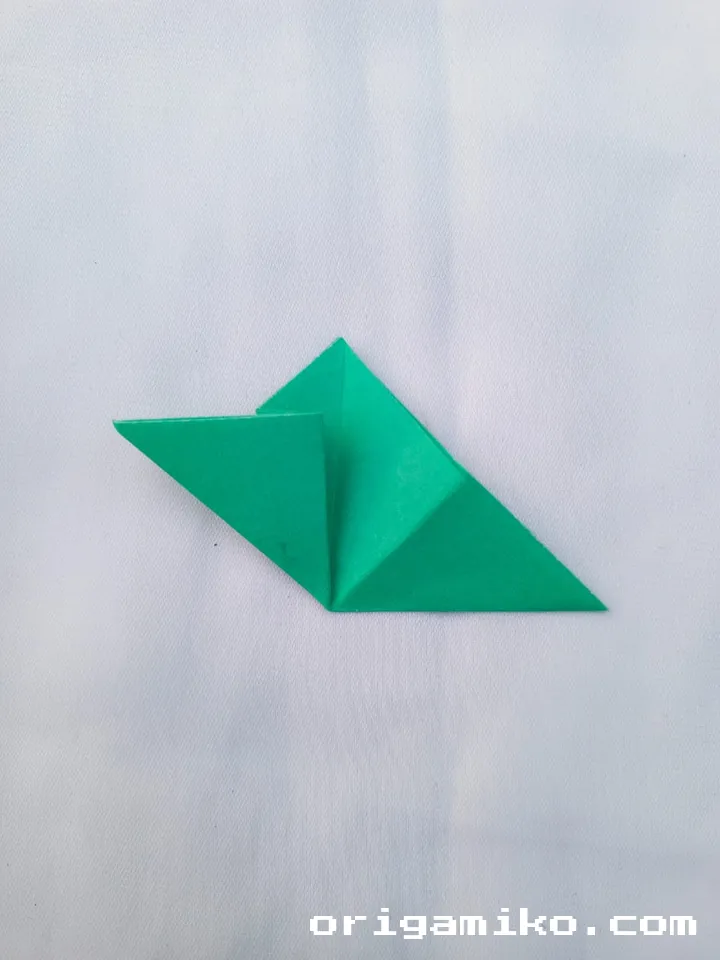
Step 3: Second Set of Diagonal Folds
Rotate your square so that the untouched corner is now at the top.
Repeat the same process: fold this corner to meet its opposite, create a strong crease, then fold the triangle again over itself once more.
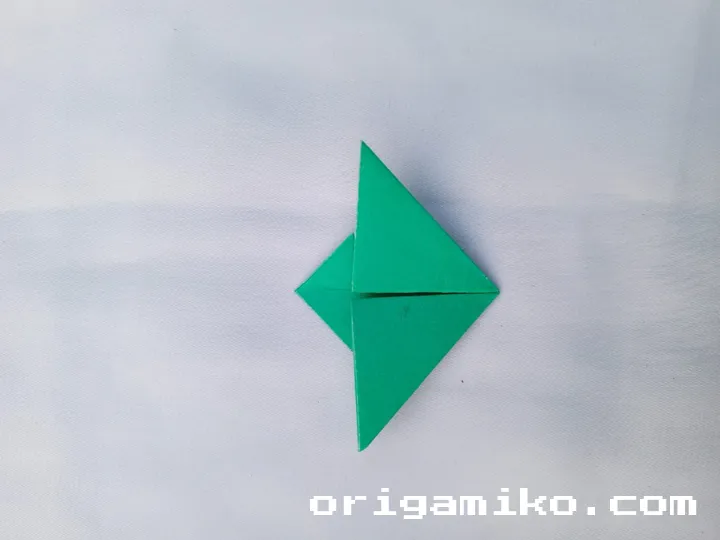
Unfold after the second fold. You should now have a beautiful criss-cross pattern.
Step 4: Square Base Folds
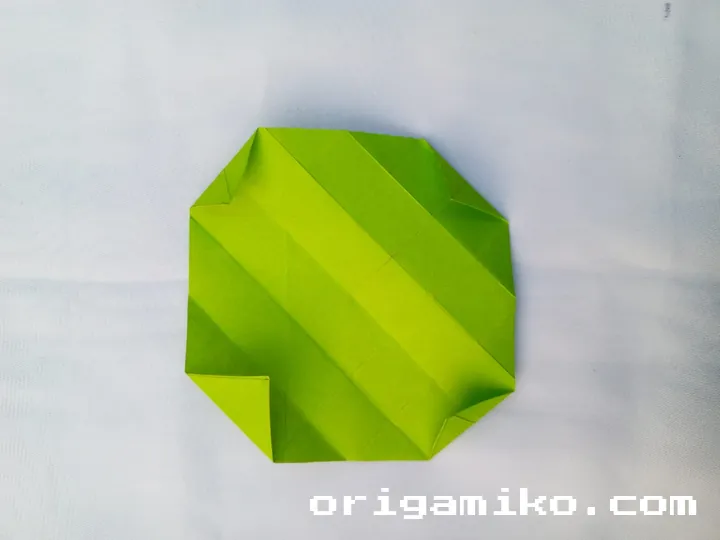
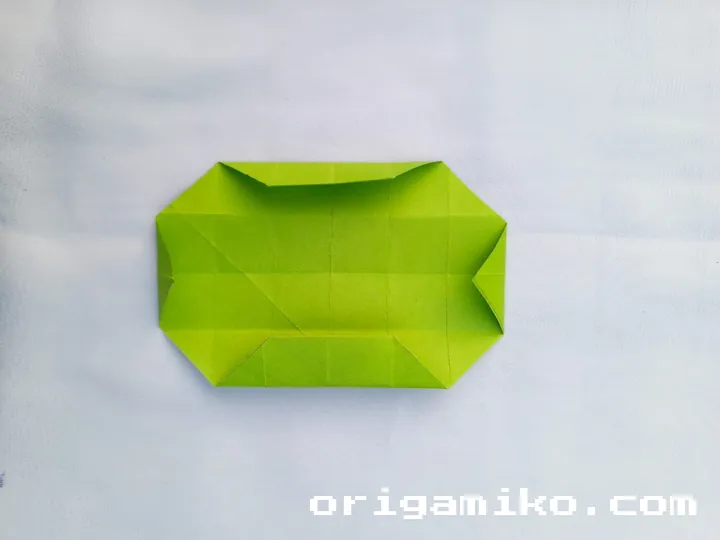
Now, unfold the paper completely and switch your focus to folding along the square’s edges.
Fold the entire square in half — edge to edge — to make a neat rectangle.
Unfold, then fold each side corner inward toward the center, making new crisp edges that will define your pineapple’s body.
The creases from previous steps should guide you; the paper will almost seem to want to fold correctly at this point!
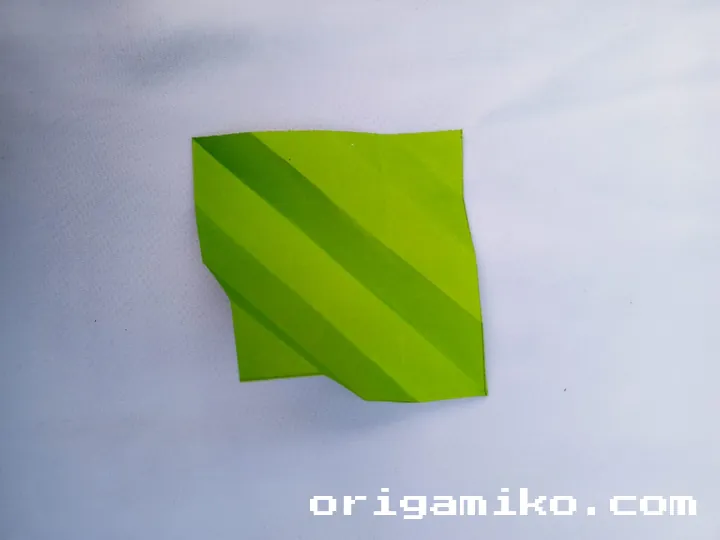
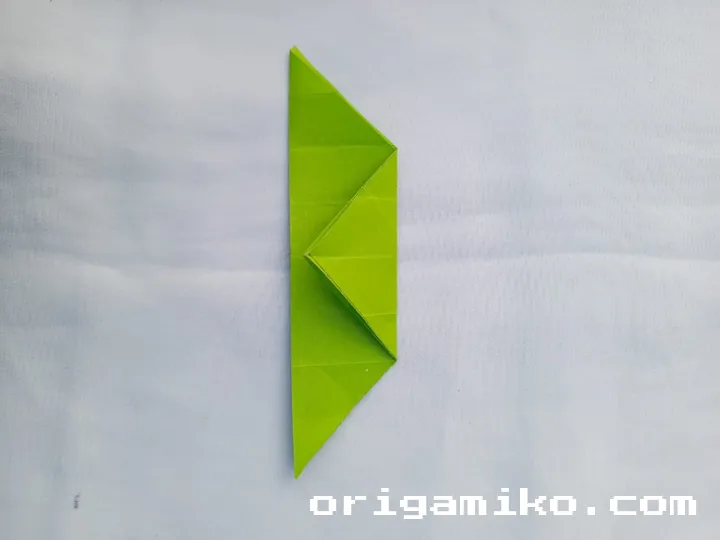
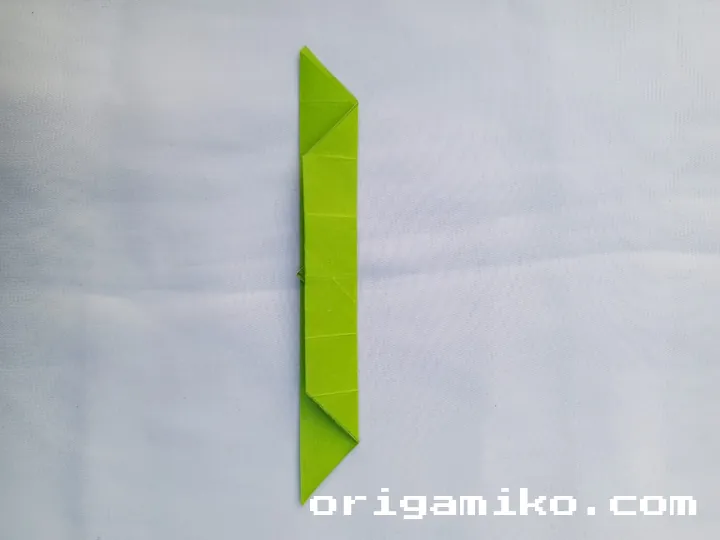
Step 5: Creating the Leafy Crown
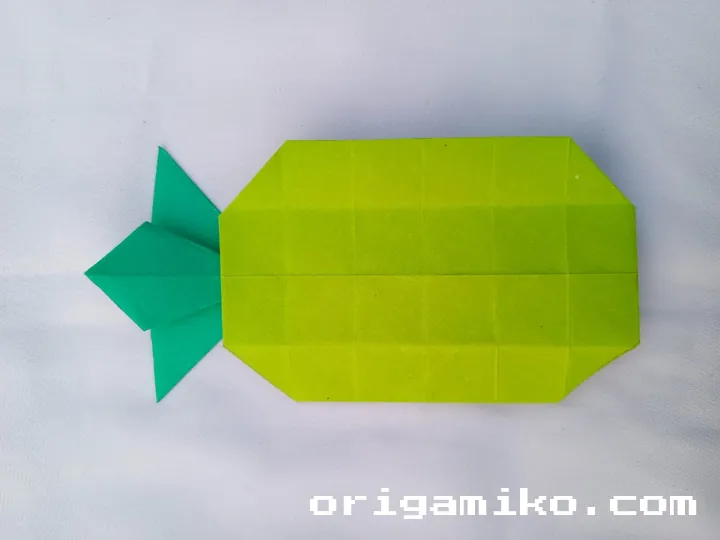
Take a second 12″ × 12″ square paper (preferably green or a vibrant shade of your choice).
Use the paper to craft a leaf shape by folding it in a way that tapers elegantly at the top, resembling the spiky top of a real pineapple.
Secure the base slightly if needed with a tiny dab of glue or a clever fold to keep the leaves sturdy.
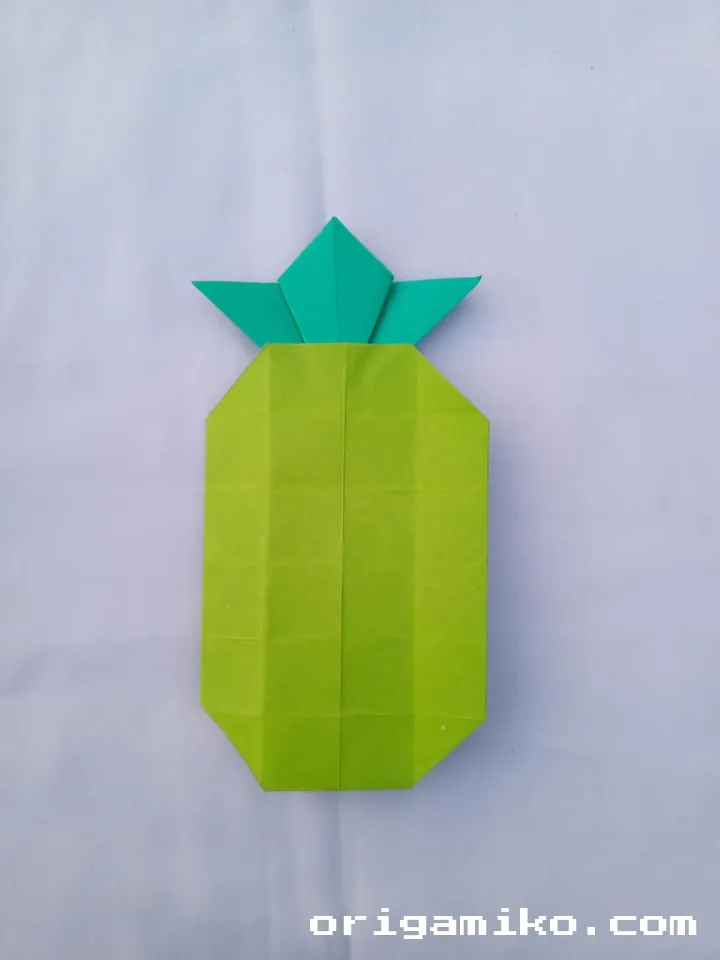
Finally, attach this leafy creation to the top of your folded pineapple base — and voilà, your paper pineapple is born!
Tips for the Perfect Origami Pineapple
- Press your creases well: Use a flat tool like a bone folder or the back of a spoon for sharp lines.
- Be patient: Some folds might seem tricky at first, but just breathe and take it slow.
- Customize colors: Try using patterned yellow paper or a two-toned green for the leaves to make your pineapple pop.
- Practice the folds separately: If you’re new to origami, practice each major fold on scrap paper first.
Fun Variations to Explore
Once you master the basic pineapple, why stop there? You can:
- Make a mini-pineapple garland by folding smaller versions and stringing them together.
- Create pineapple-themed gift toppers for a playful twist on present wrapping.
- Experiment with metallic papers for a glamorous pineapple décor!
Why You’ll Fall in Love with This Project
The origami pineapple is more than just a cute craft — it’s an experience.
Each fold brings you closer to a cheerful, tangible result, reminding you of summer days and tropical adventures.
Whether you’re crafting alone or sharing the fun with friends or kids, this project guarantees a hearty dose of joy and satisfaction.
Final Thoughts: Bring a Bit of the Tropics Home
There’s something truly enchanting about taking a simple sheet of paper and transforming it into a beautiful pineapple.
With just a little time, a splash of creativity, and these easy-to-follow steps, you’ll craft something that’s sure to impress anyone who sees it.
Now go ahead — grab your paper and start folding your own slice of tropical paradise today!