

Ever wanted to fold a hat that screams adventure and mischief? You’re in the right place.
This easy Origami Pirate Hat isn’t just fun to make — it’s a creative journey. You’ll fold, flip, and smile.
Grab an A4 paper. I’ll walk you through the Simple Pirate Hat step by step, just like I did when I first tried this magical fold.
What Are We Making?
We’re crafting a bold Origami Pirate Hat — yes, the kind that instantly transforms you into a fearless buccaneer.
It’s a super fun project for kids, classrooms, costume parties, or simply anyone who enjoys paper folding with flair. And the best part? It’s beginner-friendly.
If you’ve ever folded a paper airplane, you’ve got what it takes. I promise.
Materials Needed
Before we dive in, let’s get our pirate ship in order. Here’s a complete list of what you’ll need:
| Material | Details | Why It Matters |
|---|---|---|
| A4 Paper | Standard size (white, colored, or even printed) | It’s the base of your pirate hat |
| White Paper (Scrap) | Smaller piece for adding the pirate sign | Adds detail and flair |
| Marker or Pen | Black or red preferred | To draw your pirate emblem |
| Glue or Tape | Optional | For sticking the sign securely |
| Flat Surface | Desk, table, or even a book | Makes folding easier and cleaner |
Let’s Talk Origami Pirate Hat
Here’s the deal: this hat isn’t just a folded piece of paper — it’s a whole mood.
When I first learned how to make Origami Pirate Hat, I didn’t expect it to be this simple. But trust me, with just six moves, you’ll be rocking your own handmade hat like a pro.
Whether you’re a parent entertaining kids, a teacher planning a pirate-themed day, or just someone who likes cool crafts, this one’s for you.
Key Terms You Should Know
Origami
: The Japanese art of paper folding to create shapes, objects, or even sculpture.
A4 Paper
: A standard paper size measuring 8.3 x 11.7 inches.
Pirate Emblem
: A simple design — like a skull and crossbones — used to decorate the hat and give it character.
Crease
: A sharp fold made in the paper, usually by pressing down the edge firmly.
Simple Pirate Hat Step by Step
Let’s get straight into the action. Here’s the process I followed — and so will you.
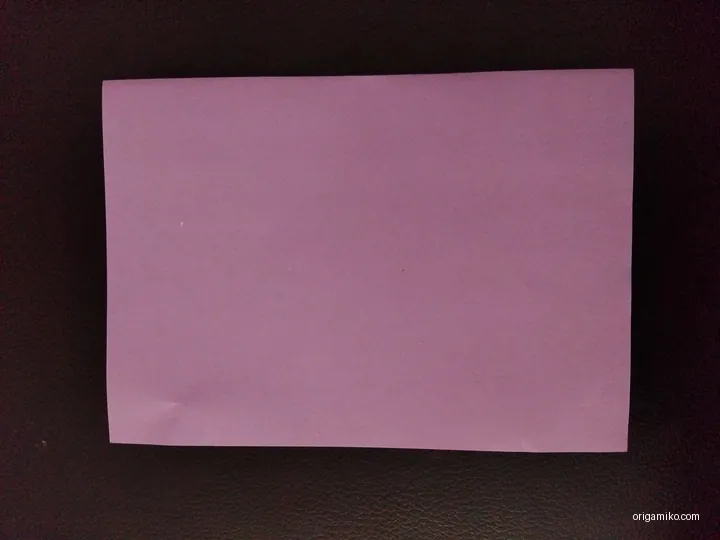
- Step 1: Take a Paper
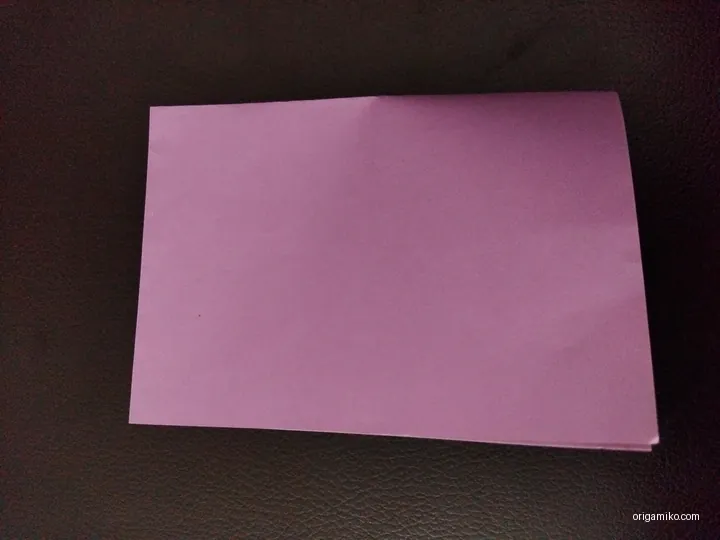
Start with a regular A4 sheet. Make sure it’s clean and uncrumpled. Landscape orientation works best. - Step 2: Fold It from the Middle
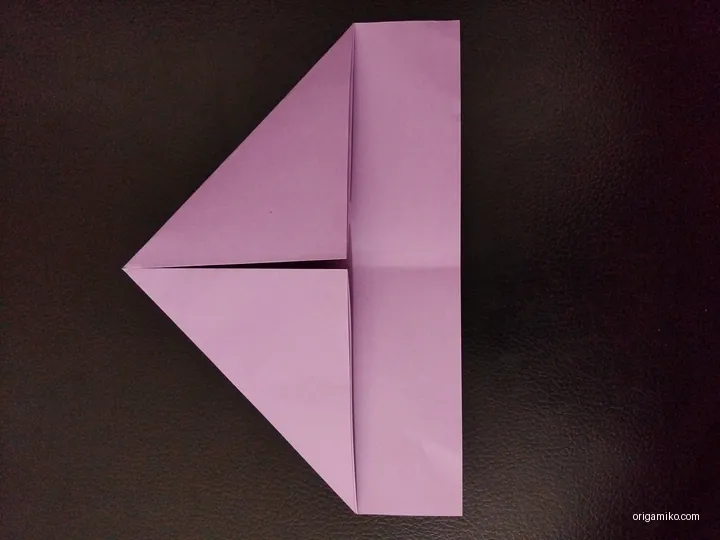
Fold it in half from top to bottom. Press the edge down to make a firm crease. Then fold it again side to side and open it back up — this gives us a center guide. - Step 3: Fold Both Left and Right Sides
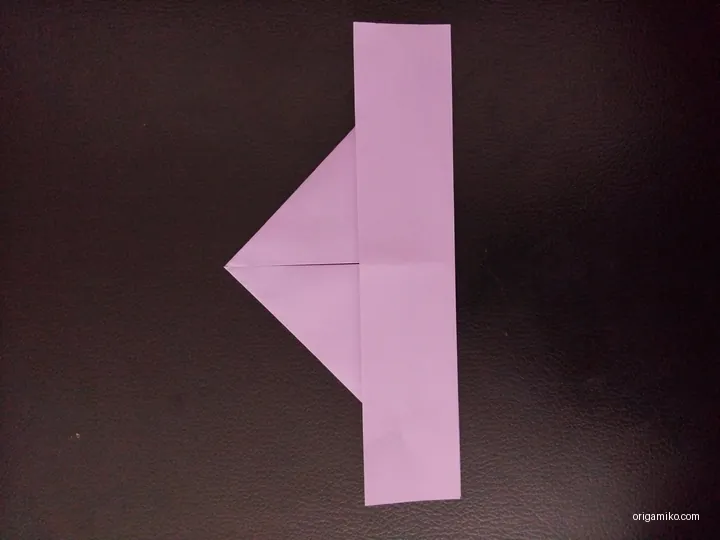
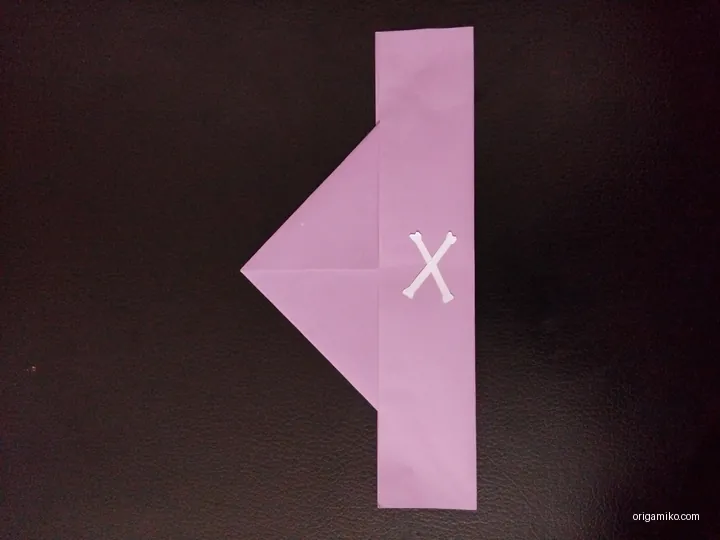
Take the top corners and fold them diagonally toward the middle crease line. You should get a triangle on top, and a rectangular strip at the bottom. - Step 4: Fold Lower Part from Both Sides
Take the bottom flaps sticking out and fold one upward over the triangle. Flip the hat and fold the other flap up on the back side too. - Step 5: Take a White Paper and Add a Sign
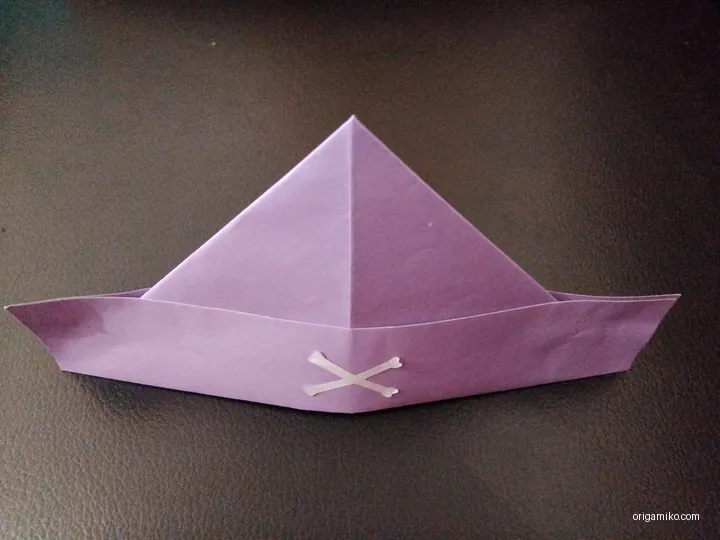
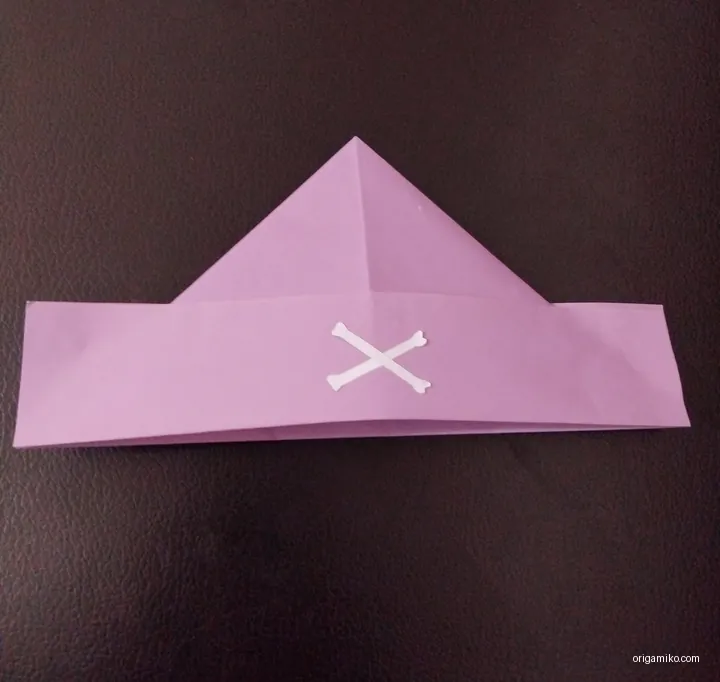
Cut a small piece of white paper. Draw your pirate emblem — I like to sketch a skull and crossbones. Then stick it on the front of your triangle. - Step 6: Your Origami Pirate Hat is Ready!
That’s it! Open the hat from the bottom and gently shape it. Put it on your head and shout “Ahoy!”
Tips for Success
Here are a few things I learned from experience:
- Use thicker paper if you want a sturdier hat.
- Crease hard with your fingernail or a ruler’s edge for cleaner lines.
- Personalize it — color it in, add glitter, or write your pirate name on the side.
- Practice with rough paper first if you’re folding with a group or kids.
Common Mistakes and How to Avoid Them
Even pirates mess up sometimes. Here’s how to steer clear of trouble:
- Folding off-center
Fix: Always align edges carefully before creasing. - Paper tears during fold
Fix: Don’t use paper that’s too thin. Go for printer-quality A4. - Lopsided hat
Fix: Double-check that your triangle folds in Step 3 are even. - Sign won’t stick
Fix: Use glue over tape if working with textured paper.
Similar Variations You Can Try
Want to explore beyond the pirate hat? Check these out:
- Origami Samurai Helmet
A similar triangle-based fold with a more traditional flair. - Paper Sailor Hat
Slightly different folds, more compact design — great for small heads. - Miniature Pirate Hats
Use half A4 or smaller for toy-sized hats. Perfect for puppets or dolls. - Decorative Pirate Crowns
Add height, layers, and more folds to make a crown-style hat for parties.
FAQs
Q: Can I use newspaper instead of A4 paper?
A: Absolutely. It gives a fun vintage look and works especially well for big heads.
Q: Is this suitable for young kids?
A: Yes! With a little help on the folds, even 4- to 5-year-olds can enjoy making this.
Q: How do I make it stay on my head?
A: Use tape or a paperclip on the inside to tighten it slightly if it’s too loose.
Q: Can I make it waterproof?
A: Not really, but you can spray it with craft sealant if needed.
Final Thoughts
I hope this walk-through helped you learn how to make Origami Pirate Hat in a fun, simple way. With just a single A4 sheet and a few folds, you’ve created a craft that brings joy, creativity, and a sprinkle of pirate magic.
Whether you’re sharing this with friends or leading a classroom activity, this easy Origami Pirate Hat will never fail to impress. Give it a try — and don’t forget to yell, “Ahoy, matey!”