

Ever dream of growing something green that never wilts?
What if I told you it only takes two sheets of paper—and a few folds?
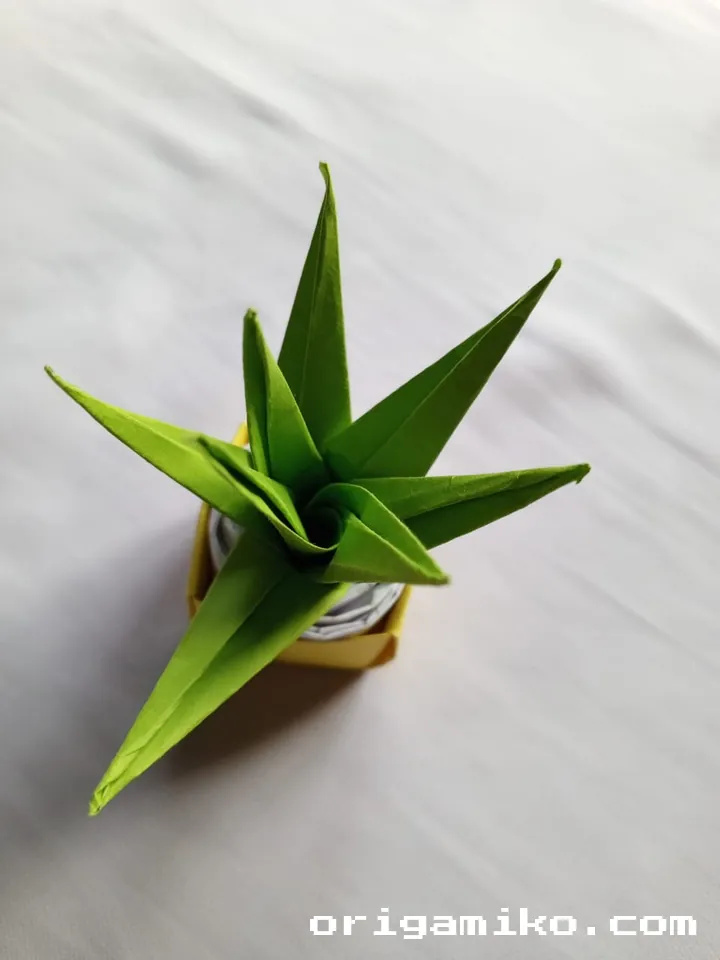
Let’s dive into the enchanting world of the easy Origami pot plant, where paper becomes something beautiful.
What Are We Making?
We’re creating a Simple pot plant, all out of paper. This project includes two main parts: the origami pot (a little box) and the origami leaves. Once we assemble both, we’ll wrap it up into a lovely tabletop display.
Whether you’re just dipping your toes into origami, or you’ve folded a few cranes in your day, this one’s rewarding. Plus, it’s low-maintenance—no watering required!
Materials Needed
Let’s make sure you’ve got everything before we start folding. Here’s your materials checklist:
| Material | Description | Quantity |
|---|---|---|
| Square Paper | 6″ × 6″, any color, preferably double-sided for contrast | 2+ sheets |
| Long Strip of Paper | Around 1″ wide and 6–8″ long, used to wrap the leaf bunch | 1 strip |
| Clean Table Surface | Helps make neat folds | 1 area |
| Fingernails or Tool | For sharpening folds (a ruler or bone folder works too) | Optional |
| Imagination | Because we’re growing paper plants! | Unlimited 😄 |
Key Terms to Know
Before we get too foldy, here’s a quick glossary:
Square Paper
A sheet that has four equal-length sides and 90° corners. Essential in origami.
Fold & Unfold
Folding creates a crease. Unfolding reveals the guide to help with later steps.
Center Point
The very middle of your paper. Most folds will revolve around this spot.
Crease Lines
The lines formed by folds. These help define the structure.
Accordion Fold
A zigzag-style fold, often used in leaves or fans.
Simple Pot Plant Step-by-Step
Let’s get into the folds! Here’s how to make origami pot plant using the exact steps, simplified for all ages.
Part 1: Make the Pot
Step 1: Take a square shape paper.
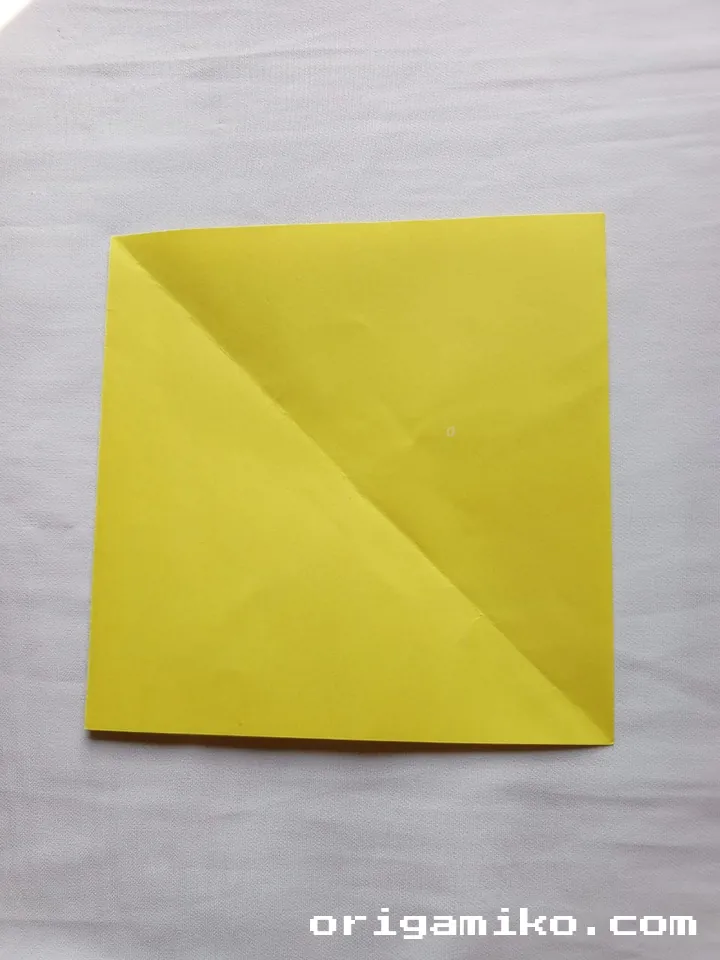
Grab your 6″ × 6″ sheet. Place it with the patterned side (if any) facing down.
Step 2: Fold it vertically and unfold. Fold it horizontally and unfold.
- Fold the paper in half from top to bottom.
- Open it up.
- Now fold it left to right.
- Open it up again. You should have a plus sign crease.
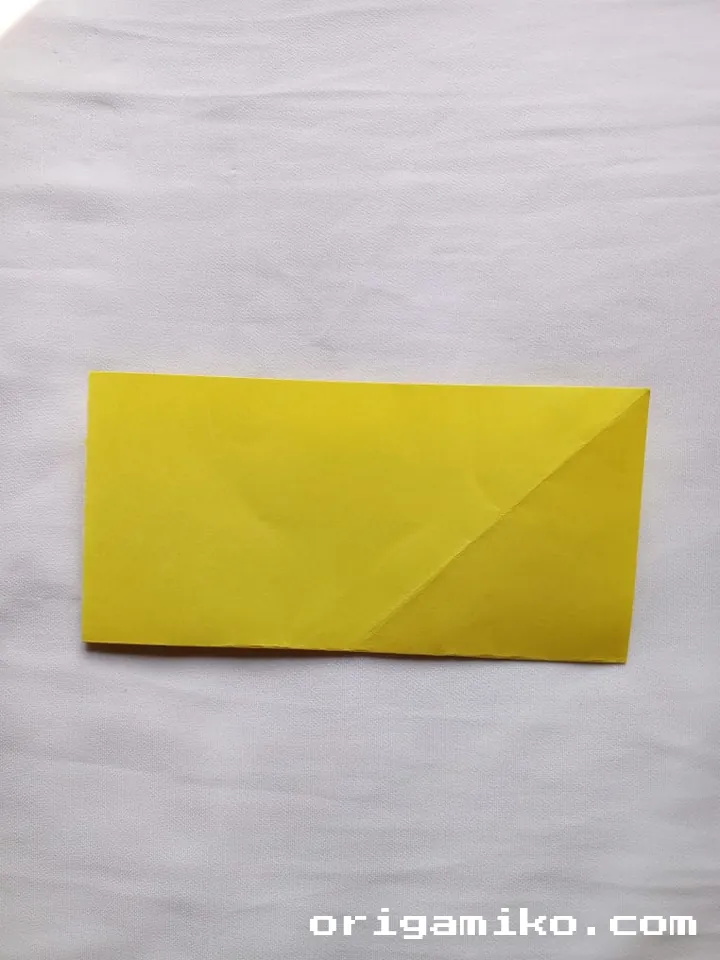
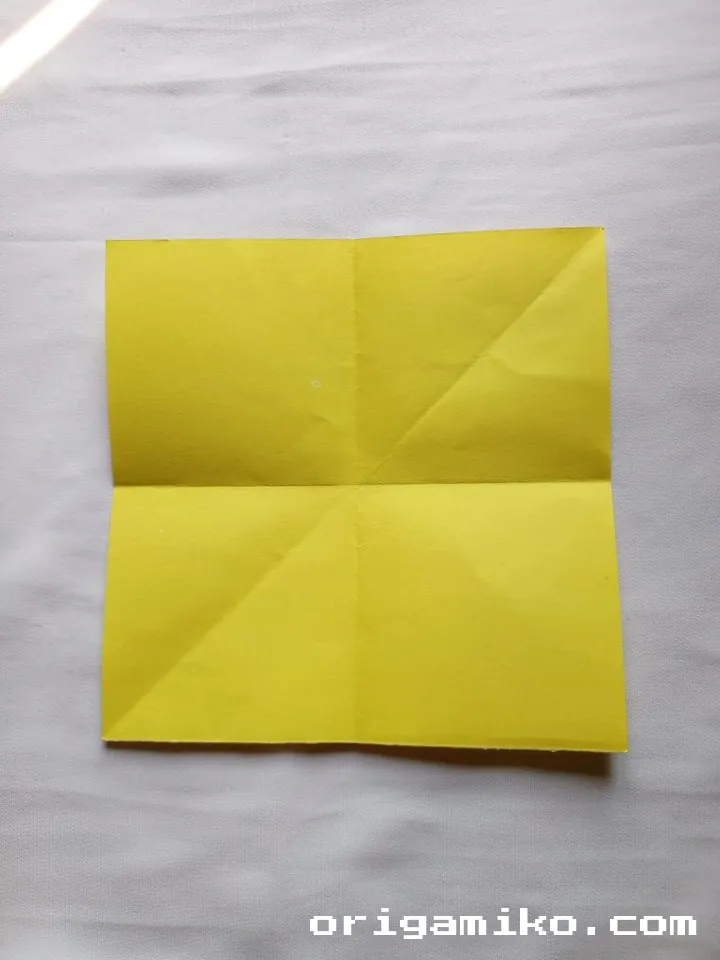
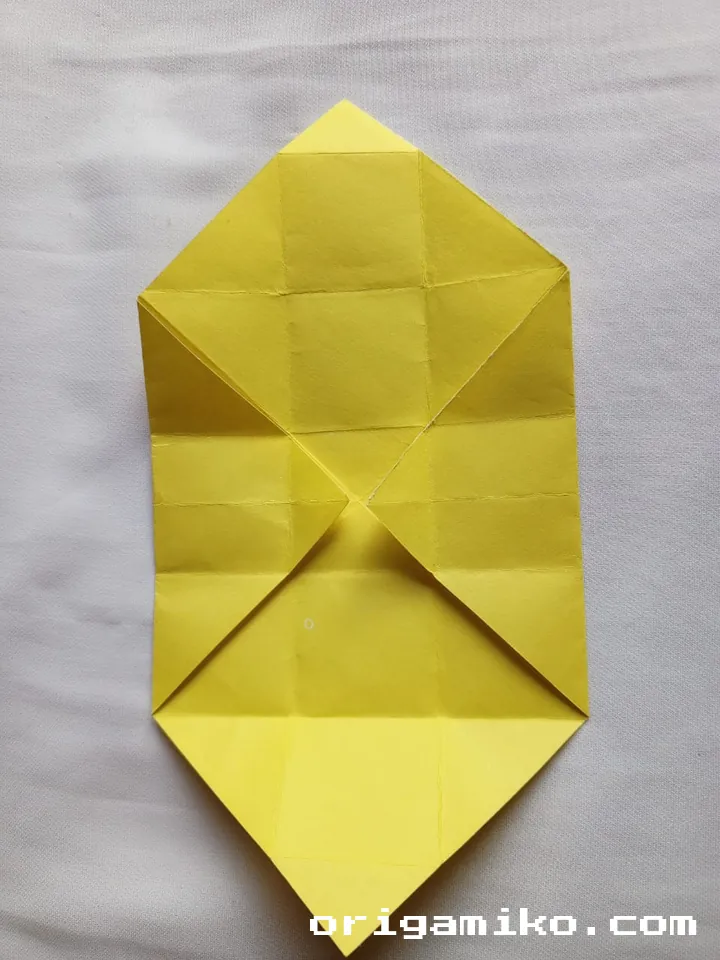
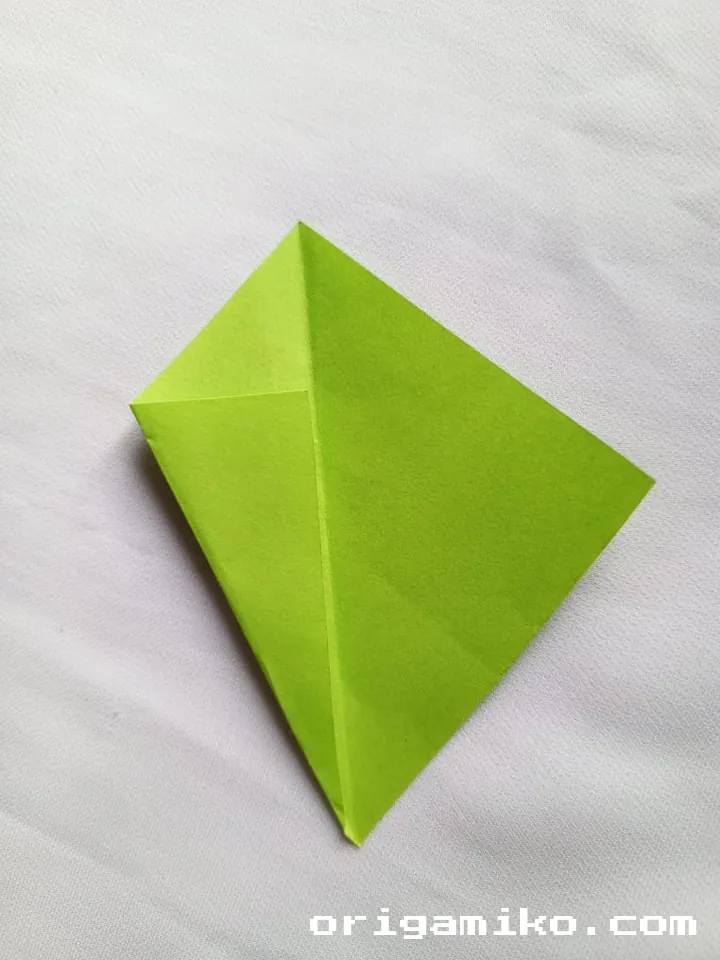
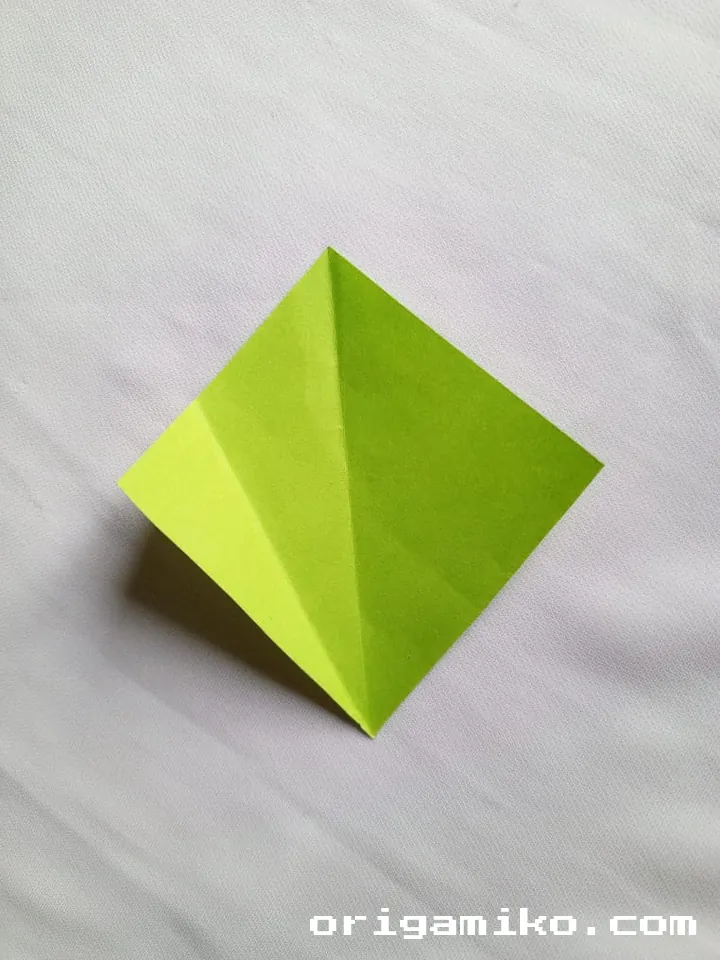
Step 3: Bring the four corners to the center and fold and unfold. Fold vertically twice and unfold. Horizontally fold twice.
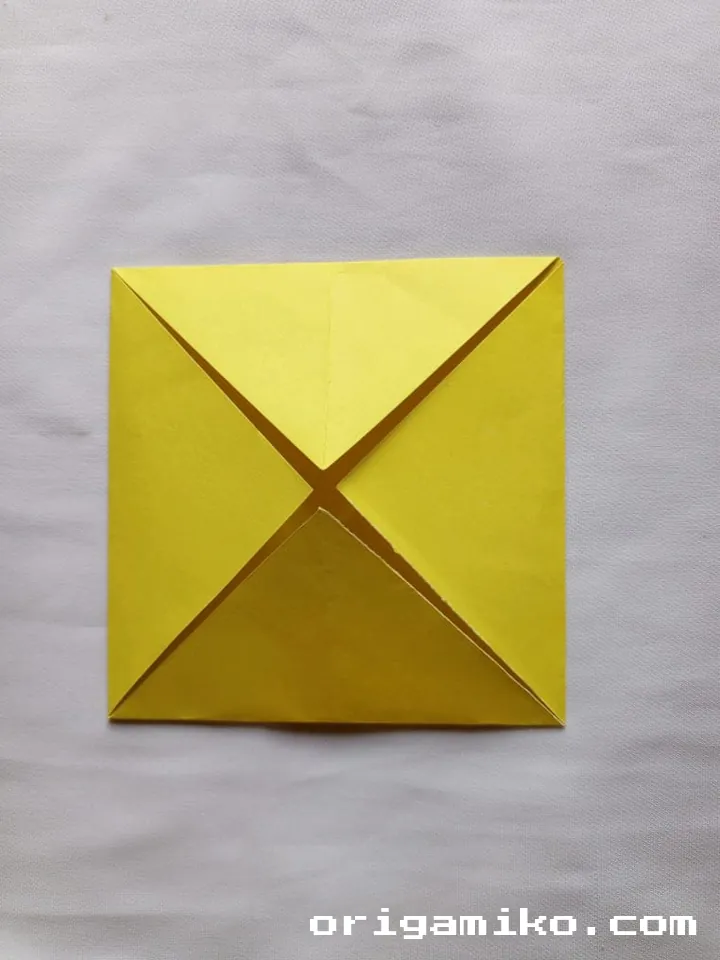

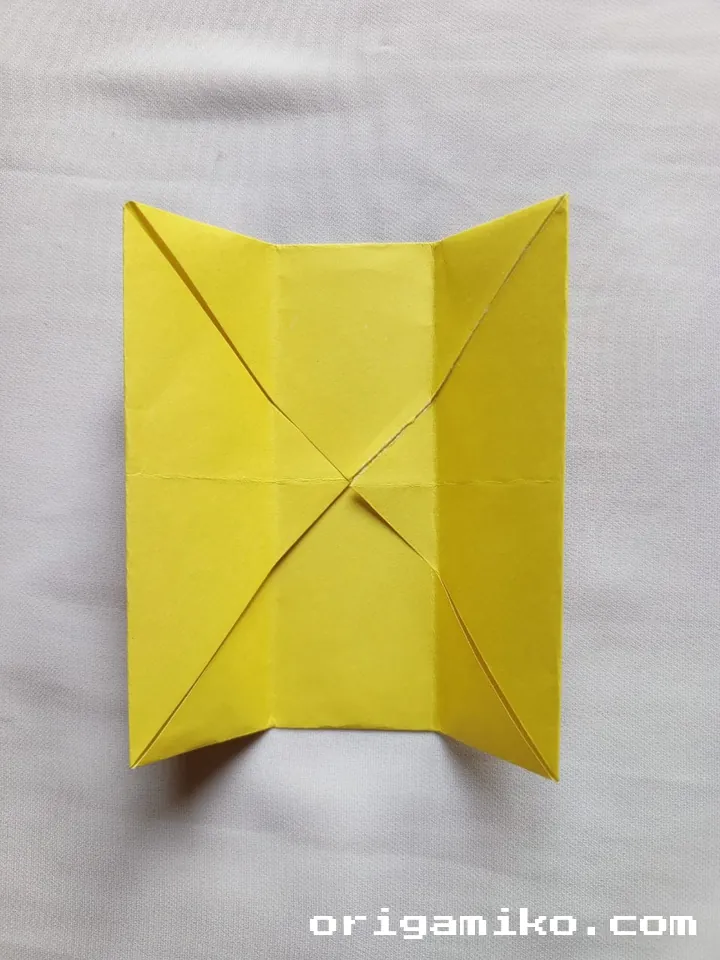
- Bring each corner to the center point (like folding an envelope).
- Unfold all corners after creasing.
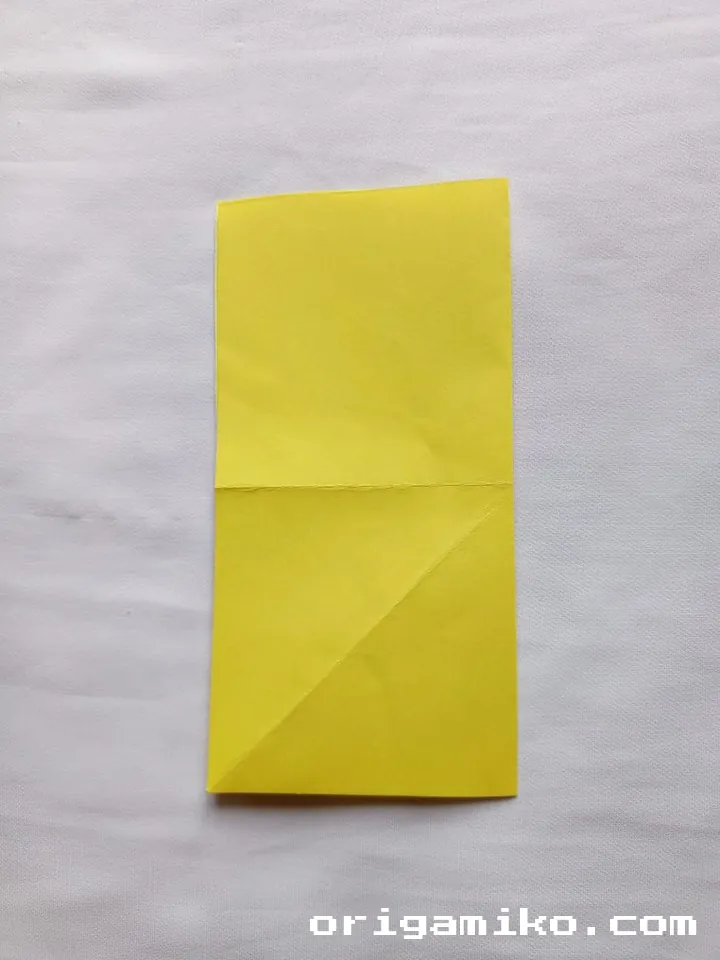
- Fold the paper vertically once toward the center and unfold. Repeat again.
- Fold it horizontally once toward the center and unfold. Repeat again.
Now your paper has a full crease grid—it’s the “blueprint” for the pot.
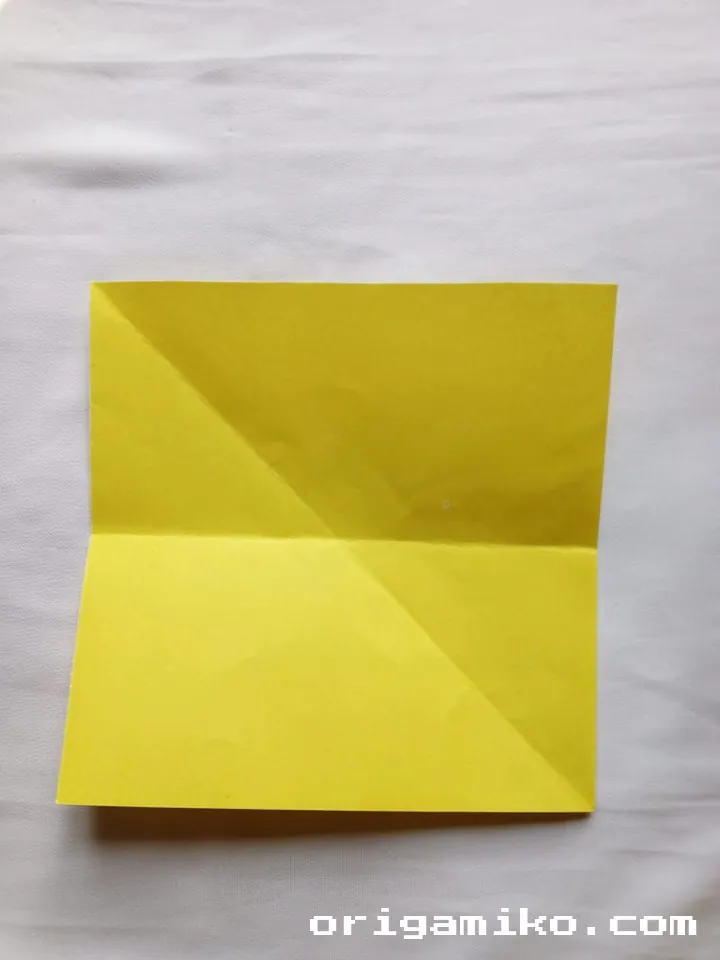
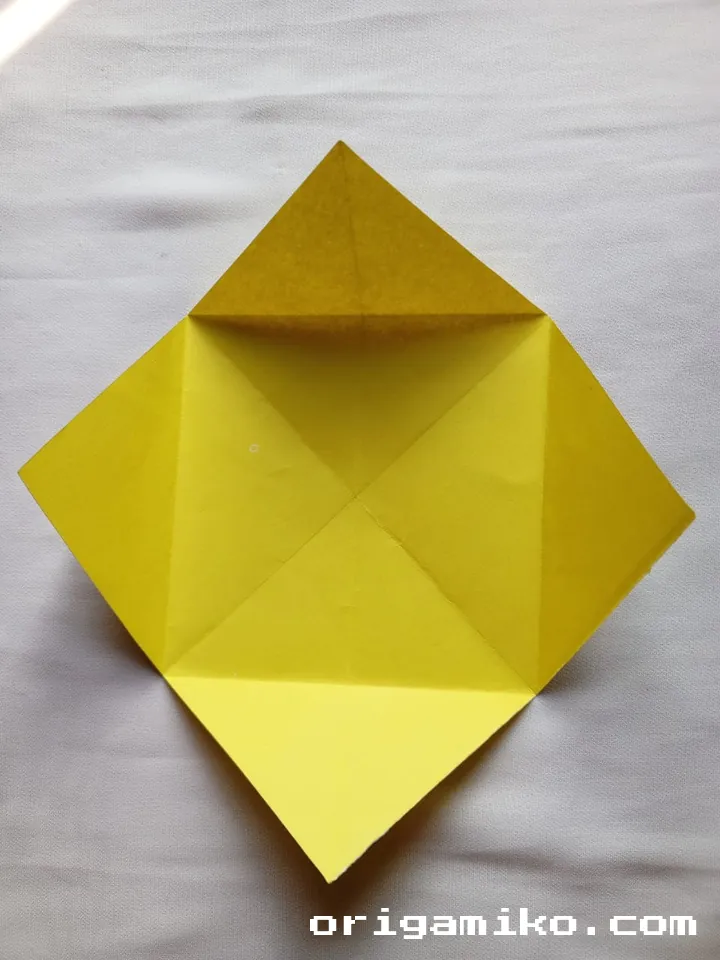
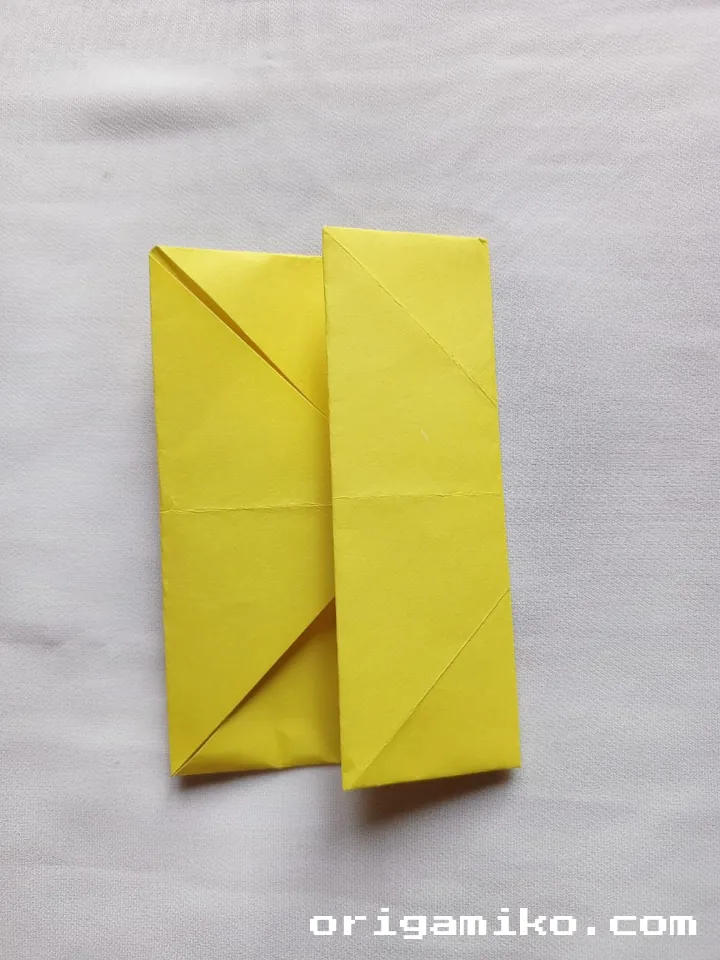
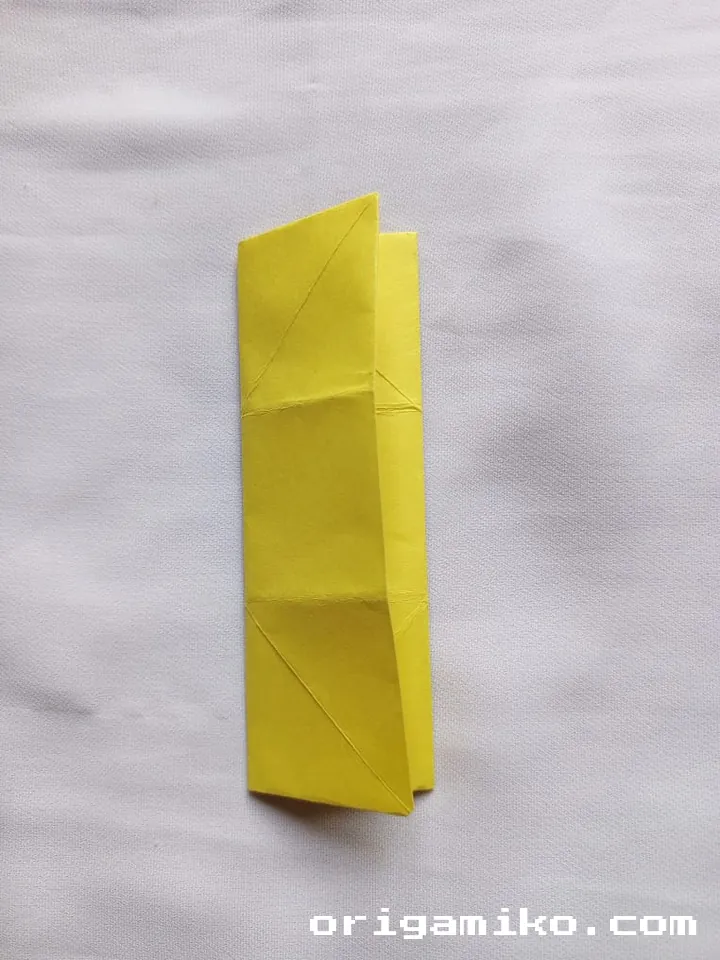
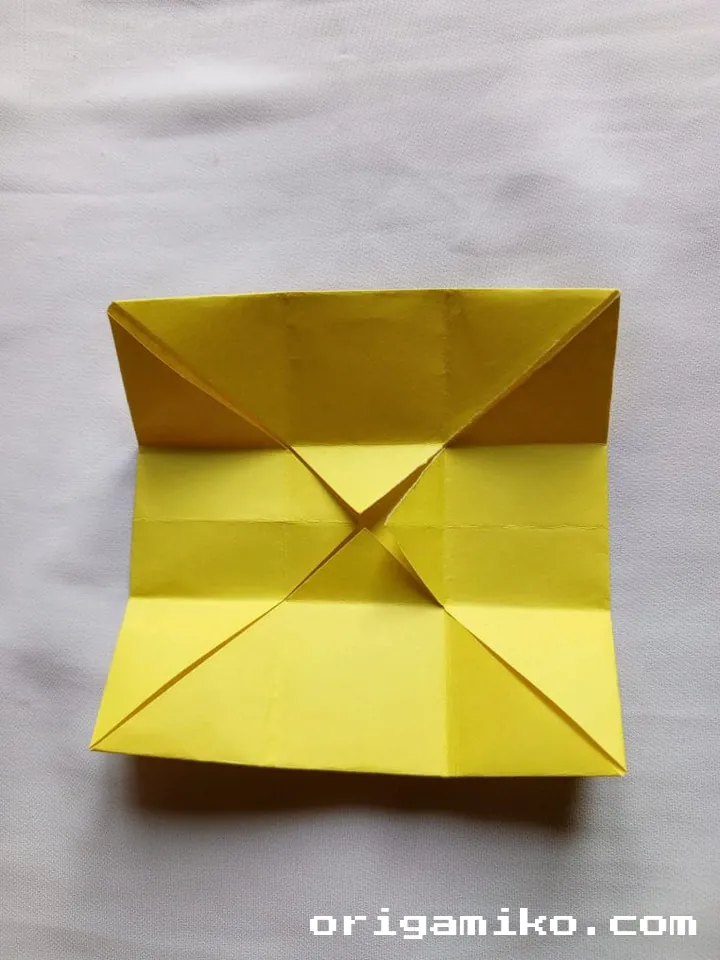
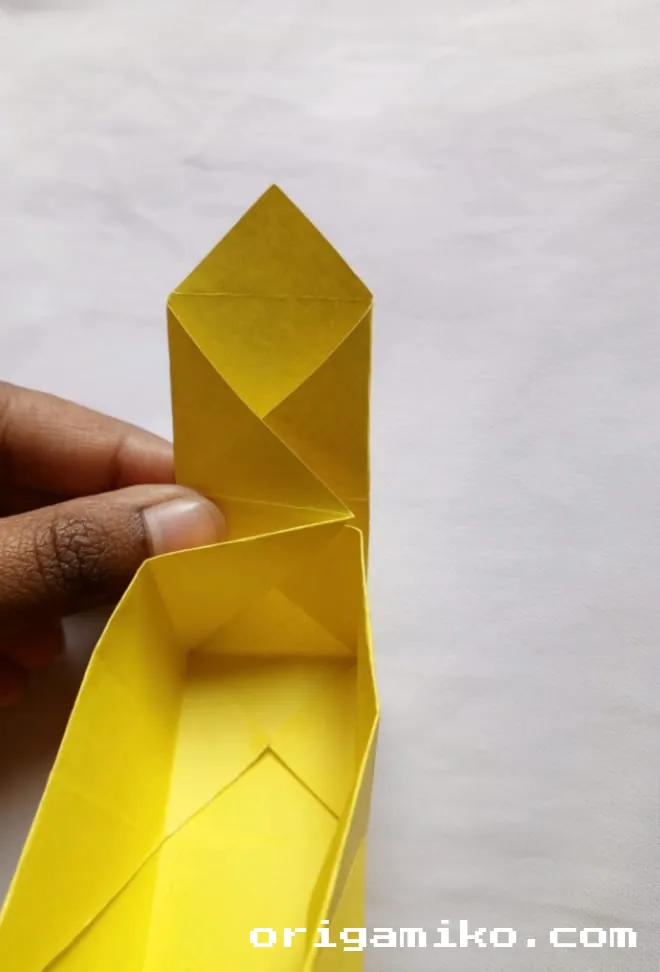
Step 4: Open the upper and lower folds. Fold the upper part by folding it from the left and right sides. Then fold the upper side the same way to complete the box.
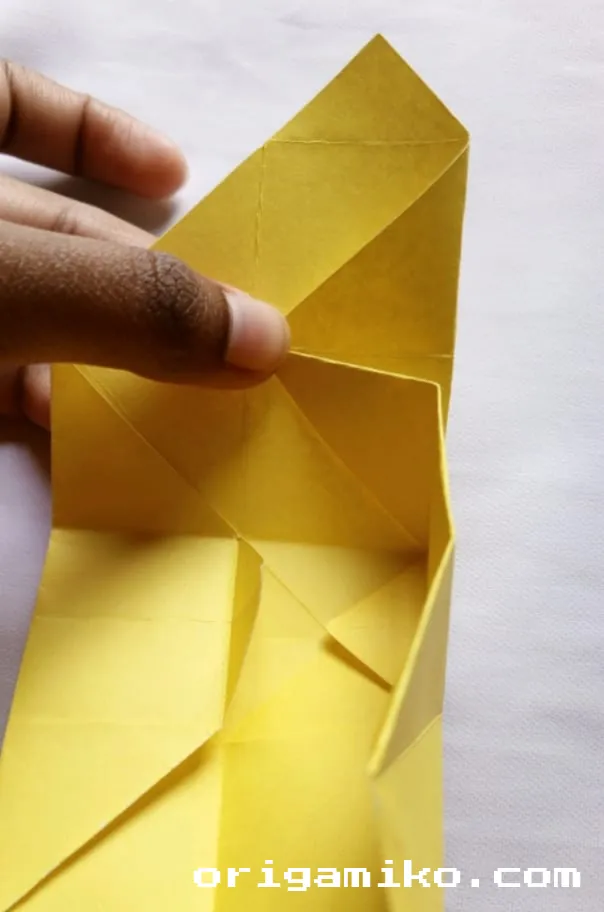
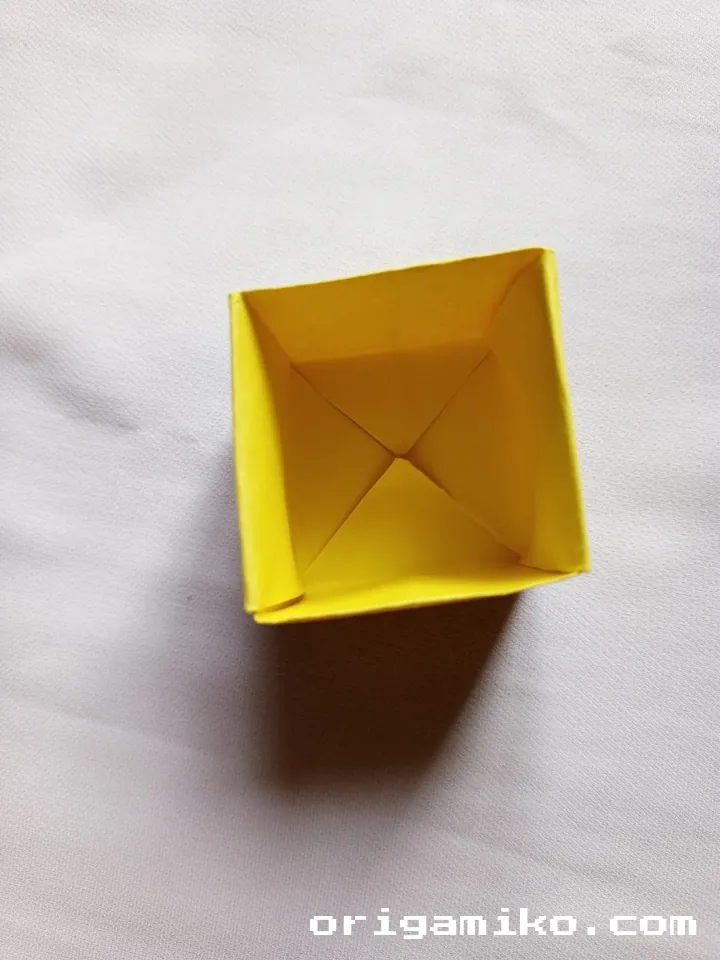
- Open the top and bottom flaps.
- Fold in the left and right edges so the sides stand up.
- Now fold the upper flap down, pinching it into a standing wall.
- Do the same on the bottom flap.
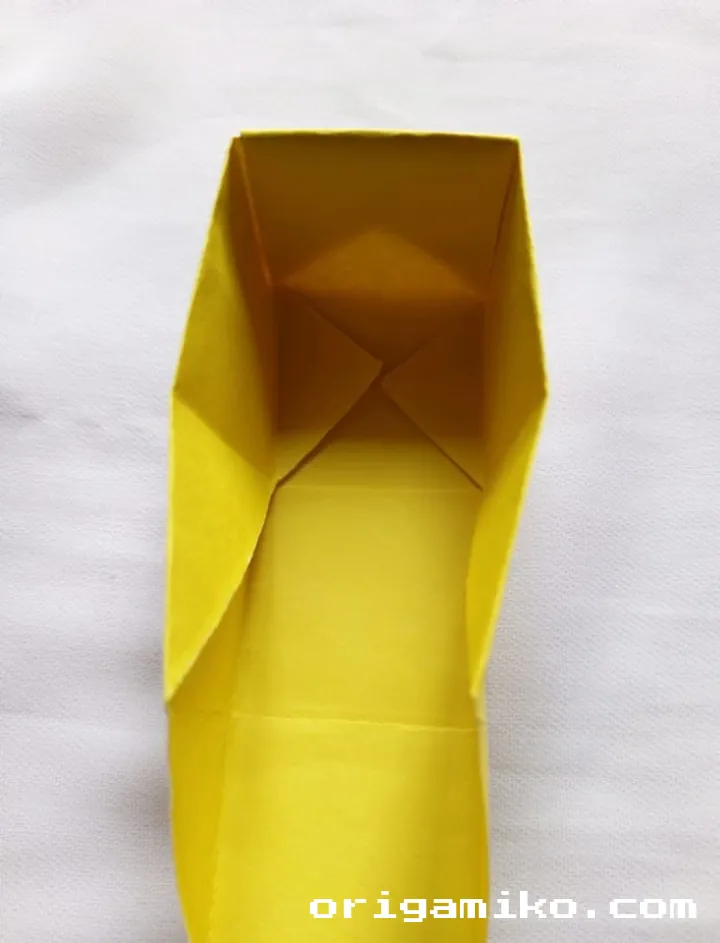
Now you have a little paper box—your origami pot!
Part 2: Make the Leaves
Step 5: Take a square shape paper.
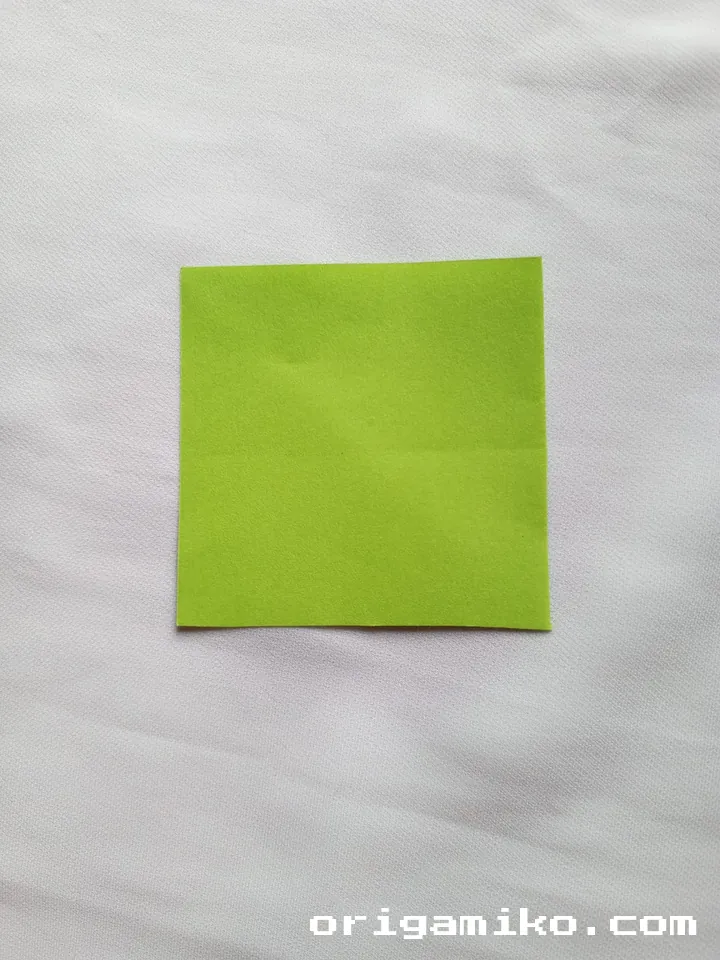
Grab your second 6″ × 6″ square. This will be one leaf.
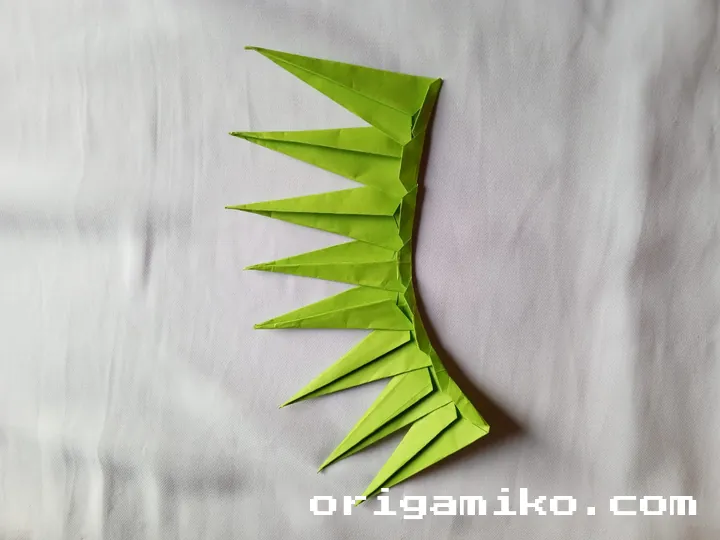
Step 6: Now make the leaf by folding it as shown in the picture. Make some more leaves in the same way.
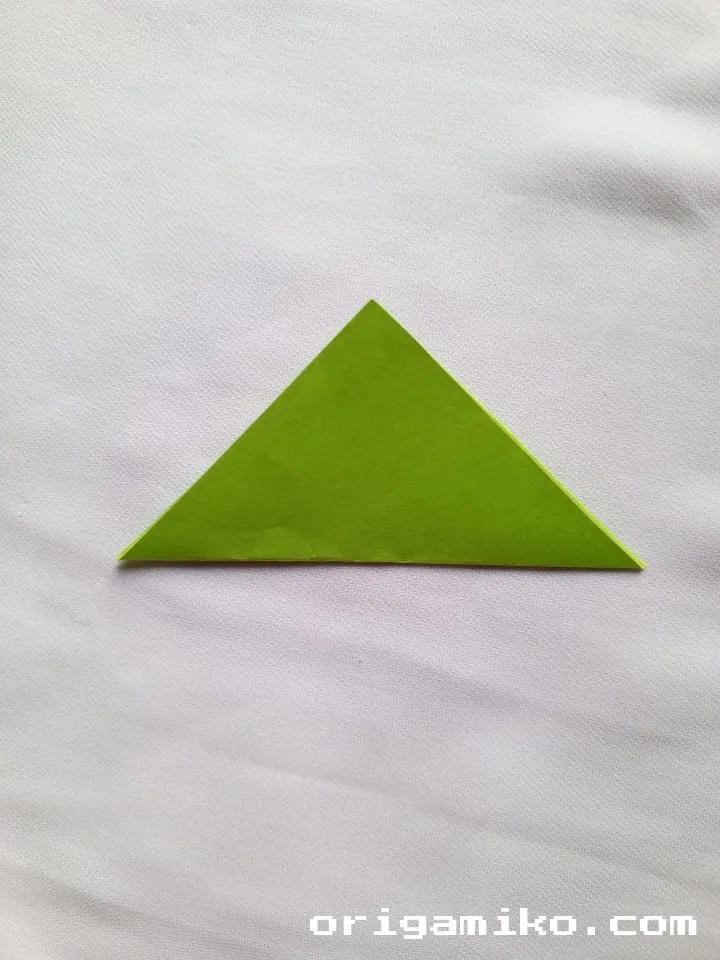
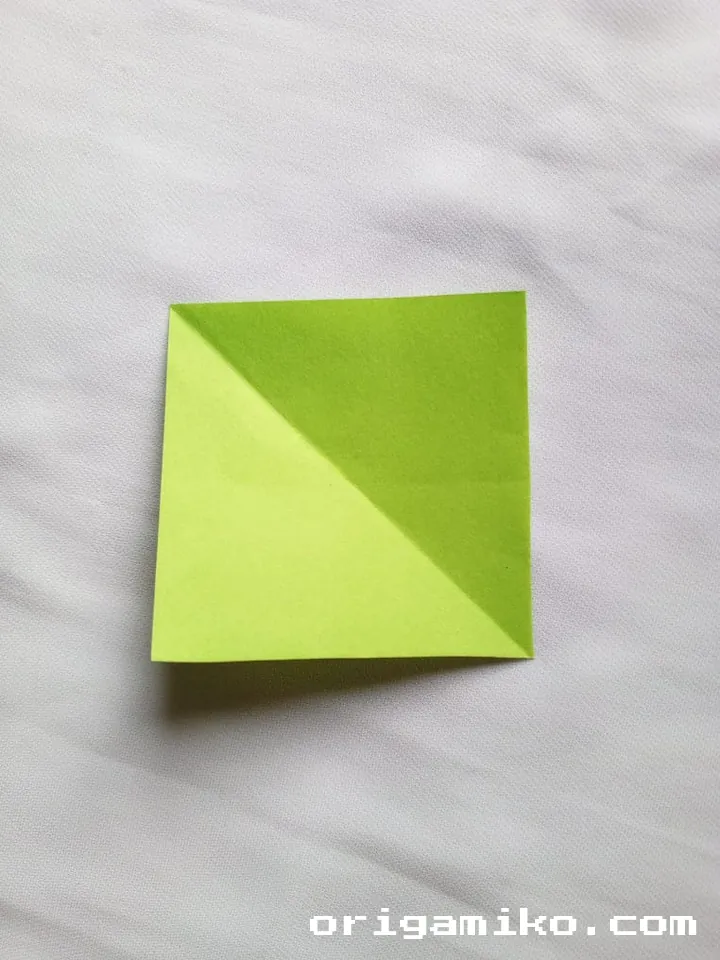
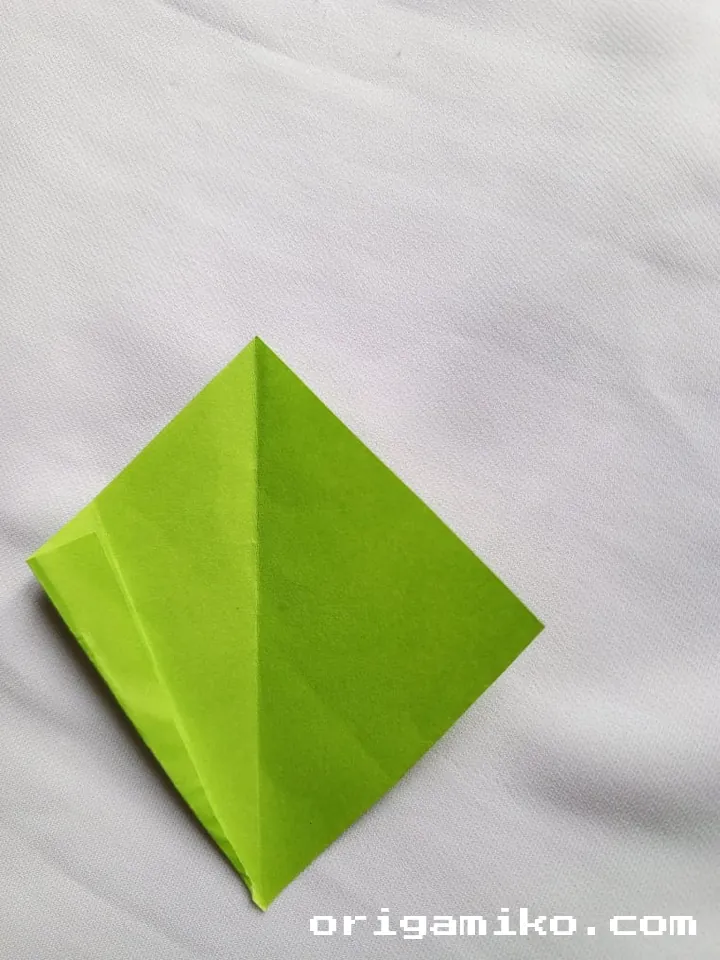
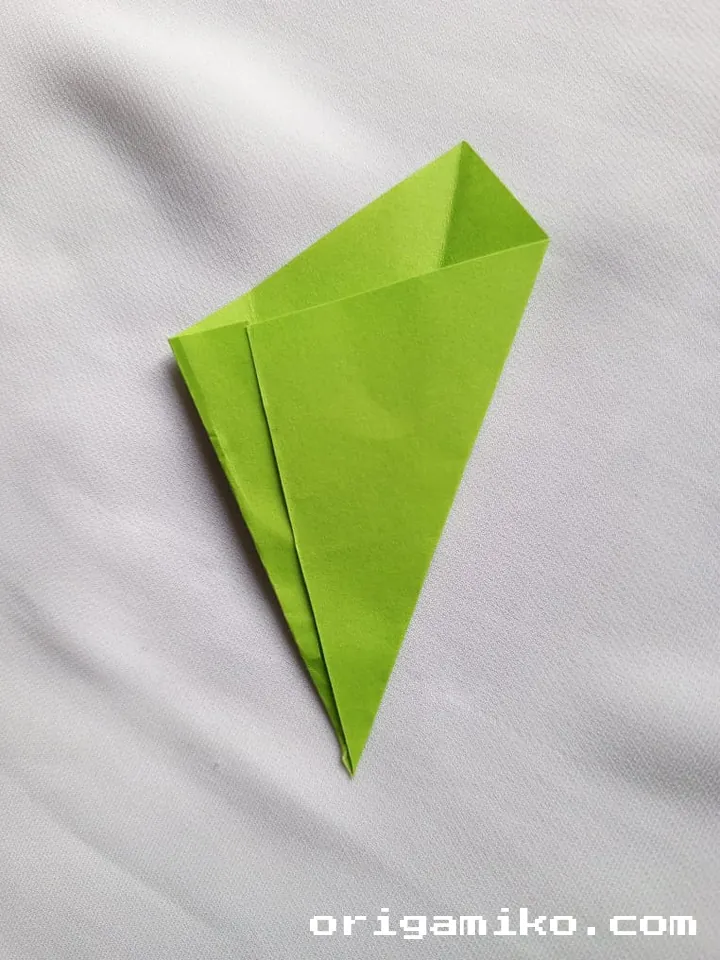
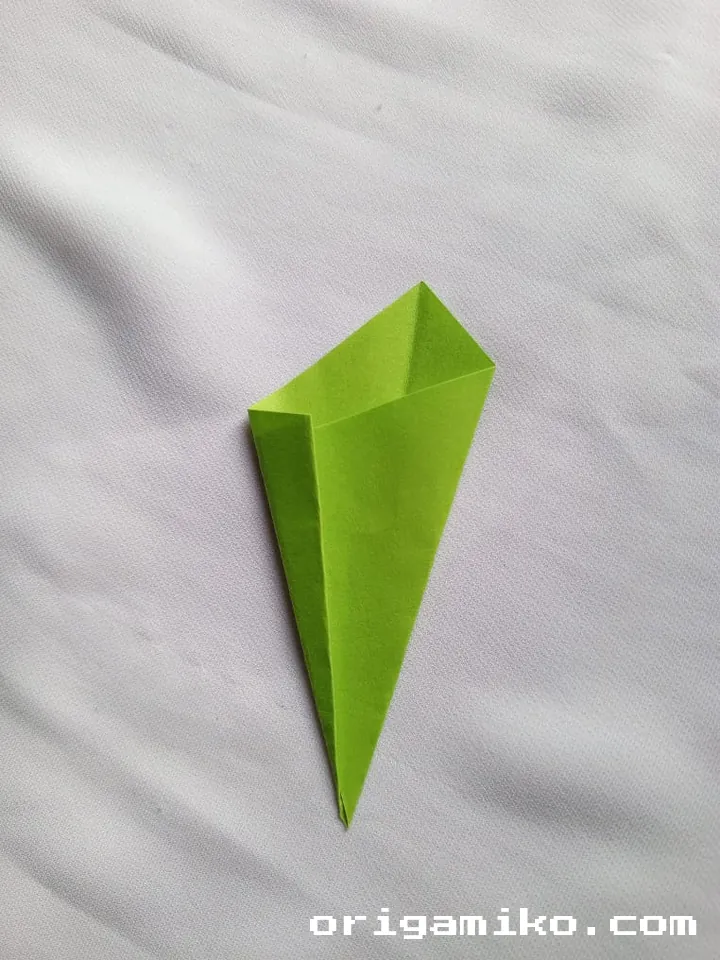
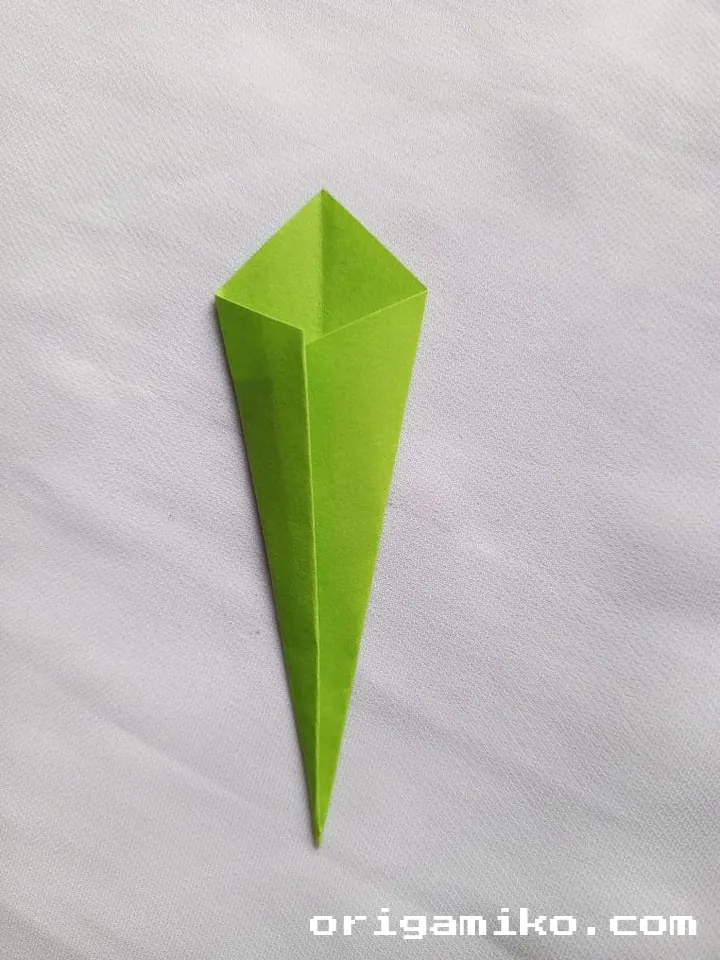
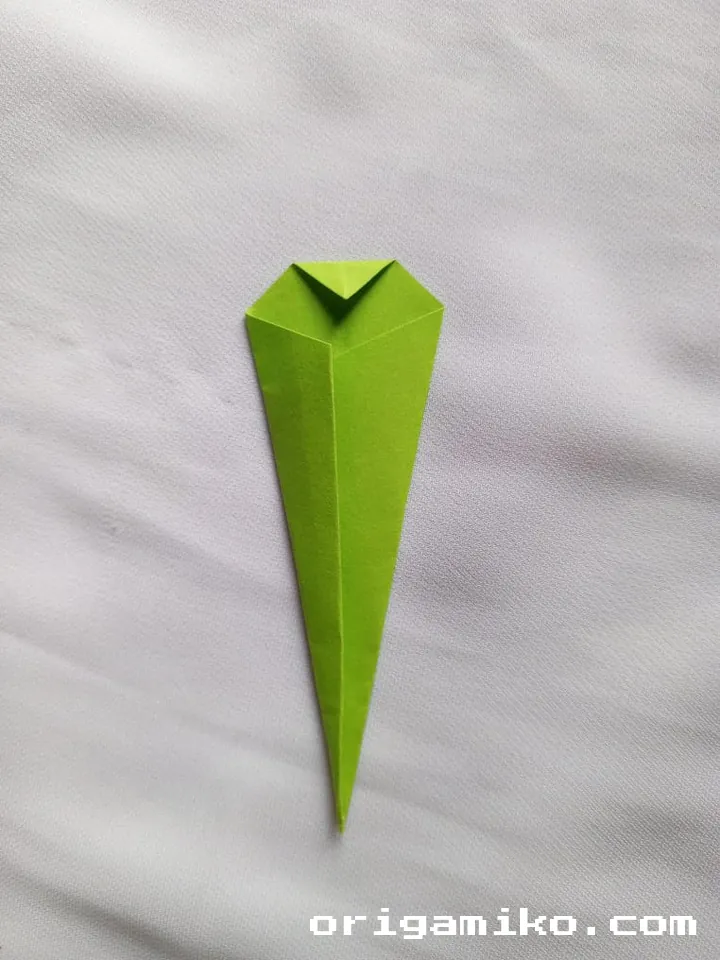
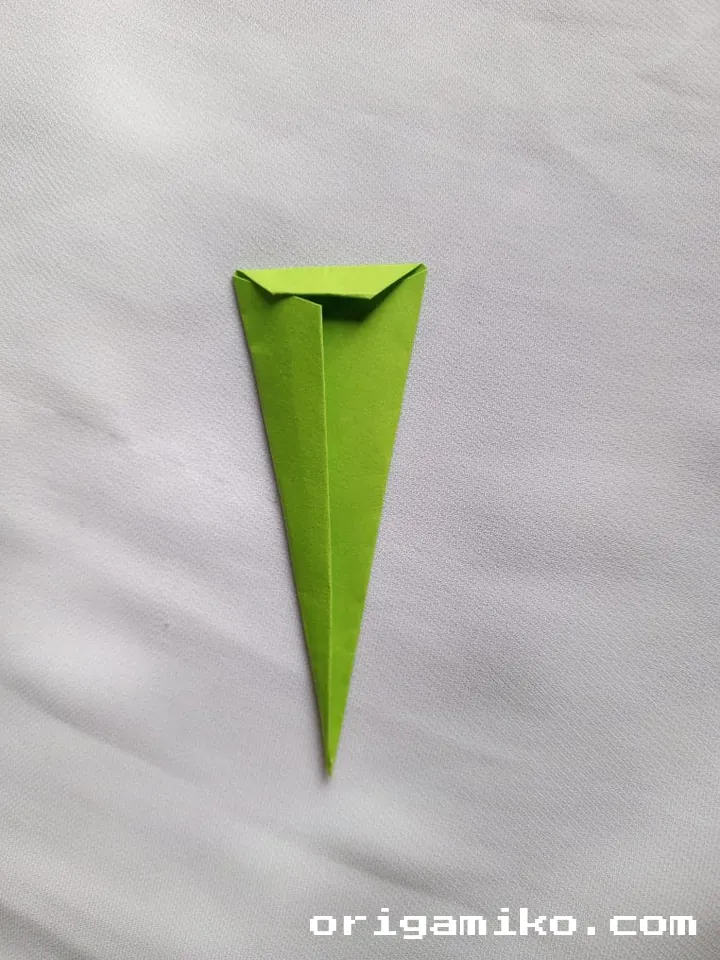
- Fold the square in half diagonally.
- Then fold it accordion-style (zigzag) from the open edge toward the folded edge.
- You now have a leaf!
- Repeat this with several papers to create a bunch of leaves.
Step 7: After pairing the leaves together, cover them with a long paper and put them in the pot. The pot plant is ready.
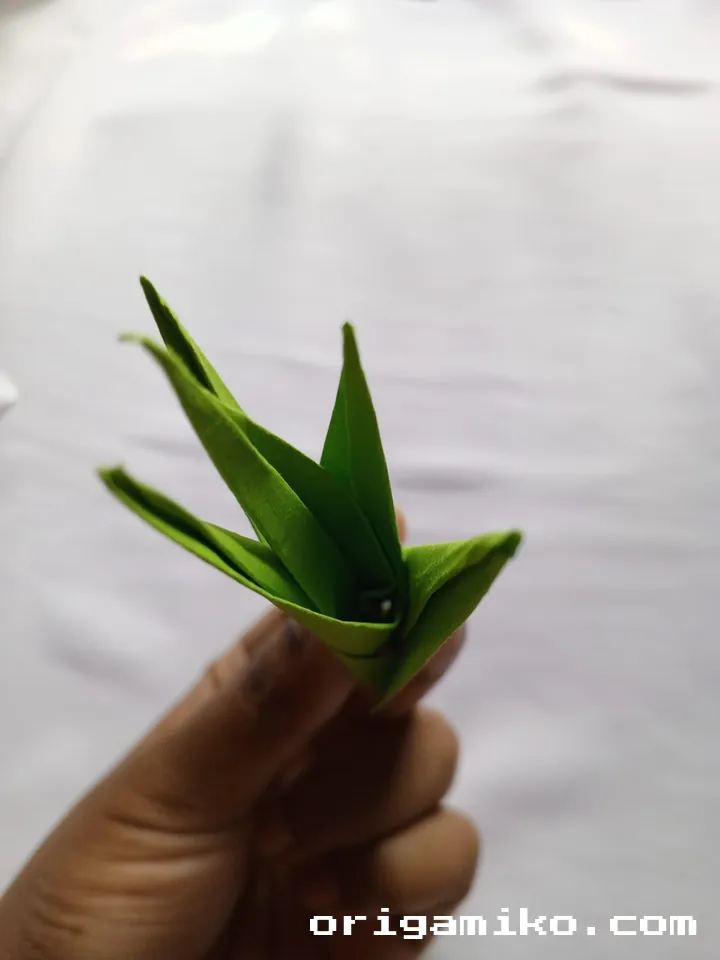
- Group your leaves into a bunch.
- Wrap the bottom ends with the long paper strip, like a stem band.
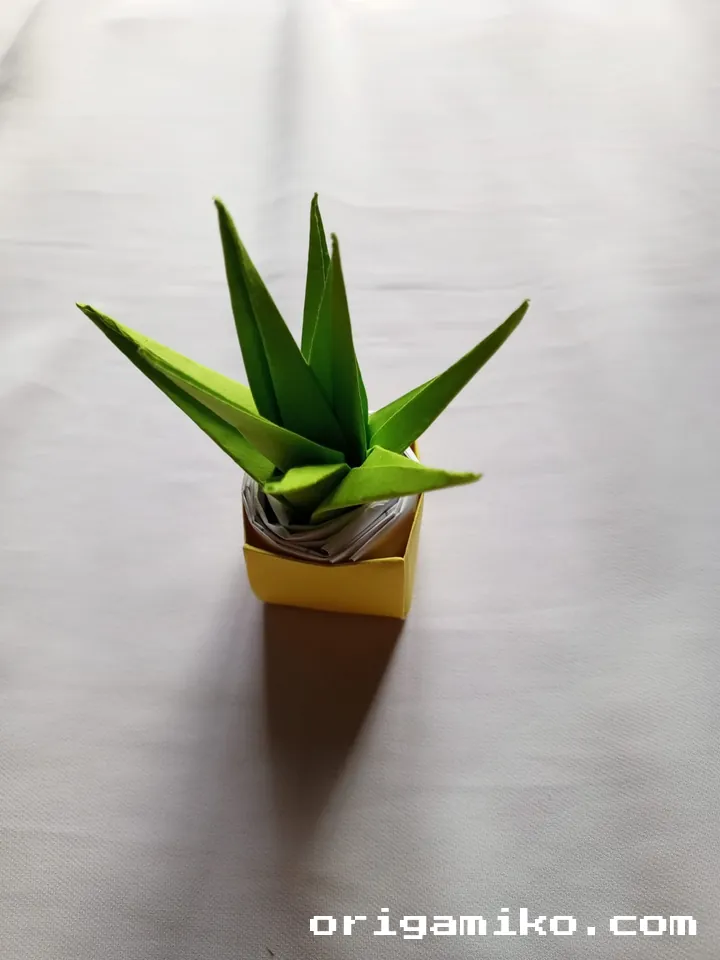
- Gently insert the wrapped bundle into your paper pot.
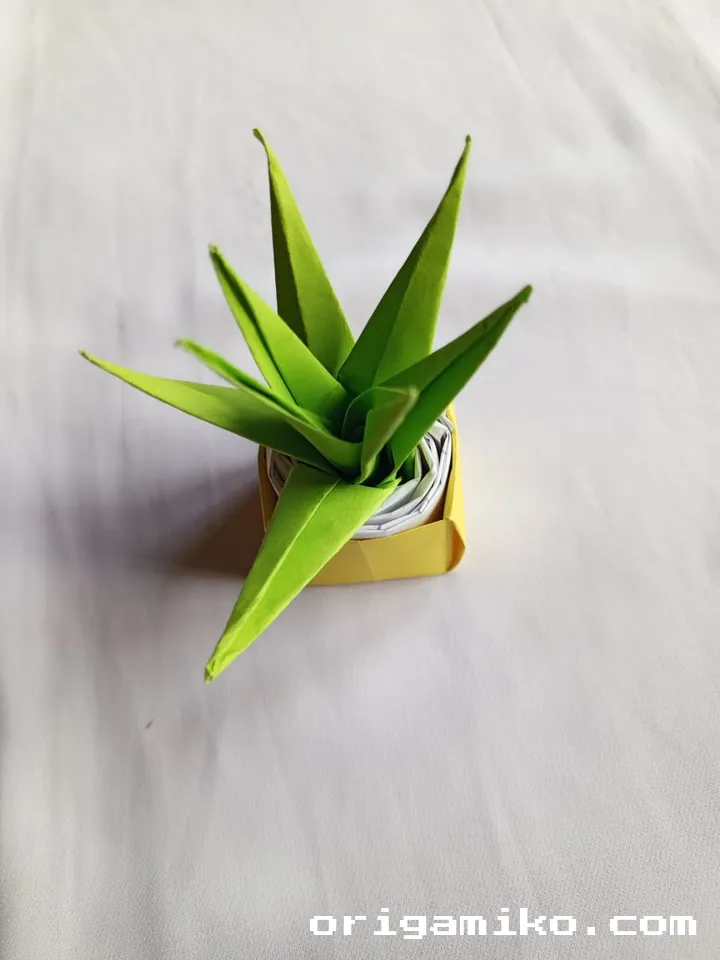
That’s it! You’ve completed your easy Origami pot plant.
Tips for Success
Here are a few things I’ve learned from making these over and over:
- Use light paper—easier to crease and less bulky when folding.
- Crease each fold sharply—use your nail or the edge of a ruler.
- Make extra leaves so your plant feels lush and full.
- Don’t rush the pot step—it’s the trickiest but most rewarding.
Common Mistakes and How to Avoid Them
Mistakes happen. Here’s what to watch out for:
- Uneven folds? Use a ruler edge to line things up precisely.
- Paper tearing? Your paper might be too thick—try thinner origami paper.
- Pot won’t hold shape? Double-check your folds are sharp and square.
- Leaves won’t stay in? Try wrapping them tighter or taping gently inside the pot (no shame in support!).
Similar Variations You Can Try
Want to explore more? Here are fun spin-offs of this project:
- Mini Succulent Version – use smaller paper for tinier leaves.
- Hanging Plant – attach thread to the leaves and suspend from above.
- Flower Pot – swap out leaves with folded paper flowers like tulips or lilies.
- Holiday Edition – make red-green versions for festive cheer.
FAQs
Q: Can I use regular printer paper?
A: Yes! Just cut it into a 6″ × 6″ square first. Thinner paper is easier though.
Q: How many leaves should I make?
A: Anywhere from 4 to 8 works well. More leaves = fuller plant.
Q: Is this safe for kids?
A: Absolutely! Just watch the sharper folds or help them with the pot part.
Q: Do I need glue or tape?
A: Optional. Most of the structure holds with folds, but a small bit of tape can help the leaves stay in place if needed.
Final Thoughts: Grow a Garden One Fold at a Time
We started with two pieces of paper—and ended up with a charming little plant. No soil. No mess. Just satisfying folds and a cute result.
Now that you know how to make origami pot plant, why stop at one? Make a whole row of them on your windowsill, or gift one to a friend who loves plants but forgets to water them.
Your first Origami pot plant is just the beginning. Keep folding, and see what else you can grow.