


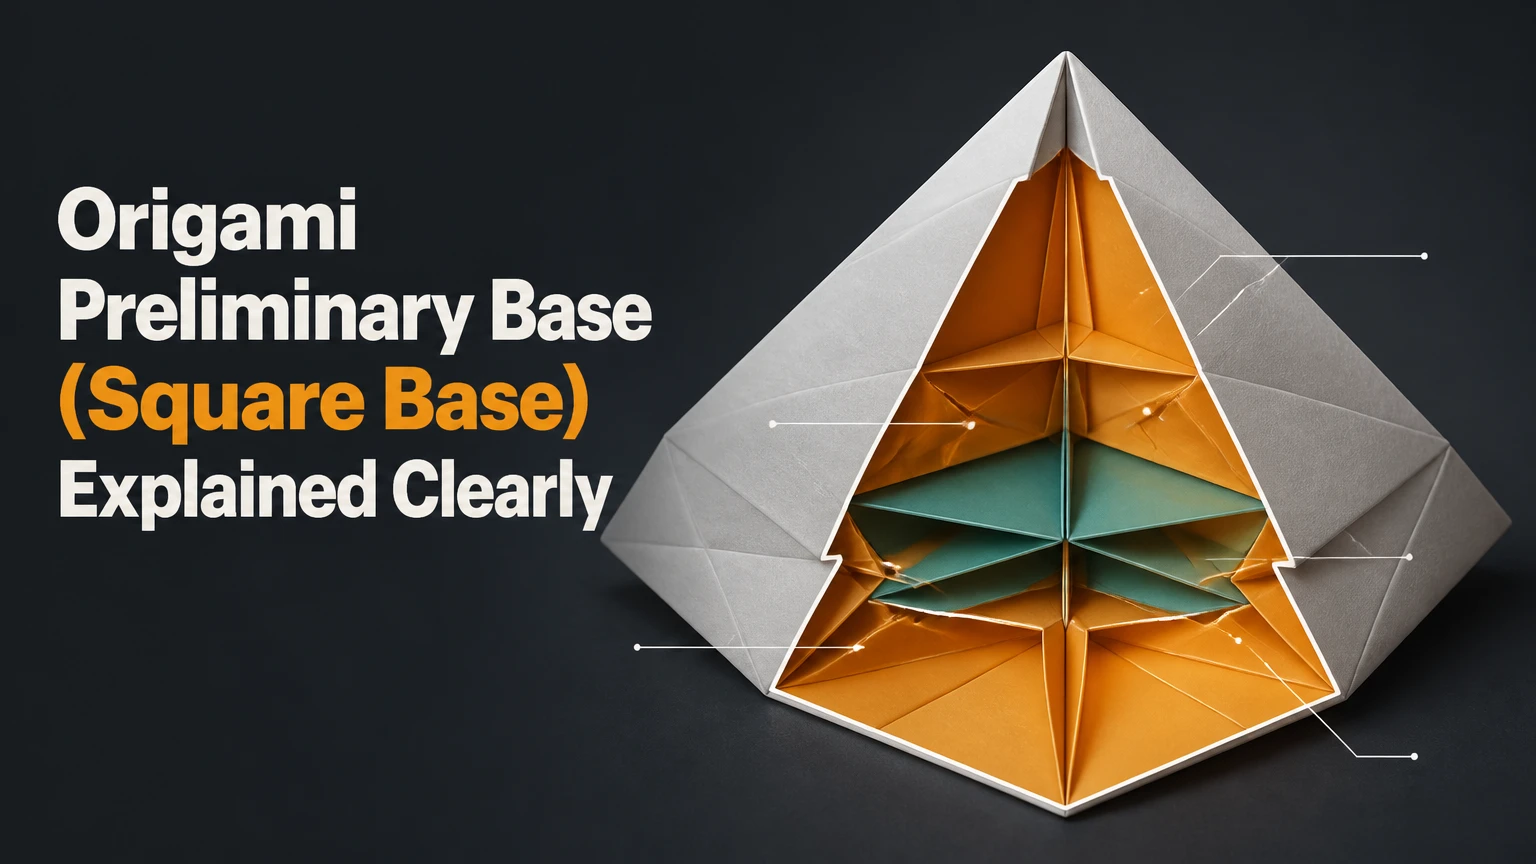
The Origami Preliminary Base, also called the Square Base, is a four-flap folded configuration made from one square sheet. Two diagonal creases and two perpendicular creases let the sheet collapse into a smaller square, making the base a common starting point for the Bird Base, Frog Base, cranes, flowers, animals, and modular forms.
Key Facts at a Glance
- The Preliminary Base and Square Base are two names for the same foundational origami structure.
- A Preliminary Base has four movable flaps, four open raw-edge regions, and one closed folded corner.
- A 20 cm square normally becomes a base about 10 cm wide, so the linear dimensions are approximately halved.
- The standard crease pattern combines both diagonals with the horizontal and vertical centerlines.
- The Preliminary Base is different from the Waterbomb Base, although both collapse from the same square sheet.
- A clean collapse usually takes 1-3 minutes for a beginner using 15 cm kami paper.
What Is the Origami Preliminary Base?
The Origami Preliminary Base is a symmetrical folded square that concentrates the four corners of a flat sheet into one closed point while leaving four layered flaps available for later folds. “Square Base” describes the visible result, while “Preliminary Base” describes its role as an early construction in many traditional and modern designs.
The base is one of the standard foundational configurations used in diagrammed origami. It does not represent a single finished model. Instead, it organizes the paper into layers that can become wings, legs, petals, heads, tails, or other appendages.
The name can confuse beginners because the finished object is not a flat square. The visible top has a square outline, but the folded packet has several layers and four separate flap directions.
Why Is It Called a Square Base?
The Preliminary Base is called a Square Base because its flattened silhouette is square rather than triangular, rectangular, or kite-shaped. Origami terminology often names a base by its visible geometry, not by the final model produced from it.
The Japanese term used in many origami references is preliminary base, translated from a traditional foundational form. English-language instructions commonly use Square Base, especially in beginner diagrams. Both labels identify the same basic collapse when the crease orientation and flap arrangement match.
How Does the Preliminary Base Work?
The Preliminary Base works through a four-way collapse around the center of the original square. Diagonal creases allow the corner regions to fold inward, while the horizontal and vertical creases guide the sheet into a compact square packet.
The paper does not lose material. It changes orientation and stacks layers. A 20 cm square still contains the same paper area after folding, but its visible footprint is approximately 10 by 10 cm.
The standard base has fourfold rotational symmetry. Rotating the folded structure by 90 degrees produces the same arrangement, and mirror operations preserve its overall geometry. That symmetry matters because later bird, frog, and flower folds depend on matching opposite flaps.
Preliminary Base Geometry and Specifications
The following values describe a normally flattened base, not every possible distorted or partially open version.
| Attribute | Typical value | Practical meaning |
|---|---|---|
| Starting paper | 15 x 15 cm | Common beginner size |
| Finished footprint | About 7.5 x 7.5 cm | Approximate linear reduction |
| Movable flaps | 4 | Two flap pairs can later diverge |
| Main crease families | 4 lines | Two diagonals plus two centerlines |
| Rotational symmetry | 4-fold, 90 degrees | Supports balanced model development |
| Basic internal angles | 45 and 90 degrees | Created by diagonal and perpendicular creases |
The base does not contain exactly eight layers at every point. Layer count changes around the packet, especially near the apex, side edges, and flap tips. Thick paper may therefore produce visibly uneven edges even when the crease pattern is accurate.
Which Way Should the Flaps Point?
The four open raw edges should normally face the folder, while the closed apex points away or downward, depending on the diagram’s orientation. Origami instructions may rotate the base before the next step, so the page direction matters more than a universal “top” or “bottom.”
To identify the structure, locate the closed corner first. Then separate the four free flap tips without unfolding the packet. If the flaps cannot be distinguished, the paper has probably been collapsed in the wrong layer order.
What Creases Make a Preliminary Base?
A standard Preliminary Base uses two diagonal valley folds and two perpendicular mountain folds when viewed from a specified paper side. The visible mountain or valley appearance can reverse after flipping the paper, so the crease directions should be understood relative to the diagram’s colored side.
| Crease family | Number | Direction | Role during collapse |
|---|---|---|---|
| Diagonal folds | 2 | Corner to opposite corner | Bring corner sectors inward |
| Horizontal centerline | 1 | Left edge to right edge | Forms one side of the square packet |
| Vertical centerline | 1 | Top edge to bottom edge | Forms the perpendicular side |
| Total main creases | 4 | Two intersecting families | Establishes radial symmetry |
Crease direction is less mysterious than it first appears. A valley fold makes a valley-shaped trough when viewed from the active side; a mountain fold makes a ridge. When the sheet is turned over, the same physical crease appears to reverse.
Is Flipping the Paper Mandatory?
Flipping the paper is a useful teaching convention, but it is not a separate geometric requirement. Many instructions tell folders to crease the diagonals on one side and the centerlines on the other because opposite fold directions make the final collapse easier to see and manipulate.
Experienced folders can make all four creases from one side or use a pre-existing crease pattern. The important conditions are accurate center alignment, full diagonal reach, and a collapse that preserves the four flap layers.
How Do You Fold the Preliminary Base?
A beginner can fold a clean Preliminary Base in four main stages, usually within 1-3 minutes after a short practice period. The most important success factor is not speed; it is placing every crease through the exact center of the square.
Before You Start
| Requirement | Recommended value | Reason |
|---|---|---|
| Paper | 1 square, 15 x 15 cm | Easy to handle and inspect |
| Time | 1-3 minutes | Includes creasing and collapse |
| Difficulty | Beginner | Requires alignment, not complex sink folds |
| Tool | No tool, optional bone folder | Finger pressure is sufficient |
| Practice quantity | 5-10 repetitions | Builds reliable collapse memory |
Use thin kami, copy paper, or lightweight duo paper for the first attempts. A contrasting front and back helps you see whether a crease is being used as a mountain or valley.
Step 1: Crease One Diagonal
Place the square with the intended working side facing upward. Bring one corner to its opposite corner, align the edges, crease from the center toward both ends, and unfold the paper completely.
You will know the step worked when one straight diagonal passes through both corners and the center point. A crease that stops short of the corners can prevent the final packet from closing cleanly.
The common mistake is aligning the edges near the center while allowing the corners to miss. Correct the crease immediately because later folds cannot compensate for a diagonal that is off-center.
Step 2: Crease the Opposite Diagonal
Fold the other pair of opposite corners together, align all four edges as closely as possible, crease the diagonal, and unfold. The sheet should now show a centered X.
You will know the step worked when both diagonal lines intersect at one point. If the intersection forms a small triangle or offset crossing, the paper is not squarely aligned.
Avoid pressing only the outer tips. Start at the center and work outward, which reduces the chance of transferring a skewed crease.
Step 3: Add the Horizontal and Vertical Creases
Turn the sheet over if the instructions use opposite-side crease directions. Fold the square edge to edge horizontally, crease the centerline, unfold, then fold it edge to edge vertically and unfold again.
The paper should display a centered plus sign crossing the X. You will know the step worked when all four crease families meet at one central point.
Flipping sides helps create the familiar tension pattern, but accurate geometry matters more than the flip itself. A folder can make the same crease pattern from the original side if the intended mountain and valley directions remain consistent.
Step 4: Collapse the Square
Lift the paper and gently bring the four outer corners toward one another. Allow the diagonal sections to fold inward while the horizontal and vertical centerlines form the sides of the packet.
Do not force one corner under another. Guide the layers in sequence until two opposing sides rise and the remaining corners settle downward, then flatten the result into a smaller square.
You will know it worked when four free flaps can be separated and the packet has a roughly square silhouette. The common mistake is flattening before all four corners have reached the same central region, which locks an incorrect layer arrangement.
Which Folding Method Should You Use?
The standard pre-crease method is best for thin paper and first practice, while the pocket method is useful when thick or crease-sensitive paper would become damaged by a full crease pattern. Both methods produce the same basic Preliminary Base when the layers are collapsed correctly.
| Method | Typical time | Best paper | Main benefit | Main limitation |
|---|---|---|---|---|
| Standard pre-crease | 1-3 minutes | Kami, copy paper | Clear geometry and repeatability | Adds creases across the sheet |
| Book-fold method | 2-4 minutes | Tant, cardstock-like paper | Limits unnecessary pre-creasing | Requires careful pocket opening |
| Diagram-directed collapse | 1-2 minutes | Thin model paper | Preserves selected clean surfaces | Harder for beginners |
| Existing crease pattern | 30-90 seconds | Pre-creased sheet | Fast transition to model design | Demands crease-pattern literacy |
The book-fold method begins by folding the square into a rectangle and then into a smaller square. Opening selected layers and squash-folding them creates the four-flap packet without scoring every major line across the original sheet.
Is the Blintz Base the Same as the Preliminary Base?
The Blintz Base is not simply another name for the Preliminary Base. A Blintz Base folds all four corners to the center, creating a different layered arrangement; some designs combine blintz folds with later collapses, but that does not make the two foundational forms identical.
This distinction matters in model instructions. A diagram calling for a Preliminary Base expects four flap structures produced by the diagonal and perpendicular crease system. A diagram calling for a Blintz Base expects corners folded to the center, often with a different number and direction of accessible layers.
What Paper Size and Type Work Best?
A 15 cm square is the most practical beginner size because it offers enough surface for accurate alignment while keeping the finished base near 7.5 cm. Larger paper improves visibility and reduces handling errors; smaller paper saves material but magnifies inaccuracies.
| Paper type | Typical price range | Useful sizes | Best use |
|---|---|---|---|
| Kami | $5-$15 per 100-500 sheets | 15-20 cm | Beginners and traditional models |
| Copy paper | $0.05-$0.20 per sheet | 20-21 cm | Low-cost practice |
| Tant | $10-$30 per pack | 15-30 cm | Layer-heavy models |
| Washi | $0.20-$2 per sheet | 15-30 cm | Textured display models |
| Cardstock | $5-$12 per 50 sheets | 20-30 cm | Teaching large demonstrations |
A 30 cm square is useful for classroom instruction or complex models because the crease intersection is easier to inspect. For modular origami, 7.5 cm squares are common, but thin paper becomes important because every module may contain several folded layers.
Paper thickness changes the practical result. Thin kami creates a compact packet, while thick tant retains stronger ridges but may resist flattening at the apex. Fibrous washi can fold beautifully, yet uneven fiber direction can make opposite flaps behave differently.
What Can You Fold From a Preliminary Base?
The Preliminary Base commonly leads to the Bird Base and Frog Base, which then support cranes, birds, flowers, insects, animals, and many traditional model families. The correct next fold depends on which flap pair a diagram identifies as the head, tail, leg, or petal region.
| Descendant or pathway | Typical next action | Common models | Main design function |
|---|---|---|---|
| Bird Base | Petal folds on two opposing flaps | Crane, bird, phoenix | Long neck, tail, and wings |
| Frog Base | Multiple petal folds | Frog, flower, insect | Four-way limbs or petals |
| Preliminary-derived petal fold | Narrow flap reduction | Lily, iris, tulip | Thin pointed appendages |
| Modular adaptation | Repeated flap insertion | Kusudama, polyhedra | Interlocking units |
The Bird Base is not the same object as the Preliminary Base. It is a later transformation that narrows and rearranges selected flaps, usually by lifting two opposing regions and creating petal folds.
The Frog Base also develops from a Preliminary Base, but it distributes usable flaps differently. Its structure is better suited to four-limbed or radial designs than to the crane’s paired wing and neck arrangement.
A practical rule is to rotate the base until the crease diagram’s flap arrangement matches your paper. Do not assume that the closed apex must remain at the bottom throughout the model.
How Does It Compare With the Waterbomb Base?
The Preliminary Base is the better starting point for models requiring narrow, elongated appendages, while the Waterbomb Base is better for designs that need a broad triangular structure or immediate three-dimensional volume. The two bases share a square sheet and an X-plus crease network, but their fold directions and final silhouettes differ.
| Criterion | Preliminary Base | Waterbomb Base |
|---|---|---|
| Flattened silhouette | Square | Triangle |
| Typical flap arrangement | Four open flaps | Broad triangular packet |
| Diagonal orientation | Commonly valley on working side | Commonly mountain on working side |
| Centerline orientation | Commonly mountain on working side | Commonly valley on working side |
| Frequent descendants | Bird Base, Frog Base | Waterbomb-derived insects and toys |
| Structural tendency | Long points and paired limbs | Broad body and volume |
| Beginner checkpoint | Four-flap square | Symmetrical triangular collapse |
The phrase “exact geometric inverse” is too strong for ordinary instruction. The Preliminary and Waterbomb Bases are closely related through crease orientation and collapse behavior, but they are not simple mirror images in every layer arrangement or model transition.
When Should You Choose the Waterbomb Base?
Choose the Waterbomb Base when the model instructions show a triangular packet, a broad body, or a structure that inflates readily. Choose the Preliminary Base when the next steps divide the paper into long pointed flaps.
A crane diagram normally begins from a Preliminary Base pathway. A jumping frog or inflatable waterbomb often begins from the Waterbomb Base. Following the named base is safer than trying to substitute one for the other.
Why Does the Collapse Fail?
A failed Preliminary Base usually comes from inaccurate center alignment, incomplete diagonal creases, or forcing the layers in the wrong order. The paper’s resistance provides useful evidence: a correct collapse begins to fold along existing lines, whereas a wrong collapse creates new diagonal wrinkles.
| Failure symptom | Likely cause | Recovery action | Prevention |
|---|---|---|---|
| Packet will not close | Creases miss the center | Reopen and align the intersection | Crease from center outward |
| Uneven flap lengths | Corners were not matched | Rebuild from a fresh square | Check opposite corners |
| One side is thicker | Layer caught under a flap | Separate layers before flattening | Collapse gradually |
| Split apex | Excessive force or brittle paper | Open slightly and soften the tip | Use lighter pressure |
| Warped square | Paper is rectangular or skewed | Replace or trim the sheet | Measure both diagonals |
| Extra wrinkles | Folding against old direction | Reopen and reverse the packet | Track mountain directions |
How Do You Fix a Locked Base?
Open the packet until the central X and plus sign are visible, then verify that all four lines intersect at the same point. Re-collapse without pressing the apex, allowing the centerline ridges to rise before the corner sections settle.
If the sheet still fights the motion, make the diagonal creases more complete rather than adding random corrective folds. A new crease in the wrong location permanently weakens the paper and rarely repairs the geometry.
How Do You Fix Asymmetrical Flaps?
Measure the flap tips against one another while the base remains partly open. If opposite tips differ by more than 2-3 mm on a 15 cm sheet, reopen the structure and check whether the original square was accurately cut.
A small difference can result from paper thickness and may disappear during the next model step. A large difference usually indicates a center error, not a failure of finger technique.
How Long Does It Take and What Does It Cost?
A first successful Preliminary Base typically takes 5-10 minutes when the folder is learning the collapse, while repeated practice reduces the action to roughly 30-90 seconds. Material cost ranges from nearly free with recycled copy paper to about $0.10-$0.30 per sheet for common kami bought in packs.
| User situation | Paper quantity | Typical time per base | Typical material cost |
|---|---|---|---|
| First practice | 3-5 sheets | 5-10 minutes | $0.15-$1 |
| Regular beginner | 1 sheet | 1-3 minutes | $0.01-$0.15 |
| Classroom demonstration | 1 large sheet | 5-8 minutes | $0.50-$2 |
| Complex model preparation | 1-2 sheets | 2-5 minutes | $0.50-$4 |
| Modular practice | 10-30 sheets | 30-90 seconds each | $0.10-$5 |
These are typical retail and practice ranges, not fixed industry prices. Specialist handmade papers vary considerably by region, fiber content, and sheet size.
Which Approach Fits Your Situation?
Beginners should use 15 cm kami and the standard pre-crease method because colored and white sides make the crease logic visible. Complex folders should consider larger tant or washi and use a pocket-based method when unwanted creases would damage the finished model.
| User | Recommended size | Recommended paper | Preferred method | Reason |
|---|---|---|---|---|
| First-time folder | 15 cm | Kami | Standard | Maximum visual feedback |
| Child or classroom group | 25-30 cm | Lightweight copy paper | Standard | Easier center inspection |
| Complex model folder | 25-35 cm | Tant or thin tissue foil | Pocket or diagram-directed | Better layer control |
| Modular folder | 7.5-10 cm | Thin kami | Standard | Reduces finished module thickness |
| Display-focused folder | 20-30 cm | Washi or double tissue | Limits surface scarring |
For teaching, describe the centerline ridges as bridges and the diagonal creases as channels. The metaphor is useful only if students also verify the four flap tips and the closed apex.
One practitioner rule matters more than speed: never flatten a Preliminary Base while a trapped layer is still moving. Release the layer first, then press the packet. This prevents many asymmetrical flaps that beginners incorrectly blame on the paper.
Frequently Asked Questions
Does the Preliminary Base reduce the paper to one-quarter of its area?
No. The visible footprint is approximately one-quarter of the original area because both linear dimensions become about half as long. The paper itself still has its original total area, now distributed across overlapping layers.
Can you make a Preliminary Base from rectangular paper?
A true Preliminary Base starts from a square because its fourfold symmetry depends on equal side lengths and equal corner geometry. Rectangular paper can be trimmed first, or a model may use a modified preliminary collapse, but the result should not be treated as the standard base.
Should the colored side face up or down?
Either side can face upward if the crease directions are interpreted consistently. Beginner diagrams often specify a side because it makes mountain and valley folds visible; following that convention prevents accidental reversal during the collapse.
Is the Preliminary Base suitable for thick paper?
Yes, but thick paper benefits from fewer full-sheet pre-creases and a slower collapse. Tant, thin tissue foil, and some washi papers can handle the structure, while heavy cardstock may crack or produce a bulky apex that interferes with later petal folds.
What should you fold after mastering the base?
Fold a Bird Base next if you want to make a crane or another long-necked model. Try a Frog Base pathway for flowers, insects, or four-way designs, and repeat the Preliminary Base several times before moving to small modular units.
Why does my base have only three usable flaps?
One flap is probably trapped inside the packet or two adjacent layers have been flattened together. Reopen the square slightly, separate the raw edges around the closed apex, and confirm that four distinct flap tips emerge before continuing.
The Bottom Line
The Origami Preliminary Base, or Square Base, is a four-flap symmetrical structure formed by collapsing a square along two diagonals and two perpendicular centerlines. It is inexpensive, quick to practice, and especially useful for reaching the Bird Base, Frog Base, cranes, flowers, and other models that need narrow pointed flaps.
Use thin 15 cm kami for learning, larger paper for teaching, and thicker paper with a pocket method when surface creases matter. Check the center intersection, preserve all four flaps, and distinguish the Preliminary Base from both the Waterbomb Base and the Blintz Base before beginning the next fold.
