


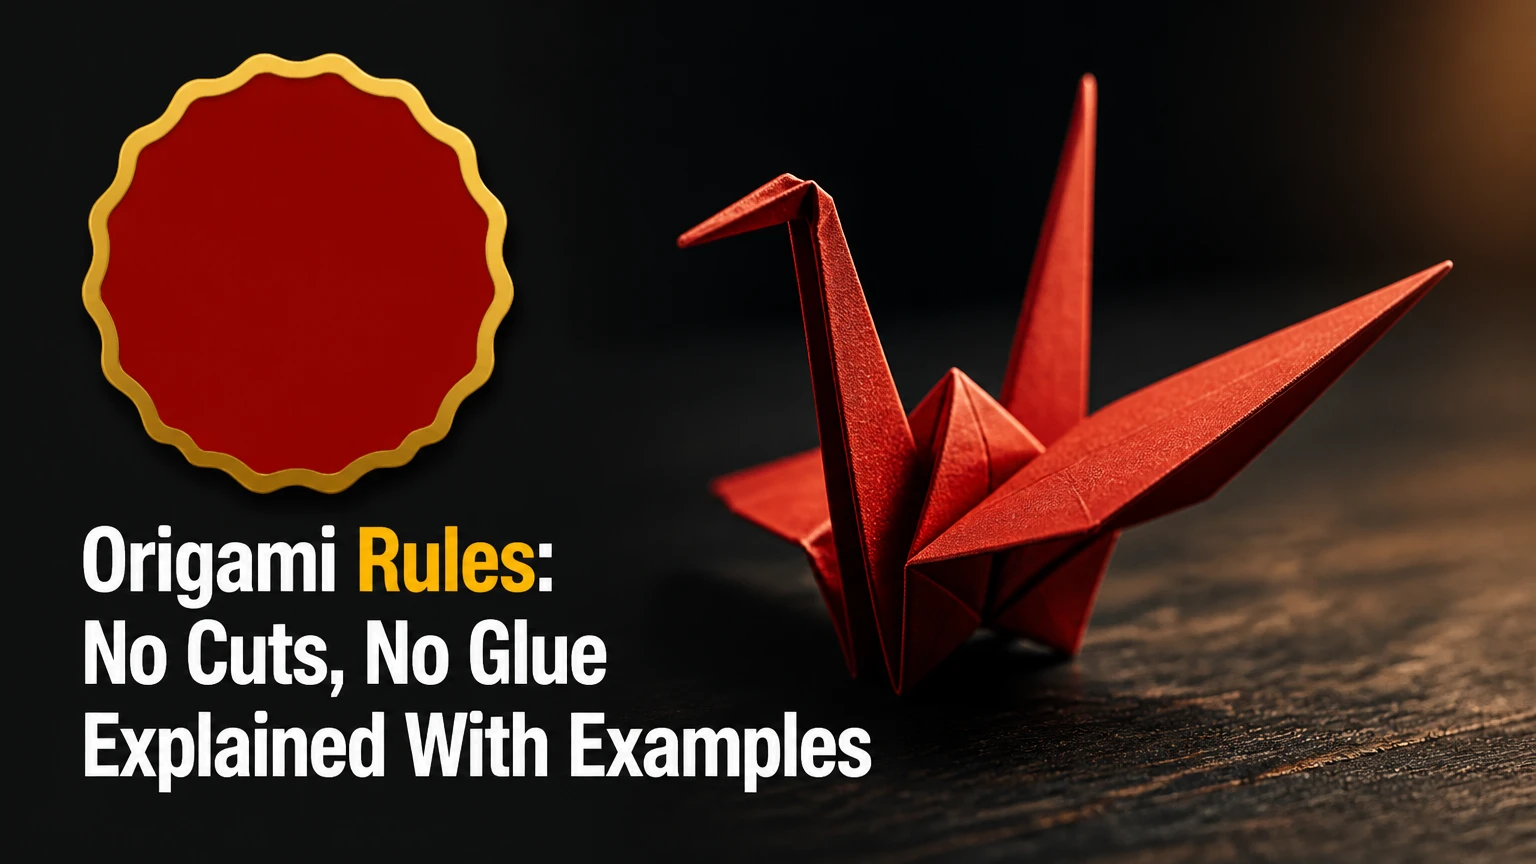
The central origami rule is that pure origami uses folding alone, without cutting, tearing, gluing, or adding material. A model may begin with one uncut square, although modular origami uses several separate uncut sheets, and historical or contemporary designers may follow looser definitions. The rule preserves the paper while changing its geometry.
Key facts at a glance
Pure origami normally transforms paper through folding only, with no cuts, glue, staples, or added pieces.
The one-sheet convention is common in modern origami, but it is not a universal rule for every historical or modular model.
Origami folding preserves the sheet’s surface area and boundary, while changing its thickness, angles, layers, and three-dimensional form.
Huzita-Hatori describes seven geometric origami axioms, not four.
Kawasaki’s theorem concerns flat-foldable vertices, while Maekawa’s theorem relates mountain and valley crease counts.
A simple model may take 2-10 minutes; a super-complex model can require 4-12 hours or more.
What Do Origami Rules: No Cuts No Glue Explained Mean?
“No cuts, no glue” means that an origami model must be formed by folding the original paper rather than removing, joining, or adding material. In strict pure origami, the folder uses one uncut sheet, usually a square, and every visible feature must come from a region of that sheet.
The British Origami Society summarizes the craft in the compact phrase “the art of paper folding.” That definition does not by itself settle every modern rule dispute, because origami communities differ over multiple sheets, wet-folding, paint, wire, and post-fold shaping. The no-cut, no-glue standard is best understood as a widely used design and classification convention.
A folded crane illustrates the principle. The bird’s wings, neck, tail, and body are not separate components; each occupies a mapped portion of the starting square. A designer can create hundreds of layers and extremely small appendages, but the designer cannot increase the amount of paper available.
Is one square always required?
No. One uncut square is the standard format for many traditional and representational models, but “no cuts, no glue” does not always mean “one square only.”
Traditional single-sheet origami, pure single-sheet origami, and modular origami overlap in their rejection of cutting and adhesive, yet they use different construction rules.
| Practice | Sheet count | Cuts | Glue | Typical construction |
|---|---|---|---|---|
| Single-sheet pure origami | 1 | 0 | 0 | One square folded into one model |
| Modular origami | 2-1,000+ | 0 | 0 | Separate units interlock through pockets and flaps |
| Kirigami | 1 or more | 1+ | 0 or optional | Cutting combines with folding |
| Paper sculpture or papercraft | 1 or more | 0 or more | Often allowed | Folding, joining, scoring, and assembly |
A modular kusudama may contain dozens of units, each folded from a separate square. If glue is used to secure those units, the result may remain attractive paper art, but it no longer follows a strict adhesive-free modular rule.
How Does Folding Create Complex Origami Shapes?
Folding changes a two-dimensional sheet into a layered surface without changing its paper area. Creases control direction, layers provide thickness and strength, and carefully allocated flaps become the appendages or structural elements of the finished subject.
A crease pattern, or CP, records the crease network required to flatten a model. A CP is not always a complete set of beginner instructions, because it may omit fold order, layer orientation, and shaping details. Designers often convert a target form into a uniaxial base or another collapsible structure before refining the final figure.
What do creases, flaps, and layers do?
Creases are geometric instructions. A valley fold brings paper toward the viewer or downward in common diagram conventions, while a mountain fold reverses the direction. The exact symbol depends on the diagram system, so folders should read the legend before starting.
Flaps are purposeful paper regions that later become features. In an animal model, one flap can become a leg, another a horn, and a narrow tip an antenna. A single starting corner does not automatically equal one body part, because designers can divide, graft, sink, spread, or reshape regions through later folds.
Layer buildup creates a practical limit. A sheet that begins at 0.1 millimeter can reach several millimeters of compressed thickness after many overlapping folds. That is why a diagram can be geometrically valid yet physically unpleasant or impossible with thick printer paper.
Which mathematical rules govern flat folding?
Origami mathematics describes what crease arrangements can do, rather than replacing the craft’s artistic decisions. The seven Huzita-Hatori axioms model fold constructions such as placing one point on another or aligning two lines; they are commonly called origami axioms, not four general laws.
| Principle | What it describes | Practical limitation | Folding consequence |
|---|---|---|---|
| Huzita-Hatori axioms | Seven idealized fold constructions | Ideal geometry assumes precise, thin paper | Enables angle and point constructions |
| Kawasaki theorem | Alternating angles around a flat vertex total 180 degrees | Applies to suitable flat-foldable vertices | Tests local flat-foldability |
| Maekawa theorem | Mountain and valley counts differ by 2 | Applies to flat-foldable single vertices | Restricts crease assignment |
| Flat-foldability | Whether a crease pattern can collapse flat | Local validity does not guarantee global validity | Prevents impossible vertex arrangements |
For Kawasaki’s theorem, the alternating sum of angles around a flat-foldable vertex equals 180 degrees. A four-angle vertex with angles (A, B, C, D) therefore satisfies (A+C=B+D=180^\circ). The theorem is local; a pattern can pass a vertex test and still fail because distant creases collide.
Maekawa’s theorem states that the number of mountain folds and valley folds at a flat-foldable vertex differs by two. A four-crease vertex could therefore have three mountain creases and one valley crease, or the reverse. The rule does not mean every finished model contains a globally fixed mountain-to-valley ratio.
What Are the Main Types of Pure Origami?
Pure origami includes minimalist figures, realistic animals, geometric tessellations, modular constructions, and wet-folded sculptures. These styles share a folding-centered method, but they differ in sheet count, crease density, thickness management, realism, and finishing technique.
| Origami style | Typical sheet format | Typical time | Defining feature |
|---|---|---|---|
| Minimalist | 15 x 15 cm to 25 x 25 cm | 2-20 minutes | Few folds capture a recognizable silhouette |
| Realistic or super-complex | 30 x 30 cm to 100 x 100 cm | 2-12+ hours | Detailed anatomy, many layers, and narrow appendages |
| Tessellation | 20 x 20 cm to 60 x 60 cm | 30 minutes to 8 hours | Repeated pleats, twists, or geometric cells |
| Modular | Multiple 7.5 x 7.5 cm to 20 x 20 cm units | 30 minutes to several days | Units connect through friction and interlocking |
| Wet-folded sculpture | 20 x 20 cm to 50 x 50 cm | 30 minutes to 6 hours | Damp paper creates rounded, compressed forms |
What is wet-folding?
Wet-folding uses slightly damp paper to create rounded surfaces and softened transitions. Akira Yoshizawa developed and popularized wet-folding as a major artistic technique, particularly with thicker papers that can hold sculpted curves after drying.
Wet-folding does not require cuts or glue. Moisture changes the paper’s flexibility and allows creases to be shaped rather than pressed into uniformly sharp lines. Excess water weakens fibers, causes surface damage, and can make layers slide out of alignment, so dampness must be controlled rather than treated as a substitute for precision.
Does modular origami count as pure origami?
Modular origami can satisfy a no-cuts, no-glue rule when every unit is folded from uncut paper and the completed assembly holds through friction. Some artists use the broader term pure origami for adhesive-free modular work, while others reserve “pure origami” for one-sheet models.
The distinction matters when a contest, book, class, or museum label sets its own definition. Ask whether the rule allows multiple sheets, pre-cut squares, surface treatments, wire, paint, or shaping tools before judging compliance.
What Materials Work Best for No-Glue Origami?
Paper selection depends on model complexity, crease density, target size, and whether the model must hold a three-dimensional pose. Standard 15-centimeter kami suits cranes, boxes, flowers, and introductory animals, while thin specialty paper is more reliable for dense insect or dragon designs.
| Paper type | Typical thickness | Suitable model level | Typical price range |
|---|---|---|---|
| Standard kami | 60-75 gsm | Beginner and simple intermediate | $0.05-$0.30 per sheet |
| Kraft paper | 50-90 gsm | Bases, geometric forms, practice | $0.10-$0.80 per sheet |
| Tissue foil | 20-40 gsm composite | Dense intermediate and complex models | $1-$8 per sheet |
| Washi or mulberry | 30-100 gsm | Wet-folding and sculptural work | $2-$20 per sheet |
| Origamido | Often 30-100 gsm, handmade | Large, complex display models | $10-$40+ per sheet |
Prices vary sharply by country, size, handmade quality, and shipping. In Bangladesh, a basic kami pack may commonly cost about BDT 300-800, while specialty washi, tissue foil, or handmade sheets may range from BDT 1,000 to BDT 5,000 or more.
For super-complex designs, tissue foil combines thin tissue paper with a foil core, giving the sheet a useful balance of thinness, memory, and shaping resistance. Methyl cellulose can laminate tissue layers, but homemade tissue foil requires ventilation, a flat drying surface, and testing on scrap paper before a valuable sheet is used.
How large should the paper be?
A 15 x 15 centimeter square is sufficient for most beginner diagrams. A complex model often needs 30 x 30 centimeters, 50 x 50 centimeters, or larger because narrow flaps become difficult to manipulate as layers accumulate.
| Model category | Recommended starting size | Typical folding time | Main paper concern |
|---|---|---|---|
| Crane, boat, box | 15 x 15 cm | 2-10 minutes | Clean corner alignment |
| Intermediate animal | 20 x 20 cm to 30 x 30 cm | 20-60 minutes | Layer thickness |
| Tessellation | 30 x 30 cm to 50 x 50 cm | 45 minutes to 4 hours | Grid accuracy |
| Complex insect | 40 x 40 cm to 70 x 70 cm | 3-10 hours | Thinness and tear resistance |
| Large display dragon | 50 x 50 cm to 100 x 100 cm | 4-12+ hours | Paper memory and shaping |
A larger sheet does not automatically make a difficult model easier. Large handmade paper can stretch unevenly, and oversized sheets amplify small angle errors. The best practice is to fold a reduced test copy first, then scale up after the sequence is understood.
How Is a Complex Origami Model Designed?
Complex origami design usually moves from a subject study to a structural plan, a crease pattern, a test fold, and repeated refinement. TreeMaker and related design tools help map branches and flaps, but software cannot decide whether a model will be aesthetically convincing or physically foldable in a particular paper.
A practical design sequence is:
- Analyze the subject. Count the limbs, wings, horns, claws, tail divisions, and major body masses.
- Build a uniaxial base plan. Allocate paper regions to the required flaps.
- Choose a design system. Box pleating, 22.5-degree geometry, circle packing, or freeform crease planning may suit different subjects.
- Create and test the CP. Check local flat-foldability, layer collisions, and paper allocation.
- Pre-crease the sheet. Transfer major reference lines with measured accuracy.
- Collapse the base. Bring compatible mountain and valley creases together gradually.
- Shape the model. Refine layers, curves, sinks, points, and anatomical details.
- Document the result. Record paper type, dimensions, fold sequence, and corrections.
The expert-level bottleneck is usually paper thickness, not the number of diagrams. A mathematically elegant base can fail when five layers must pass through a narrow hinge. Designers therefore budget thickness and movement, not only area.
How Long Does Origami Take and What Does It Cost?
Simple origami commonly takes 2-10 minutes, intermediate models take 20-60 minutes, and super-complex designs can require 4-12 hours or several sessions. The largest cost variables are specialty paper, model size, failed test folds, and whether the folder uses handmade or imported materials.
| Skill level | Model examples | Time per model | Typical paper cost |
|---|---|---|---|
| Beginner | Crane, cup, jumping frog | 2-15 minutes | $0.05-$0.30 |
| Intermediate | Lily, elephant, storage box | 20-90 minutes | $0.20-$2 |
| Advanced | Tessellation, articulated animal | 1-6 hours | $1-$10 |
| Super-complex | Ancient Dragon, realistic insect | 4-12+ hours | $5-$40+ |
Tools are optional for strict origami, but a ruler, pencil, cutting mat, bone folder, or tweezers can support preparation and shaping. A cutting tool should not touch the final sheet if the project must remain compliant with a no-cuts rule.
Pure Origami Versus Kirigami and Papercraft
Pure origami is the best choice when the maker wants a folded structure from uncut paper and friction-based or inherent stability. Kirigami is better when openings, snowflake patterns, pop-up architecture, or sharply separated projections require material removal.
| Criterion | Pure origami | Kirigami | Glued papercraft | Modular origami |
|---|---|---|---|---|
| Cutting allowed | No | Yes | Usually yes | No |
| Adhesive allowed | No | Optional | Usually yes | No in strict form |
| Sheet count | Usually 1 | 1 or more | 1 or more | 2 or more |
| Best structural method | Fold geometry | Cut and fold | Tabs and joins | Interlocking units |
| Typical difficulty | Moderate to extreme | Beginner to advanced | Beginner to advanced | Moderate to extreme |
| Repair method | Unfold and refold | Recut or replace | Reglue or replace | Reassemble units |
A glued model is not automatically inferior. Glue can produce clean architectural prototypes, educational models, and durable displays that pure origami cannot make efficiently. The classification changes because the construction method changes.
What Commonly Goes Wrong?
The most common failures are inaccurate early creases, unsuitable paper, uncontrolled layer thickness, and forcing a collapse before understanding the crease directions. A one-millimeter error near an early reference point can become several millimeters at a later tip, especially in a dense grid.
| Failure mode | Visible symptom | Likely cause | Recovery |
|---|---|---|---|
| Misaligned corners | Unequal flaps or crooked centerline | Rushed first folds | Unfold to the last reliable crease and realign |
| Thick layers | Paper will not close | Paper too heavy or folds compressed poorly | Use thinner paper or simplify the model |
| Torn hinge | Split edge or white stress mark | Sharp reverse fold under high tension | Back off, soften the fold, and reinforce only if rules allow |
| Wrong mountain-valley direction | Collapse twists or buckles | Diagram orientation misunderstood | Recheck symbols and re-pinch creases |
| Forced collapse | Crumpled base | Multiple creases not prepared | Open fully and collapse in small sections |
| Weak finished points | Tips open or curl | Insufficient shaping or paper memory | Use lighter paper and set the final angle carefully |
Should you use printer paper?
Printer paper works for practice, large simple bases, and teaching demonstrations, but ordinary 75-90 gsm printer paper often becomes bulky in complex models. Its grain, coating, and poor fold memory can produce cracked edges after repeated reversal folds.
A practical rule is to test the first 20-30 steps on inexpensive paper, then repeat the design with the intended specialty sheet. The test copy reveals whether the sequence is understandable; it does not prove that the final paper has enough strength or thinness.
How do you fix a failed collapse?
Stop forcing the paper as soon as resistance becomes uneven. Open the model back to the last stable stage, identify whether each crease is mountain or valley, and reinforce only the lines needed for the next movement.
Successful collapses usually feel coordinated rather than crushed. If one corner folds while another corner rises unexpectedly, the problem is normally a missing pre-crease, an inverted crease direction, or a hidden layer caught outside its intended pocket.
Which Origami Path Fits Your Skill Level?
Beginners should start with 15-centimeter kami and models containing fewer than 30 major steps, such as the crane, masu box, traditional boat, or lily. The first learning goal is not realism; it is accurate valley folds, mountain folds, inside-reverse folds, outside-reverse folds, and sinks.
Intermediate folders can move to 20-30-centimeter kraft, kami, or tissue foil and study designers such as John Montroll, Robert J. Lang, Jun Maekawa, or Tomoko Fuse. Box pleating, 22.5-degree geometry, tessellations, and multi-flap bases provide a controlled bridge toward complex animals.
Advanced folders may need 40-100-centimeter tissue foil, handmade paper, or Origamido, along with tweezers and long shaping sessions. Satoshi Kamiya, Kyohei Katsuta, and Shuki Kato represent the super-complex end of the field, where paper preparation and collapse planning matter as much as diagram reading.
The no-glue rule is not ideal for every goal. If the aim is a durable school display, a pop-up card, or an architectural prototype with permanent joints, kirigami or glued papercraft may deliver a stronger result with less wasted paper.
Frequently Asked Questions
Can origami use tape or a tiny amount of glue?
Strict pure origami cannot use tape or glue because adhesive adds a joining method beyond folding. Some classroom, decorative, and modular projects permit a small amount of glue for stability, but those projects should be labeled modified origami or glued paper craft when the distinction matters.
Are paint and markers allowed in pure origami?
Surface coloring is often accepted because paint or ink changes appearance without cutting or joining the sheet. Contest rules vary, however, and some definitions restrict coating, painting, wire, varnish, or other post-fold additions. Check the specific event or publication rule before preparing a competition model.
Is tearing paper the same as cutting it?
Yes, tearing removes material and therefore violates a strict no-cuts rule. A torn edge may be acceptable in a separate paper craft, but pure origami begins with and retains the original sheet boundary.
Why does a crane follow the rule if its wings look separate?
The crane’s wings are folded regions of one continuous square, not attached pieces. Layers overlap and create visual separation, but the paper remains connected throughout the model.
Can you fold origami from a rectangle?
Yes, rectangular paper can produce many models, including boxes, envelopes, bookmarks, and some animals. The square is common because equal dimensions simplify symmetry, diagonal references, and traditional bases; a rectangle does not automatically violate origami principles.
What is the hardest origami model?
Difficulty depends on paper, diagram quality, scale, and the folder’s experience. Satoshi Kamiya’s Ancient Dragon is widely treated as a demanding model because it combines many steps, dense layers, narrow appendages, and extended shaping, but no single objective ranking covers every design.
The Bottom Line
Origami rules: no cuts no glue explained in practical terms means folding must transform the sheet without removing material, adding adhesive, or attaching separate components. One uncut square is the common pure-origami format, while modular origami may use many uncut squares that interlock without glue.
The rule creates meaningful design constraints. Geometry allocates every flap, crease patterns coordinate the collapse, and paper thickness determines whether the planned structure can physically close. Start with accurate 15-centimeter kami, move to thin specialty paper as complexity rises, and choose kirigami or glued papercraft when the project’s purpose requires cuts or permanent joints.
