
")
Ever wonder how to make an Origami Samurai Hat that actually looks cool and holds its shape?
You’re in the right place. This guide breaks it down in a way even your younger sibling can follow.
And the best part? You only need one square sheet of paper and a few folds to bring it to life.
What We’re Making: The Origami Samurai Hat
This isn’t just any paper hat. The Origami Samurai Hat—also known as Kabuto in Japanese culture—symbolizes strength, bravery, and honor. It’s traditionally folded to celebrate Children’s Day in Japan, and it’s one of the most classic and recognizable origami models out there.
What I love about this project? It’s the perfect mix of impressive design and simple technique. Whether you’re just getting into paper folding or you’ve been at it for years, this one’s fun and satisfying to make.
Materials Needed
Let’s keep this simple. You don’t need any fancy tools—just the right kind of paper and a flat surface.
| Material | Details | Why It’s Important |
|---|---|---|
| Origami Paper | 15cm x 15cm square sheet | The standard size ensures a perfect proportion. |
| Flat Surface | Desk or table | Helps with sharp, even folds. |
| Clean Hands | No ink, lotion, or moisture | Keeps your paper crisp and neat. |
| Optional: Bone Folder | For sharper creases | Makes your final shape look cleaner and more professional. |
Key Terms to Know
Origami
The traditional Japanese art of paper folding.
Kabuto
A Japanese warrior helmet—what your hat will resemble!
Crease
A sharply folded line that helps define the structure of your origami.
Valley Fold
Folding the paper toward you.
Mountain Fold
Folding the paper away from you.
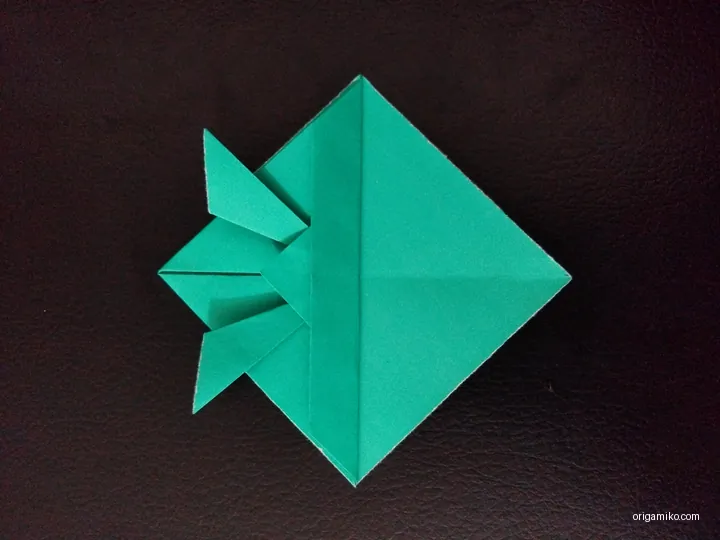
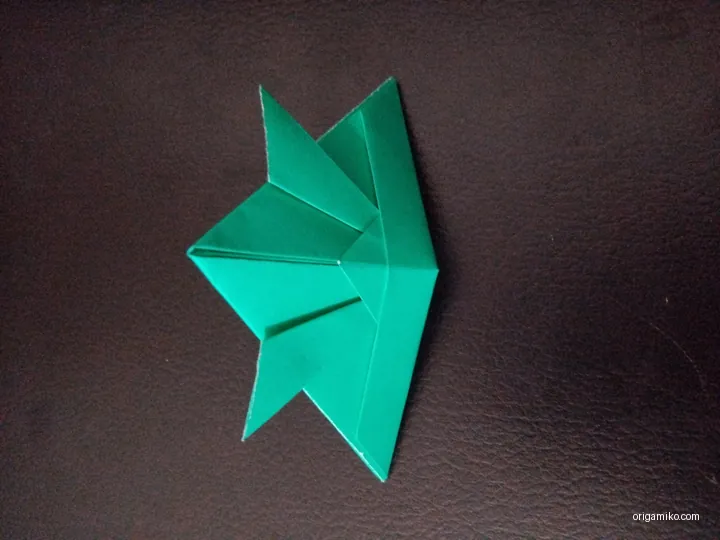
Simple Samurai Hat Step by Step
Let’s jump in. Follow these easy steps to fold your easy Origami Samurai Hat like a pro:
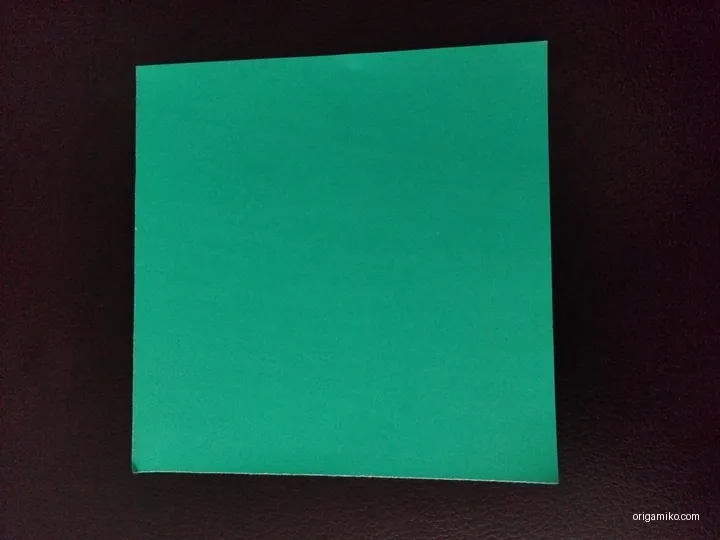
- Step 1: Take a square piece of paper.
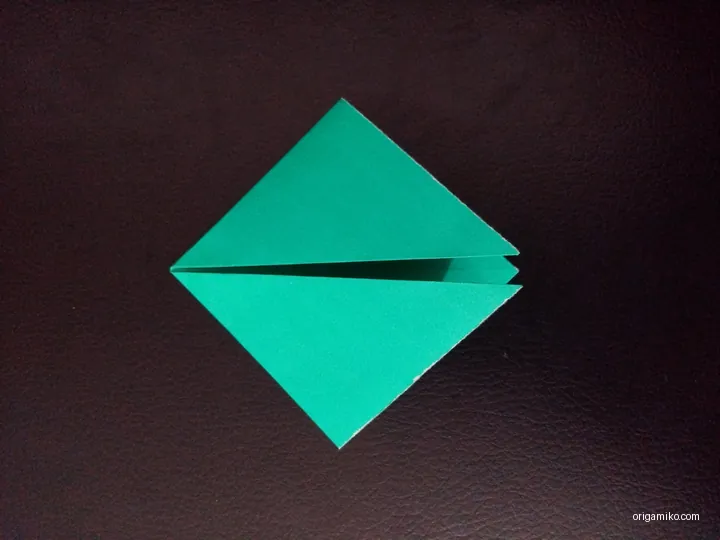
I used a 15cm x 15cm sheet. You can scale up if you want a bigger hat for display. - Step 2: Fold the paper in a crisscross pattern.
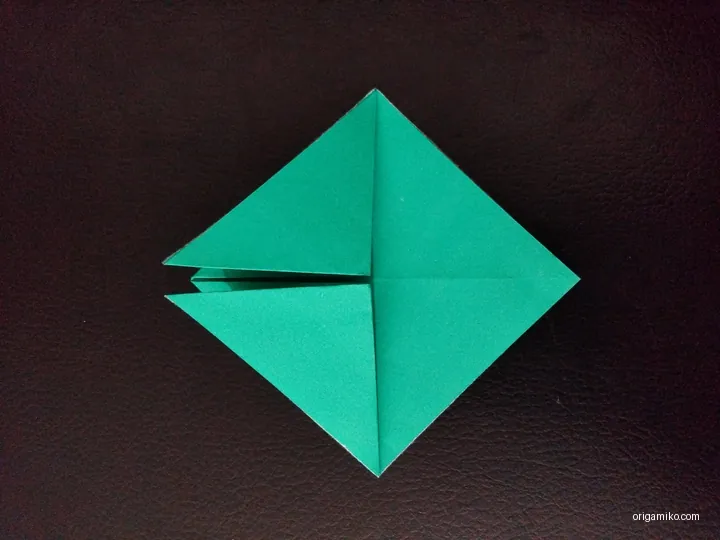
First fold it diagonally from corner to corner. Then do the same with the opposite corners. This should form an “X” crease pattern on your paper. - Step 3: Fold both sides into the center.
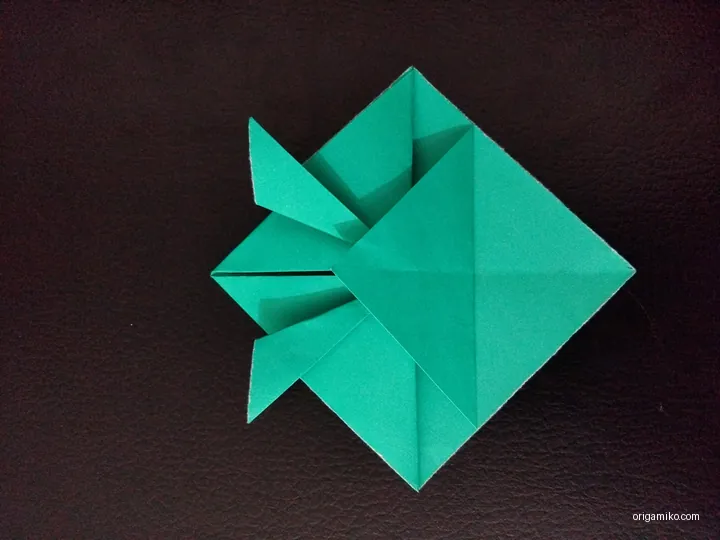
Now, fold the left and right edges into the center crease. After that, fold both edges again toward the middle like you’re narrowing the shape. - Step 4: Shape the front and lock the back.
Fold the bottom flap (front side) upward. Now flip the paper and tuck the bottom corner of the back side into the hat to secure it. - Step 5: Done! You’ve made a Samurai Hat.
Give yourself a high five. Seriously. You just folded a bold symbol of tradition and honor.


Tips for Success
Want to make your Origami Samurai Hat stand out? Here are some personal tips:
- Use contrasting paper.
Dual-colored sheets make the folds pop and give your hat dimension. - Sharpen every crease.
A firm press after each fold makes the final shape look clean and sturdy. - Work slowly.
Especially if this is your first try. Rushed folds = wonky hats. - Practice with scrap paper.
Don’t waste your good origami sheets until you’ve got the steps down.
Common Mistakes and How to Avoid Them
Let me save you some headaches:
- Mistake: Using rectangular paper
Fix: Make sure your paper is perfectly square. A ruler helps. - Mistake: Folds don’t align
Fix: Take your time aligning corners and edges before creasing. - Mistake: Paper tears during folding
Fix: Don’t force the folds. If it’s tight, unfold and try again gently. - Mistake: Back corner doesn’t tuck in
Fix: Make sure you left enough space when folding up the front flap so the back can slide in easily.
Similar Variations You Can Try
Once you nail this one, try branching out. These projects are like cousins to the Samurai Hat:
- Origami Pirate Hat
More rectangular and great for kids’ parties. - Kabuto with Horns
A fancier version often used in decorative origami. - Mini Samurai Hats
Perfect for bookmarks or action figures! - Paper Boat Hat
Another fun, beginner-friendly design—great for storytelling time.
FAQs
Q: Can I use printer paper?
Yes, but make sure it’s cut into a perfect square. Origami paper is thinner and folds better, though.
Q: How long does it take to make?
About 5 minutes—faster once you’ve practiced.
Q: Is this suitable for kids?
Absolutely! Just guide them through the tucking step at the end.
Q: What is the meaning behind the Origami Samurai Hat?
It represents strength, protection, and tradition—often made during Children’s Day (Kodomo no Hi) in Japan.
Final Thoughts
Folding an easy Origami Samurai Hat is like stepping into a tradition that’s hundreds of years old—but with a modern, fun twist.
If you’re anything like me, once you’ve folded one, you’ll want to make ten more. Try different colors, sizes, and styles to make each one unique. And remember, origami isn’t about perfection—it’s about the joy of creation.
Got questions or want me to help with another fold? Let me know—I’d love to hear from you.