
")
Folding paper into beautiful shapes feels almost magical. The Origami star box is one of those simple yet enchanting projects that anyone can enjoy. Whether you’re a beginner or an experienced folder, this guide will walk you through it step by step.
By the end, you’ll have a stunning paper star box perfect for storing small items or as a gift. Ready to dive in? Let’s begin!
What Is an Origami Star Box?
An Origami star box is a delightful paper craft that combines artistry with functionality. This small, decorative box is shaped like a star, making it ideal for holding tiny trinkets, jewelry, or even candy.
The best part? You only need a square piece of paper and a little patience! Whether you want to create a festive decoration or a unique handmade gift, this easy Origami star box is a fantastic choice.
Definition List
- Origami – The Japanese art of paper folding to create intricate shapes.
- Star Box – A folded paper container shaped like a star, often used for decoration or storage.
Materials Needed
Before we start, gather everything you’ll need. Below is a detailed table with material specifications.
| Material | Specification | Purpose |
|---|---|---|
| Square Paper | 9″ × 9″ (any color or pattern) | Main material |
| Flat Surface | Smooth, clean workspace | Helps with precise folds |
| Bone Folder | Optional, for sharper creases | Ensures crisp folds |
| Extra Paper | Small scrap pieces | Reinforces the structure |
Step-by-Step Instructions
Now, let’s dive into the star box instructions and create a stunning Origami piece!
1. Prepare Your Paper
- Start with a 9-inch by 9-inch square sheet of paper.
- If using patterned paper, place the design side facing down.
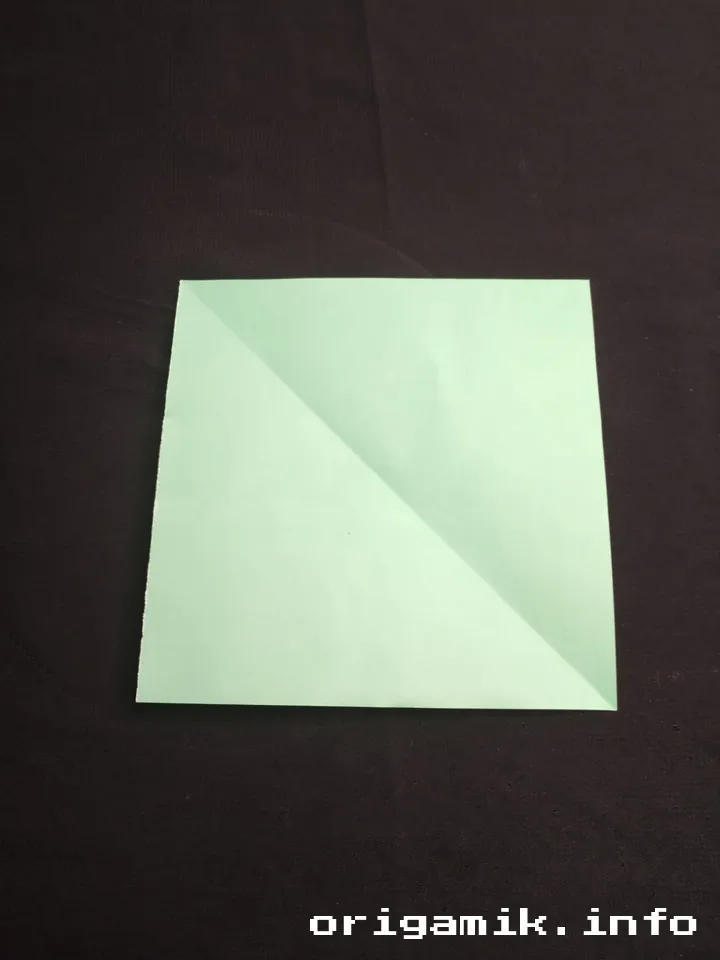
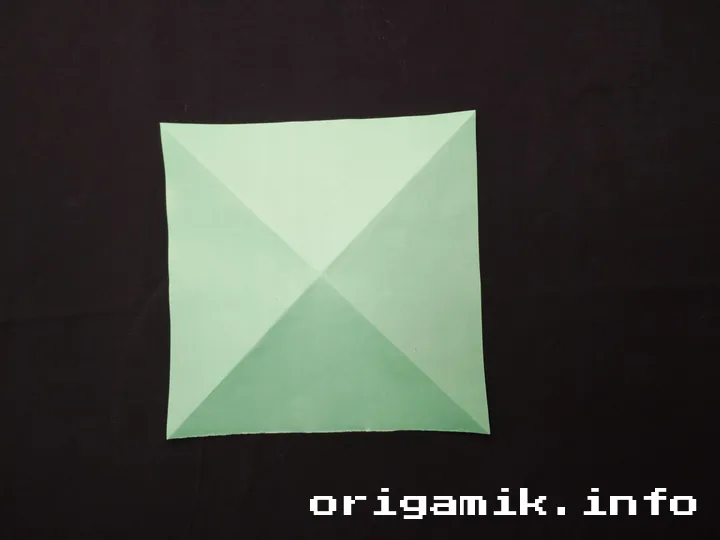
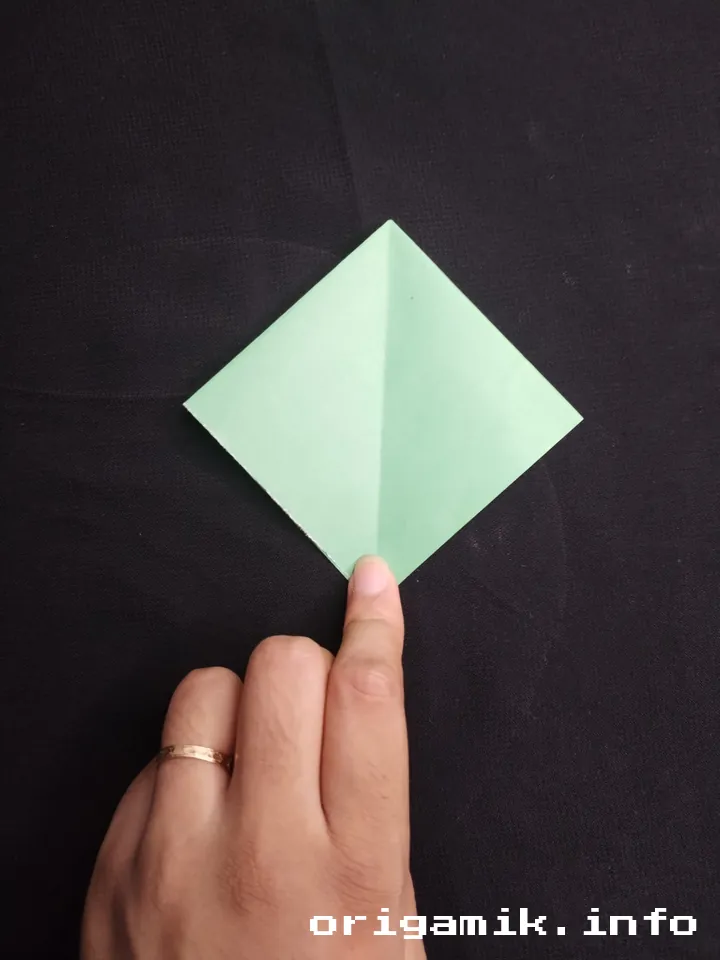
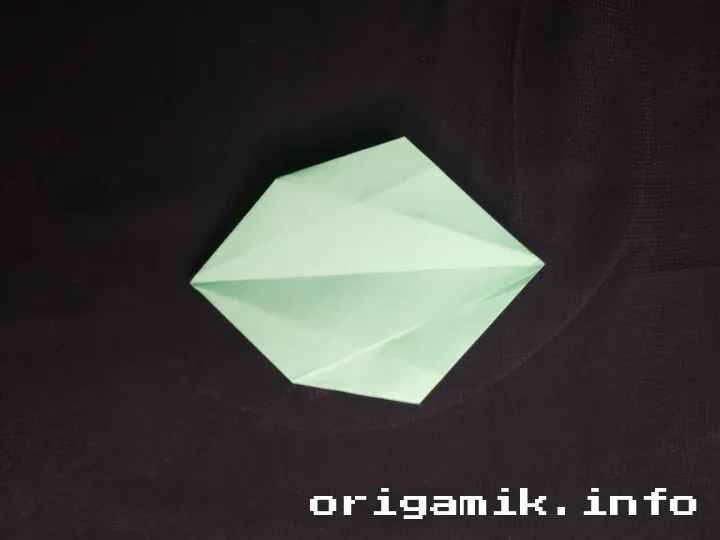
2. Fold and Unfold the Corners
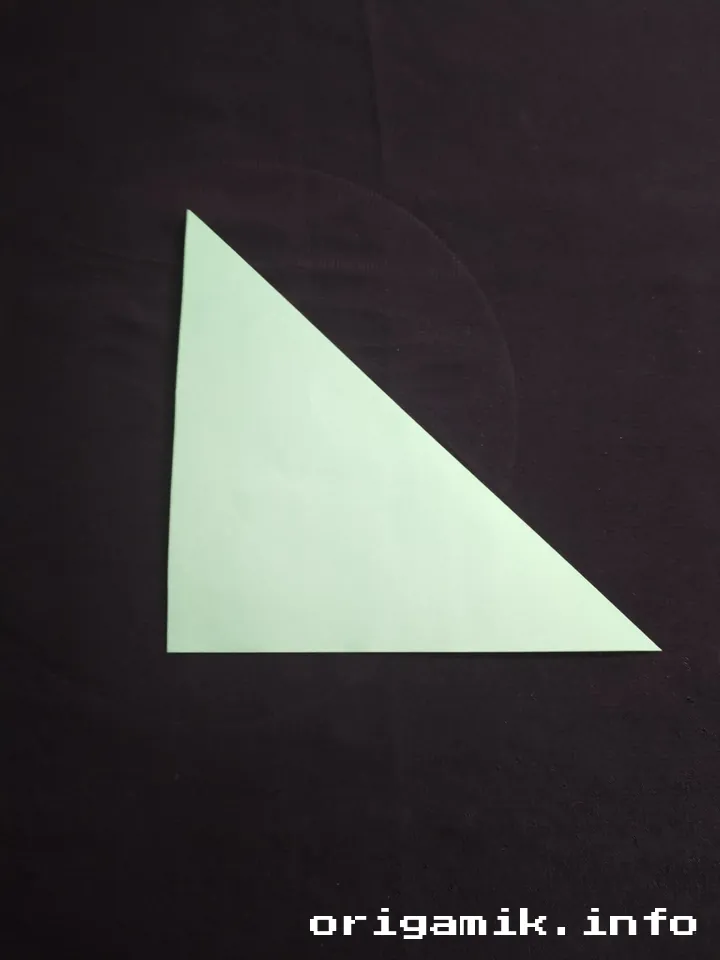
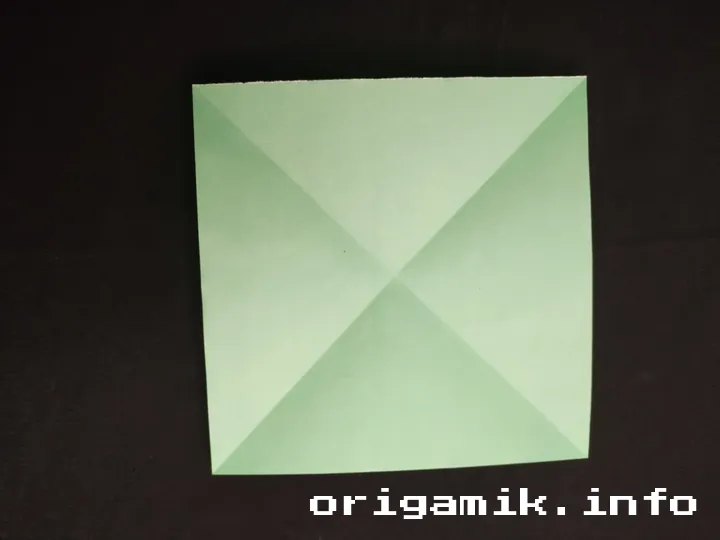
- Fold the paper diagonally from corner to corner, creating an “X” crease.
- Unfold it completely.
3. Fold and Unfold Horizontally and Vertically
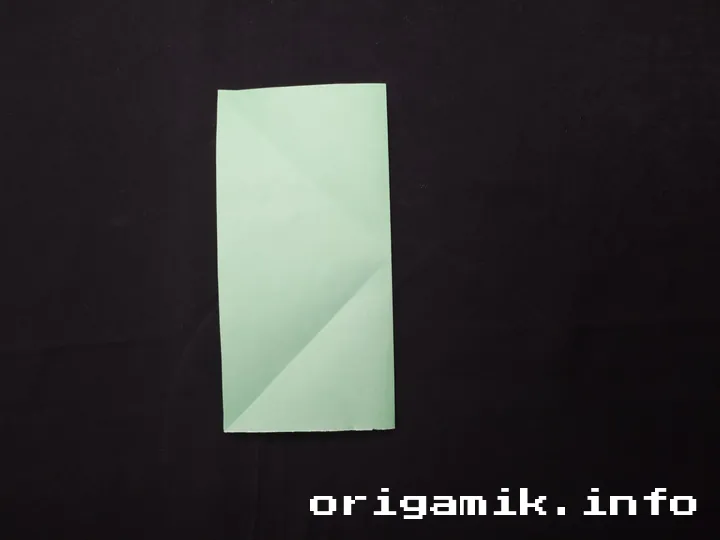
- Turn the paper upside down.
- Fold it horizontally in half, then unfold.
- Fold it vertically in half, then unfold.
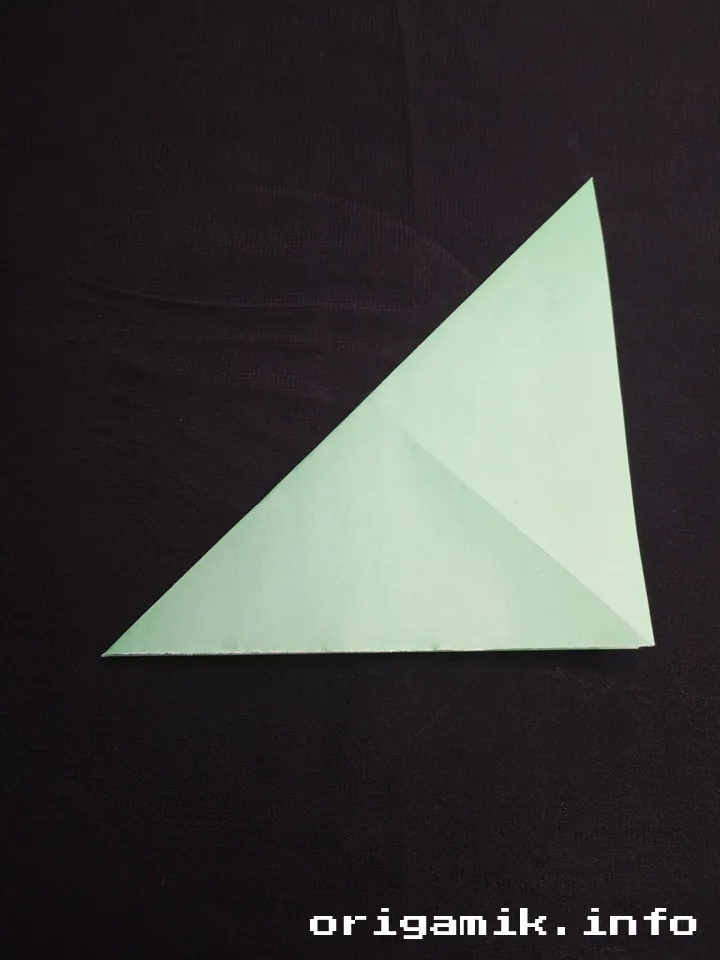
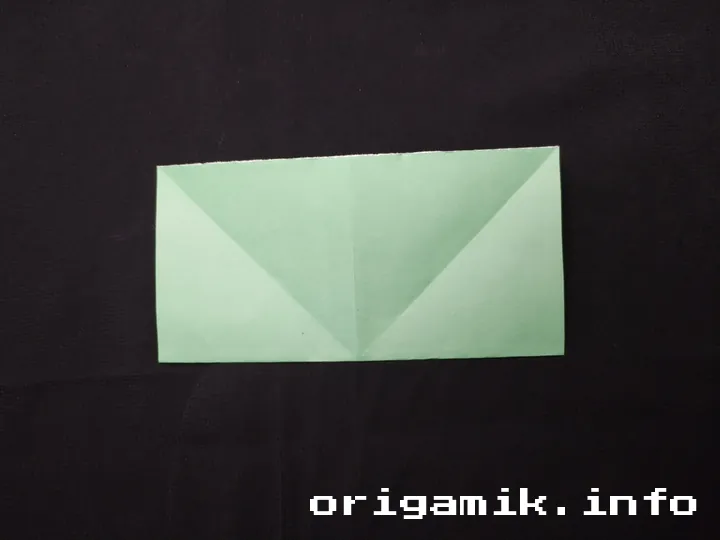
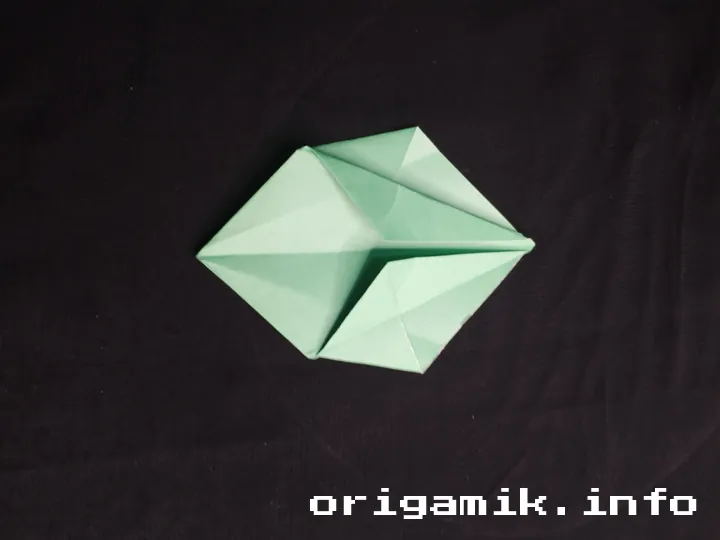
4. Create the Base Folds
- Fold along the existing creases as shown in the diagram (or video reference if available).
- This will form a base structure needed for the star shape.
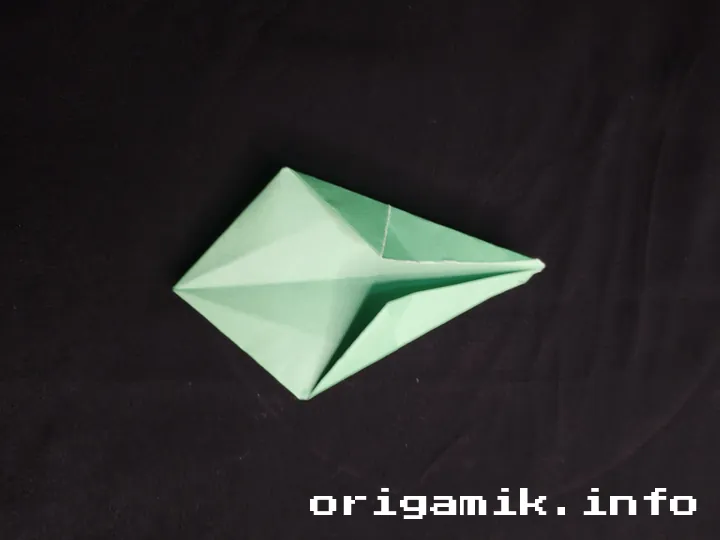
5. Fold Both Sides to the Middle Line
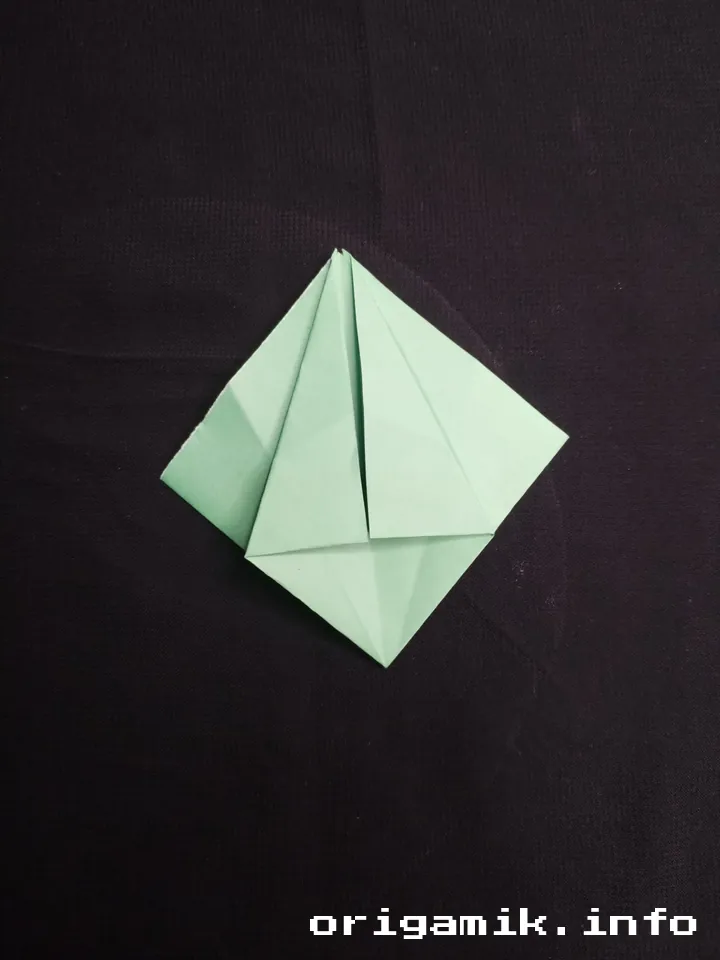
- Bring the left and right edges toward the centerline.
- Press down to make sharp creases.
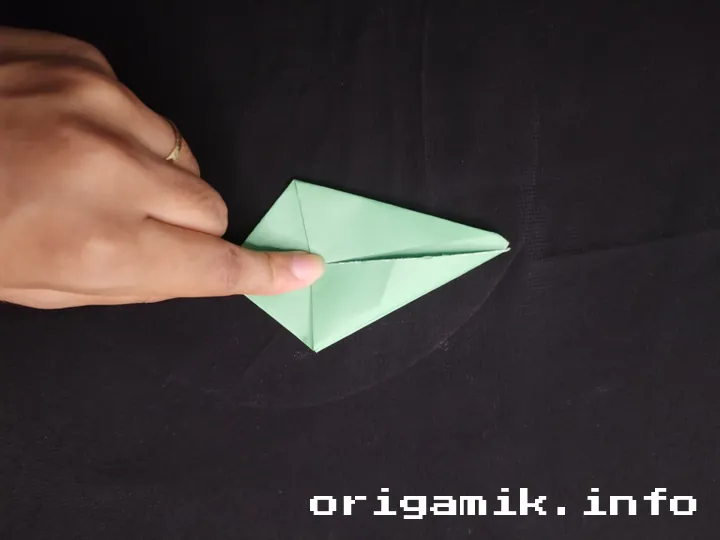
6. Open the Sides
- Unfold the last step so the sides open up slightly.
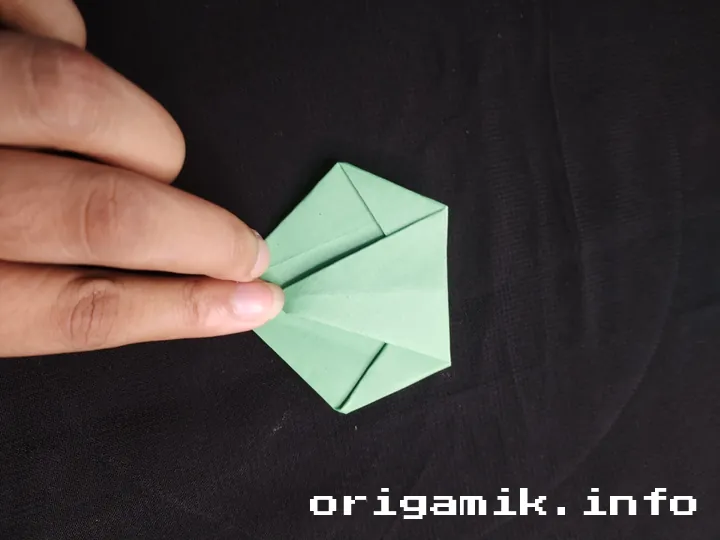
7. Insert Extra Paper for Support
- Take a small extra piece of paper and tuck it inside the folds to reinforce the structure.
- This helps the star box hold its shape better.
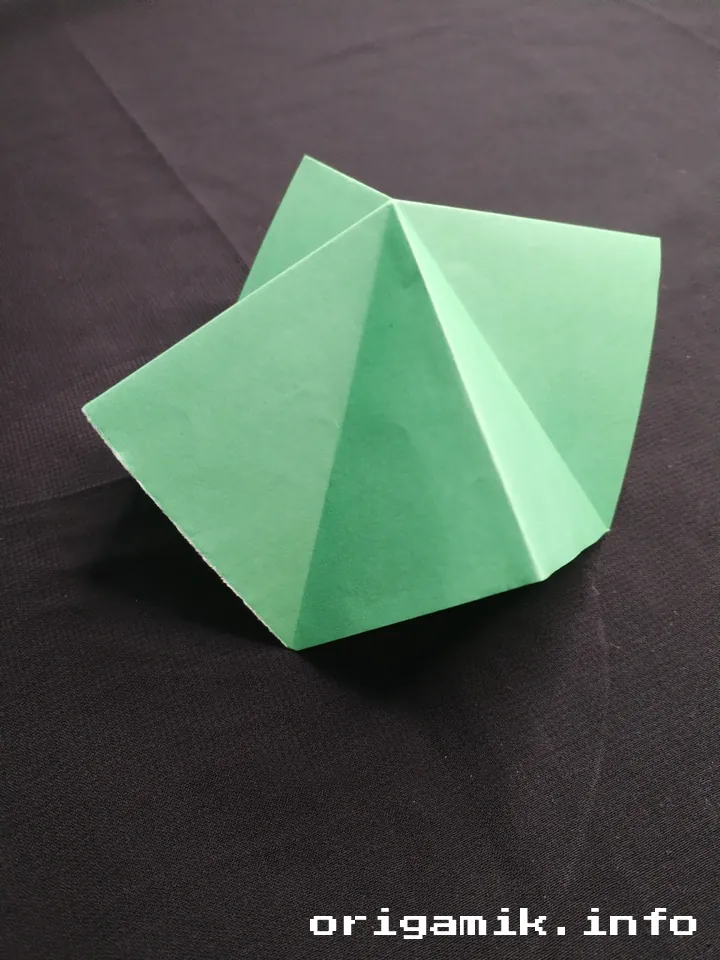
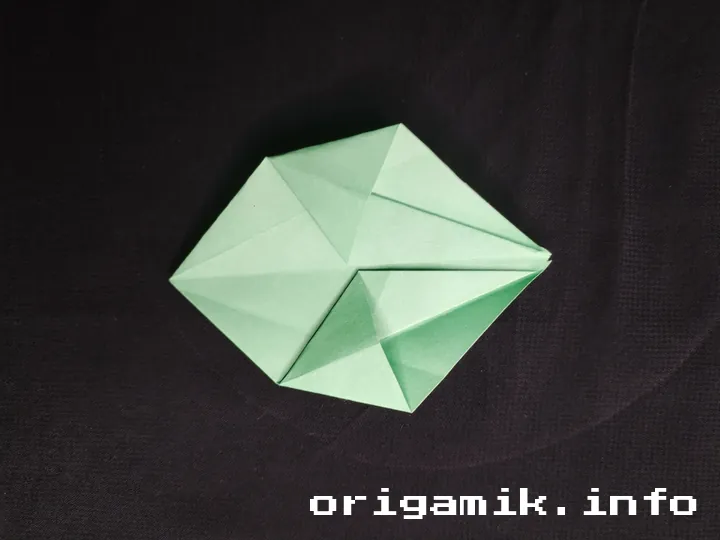
8. Shape the Star Box

- Fold around the structure as shown in the diagram.
- The creases will naturally guide the paper into a star shape.
9. Your Origami Star Box Is Ready!
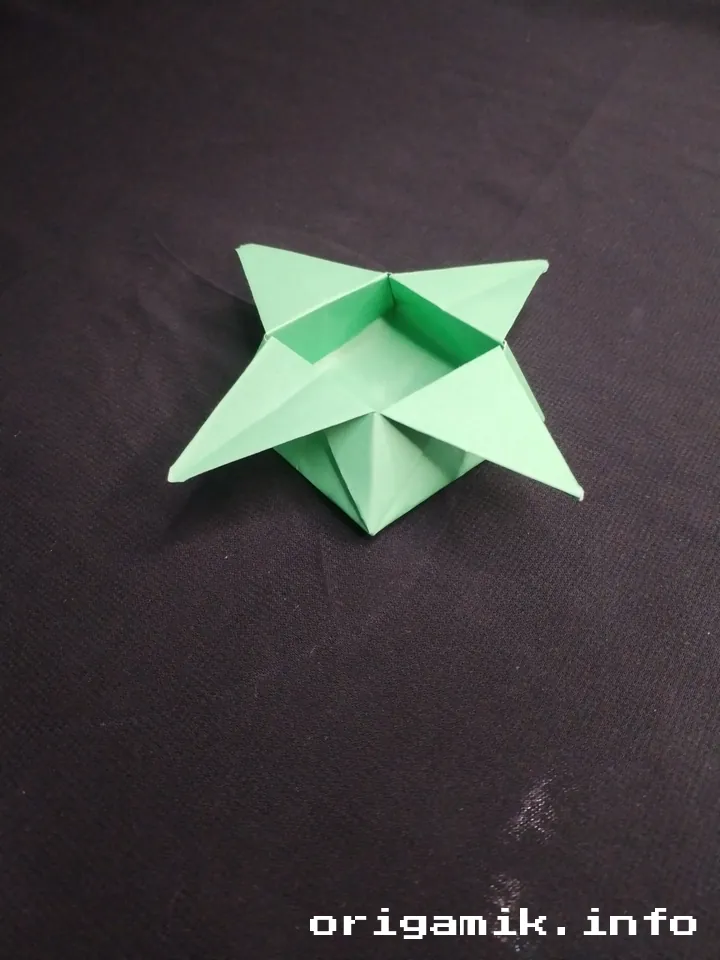
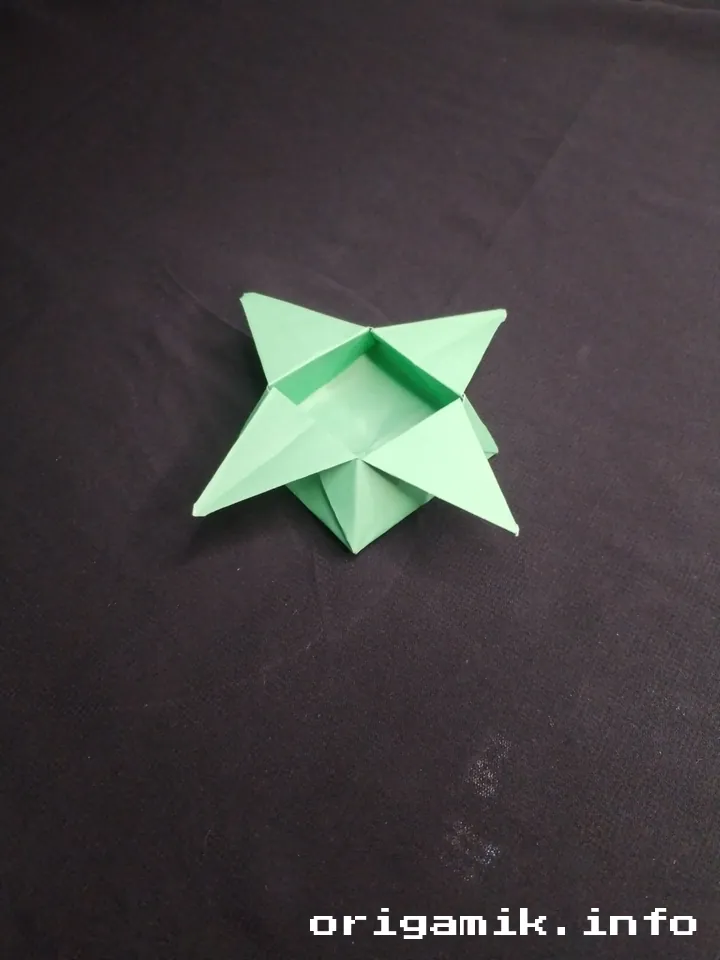
- Gently press the folds and adjust the corners if needed.
- You now have a simple star box step by step completed!
Tips for Success
Want to make your Origami star box look even better? Keep these expert tips in mind:
- Use crisp, thin paper – Thicker paper makes folding harder.
- Take your time – Rushing leads to messy folds.
- Use a bone folder – Helps achieve sharp creases.
- Experiment with colors – Bright or patterned paper enhances the design.
Common Mistakes & How to Avoid Them
Even experienced folders make mistakes! Here’s what to watch out for:
| Mistake | How to Fix It |
| Uneven folds | Align edges carefully before creasing. |
| Paper tearing | Use lighter pressure or stronger paper. |
| Box not holding shape | Reinforce with an extra paper insert. |
| Star points uneven | Ensure folds are symmetrical. |
Variations of the Origami Star Box
Want to try something different? Here are some fun variations:
- Mini Star Box – Use a 5” × 5” paper for a tiny version.
- Giant Star Box – Try a 12” × 12” sheet for a larger box.
- Decorated Star Box – Add stickers or hand-drawn designs.
- Two-Tone Star Box – Use double-sided colored paper for contrast.
FAQs
How long does it take to make an Origami star box?
For beginners, it might take 10-15 minutes. With practice, you can fold one in under 5 minutes.
Can I use printer paper?
Yes, but origami paper is recommended for smoother folds.
How can I use my Origami star box?
Use it for storing jewelry, small gifts, or desk decorations!
Conclusion
Making an easy Origami star box is a fun and rewarding craft that combines creativity with functionality. By following this simple star box step-by-step guide, you’ll master the folds and create stunning paper art in no time.
Now that you know how to make a star box, why not fold a few more and experiment with different colors and sizes? Happy folding!