

Ever wondered how to create something truly unique with just a piece of paper?
I’ve discovered the perfect project that combines simplicity with style.
Join me as we explore how to make an origami suitcase that’s both adorable and surprisingly functional.
What is an Origami Suitcase?
When I first encountered the origami suitcase, I was immediately charmed by its playful design and practical shape. It’s essentially a miniature version of a travel suitcase, complete with a handle and compartment for storing tiny treasures. What makes this project so special is that it’s achievable for beginners while still satisfying for experienced folders.
The origami suitcase isn’t just a fun craft—it serves as a delightful decoration, a unique gift box, or even a creative business card holder. I’ve made dozens of these over the years, and they never fail to bring a smile to people’s faces when they receive one.
Materials Needed
Before we dive into the folding process, let’s gather everything we’ll need. The beauty of origami is its simplicity in materials, but having the right items on hand makes all the difference in your final result.
| Item | Recommended Specification | Why It Matters |
|---|---|---|
| Square Paper | 15″ × 15″ (standard size) | Ensures proper proportions in the final design |
| Decorative Paper (optional) | Various colors/patterns | For wrapping or embellishing the suitcase |
| Ruler | 12″ minimum length | Helps create precise folds |
| Bone Folder (optional) | Any size | Creates sharper creases |
| Pencil | Mechanical preferred | For marking fold lines if needed |
| Scissors | Small and sharp | For any trimming needed |
| Glue Stick | Acid-free | For attaching decorative elements |
| Small Clips | Binder clips work well | Holds parts in place while drying |
My personal recommendation? I love using origami paper with different patterns on each side. This creates a beautiful contrast between the inside and outside of your suitcase.
Step-by-Step Origami Suitcase Instructions
Now for the fun part! Let’s break down the simple suitcase step by step process. I’ll walk you through exactly how to make this suitcase origami, keeping it simple and clear.
Step 1: Take a Square Shape Paper
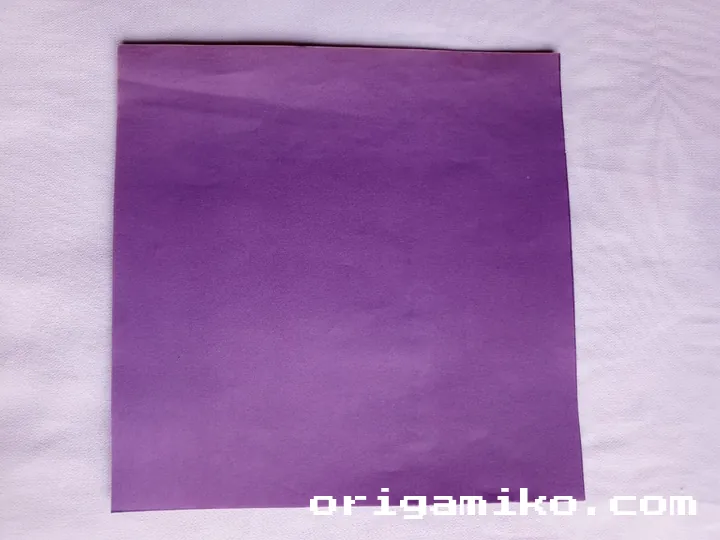
Start with your 15″ × 15″ square paper. If you’re using patterned paper, decide which side you want visible on the outside of your finished suitcase. Place the paper flat on your work surface, ensuring you have plenty of room to maneuver.
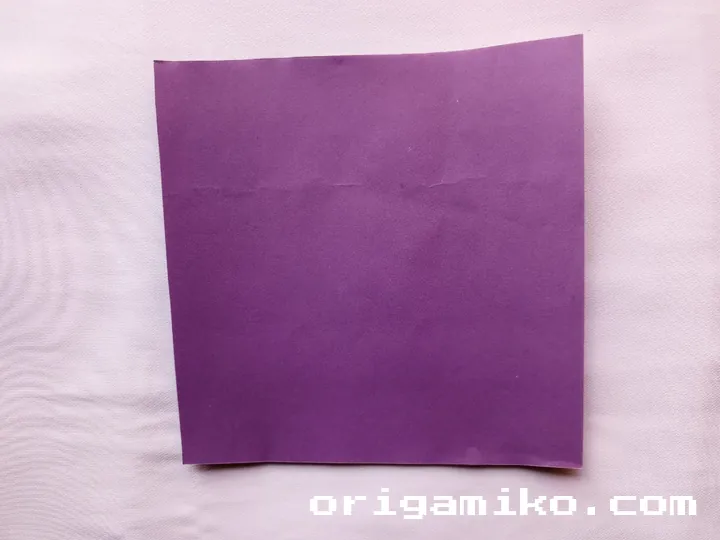
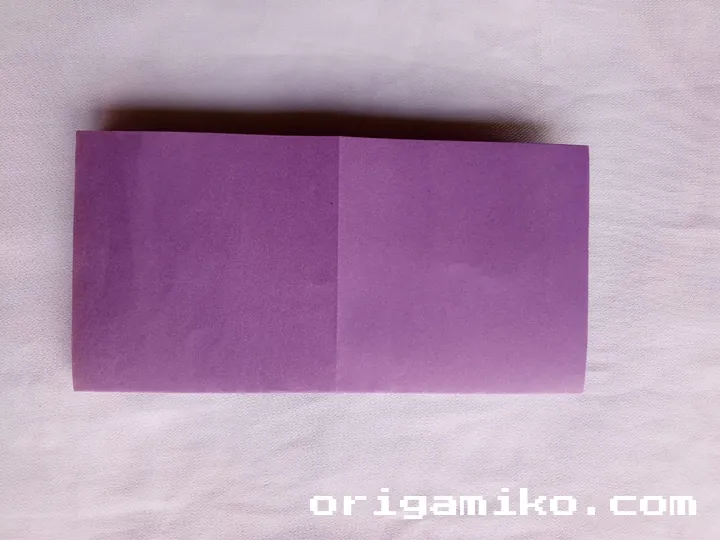
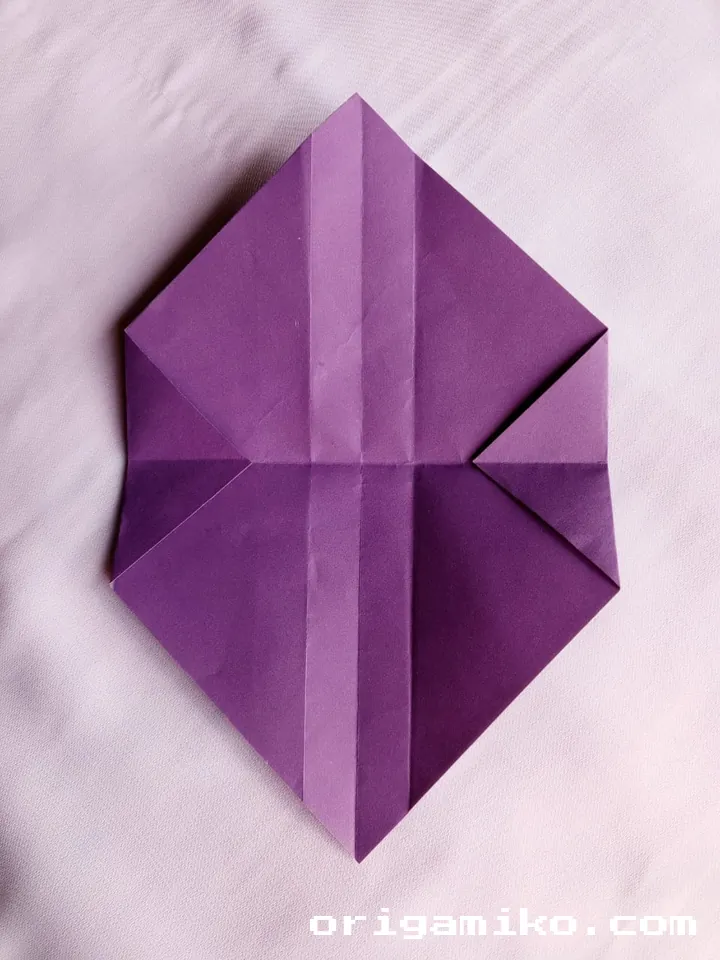
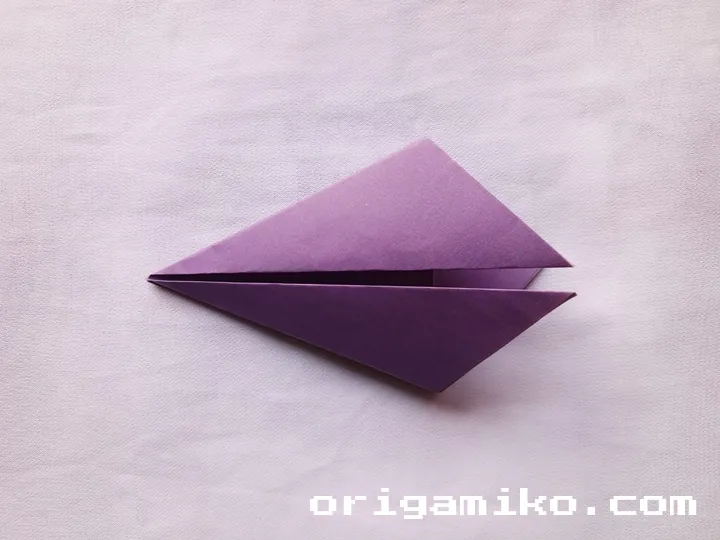
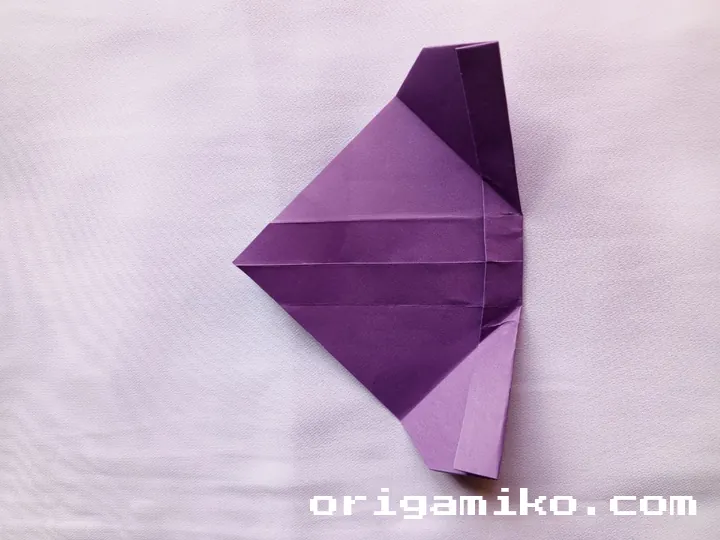
Step 2: Fold and Unfold the Corners. Make Two Folds from Bottom to Top and Unfold
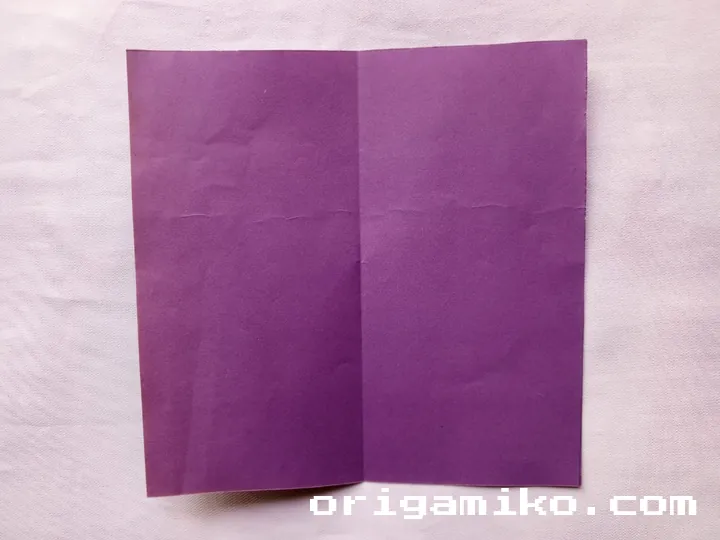

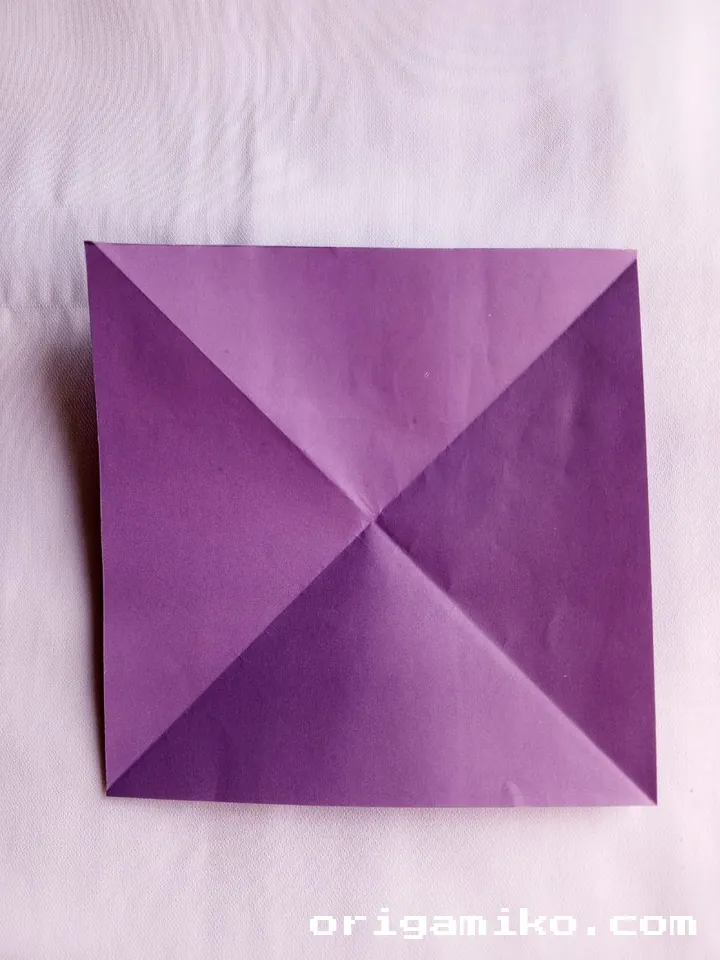

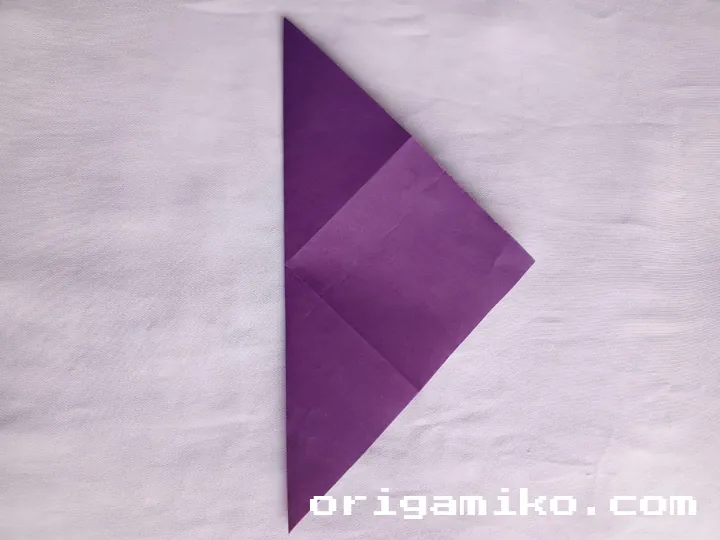
First, fold each corner of your square to the opposite corner, creating diagonal creases. Then unfold completely.
Next, make two evenly spaced horizontal folds from the bottom edge to the top edge of your paper, essentially dividing the paper into three equal sections. Crease well, then unfold. These reference lines will guide your later folds.
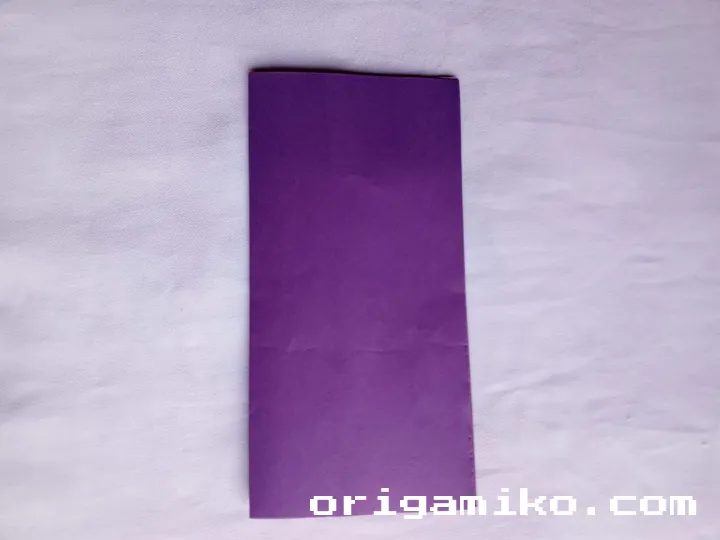
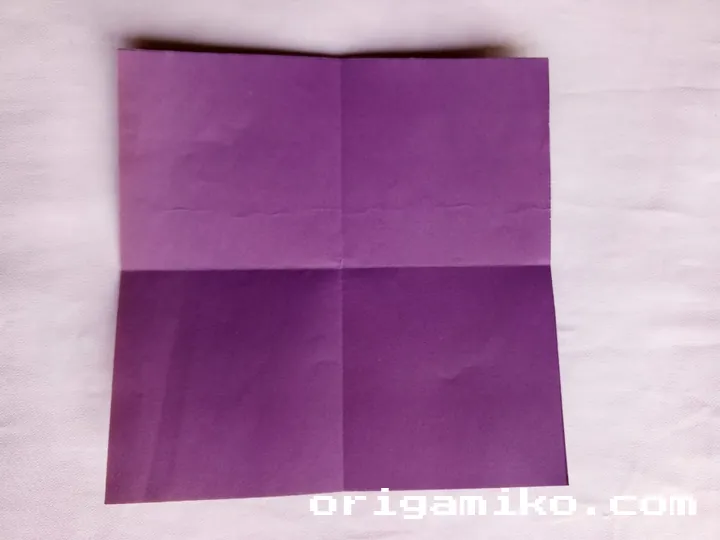
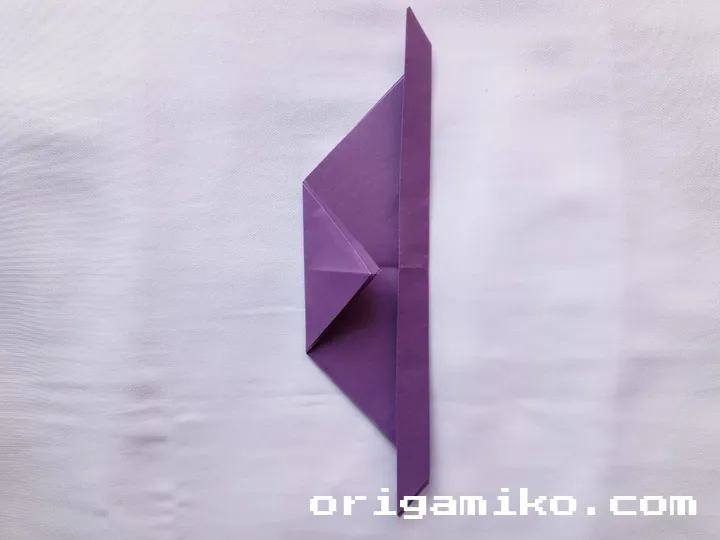
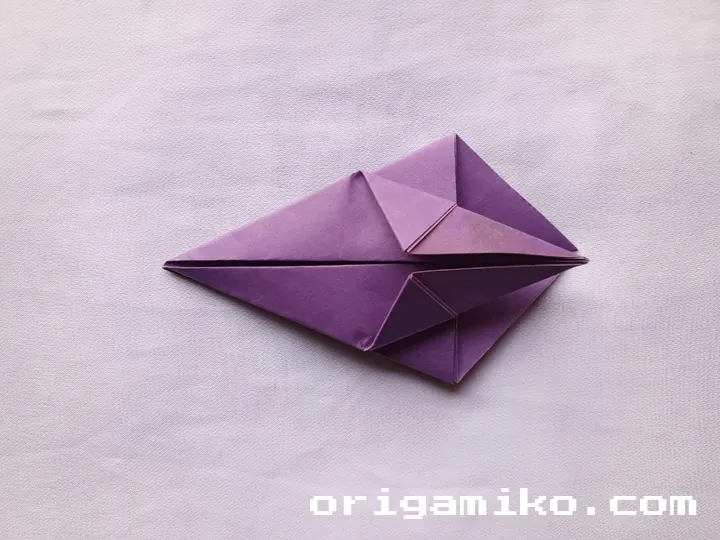
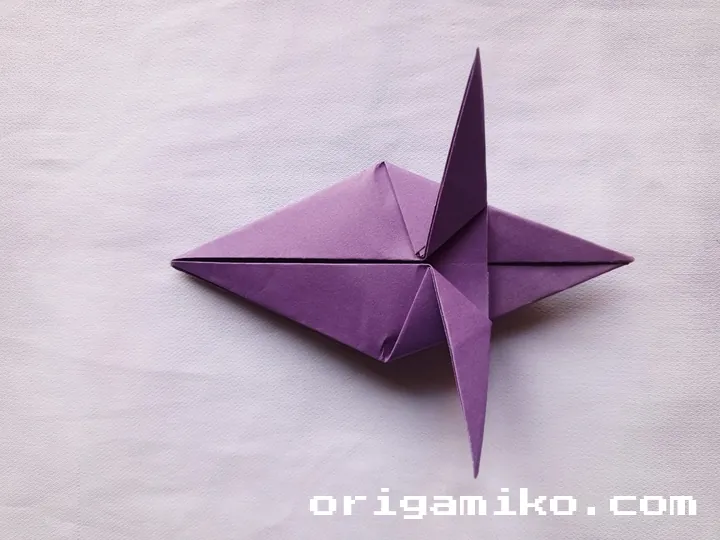
Step 3: Fold Along the Middle and Unfold. Fold and Unfold from the Bottom

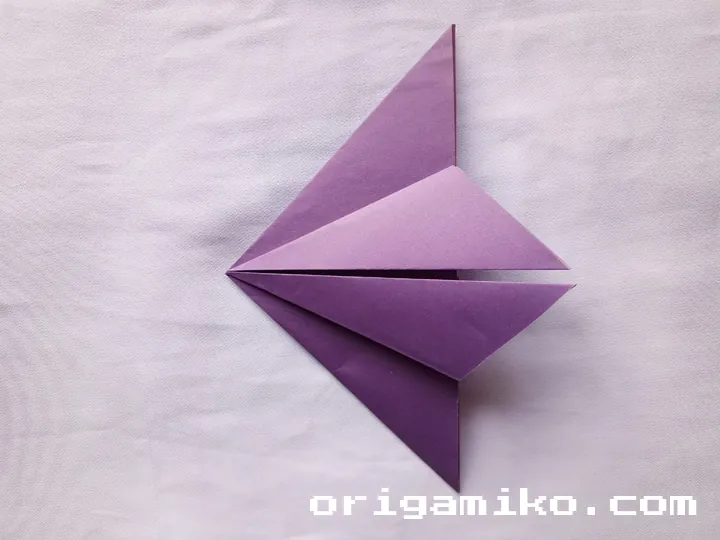

Fold the paper along the middle horizontal line (which should align with one of your folds from Step 2), and then unfold.
Next, take the bottom edge of your paper and fold it upward to meet the middle crease line you just reinforced. Press firmly along the fold, then unfold. This creates another reference line that will be important for the suitcase structure.
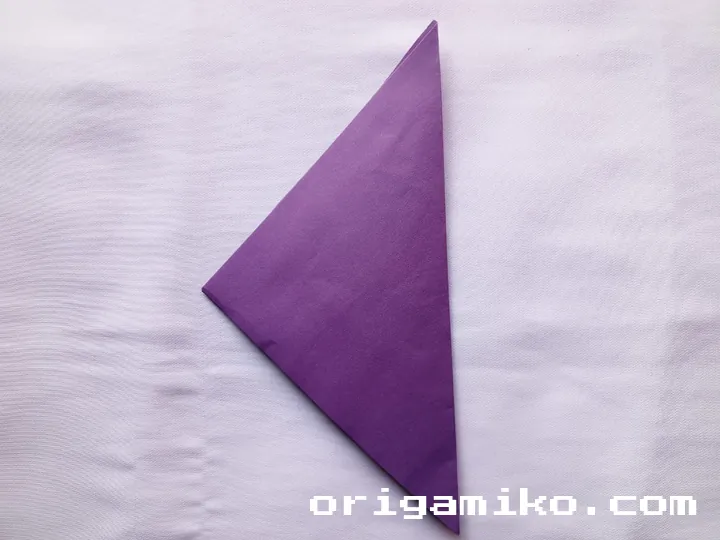
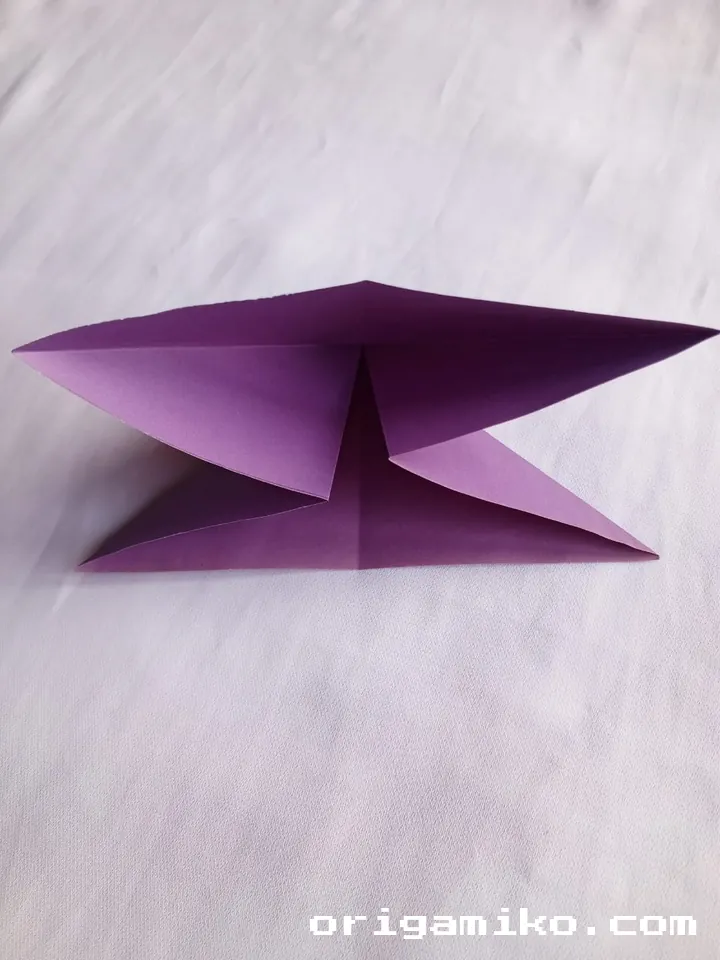
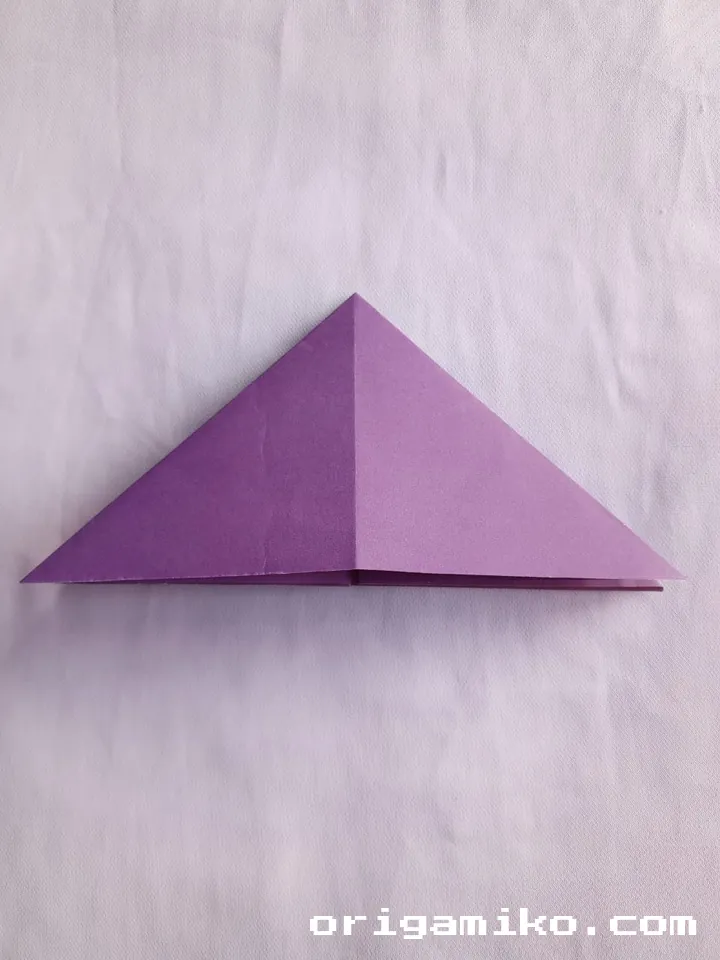
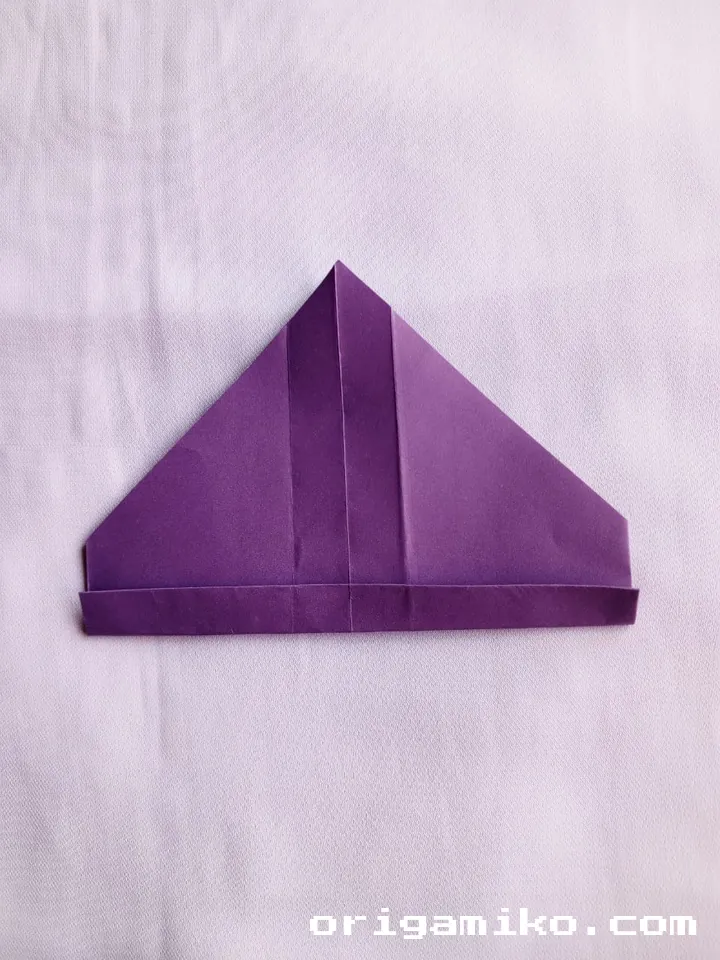
Step 4: Make a Suitcase by Folding It as Shown in the Picture. Wrap the Handle and the Suitcase with Paper and Place Four Papers Below
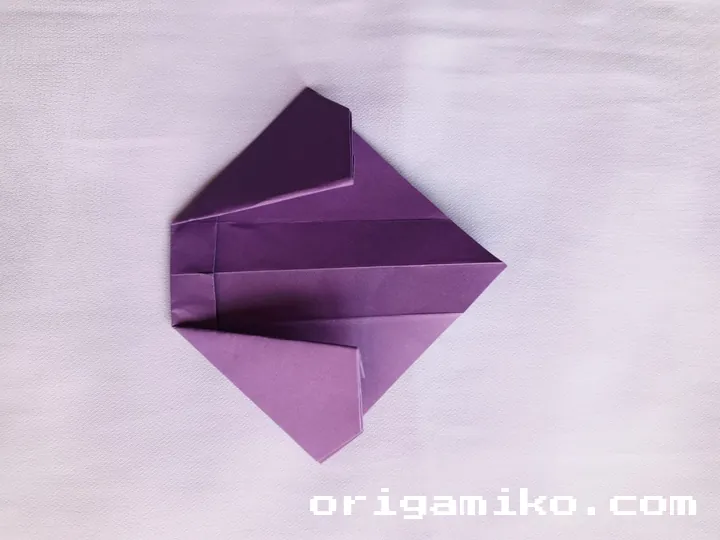
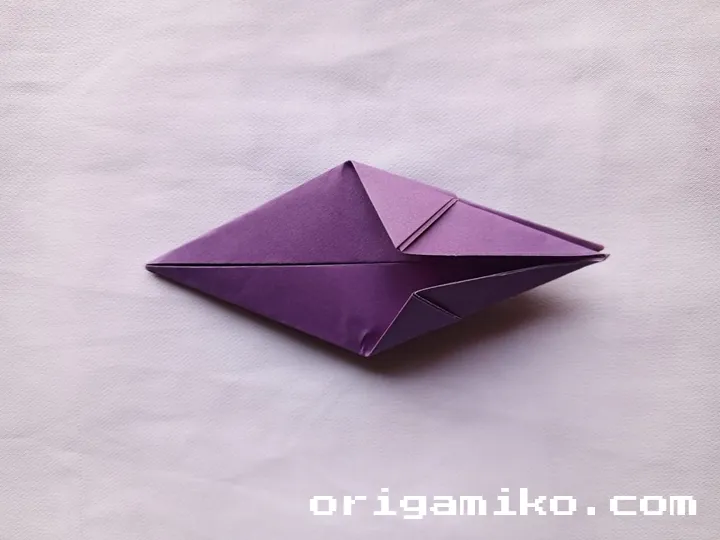
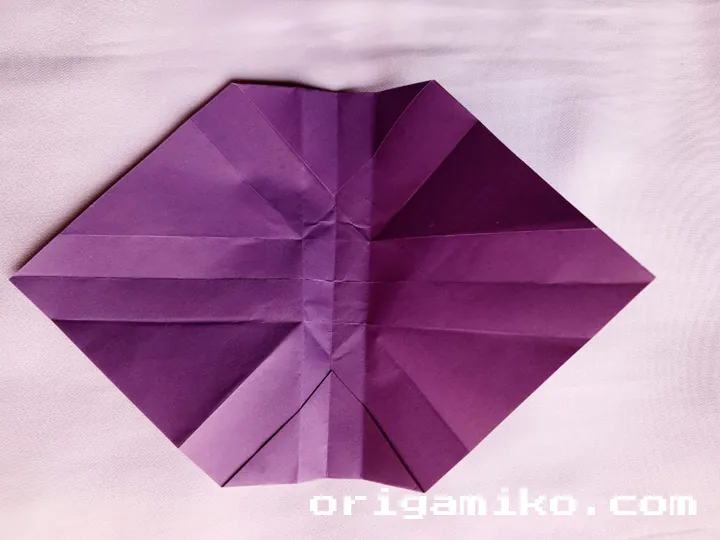

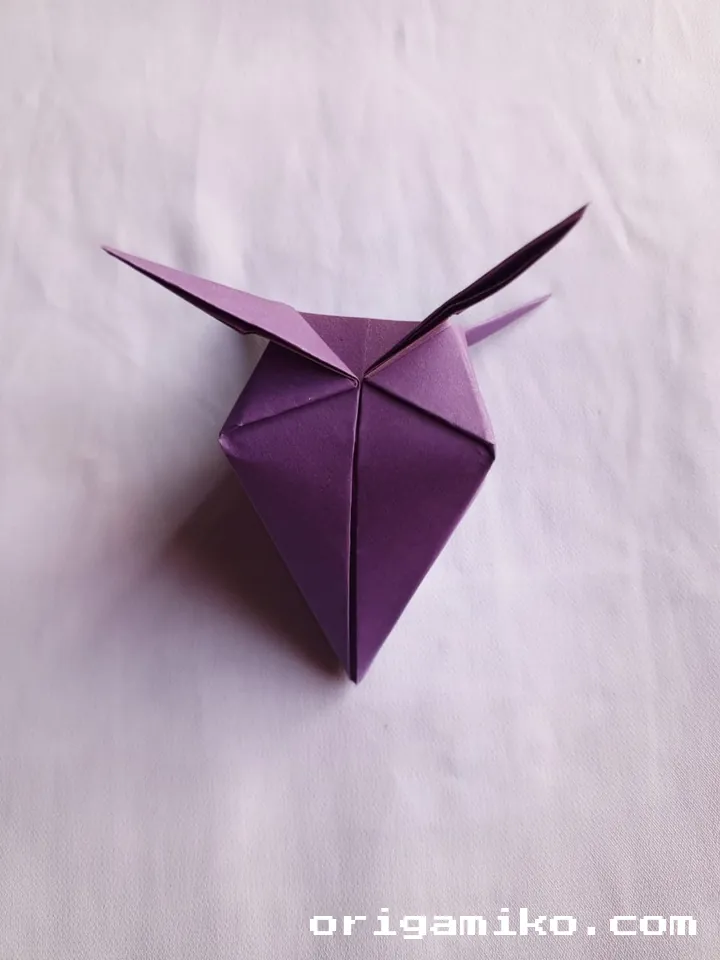
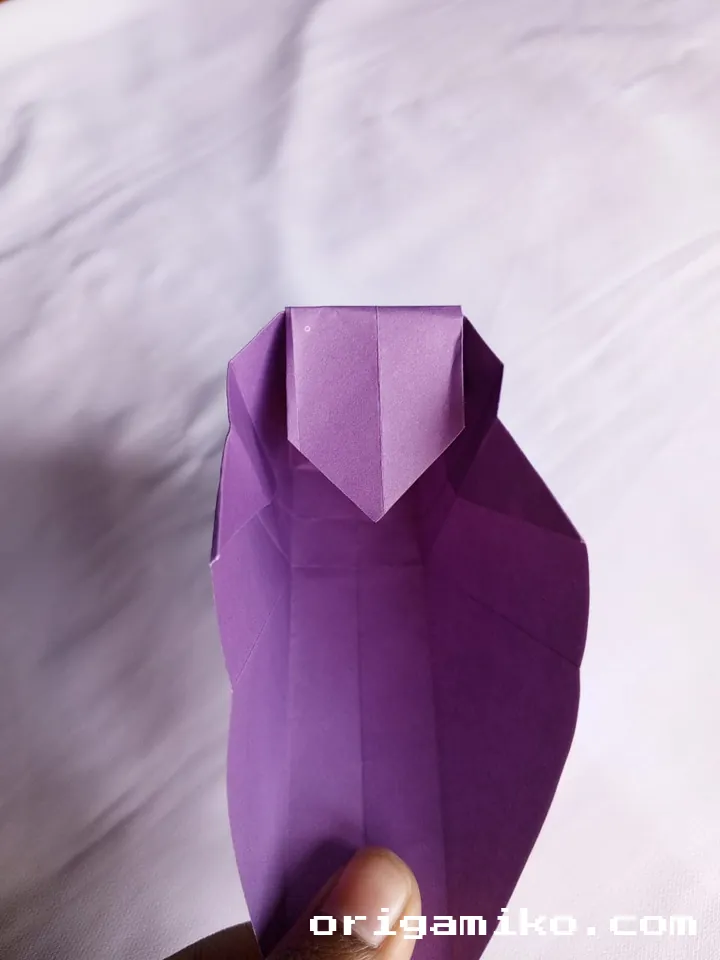
Now, use all your reference creases to fold the paper into the suitcase shape. The bottom portion forms the body of the suitcase, while the top section creates the lid and handle.
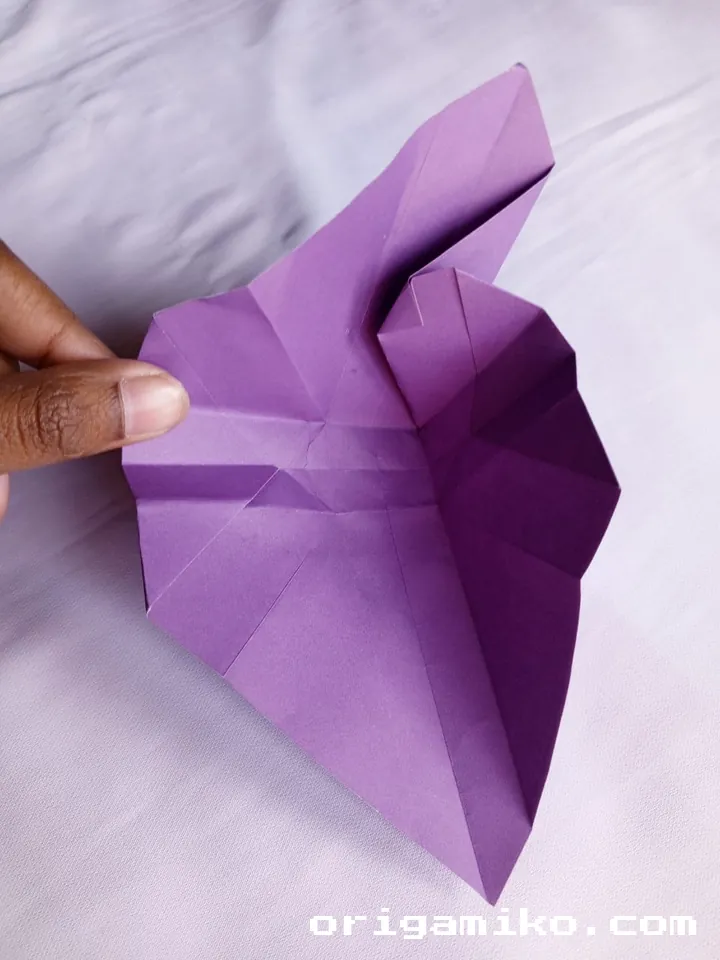
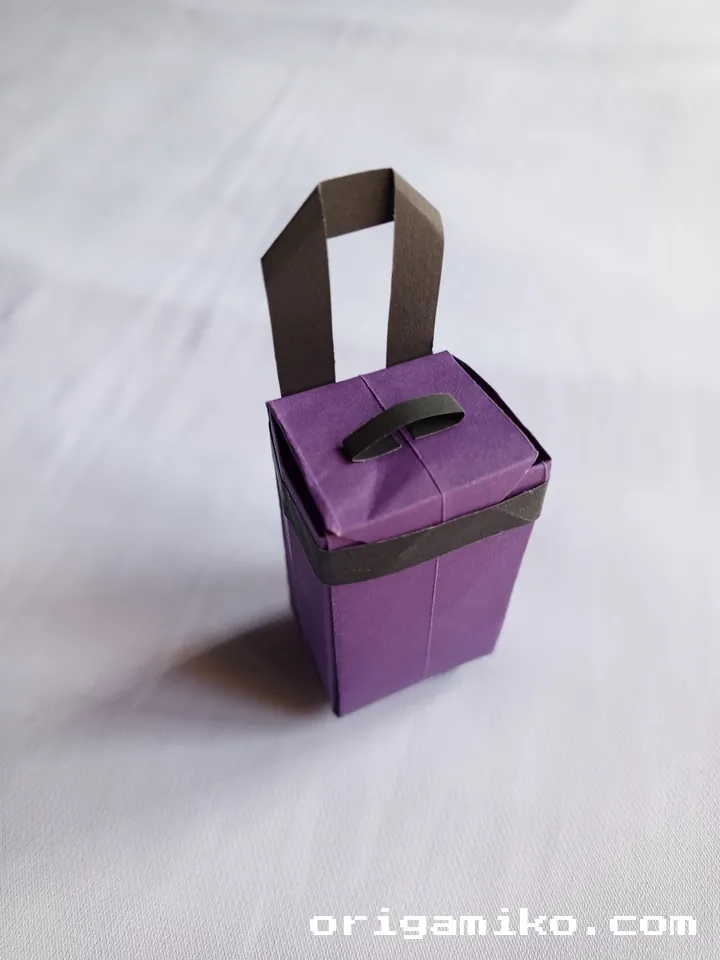
Wrap the handle and the suitcase body with decorative paper for a more finished look.
Finally, place four small folded paper pieces underneath as “feet” for your suitcase, giving it stability and a more realistic appearance.
Tips for Success
Over the years, I’ve discovered several techniques that make the origami suitcase instructions even smoother:
- Use quality paper: Thicker paper holds its shape better, especially for the handle.
- Pre-crease firmly: Make sure each fold is sharply creased before moving to the next step.
- Work on a flat surface: This ensures your folds are straight and accurate.
- Be patient with yourself: Some folds might seem tricky at first, but practice makes perfect!
- Think proportionally: The suitcase looks best when all its parts are in proportion.
I remember struggling with the handle on my first attempt. After some practice, I realized that taking my time with each crease made all the difference in the final product.
Common Mistakes and How to Avoid Them
Even experienced origami enthusiasts can run into challenges when making an easy origami suitcase. Here are some common pitfalls and how to avoid them:
- Uneven folds: Measure carefully before creasing. Use a ruler if needed.
- Weak handle: Reinforce the handle area with an extra layer of paper for durability.
- Collapsing structure: Make sure all creases are sharp and well-defined.
- Difficulty with proportions: Follow the fold lines precisely, especially during the initial grid creation.
- Paper tearing: Be gentle with the paper, especially at corner points and when creating the handle.
The first time I tried this project, my suitcase wouldn’t stand properly. I discovered I hadn’t made my initial grid folds precise enough, which threw off the entire structure. Learning from mistakes is part of the origami journey!
Similar Variations That Can Be Made
Once you’ve mastered how to make suitcase origami, you might want to explore these creative variations:
- Mini Suitcase: Use 6″ × 6″ paper for tiny, adorable versions.
- Double-Compartment Suitcase: Modify the basic design to include two separate storage areas.
- Luggage Set: Create suitcases in different sizes that nest inside each other.
- Decorative Closures: Add paper clasps or string ties to secure the suitcase closed.
- Themed Suitcases: Use patterned paper that matches travel destinations or occasions.
I’ve created holiday-themed suitcases as gift boxes, and they were a huge hit! The travel-themed patterns made them perfect for presenting vacation gift cards or small souvenirs.
FAQs About Origami Suitcases
How long does it take to make an origami suitcase? For beginners, expect to spend about 20-30 minutes on your first attempt. With practice, you can create one in under 10 minutes.
Can I use regular printer paper? Yes, but it may not hold its shape as well as origami paper. If using printer paper, cut it into a perfect square first.
Is this suitable for children? The easy origami suitcase is perfect for children ages 8 and up with some adult guidance. Younger children might need help with the precise folding.
How can I make my suitcase more durable? Consider laminating your paper before folding or applying a light coat of clear crafting glue to the finished product.
Can I make a larger version? Absolutely! The same folding principles apply to larger paper, though you might need to adjust the thickness of your creases.
Summary
Creating an origami suitcase is a delightful way to explore the art of paper folding while making something functional and charming. Whether you’re a beginner just starting your origami journey or an experienced folder looking for a fun project, this simple suitcase step by step guide provides everything you need to succeed.
I hope you’ve enjoyed learning how to make suitcase origami as much as I’ve enjoyed sharing this technique with you. There’s something truly magical about transforming a flat square of paper into a three-dimensional object with just a few strategic folds. Happy folding, and may your paper suitcase take you on many creative adventures!