

Have you ever wanted to create something magical with just a piece of paper?
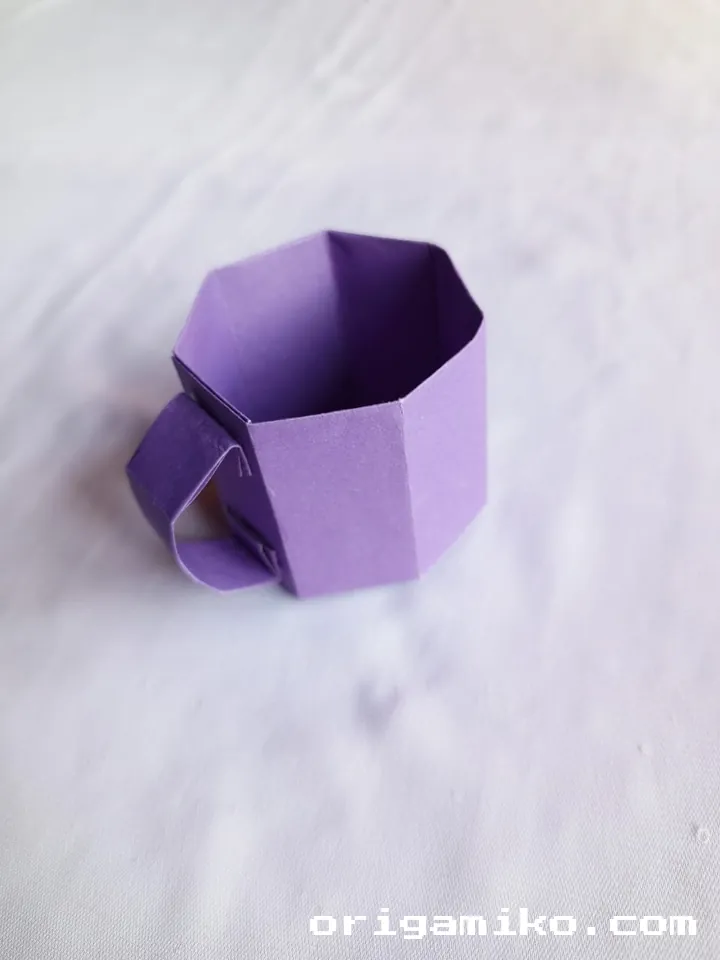
I’ve discovered the perfect project for you: an easy origami tea cup.
This delightful creation combines elegance and simplicity, bringing joy to paper-folding enthusiasts everywhere.
What is an Origami Tea Cup?
When I first encountered origami tea cups, I was immediately charmed by their elegant simplicity. These miniature paper vessels aren’t just decorative items—they represent the beautiful intersection of functionality and artistic expression in the origami world.
An origami tea cup is a delightful paper creation that resembles a traditional tea cup. While not waterproof (unless modified with special techniques), these cups make wonderful decorations, can hold small dry items, or serve as charming additions to doll houses and miniature displays. I’ve found that making these cups is also a wonderful way to practice fundamental origami techniques that build your skills for more complex projects.
What fascinates me most about origami tea cups is how a simple square of paper transforms into a three-dimensional object with clear purpose and function. It’s this transformation that makes origami so magical!
Materials Needed
Before we begin folding our origami tea cup, let’s gather all the necessary materials. Having everything prepared will make the process smoother and more enjoyable.
| Material | Specification | Purpose | Alternatives |
|---|---|---|---|
| Square Paper | 15″ × 15″ | Main cup body | Origami paper, printer paper cut to square |
| Rectangular Paper | 4″ × 2″ | Handle | Strip cut from matching paper |
| Scissors | Sharp-edged | For precise cutting | X-acto knife (with caution) |
| Tape | Clear | Securing parts | Double-sided tape, glue stick |
| Ruler | Standard | Measuring folds | Straight edge, book spine |
| Bone Folder (optional) | Any size | Crisp folds | Credit card, popsicle stick |
| Pencil | Soft lead | Marking fold lines | Erasable marker |
I recommend using paper that’s not too thin or too thick—standard origami paper works wonderfully, but in a pinch, you can use printer paper cut to size. The paper’s color and pattern are entirely up to you! I personally love using solid colors for beginners and patterned paper once you’ve mastered the technique.
Step-by-Step Instructions for a Simple Tea Cup Origami

Let’s dive into creating your very own origami tea cup! I’ll walk you through each step carefully, explaining not just what to do but why we’re doing it. This helps build your understanding of origami principles while creating something beautiful.
Step 1: Prepare Your Square Paper
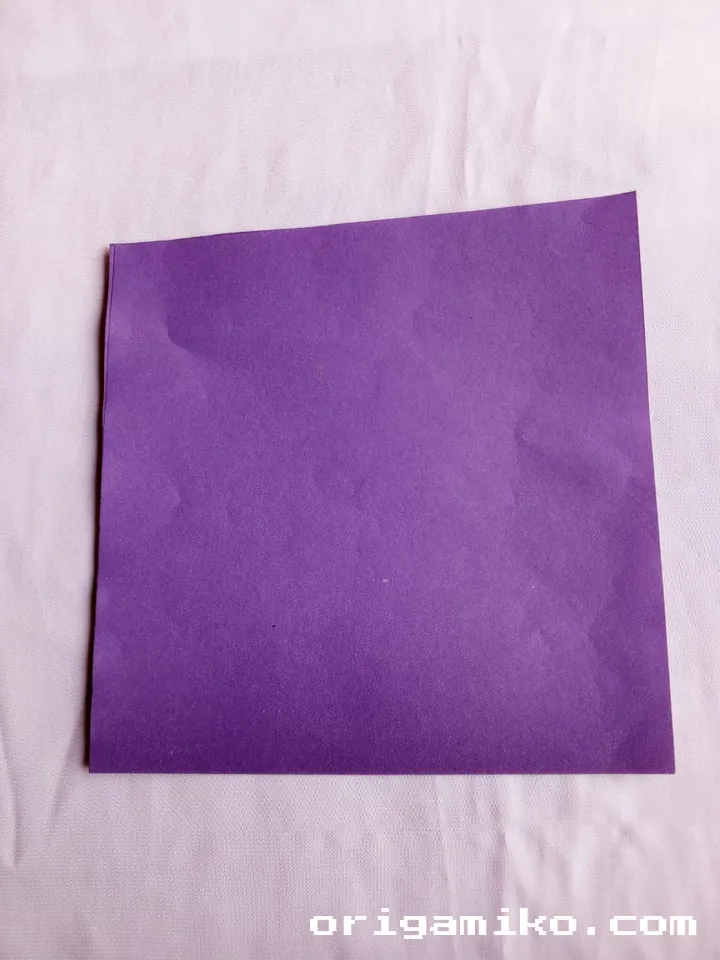
Take your 15″ × 15″ square paper and place it on a flat surface. The color or pattern you want to be visible on the outside of your cup should be facing down (this is counterintuitive, but trust me!).
- Make sure your paper is perfectly square
- Smooth out any existing creases or wrinkles
- Work on a clean, flat surface for best results
Step 2: Create the Base Grid
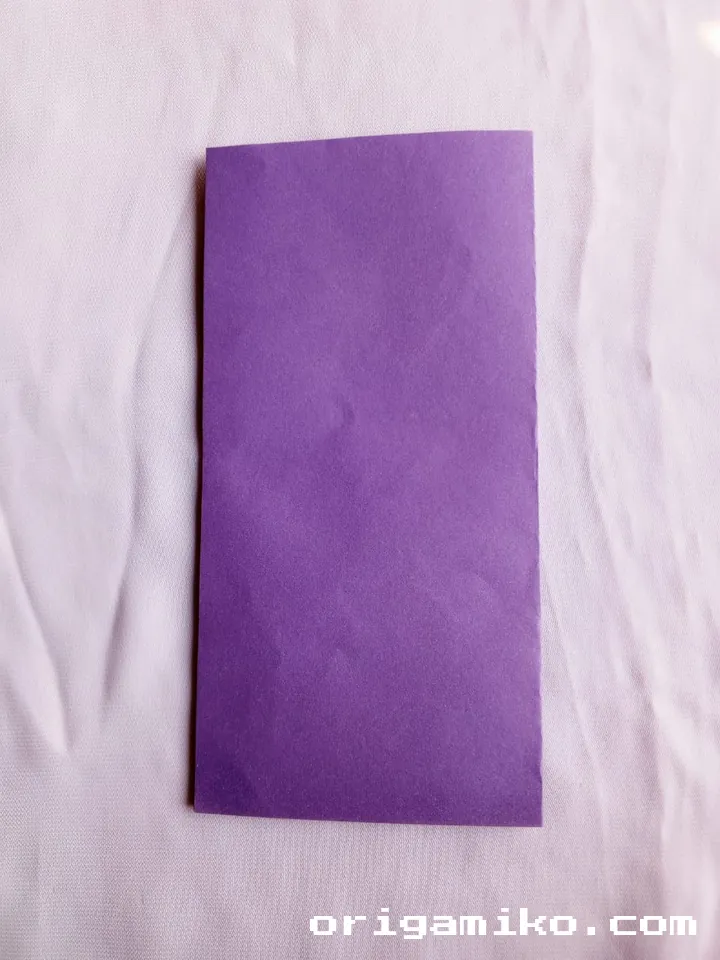
Now we’ll establish our foundational fold lines that will guide the rest of the process:
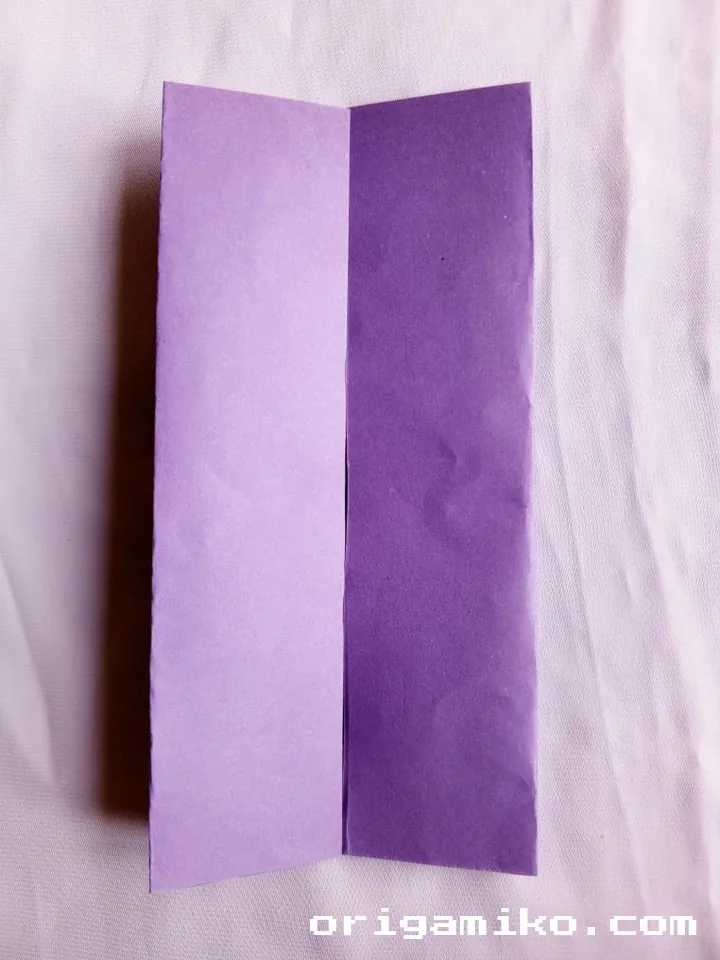
- Fold the paper vertically in half (bringing the left edge to the right edge), then unfold.
- Fold it horizontally in half (bringing the top edge to the bottom edge), then unfold.
- You should now have a visible “+” crease pattern on your paper.
This grid helps establish the centerlines of your paper, which will be crucial reference points throughout the folding process.
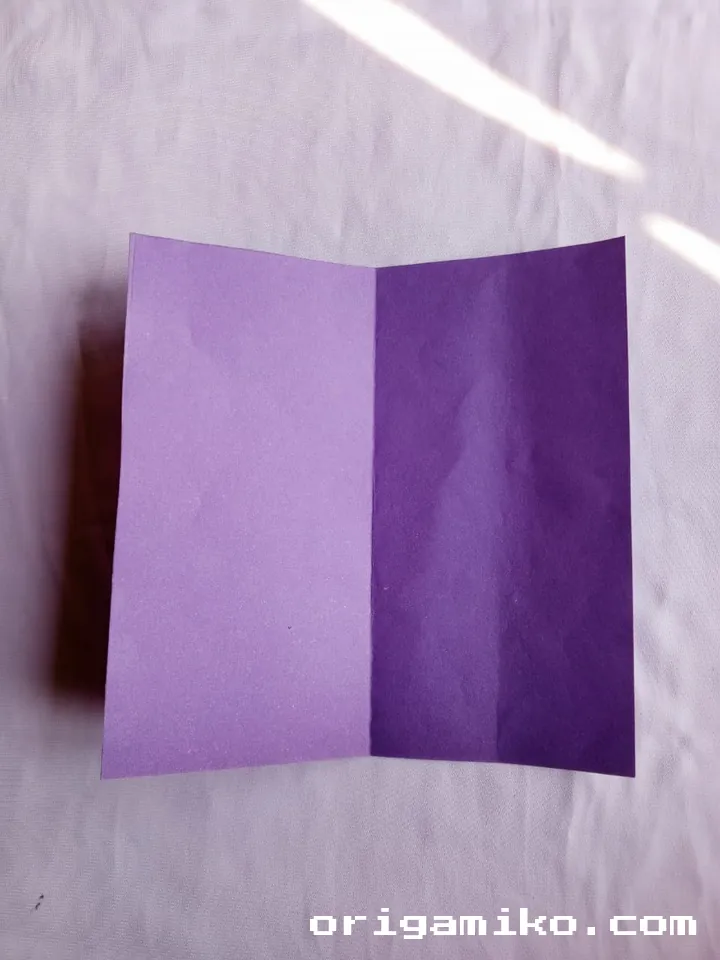
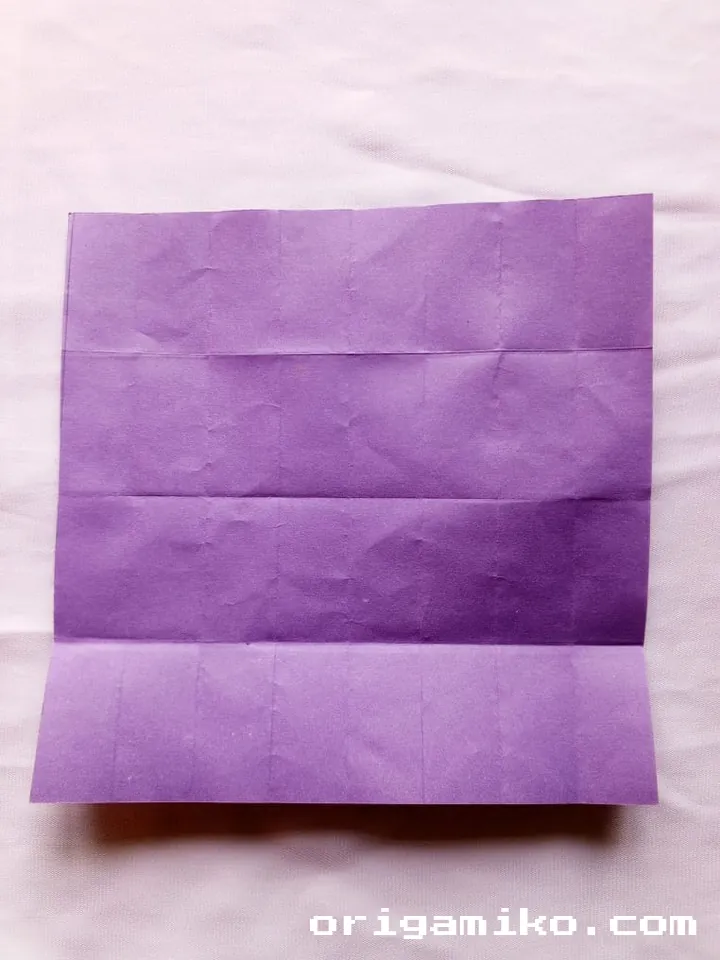
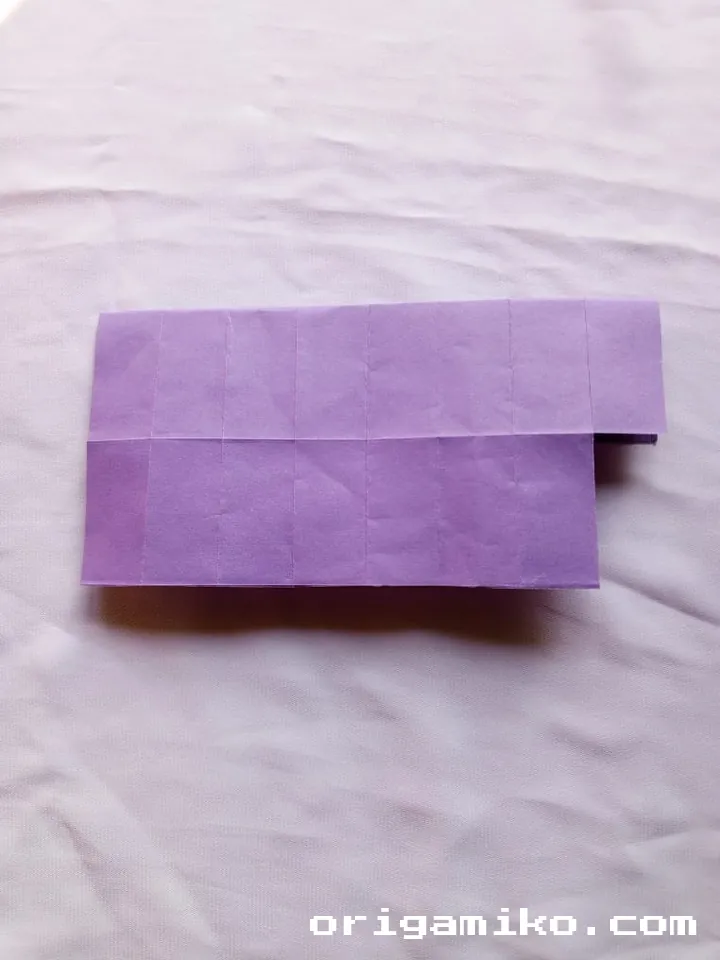
Step 3: Make Additional Fold Lines
We need to create more reference lines:
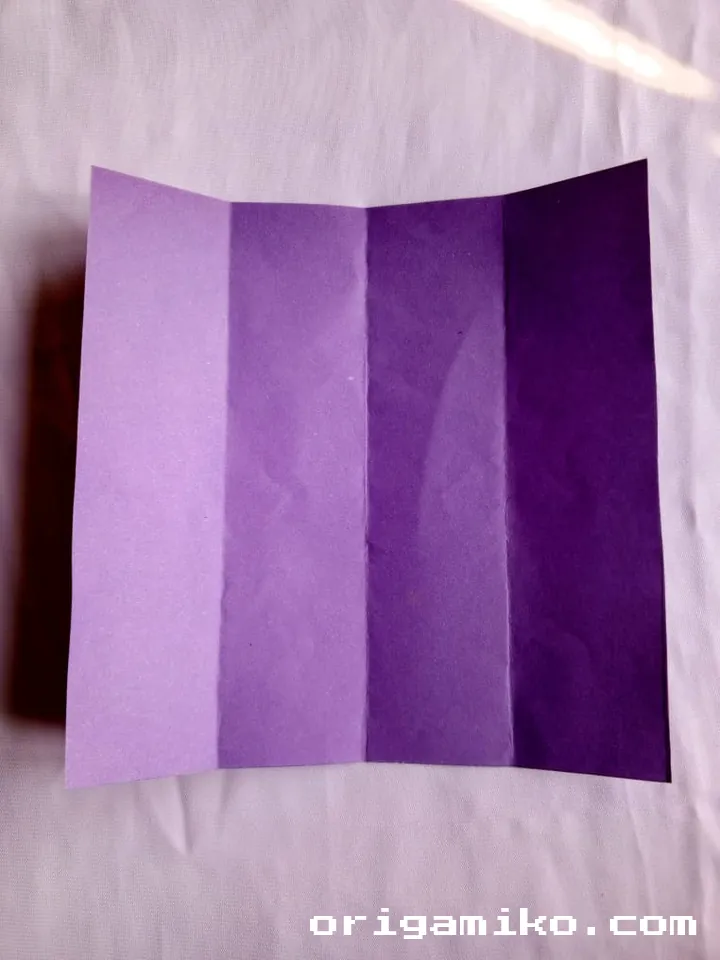
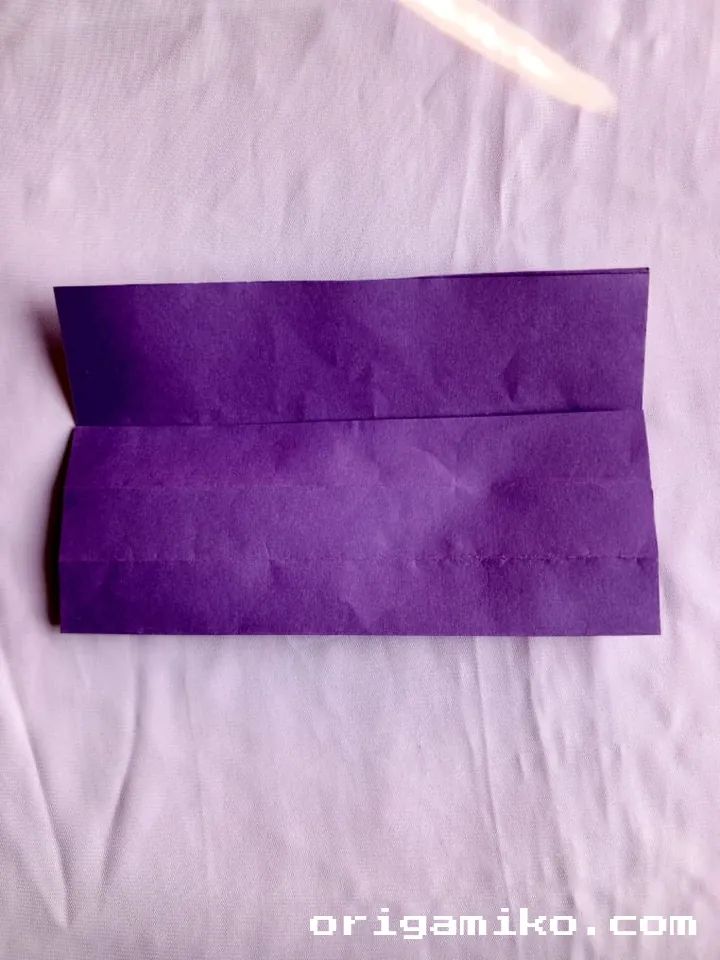
- Fold the top edge down to the center horizontal line, then unfold.
- Fold the bottom edge up to the center horizontal line, then unfold.
These additional folds create what origami artists call “quarter lines,” dividing your paper into eight sections that will guide the formation of our cup.
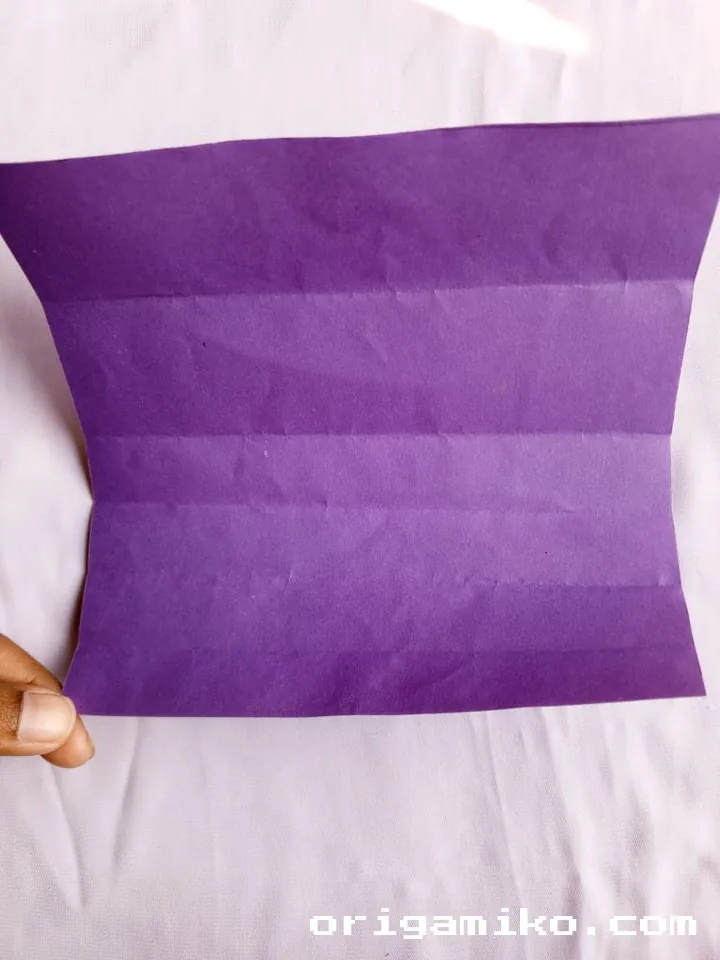
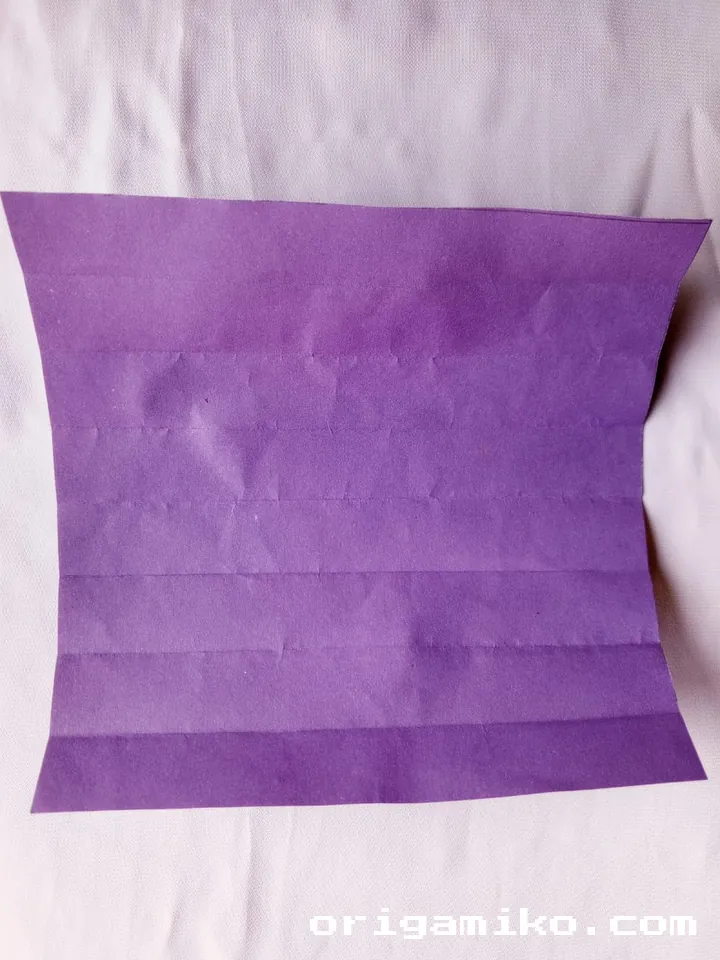
Step 4: Reinforce the Middle Fold
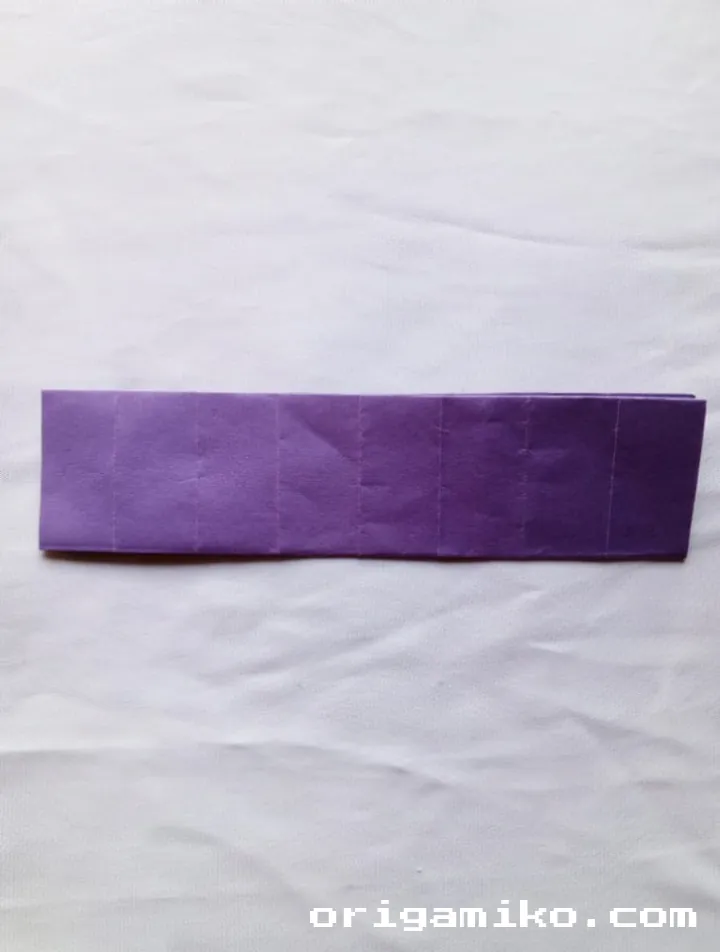
This step strengthens a key structural element:
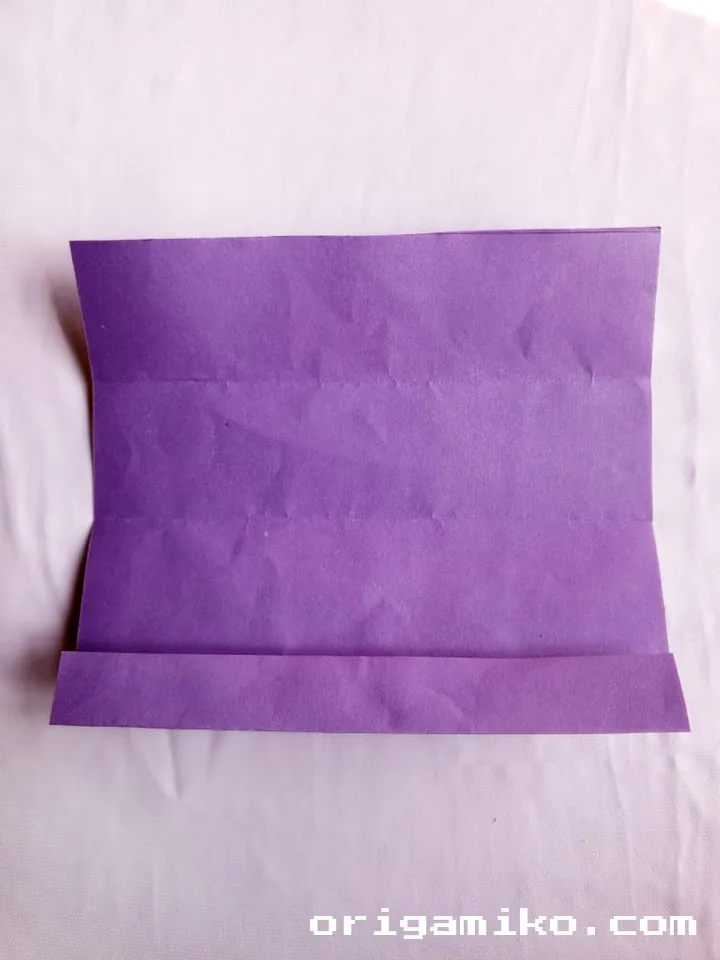
- Fold the paper along the horizontal middle line once more.
- Press firmly to create a strong crease.
- Unfold again.
I’ve found that this reinforcement step makes a significant difference in how well your cup holds its shape when completed.
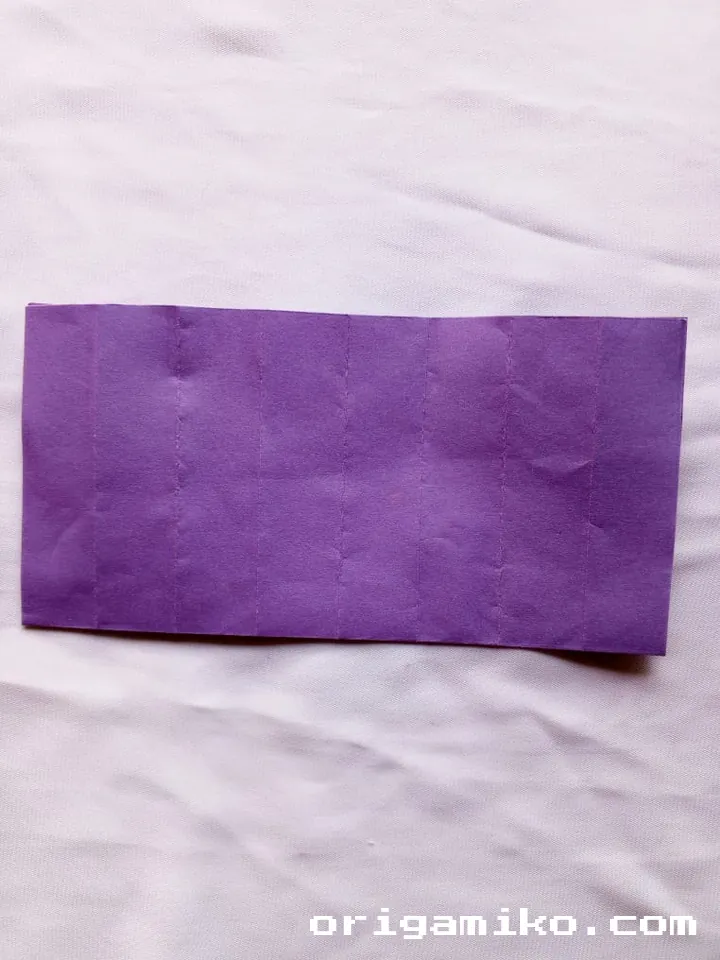
Step 5: Begin Shaping the Cup
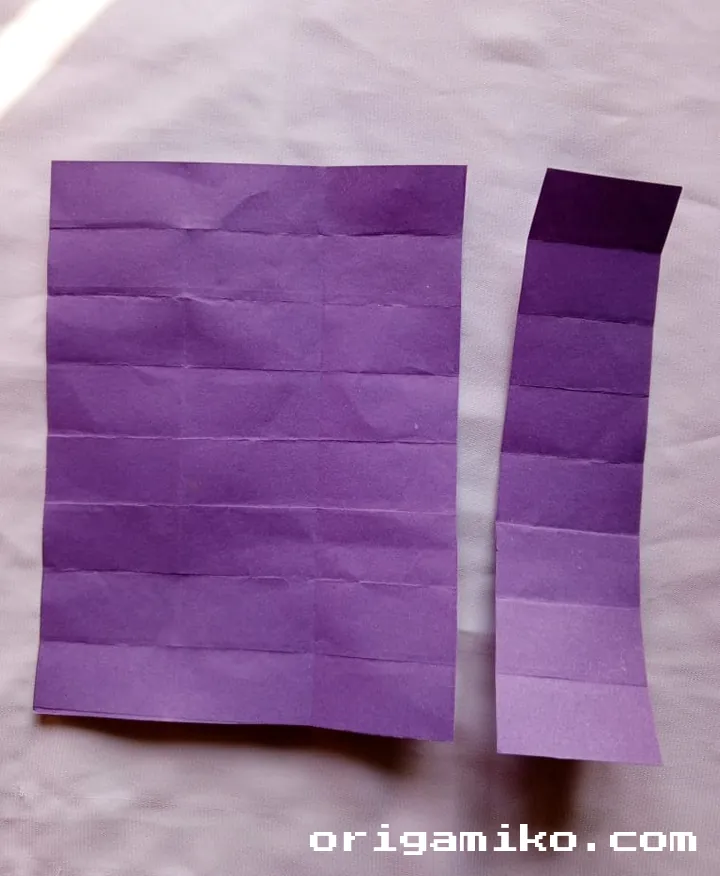
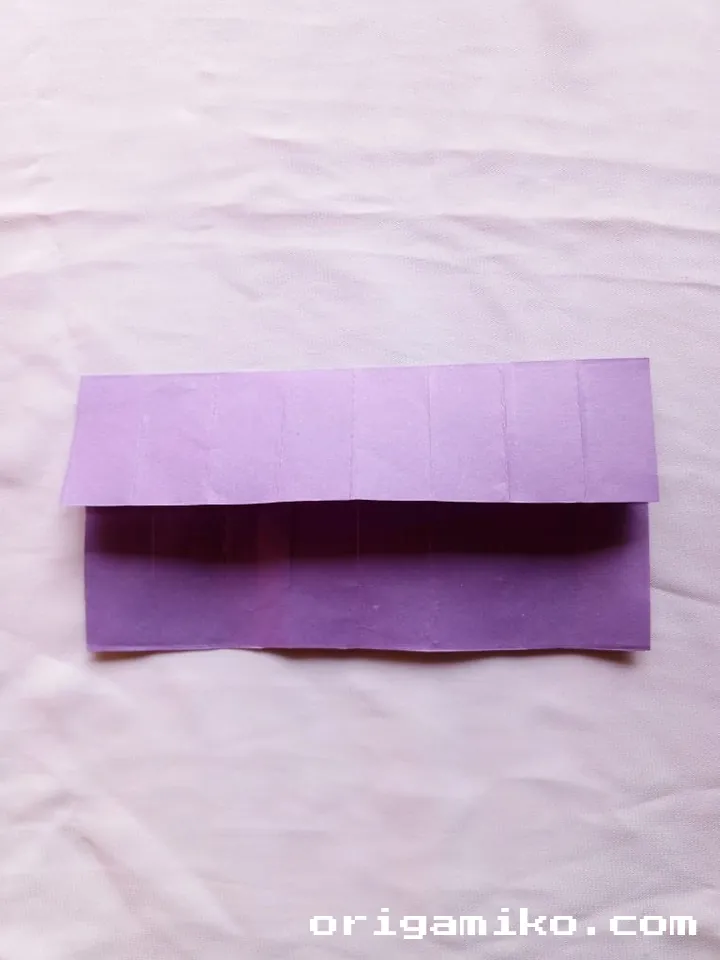
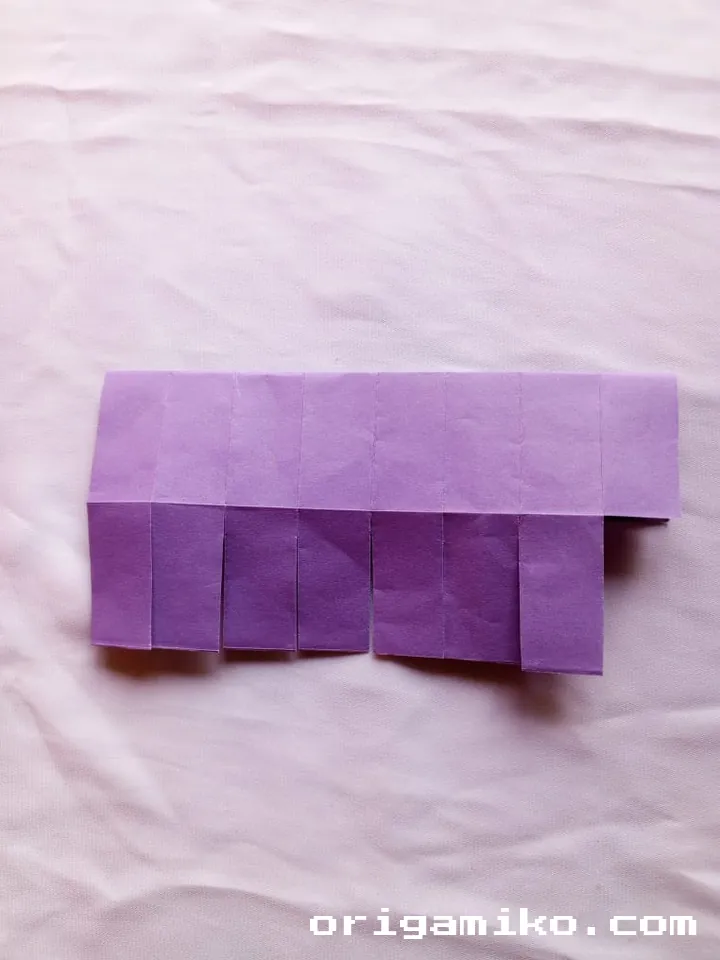
Now the transformation begins:
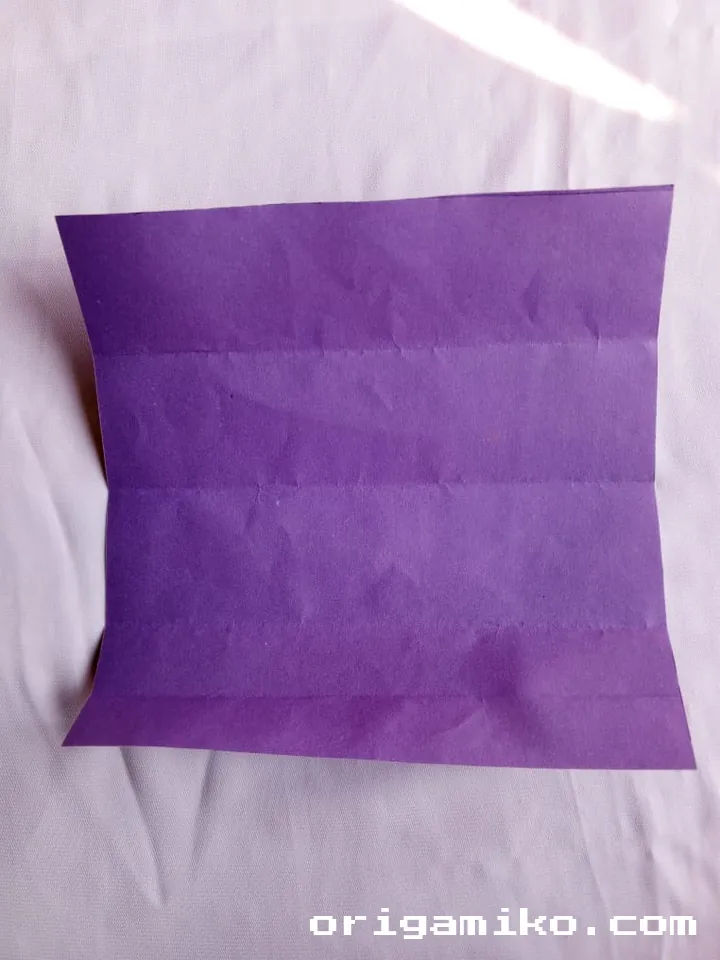
- Carefully cut along one of the vertical fold lines, starting from the edge and stopping at the horizontal middle line.
- From the top edge of the paper, fold down along the two quarter lines you created earlier.
This step begins transforming our flat paper into a three-dimensional structure. Be precise with your cut to ensure your cup forms properly.
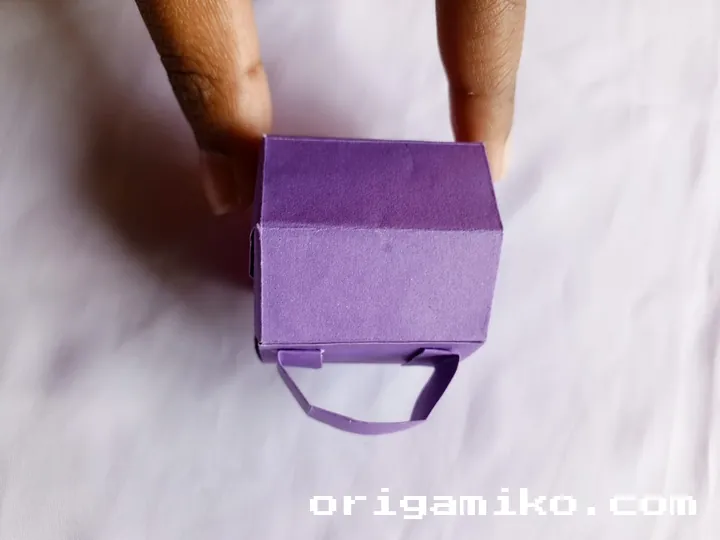
Step 6: Connect the Sides


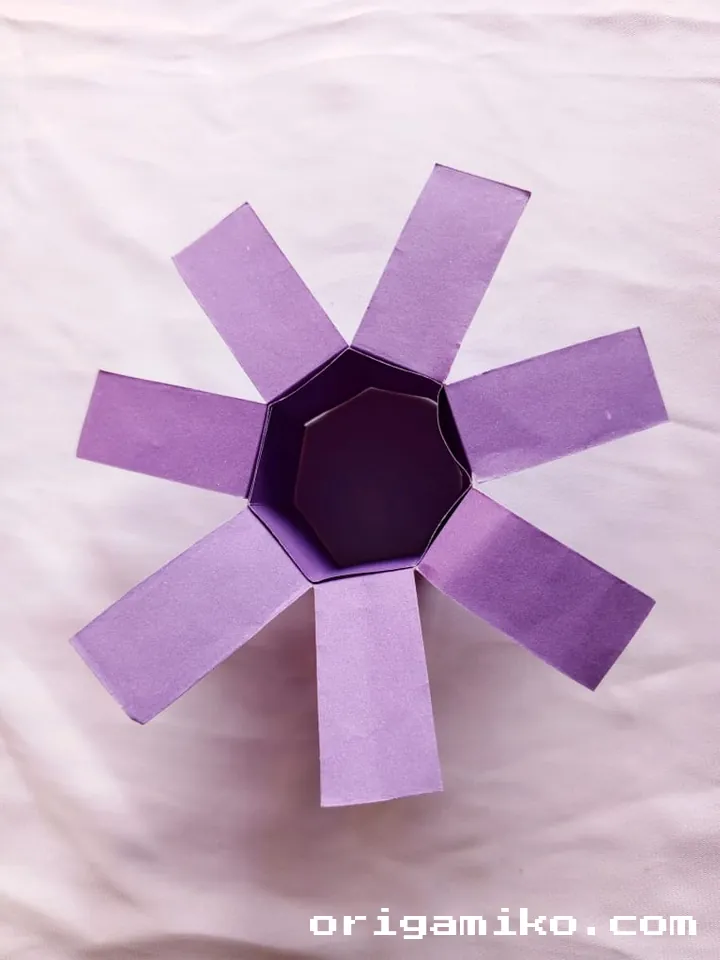
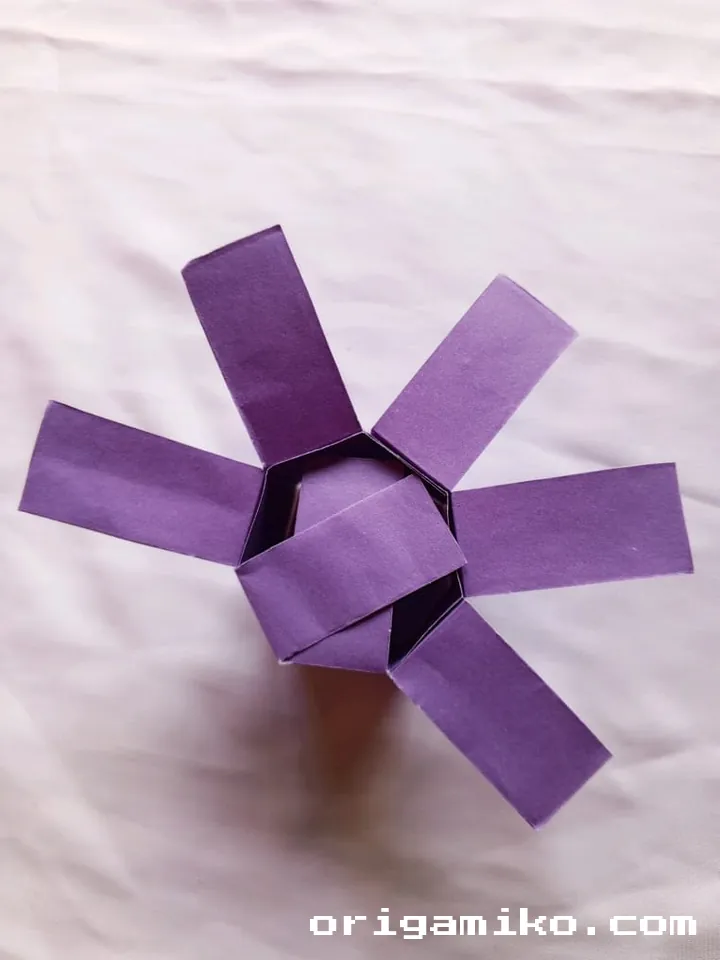
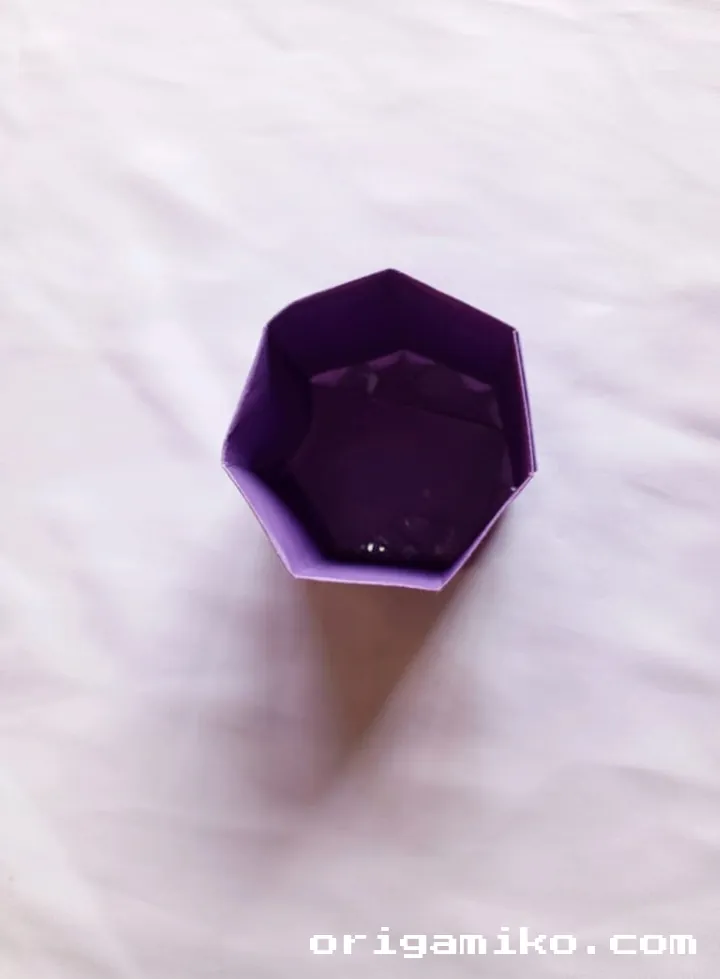
Here’s where your cup takes shape:
- Bring the cut edges together, overlapping them slightly.
- Secure with a small piece of tape on the inside seam.
- From the bottom section, fold a small portion upward and secure with tape to create the cup’s bottom.
I always make sure this connection is strong since it’s what allows the cup to hold its shape. If you’re using thin paper, you might want to reinforce this area with an extra piece of tape.
Step 7: Create and Attach the Handle
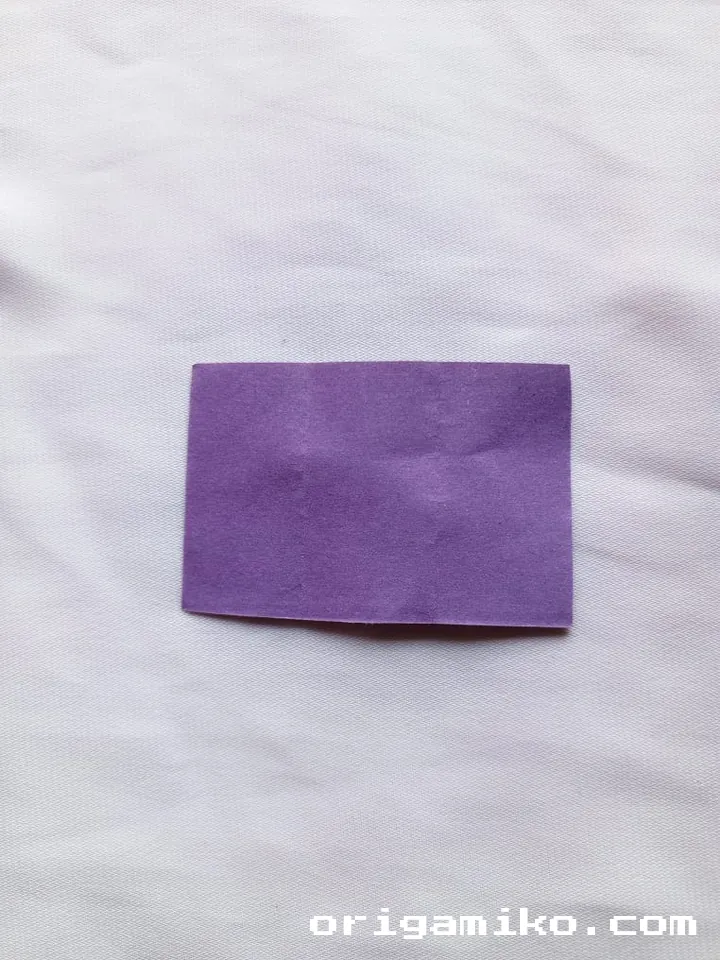
The final touch—a functional handle:
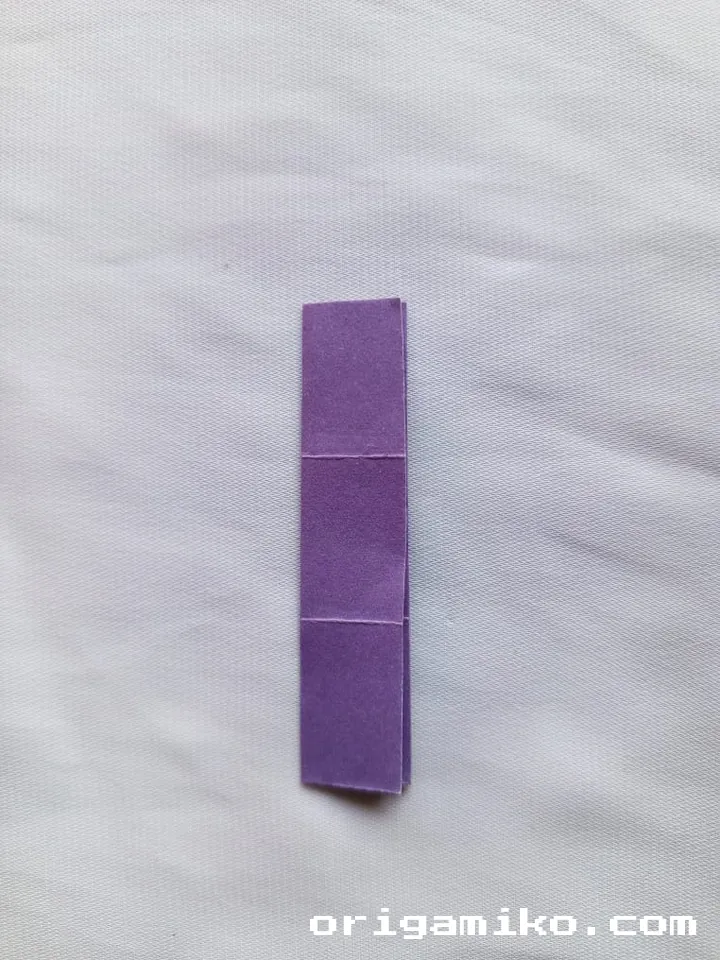
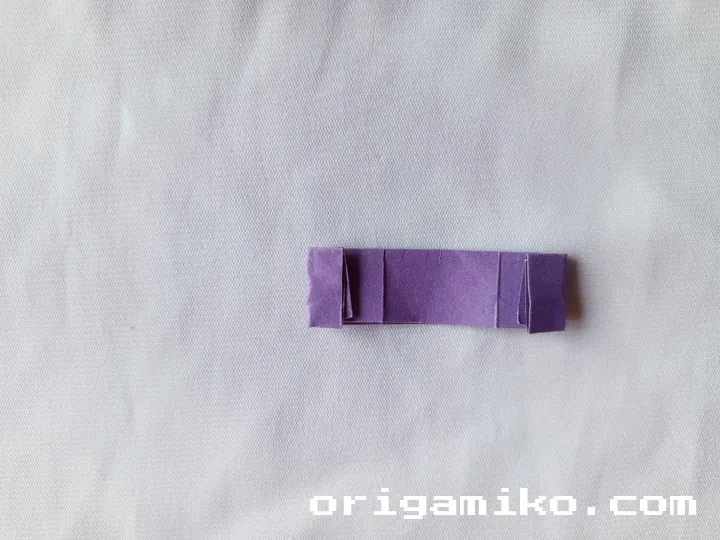
- Take your rectangular piece of paper (approximately 4″ × 2″).
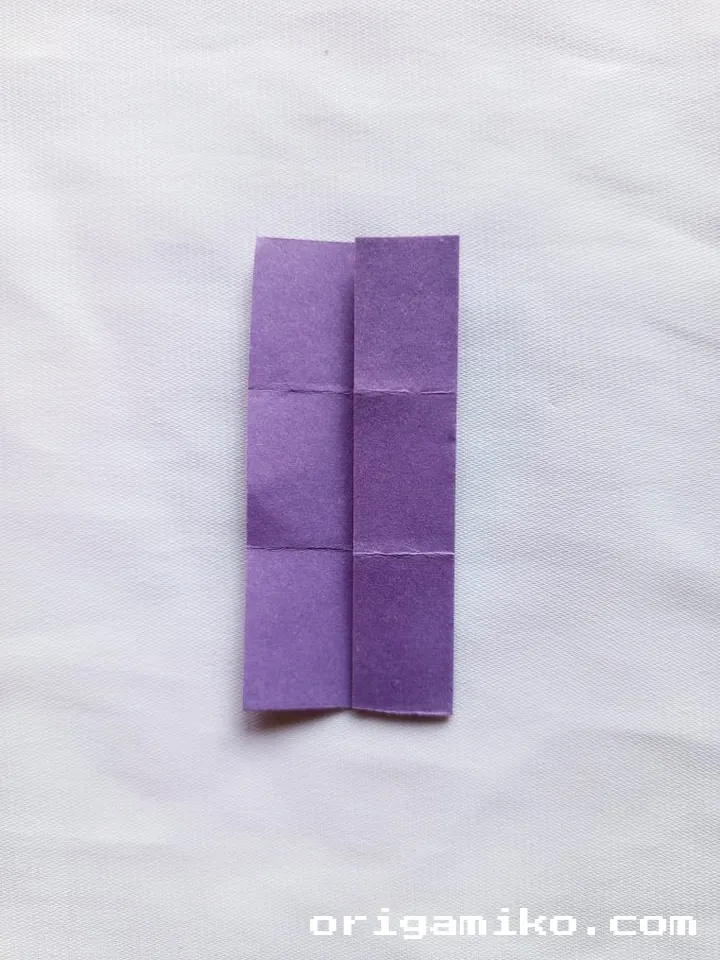
- Fold it in half twice to create strength.
- Fold the top and bottom edges in slightly to round them.
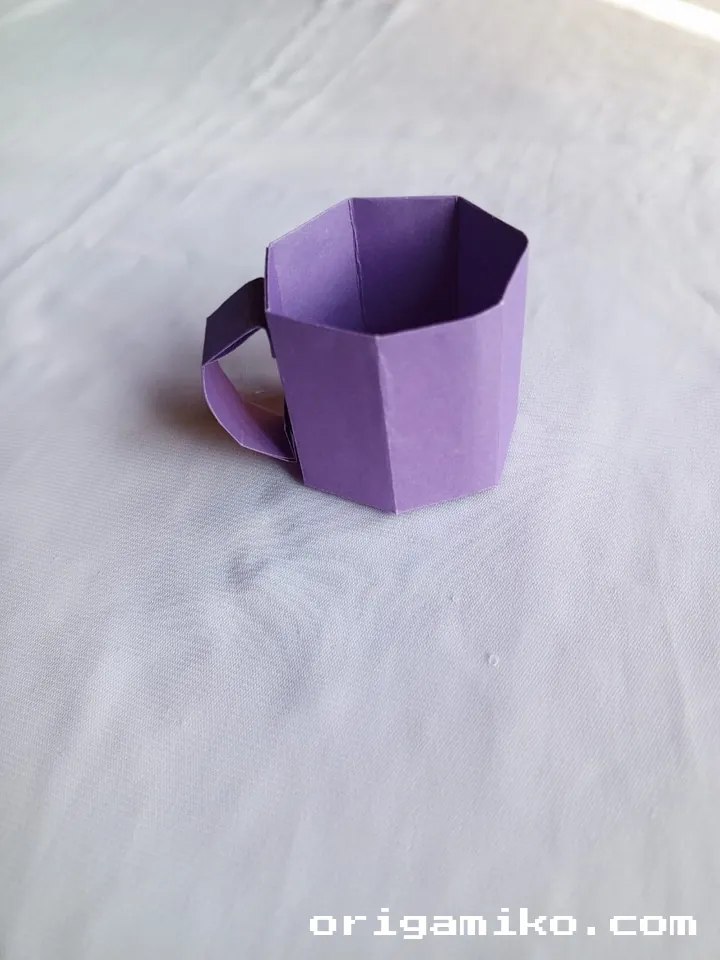
- Attach the handle to the side of your cup using tape.
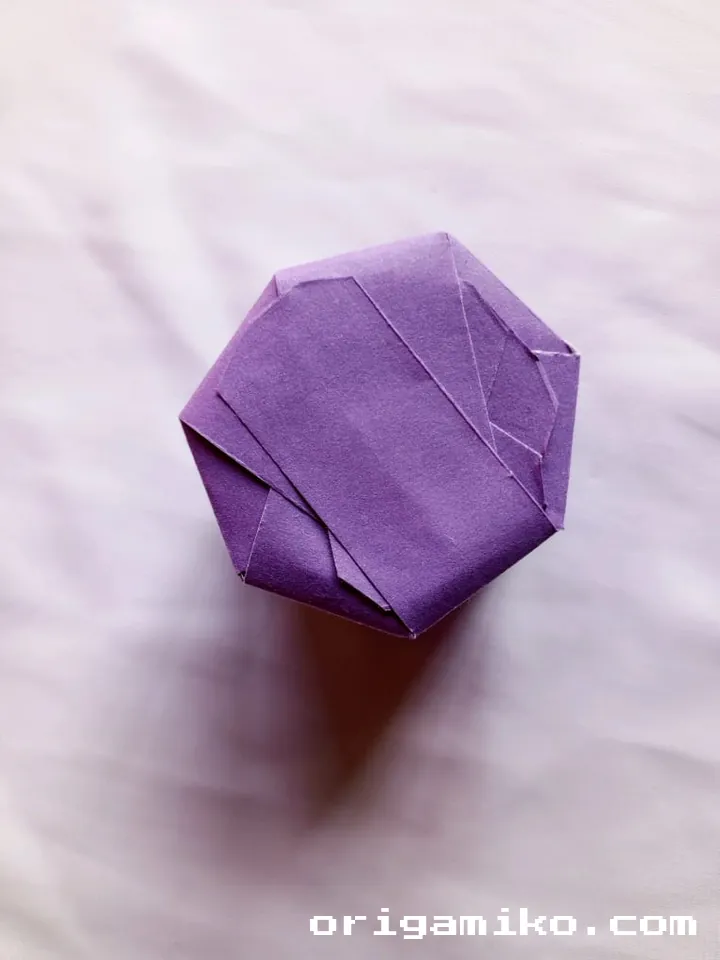
And there you have it—your very own origami tea cup! It’s amazing how to make tea cup origami with just a few simple folds and cuts.
Tips for Success with Your Origami Tea Cup
Over my years of practicing origami, I’ve discovered some helpful tips that make a big difference in the final result:
- Start with larger paper: When first learning how to make this easy origami note tea cup, use larger paper to make the folds easier to manage.
- Crease firmly: Each fold should be sharp and precise—run your fingernail or bone folder along each crease.
- Work slowly: Origami is not a race! Take your time with each step for the best results.
- Use contrasting papers: Try using different colored paper for the handle and cup for a striking visual effect.
- Pre-crease all lines: Before making any cuts, ensure all your fold lines are clearly defined.
- Check symmetry: Periodically check that your folds are symmetrical for a balanced final product.
- Practice makes perfect: Don’t be discouraged if your first attempt isn’t perfect—each cup you make will improve!
I’ve found that putting on some relaxing music and treating origami as meditation helps me create my best work.
Common Mistakes and How to Avoid Them
Even experienced origami artists make mistakes sometimes! Here are some common issues with simple tea cup step by step instructions and how to address them:
Uneven Cuts
Problem: Cutting too far or at an angle can compromise the structure. Solution: Use a ruler as a guide, or mark your cutting line with a light pencil mark before cutting.
Weak Bottom
Problem: The cup doesn’t stand properly or is unstable. Solution: Make sure the bottom fold is reinforced properly and taped securely.
Handle Falls Off
Problem: The handle detachment is frustrating and common. Solution: Use multiple small pieces of tape rather than one large piece, or try using a small amount of glue for a more permanent attachment.
Cup Won’t Hold Shape
Problem: The sides collapse inward. Solution: Reinforce your creases more firmly and consider using slightly stiffer paper.
Asymmetrical Appearance
Problem: The cup looks lopsided or uneven. Solution: Double-check your initial grid folds for accuracy before proceeding.
When I first started making origami tea cups, my biggest issue was rushing through the process. Taking my time with each fold made an enormous difference in the quality of my finished pieces.
Similar Variations You Can Try
Once you’ve mastered the basic origami tea cup instructions, you might want to explore these creative variations:
Miniature Tea Set
Create a collection of cups in different sizes, and add a matching origami teapot for a complete set! This makes for a charming desk display or gift.
Decorative Cup
Add decorative elements like paper flowers, small origami butterflies, or drawn designs to personalize your cup.
Functional Cup Liner
For a cup that can actually hold water (briefly), insert a piece of aluminum foil as a liner before completing your cup.
Tea Cup with Saucer
Take your creation to the next level by creating a matching origami saucer to place under your cup.
Modular Tea Set
Create multiple cups that stack together for storage, using interlocking design elements.
I particularly enjoy creating seasonal variations, like cups with autumn leaf patterns for fall or bright florals for spring. The possibilities are endless when you understand the basic structure!
FAQs About Origami Tea Cups
Q: How long does it take to make an origami tea cup? A: For beginners, expect to spend about 15-20 minutes on your first cup. With practice, you can complete one in under 5 minutes!
Q: Can my origami tea cup hold real tea? A: Standard paper origami cups cannot hold liquids. However, you can waterproof them by adding a liner or using special waterproof paper, though I recommend these cups primarily as decorative items.
Q: What’s the best paper type for beginners? A: I recommend starting with standard origami paper or lightweight cardstock. Printer paper works too, but may not hold creases as well.
Q: How can I display my origami tea cups? A: They make wonderful additions to bookshelves, can be strung together as garlands, or used as place card holders at tea parties!
Q: Can children make this origami tea cup? A: With some assistance on the cutting step, children 8 and older can usually manage this project. Younger children might need more help with the precise folding.
The Joy of Origami Tea Cup Creation
I’ve found that creating origami tea cups brings a special kind of satisfaction. There’s something magical about transforming a flat piece of paper into a recognizable, three-dimensional object with your own hands. The process teaches patience, precision, and perseverance—skills that extend far beyond paper folding.
Whether you’re creating these cups for decoration, as gifts, or simply to enjoy the meditative process of origami, I hope you’ve discovered the simple joy of creating something beautiful from humble materials. The next time you enjoy a real cup of tea, perhaps your origami creation will sit beside it, a reminder of the art and craft of paper folding. Happy folding, and enjoy your journey with easy origami note tea cup making!