


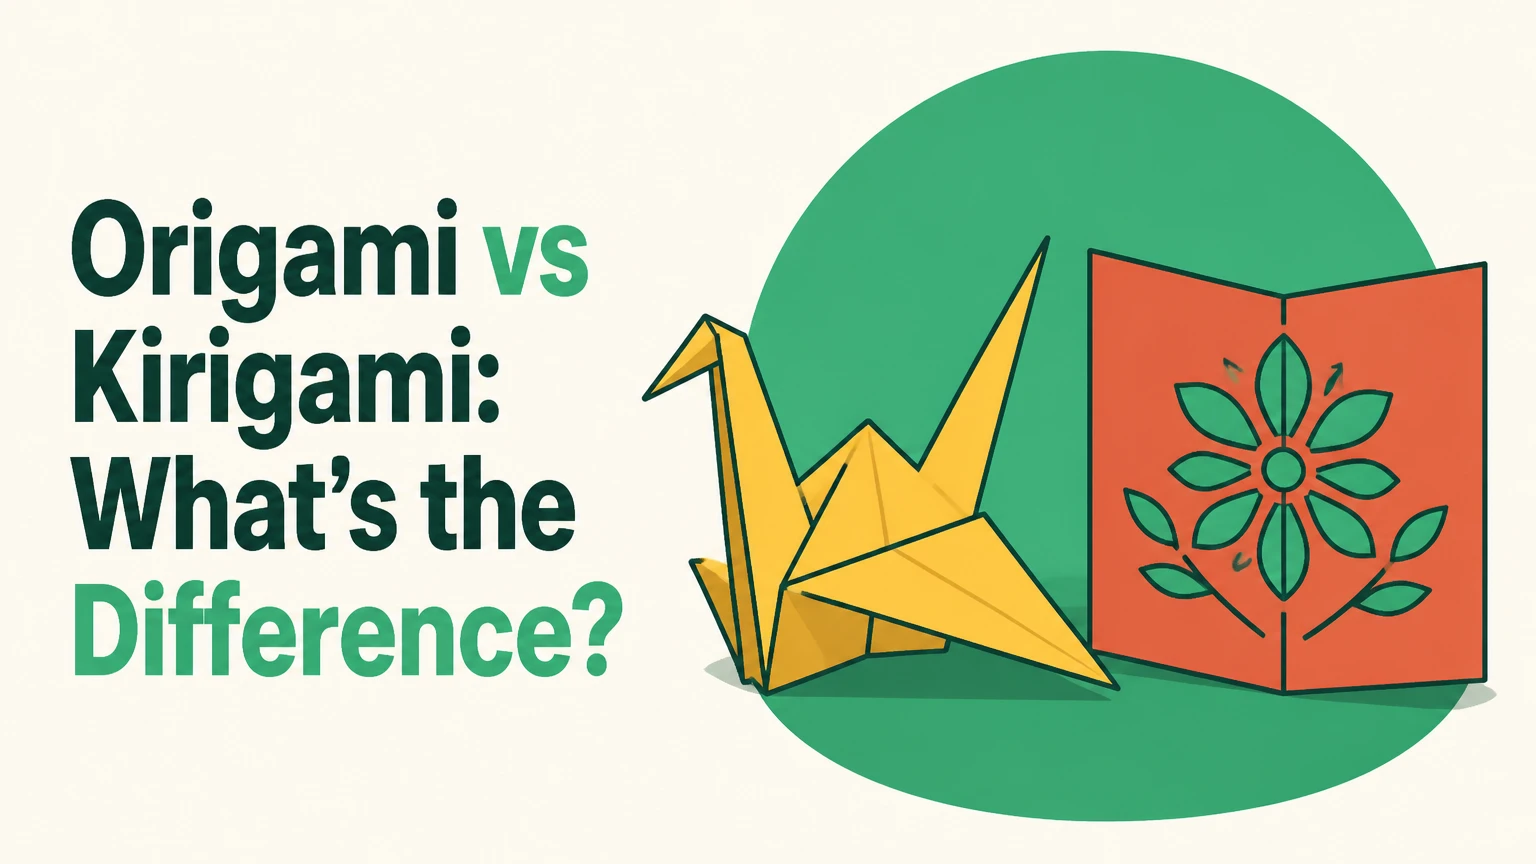
Origami is the art of creating forms by folding paper, while kirigami combines folding with deliberate cutting. Traditional origami generally excludes cuts and glue, whereas kirigami uses cuts to create negative space, silhouettes, hinges, pop-ups, and architectural structures. The right choice depends on whether you want fold-only sculpture or cut-assisted paper engineering.
Key Facts at a Glance
- Origami uses folding as its primary construction method; traditional origami does not use scissors, knives, or glue.
- Kirigami uses one or more intentional cuts, often alongside folds, scores, and hinges.
- Origami usually begins with a square sheet, while kirigami can use square, rectangular, circular, or printed paper.
- Origami preserves the paper’s continuous surface, while kirigami removes material and can weaken structural connections.
- Origami is usually the better tool-free and portable craft; kirigami is usually better for pop-up cards, silhouettes, and paper architecture.
- Both practices use geometry, symmetry, spatial reasoning, paper memory, and controlled deformation.
Origami vs Kirigami: What Is the Difference?
The defining difference between origami and kirigami is whether the paper is cut. Origami forms a model through folds alone, while kirigami changes the sheet’s outline or internal structure through cuts before, during, or after folding.
The Japanese names describe the core actions. Ori means folding, and kami means paper; kiri means cutting. The terms identify the dominant technique, although contemporary artists often combine folding, cutting, scoring, laminating, and limited adhesive in a single paper work.
Traditional origami has a strict material rule: one sheet is folded without cutting or gluing. Modern origami practice contains exceptions and specialized conventions, including multiple sheets, wet-folding, and occasionally small cuts in historical or hybrid work. Kirigami is more permissive because the cut itself is part of the design logic.
A useful classification test is simple: if removing the cutting step would destroy the intended form, the project is functionally kirigami. A folded crane remains recognizable without scissors, but a paper snowflake, pop-up staircase, or cut-paper chain does not.
Is Kirigami a Type of Origami?
Kirigami is closely related to origami, but it is not simply interchangeable with origami. Many craft explanations call kirigami a variation of origami because both transform flat paper through planned geometry, but practitioners distinguish the disciplines by the no-cut rule.
The boundary matters when instructions specify “pure origami.” A model made with a slit, trimmed corner, or glued tab may still be attractive, yet it no longer follows that strict origami convention. In schools, craft books, and commercial design, “origami” is sometimes used loosely for any folded paper project.
John Montroll summarizes the traditional concept in Origami for the Enthusiast (1979) with the direct description, “Origami is the art of paper folding.” That definition emphasizes folding as the construction system rather than the final appearance. A paper object can look origami-like while using kirigami methods.
How Do Origami and Kirigami Work?
Origami relies on crease patterns, friction, paper stiffness, and layered compression. Kirigami relies on those same properties but adds cuts that create edges, hinges, tabs, openings, and movable sections.
A fold redirects force through the sheet. A cut interrupts that force path. That distinction explains why a kirigami model can create a large pop-up from a small number of folds, while the same result may require many complex folds in origami.
Paper also has memory. Repeated creasing compresses fibers and makes a fold easier to repeat, but excessive pressure can weaken thin paper. In kirigami, the remaining bridges and hinges carry the load, so a cut placed too close to an edge can cause tearing even when the fold itself is accurate.
| Structural feature | Origami behavior | Kirigami behavior | Practical consequence |
|---|---|---|---|
| Continuous sheet | Preserved across the model | Interrupted by slots or removed areas | Origami usually retains higher tear resistance |
| Main shape control | Valley, mountain, reverse, and sink folds | Folds plus cuts, scores, tabs, and hinges | Kirigami can create openings and moving parts |
| Load transfer | Distributed through folded layers | Concentrated at bridges and hinge lines | Kirigami needs stronger hinge planning |
| Surface area | Nearly all original paper remains | Material is removed from selected regions | Kirigami gains negative space but loses material |
| Reversibility | Model can often be unfolded | Cuts cannot be undone cleanly | Kirigami mistakes are harder to repair |
| Typical motion | Static collapse and expansion | Opening, popping, bending, and rotation | Kirigami suits cards and mechanical prototypes |
What Do Folds and Cuts Actually Change?
Folds change the orientation of paper without removing material. Cuts change the topology of the sheet by separating regions that were previously connected, which permits flaps, holes, chains, and pop-up mechanisms.
Origami folds are often described as valley folds, which form a crease like a valley, and mountain folds, which form a raised ridge. Advanced models add reverse folds, squash folds, sink folds, crimps, and pleats. Designers may also use a crease pattern that maps hundreds of folds onto one sheet.
Kirigami uses fold lines for motion and cut lines for release. A rectangular cut through a card can become a step when the surrounding sheet is folded. A curved cut can produce a silhouette, but tight curves increase the risk of tearing unless the blade is sharp and the paper is supported.
What Materials and Tools Does Each Art Require?
Origami needs paper and, in strict practice, no other tool. Kirigami usually needs paper, a cutting tool, a cutting surface, and sometimes a ruler, pencil, scoring tool, or adhesive.
Standard kami paper is commonly sold in 15-centimeter squares and often weighs about 60-80 grams per square meter. Lightweight paper folds easily, while heavier cardstock holds a pop-up tab or architectural wall more reliably. Very thick stock creates bulky origami layers and can split along tight kirigami hinges.
| Project type | Recommended paper | Typical thickness | Essential tools | Typical preparation time |
|---|---|---|---|---|
| Beginner origami crane | Kami square | 60-80 gsm | None | 2-8 minutes |
| Modular origami ball | Kami squares | 60-80 gsm | None, optional clips | 30-90 minutes |
| Flat kirigami snowflake | Copy paper | 75-90 gsm | Scissors, pencil | 5-15 minutes |
| Pop-up greeting card | Cardstock | 180-300 gsm | Craft knife, mat, ruler | 30-90 minutes |
| Origamic architecture | Smooth cardstock | 160-250 gsm | Knife, mat, metal ruler, scorer | 2-10 hours |
| Wet-folded animal | Strong long-fiber paper | 80-150 gsm | Water spray, towel | 30-120 minutes |
Paper grain also affects results. Folding parallel to the grain often feels easier, while folding across it can produce a sharper resistance and greater risk of cracking. For a first project, use inexpensive, smooth paper before committing handmade washi or specialty cardstock.
Kirigami cutting requires a self-healing mat or another protected cutting surface. A precision craft knife with a fresh blade gives cleaner corners than a dull blade, and a metal ruler prevents accidental damage during straight cuts. Children should use scissors with adult supervision and avoid exposed craft blades.
What Are the Main Types of Origami and Kirigami?
Origami types differ mainly by construction method, number of sheets, paper condition, and geometric objective. Kirigami types differ mainly by whether the finished piece is flat, hinged, pop-up, architectural, or mechanically articulated.
| Type | Discipline | Construction rule | Typical result | Common use |
|---|---|---|---|---|
| Traditional origami | Origami | One square, folds only | Crane, frog, flower | Practice and cultural craft |
| Modular origami | Origami | Multiple folded units, no glue in strict forms | Sonobe ball or kusudama | Geometric decoration |
| Wet-folding | Origami | Damp paper, sculptural folds | Rounded animal figure | Realistic paper sculpture |
| Tessellation | Origami | Repeated crease grid | Repeating geometric surface | Art and mathematical design |
| Pureland origami | Origami | Limited fold vocabulary | Accessible model | Beginner instruction |
| Flat symmetrical kirigami | Kirigami | Folded sheet, repeated cuts | Snowflake or paper chain | Classroom and decoration |
| Pop-up kirigami | Kirigami | Cuts, folds, and hinges | Staircase or card scene | Greeting cards and books |
| Origamic architecture | Kirigami | Cut-and-fold cardstock | Building or landmark | Design and display |
| Articulated kirigami | Kirigami | Slots and linked hinges | Moving figure or mechanism | Prototyping and kinetic art |
Traditional origami, modular origami, wet-folding, tessellations, and Pureland origami remain fold-centered even though their difficulty varies sharply. Pureland origami, associated with John Smith, restricts the fold vocabulary to make diagrams more accessible.
Kirigami snowflakes are often the easiest entry point because folding creates symmetry before cutting. Origamic architecture is substantially harder because the maker must coordinate front-facing surfaces, hidden cuts, hinge widths, fold direction, and the viewing angle.
Which Is Easier for Beginners?
Origami is usually easier for beginners who have only paper, while symmetrical kirigami can be easier for beginners who want a recognizable decorative result within 10 minutes. Difficulty depends less on the label than on the model’s fold count, paper thickness, cutting precision, and tolerance for irreversible mistakes.
A five-fold origami boat is simpler than a detailed kirigami snowflake. However, a basic folded-and-cut paper chain may require less spatial reasoning than a complex origami animal with reverse and sink folds.
| Beginner goal | Better starting choice | Time | Difficulty | Reason |
|---|---|---|---|---|
| Use paper only | Simple origami boat | 5-10 minutes | Low | No cutting surface or blade required |
| Teach symmetry | Folded kirigami snowflake | 10-20 minutes | Low | Repeated cuts reveal symmetry |
| Make a card | Basic kirigami pop-up | 20-45 minutes | Low to medium | Cuts create the card mechanism |
| Build spatial reasoning | Origami frog base | 15-30 minutes | Medium | Requires sequential fold accuracy |
| Make a realistic animal | Wet-folded origami | 45-120 minutes | High | Damp paper reduces error tolerance |
| Build architecture | Origamic architecture | 2-10 hours | High | Precision cuts and hinges must align |
A practitioner rule of thumb is to choose origami when the learner becomes frustrated by tools, and choose flat kirigami when the learner needs a fast visual payoff. Neither discipline is automatically easy at an advanced level.
How Do You Make a Basic Origami Model?
A basic origami model usually takes 5-15 minutes and requires one square sheet, accurate alignment, and a flat surface. Success depends most on matching corners and edges before creasing, because a small error in the first fold compounds through later layers.
- Choose a 15-centimeter square. Use 60-80 gsm kami paper for an animal, boat, or flower. Avoid thick cardstock until the fold sequence feels familiar.
- Make the reference creases. Align opposite corners or edges precisely, press the center first, then crease outward with a fingernail or bone folder.
- Build the base. Follow the model’s starting structure, such as a waterbomb, bird, frog, or preliminary base.
- Shape the layers. Use reverse folds, squash folds, or sinks only when the diagram identifies them. Keep layers flat before moving to the next step.
- Finish the form. Adjust legs, wings, ears, or petals with small shaping folds rather than forcing thick layers.
You will know the process worked when the model’s reference points meet without twisting and the finished form holds its position without glue. The commonest beginner error is creasing an inaccurate alignment, not misunderstanding an advanced fold.
Origami can be unfolded and refolded, but paper fibers retain previous creases. After two or three corrections, switch to a fresh sheet if the model becomes visibly distorted.
How Do You Make a Basic Kirigami Pop-Up?
A basic kirigami pop-up takes about 20-45 minutes and uses cardstock, a pencil, a ruler, a craft knife, and a cutting mat. The key success factor is leaving uncut bridges where the moving element must remain attached to the backing sheet.
- Select the card stock. Use smooth 180-250 gsm paper for a card that opens reliably without collapsing.
- Mark the center fold. Fold the card in half and identify the fold direction before drawing the pop-up element.
- Draw the cut lines. Mark two parallel cuts for a tab, or use a printed template. Keep narrow hinges at least 3-5 millimeters wide for ordinary cardstock.
- Cut the slots. Cut from the interior outward with a sharp blade, stopping exactly at each endpoint. Never cut across the central fold unless the template requires it.
- Score and reverse the tab. Lightly score the bend line, then push the tab inward or outward according to the design.
- Test the motion slowly. Open the card through 90 degrees, then 120 and 180 degrees, checking whether the tab catches or tears.
You will know the pop-up works when the tab rises smoothly and folds flat without buckling the card. The commonest mistake is cutting through a hinge because the maker follows the visible shape instead of the structural line.
Scoring differs from cutting. A score compresses the surface to guide a bend, while a cut separates fibers. Confusing the two produces either a weak hinge or a stiff, inaccurate fold.
Which Applications Suit Origami or Kirigami?
Origami suits fold-based sculpture, portable practice, modular decoration, tessellated surfaces, and realistic animals. Kirigami suits pop-up cards, paper chains, snowflakes, silhouettes, architectural models, and prototypes that need controlled movement.
Paper engineering research uses kirigami principles because cuts can make flat materials expand, bend, buckle, or deploy. A 2025 study in Communications Engineering examined kirigami-inspired structures, illustrating why cut patterns matter beyond decorative craft. The craft therefore connects to deployable materials and mechanical design, although a greeting card is not automatically an engineering prototype.
| Intended outcome | Recommended discipline | Example | Why the method fits | Main limitation |
|---|---|---|---|---|
| Folded animal | Origami | Yoshizawa-style wet-folded bear | Continuous folds model volume | Detail requires practice |
| Repeating surface | Origami | Triangle tessellation | Crease grids preserve the sheet | Alignment errors multiply |
| Decorative symmetry | Kirigami | Six-fold snowflake | Folded layers repeat cuts | Thin points tear easily |
| Moving card | Kirigami | Pop-up house | Hinges lift structures at opening | Tabs fatigue with repeated use |
| Landmark model | Kirigami | Eiffel Tower architecture | Cuts reveal planes and windows | Assembly can take hours |
| Large geometric sculpture | Modular origami | Sonobe sphere | Units distribute visual complexity | Many units require patience |
Origami is not ideal when the design needs a clean internal hole, a vertical wall with a window, or a repeated moving hinge. Kirigami is not ideal when the material must remain continuous, repeatedly unfold without visible damage, or survive heavy handling.
How Do Cost, Time, and Mistake Tolerance Compare?
A basic origami project typically costs $0.01-$0.20 per sheet and takes 5-15 minutes. A basic kirigami project typically costs $0.20-$2 in materials and takes 10-45 minutes, while architectural pieces can require $10-$25 in tools and 2-10 hours of labor.
These are typical craft ranges, not fixed retail prices. A household printer sheet can reduce the starting cost, while handmade washi, specialty cardstock, replacement blades, and printed templates increase it.
| Project level | Origami material cost | Kirigami material and tool cost | Typical time | Error recovery |
|---|---|---|---|---|
| Beginner | $0.01-$0.20 | $0.10-$3 | 5-20 minutes | High for fold errors |
| Intermediate | $0.10-$1 | $1-$8 | 30-90 minutes | Medium |
| Modular | $1-$8 | $2-$10 | 1-4 hours | High per unit, low at assembly |
| Tessellation | $0.20-$3 | $1-$6 | 2-8 hours | Low after repeated creases |
| Pop-up card | $0.20-$2 | $2-$10 | 30-90 minutes | Low after cutting |
| Architecture | $1-$8 | $10-$25 | 2-10 hours | Very low after major cuts |
Origami usually has greater mistake tolerance because an incorrect fold can be opened, reassessed, and replaced. Kirigami has lower tolerance once a blade removes a hinge, although a small tear may be stabilized from behind with archival tape.
One expert rule is to spend more time planning kirigami cuts than executing them. A 30-second pause to identify every hinge can prevent an hour-long failure.
What Are the Most Common Problems?
Origami most often fails through cumulative alignment error, over-creasing, unsuitable paper, or forcing thick layers. Kirigami most often fails through severed hinges, dull blades, inaccurate scoring, and cuts that leave unsupported narrow bridges.
Origami Failure Modes
- Corners drift: The first diagonal or edge fold is misaligned. Open the fold, match the endpoints, and crease from the center outward.
- Layers become bulky: Too many layers occupy one point. Use thinner paper or select a model designed for heavier stock.
- Paper tears at a crease: Excessive rubbing has weakened the fibers. Replace the sheet rather than hiding the tear with glue.
- Curves look angular: Standard dry-folding cannot produce the intended organic contour. Try wet-folding with lightly dampened paper.
- Model will not hold: The design may require locking folds, not adhesive. Recheck reverse folds and pocket insertion points.
Kirigami Failure Modes
- A tab detaches: The cut passed through a hinge. For a display card, add archival tape to the back; for a clean final piece, recut the model.
- Edges look ragged: The blade is dull or the paper is unsupported. Replace the blade and rotate the paper instead of twisting the knife.
- Pop-up jams: The tab is too wide, the score is misplaced, or the card is opened too quickly. Test at 90 degrees and trim only after identifying the contact point.
- Snowflake tears: Negative spaces leave points narrower than the paper can support. Keep bridges wider than 2-3 millimeters in lightweight paper.
- Card will not close: A structure projects beyond the card’s interior depth. Reduce the tab height or use a deeper folded base.
Glue is not a universal repair. Adhesive can stiffen a hinge, stain porous paper, and prevent a model from folding flat.
Which Should You Choose?
Choose origami for tool-free folding, reversible practice, realistic folded sculpture, or a meditative activity. Choose kirigami for pop-up cards, cut-paper symmetry, architectural replicas, and designs that need openings or mechanical movement.
For Tool-Free Beginners
Start with origami if you have only one sheet of paper and want a project that can be corrected. A boat, simple box, or waterbomb base gives immediate practice with alignment and crease control.
For Children and Classrooms
Use simple origami for dexterity and sequencing, or pre-drawn symmetrical kirigami with scissors for symmetry lessons. Avoid craft knives, small detachable scraps, and projects requiring narrow hinges for younger children.
For Greeting Cards
Choose kirigami because cuts create tabs and stepped forms that rise as the card opens. Use 180-250 gsm cardstock, score before folding, and test the mechanism at least three times before decorating.
For Artists and Sculptors
Choose origami when surface continuity, folded volume, and organic shaping matter. Choose kirigami when negative space, architectural planes, or controlled deformation matters more than an uncut sheet.
For Designers and Engineers
Kirigami is the stronger starting method for deployable structures because slots and cut patterns control expansion and bending. Origami remains valuable for compact folding, packaging, robotics, and structures that must collapse without removing material.
FAQ
Can Origami Use Scissors?
Strict traditional origami does not use scissors, knives, cuts, or glue. Some historical and modern designs use a small cut, but those models are commonly classified as modified or hybrid origami. If cutting is essential to the design, kirigami is the more precise term.
Is Kirigami Harder Than Origami?
Kirigami is not universally harder. Flat symmetrical kirigami can be easier than intermediate origami because folded layers simplify repeated cutting, while advanced pop-ups and origamic architecture demand high accuracy. Origami is usually more forgiving after mistakes, but complex crease patterns can require substantially more spatial reasoning.
What Paper Is Best for Origami?
Smooth 60-80 gsm kami is a reliable starting paper for simple origami. Use stronger, thinner long-fiber paper for detailed models, and use damp-resistant paper around 80-150 gsm for wet-folding. Avoid thick cardstock when a model contains many layers or tight reverse folds.
Can Kirigami Use Glue?
Kirigami can use glue in many contemporary craft and card projects, although traditional definitions focus on cutting and folding rather than adhesive assembly. Glue is useful for attaching a finished mechanism to a card base, but it should not replace a correctly designed hinge or tab.
Which Art Is Better for Meditation?
Origami usually suits repetitive, quiet practice because it needs only paper and allows a steady sequence of folds. Modular origami and tessellations provide extended repetition, while kirigami introduces tool handling, cutting decisions, and safety interruptions that may reduce the meditative rhythm.
Does Origami or Kirigami Last Longer?
Origami generally lasts longer when the paper remains continuous and the model is handled gently. Kirigami can be durable when hinges are wide, cardstock is appropriate, and the mechanism is not repeatedly forced, but every cut creates a potential tear point.
The Bottom Line
Origami vs kirigami: what’s the difference comes down to the construction rule. Origami creates form through folding without cuts, while kirigami combines folding and intentional cutting to produce openings, hinges, silhouettes, and pop-up structures.
Choose origami for portable, fold-only sculpture and forgiving practice. Choose kirigami when the project needs negative space, mechanical movement, or architectural detail. The best choice is determined by the desired structure, available tools, paper weight, and whether the sheet must remain continuous.
