

Origami, the Japanese art of paper folding, offers endless creative possibilities. Today, I’m excited to guide you through creating a simple and easy Origami yacht. Whether you’re a beginner or a seasoned origami artist, I promise this project will be both enjoyable and rewarding!
Making an origami yacht is a fantastic way to dive deeper into the world of paper folding. The beauty of this project is in its simplicity—it’s quick, fun, and the result is quite impressive. Follow the easy instructions below, and soon, you’ll have your very own origami yacht to show off!
This article will take you through each step in a clear, engaging manner. By the end of this guide, you’ll have the skills to make your own Origami yacht, and you’ll understand the magic of folding paper into something amazing.
Materials Needed for Your Origami Yacht
Before we dive into the steps, let’s make sure you have everything you need.
| Material | Details |
|---|---|
| Paper | 9″ × 9″ square sheet (preferably lightweight) |
| Flat Surface | A clean, flat space to fold the paper |
| Patience | Required for a smooth process! |
Having the right materials will ensure your origami yacht turns out perfectly. Now, let’s get started!
Easy Origami Yacht: Step-by-Step Instructions
Here are the four simple steps to create your very own origami yacht. Follow these steps carefully, and you’ll be amazed at how easy it is to make a beautiful yacht!
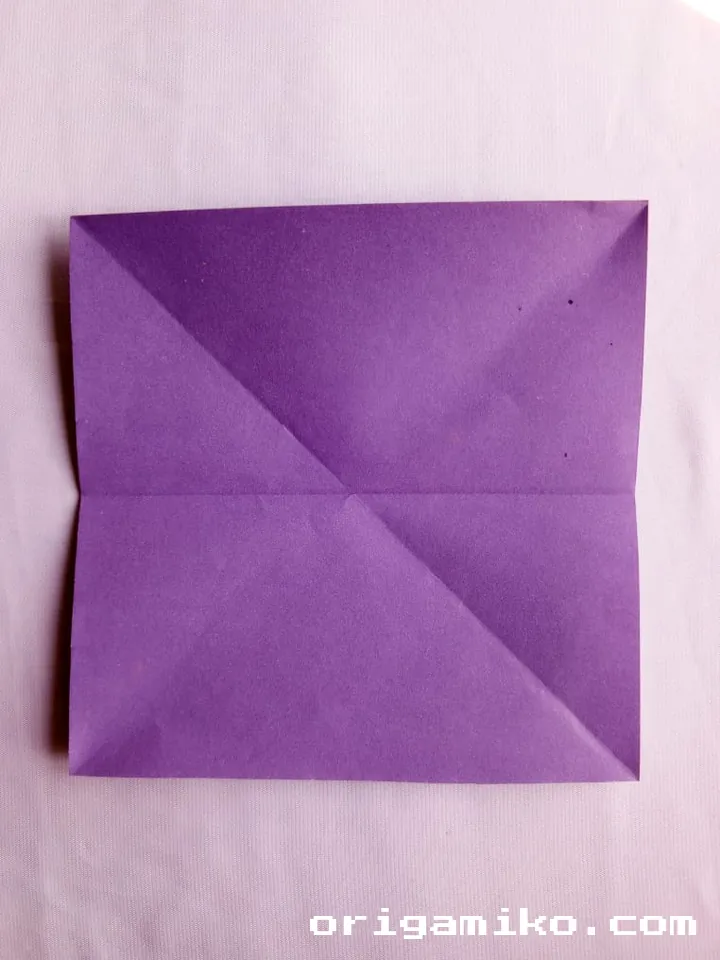
Step 1: Start with a Square Paper
Take a square piece of paper. A 9″ × 9″ sheet works best for this project.
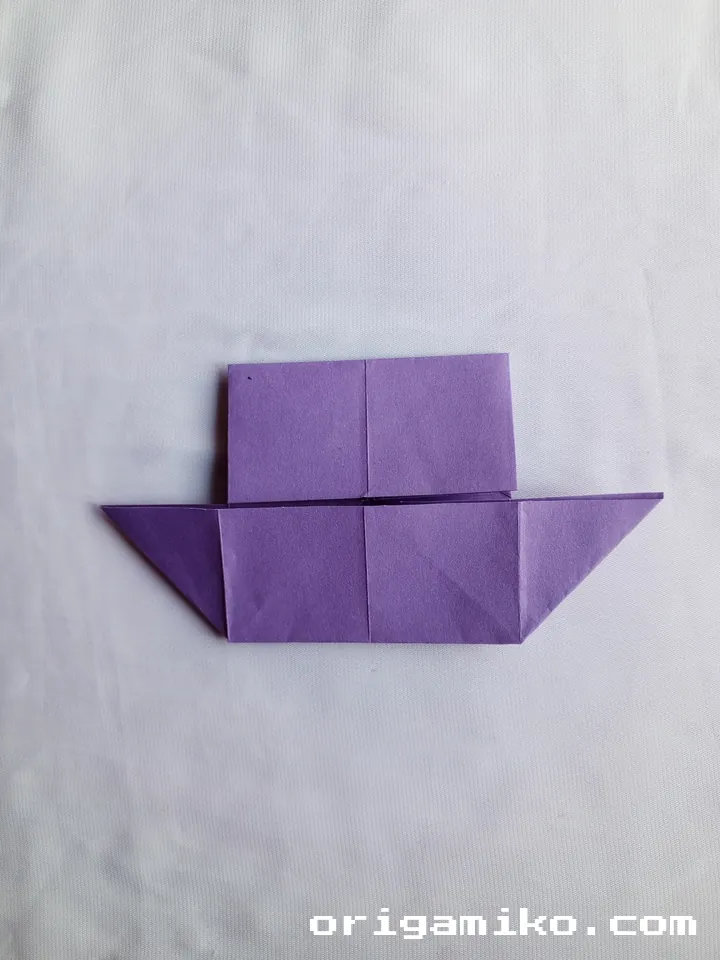
Step 2: Fold in the Middle and Unfold
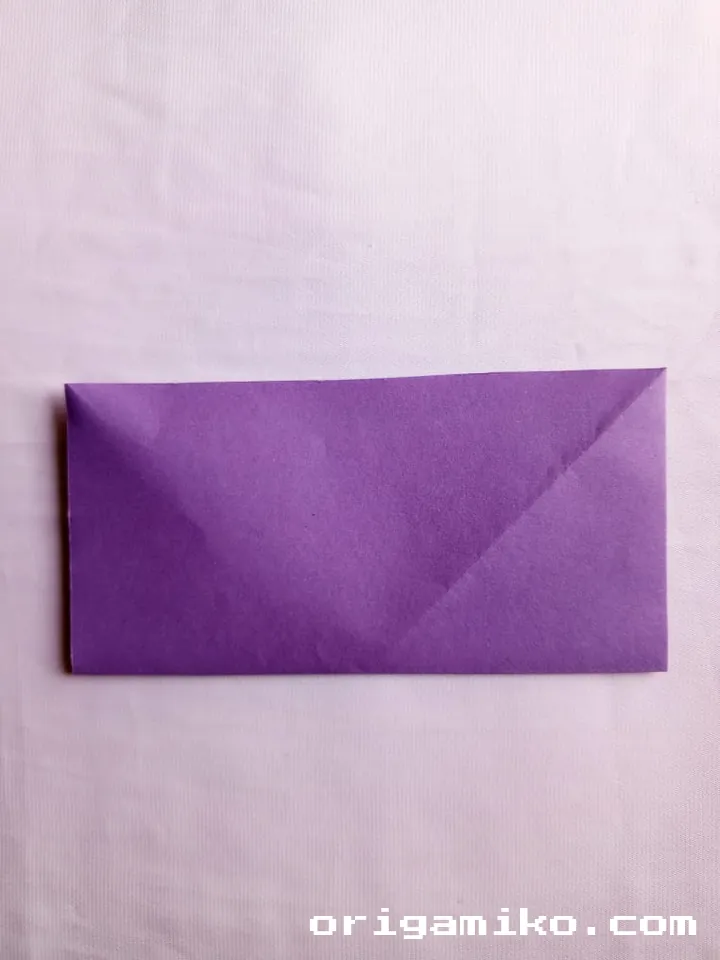
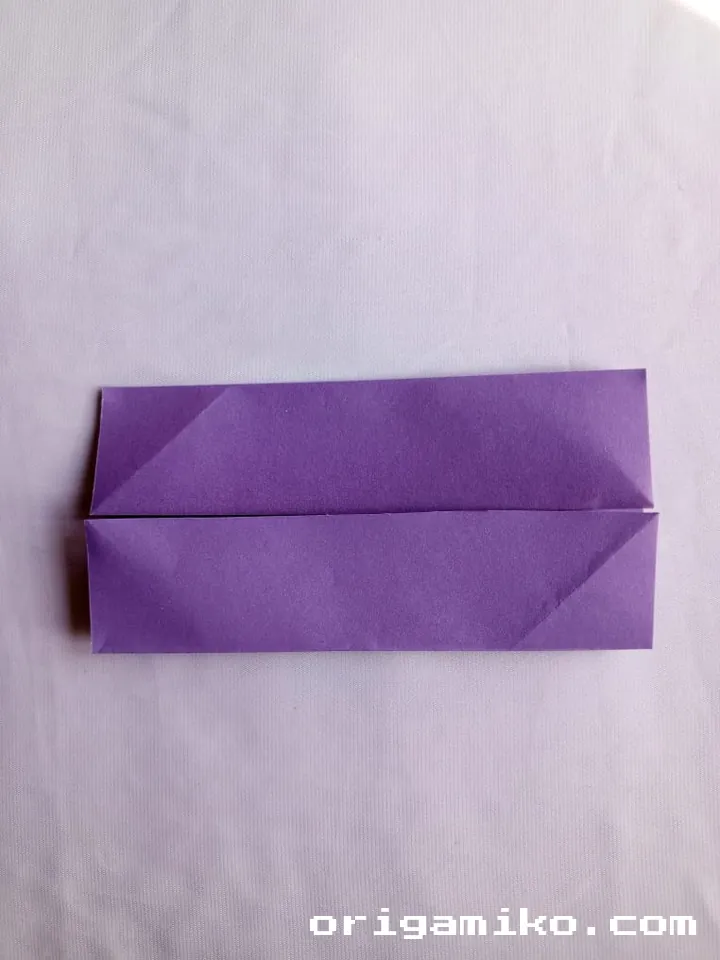
Fold the paper in half horizontally, then unfold it. This creates a crease that will help guide your folds.
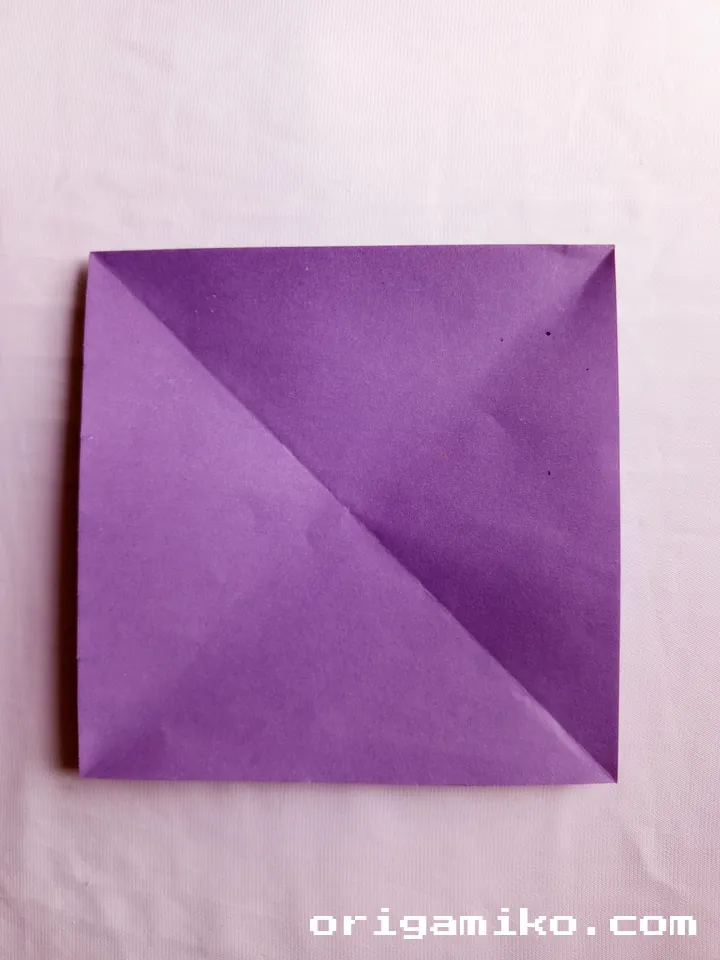
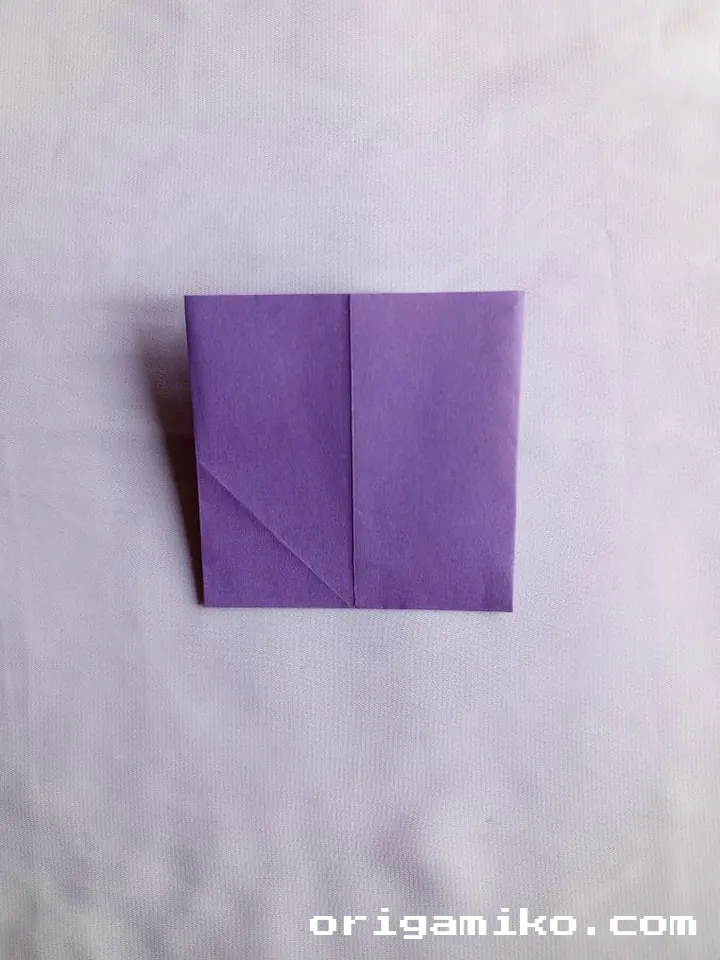
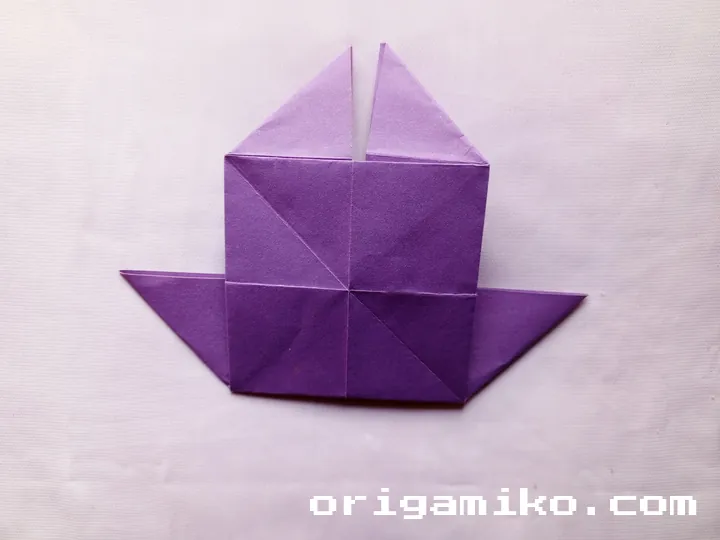
Step 3: Housefold and Unfold Between
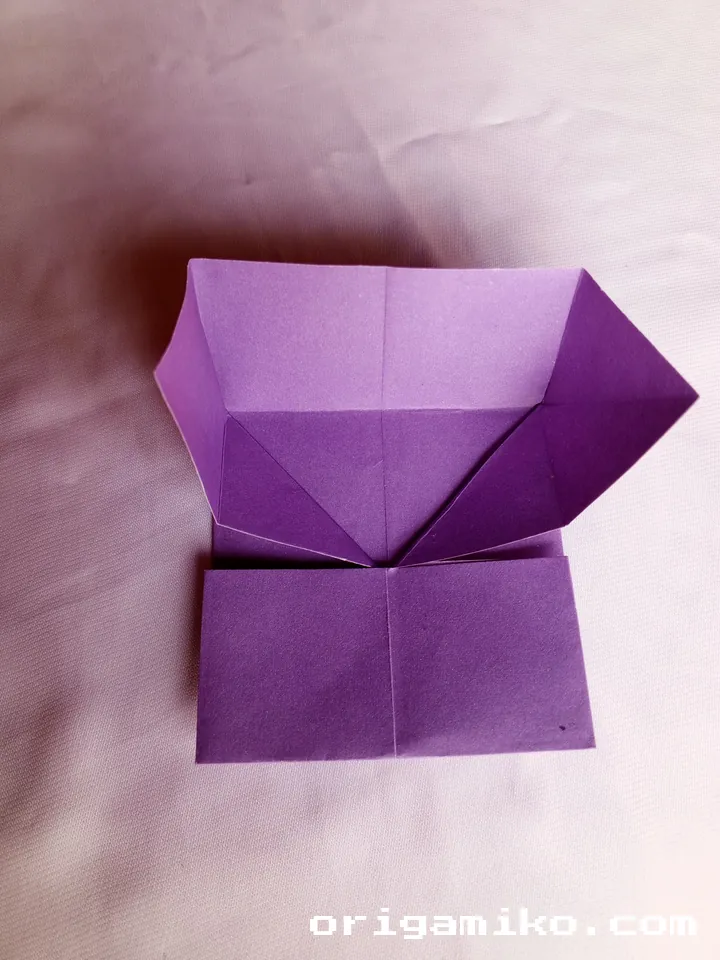
Now, fold the two sides of the paper towards the center, meeting at the middle, creating a “house” shape. Unfold this step as well.
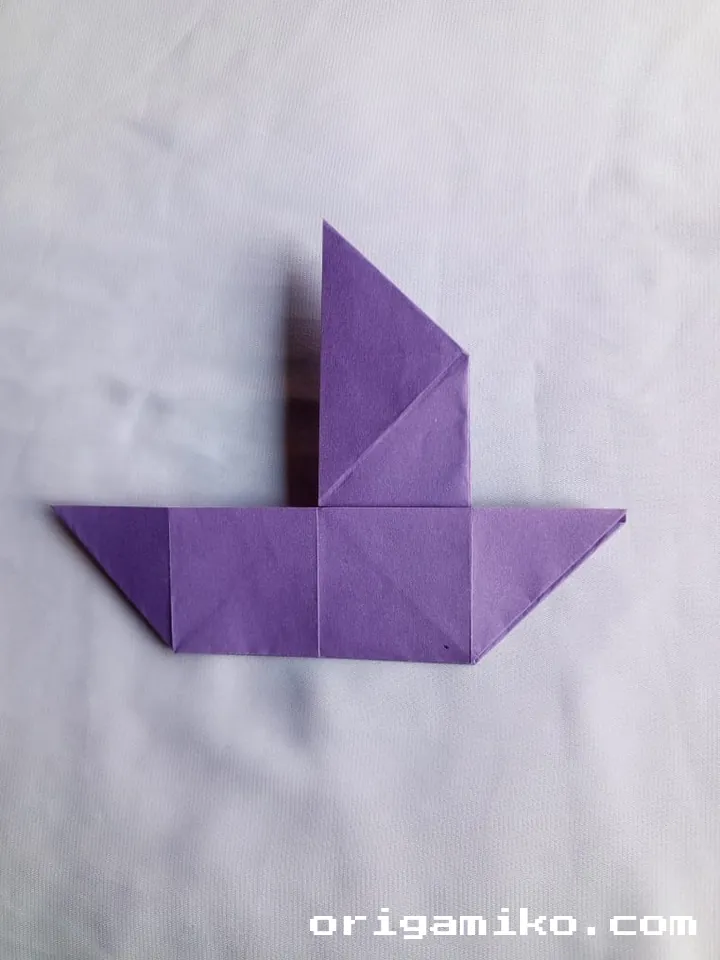
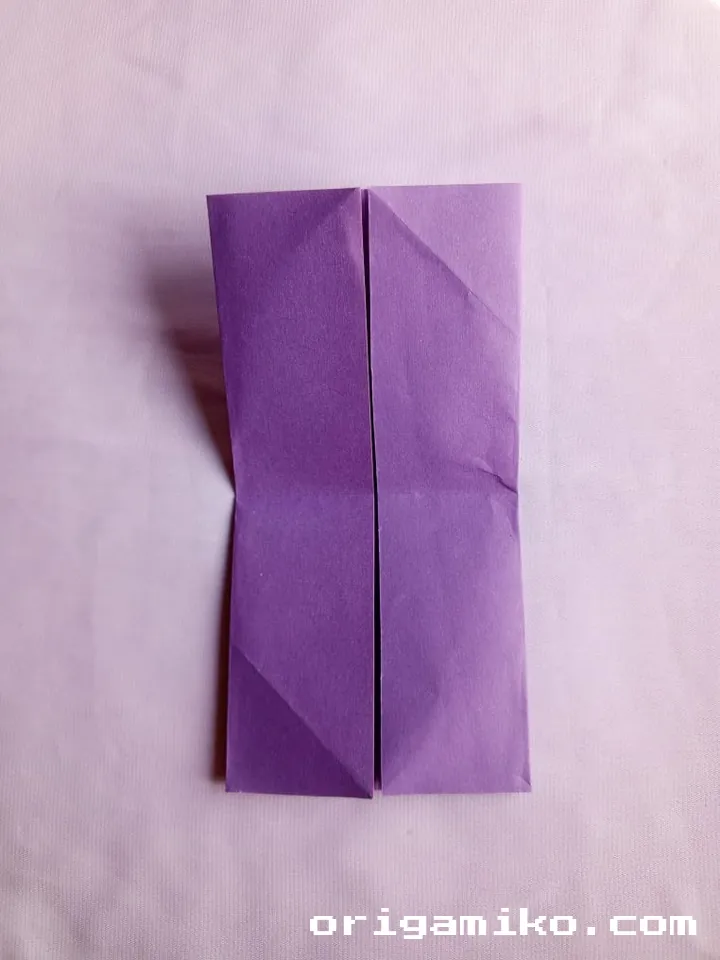
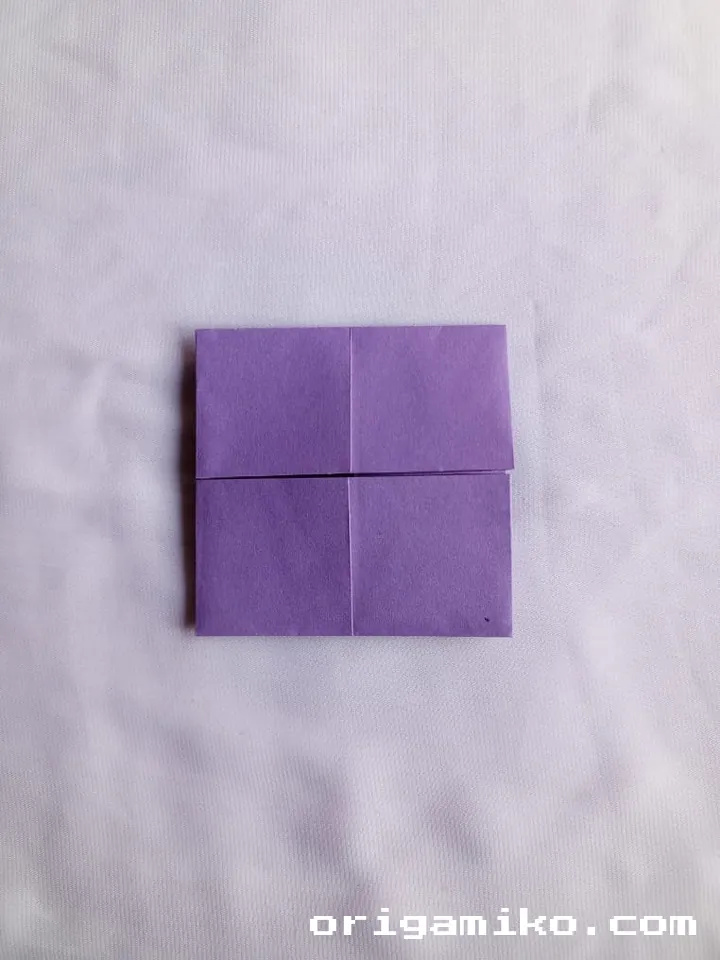
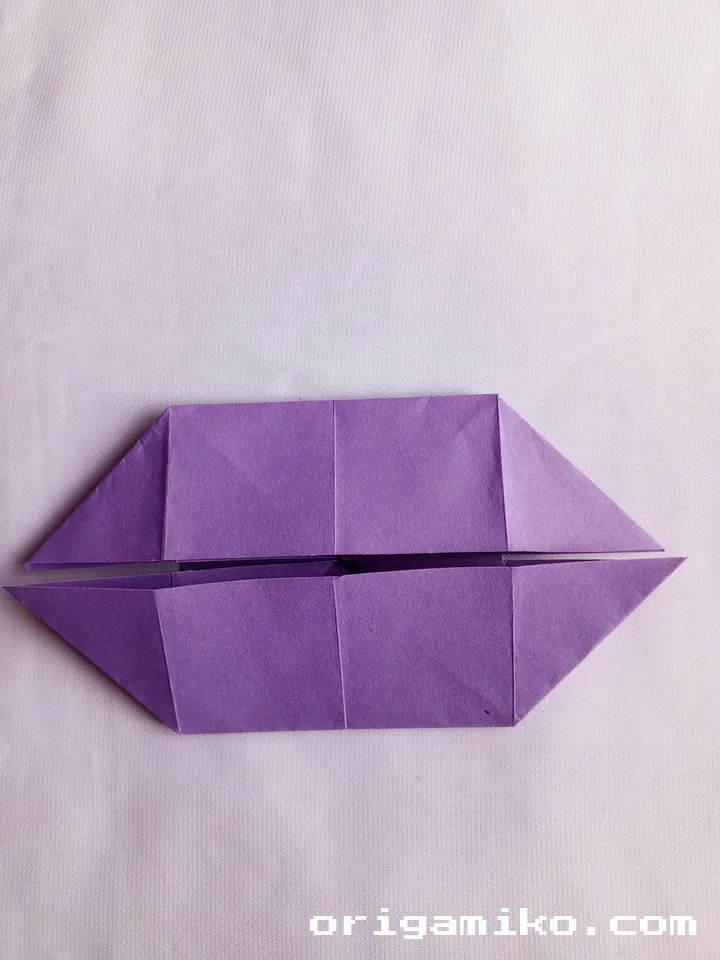
Step 4: Fold the Sides and Shape the Yacht

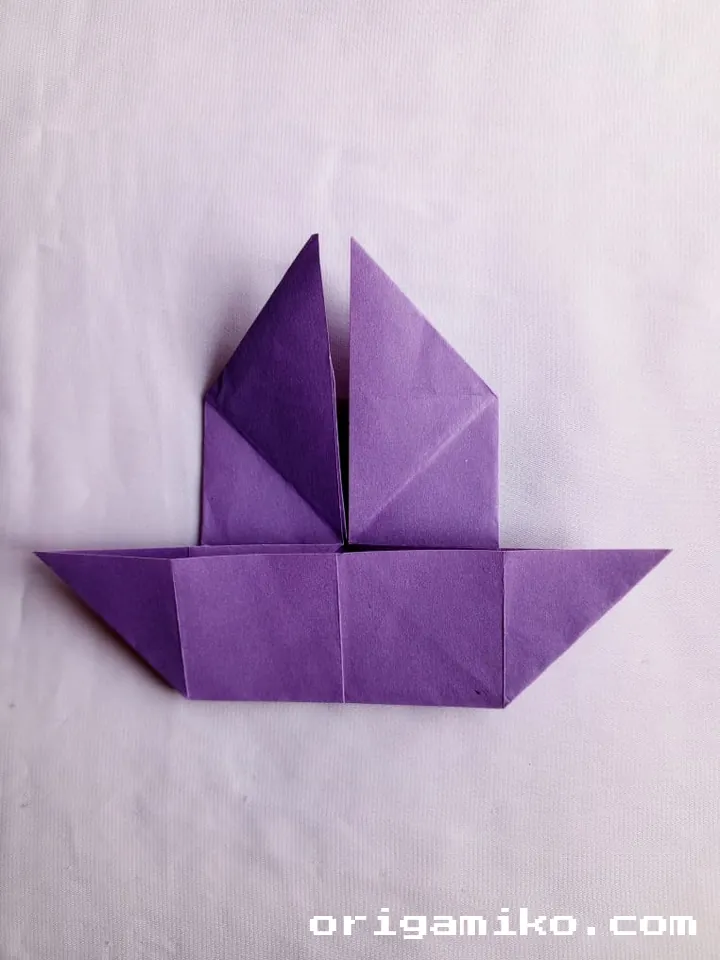
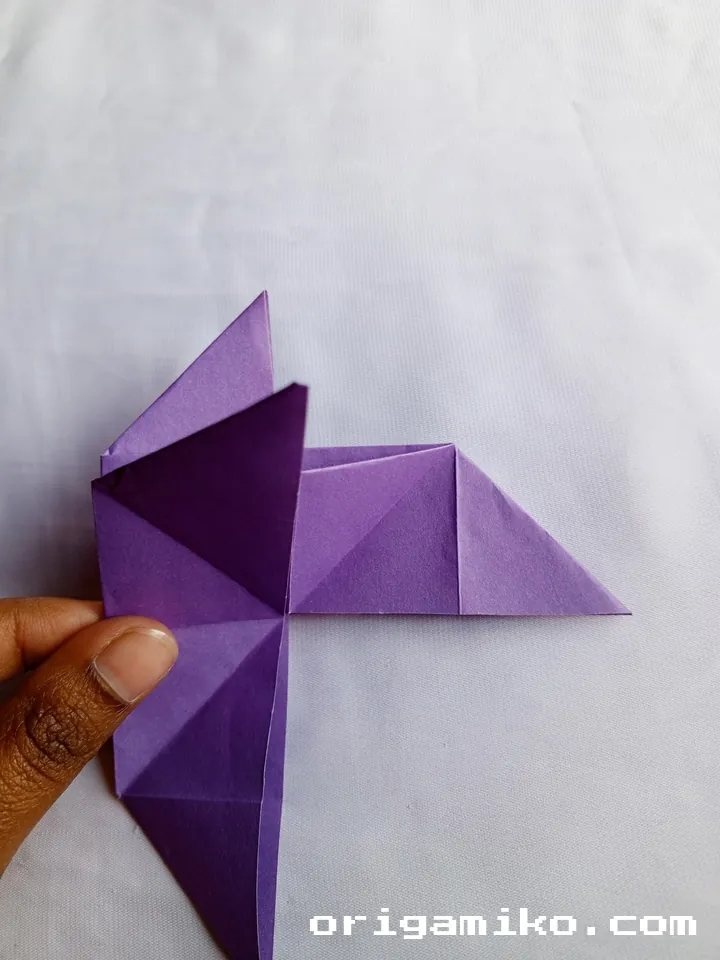
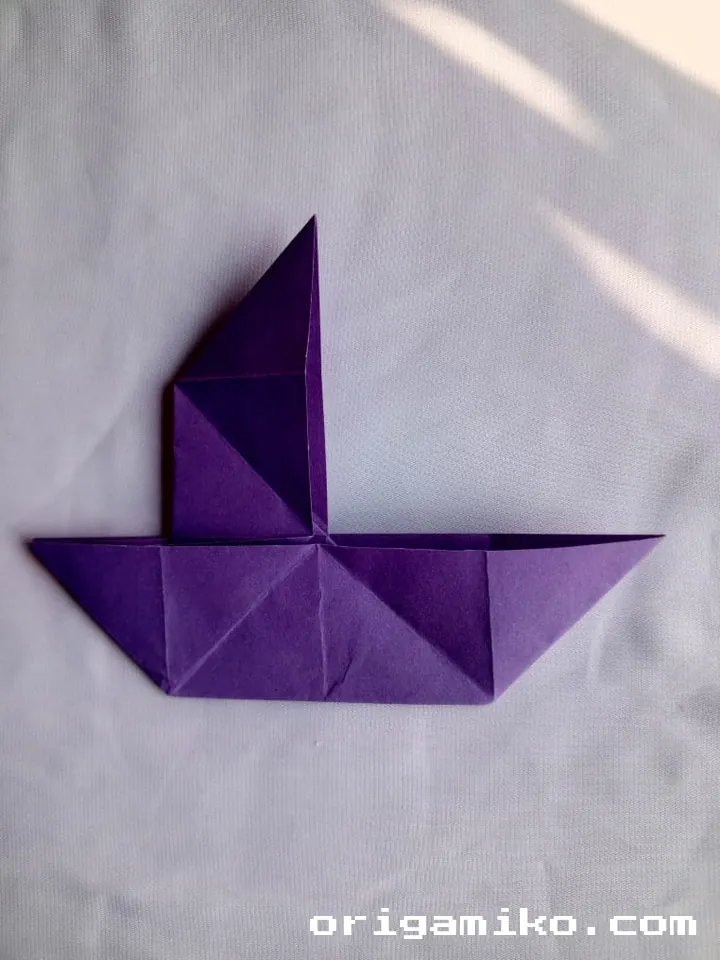
Fold the right and left sides of the paper upward. Once you fold the back as shown in the picture, your origami yacht will be ready!
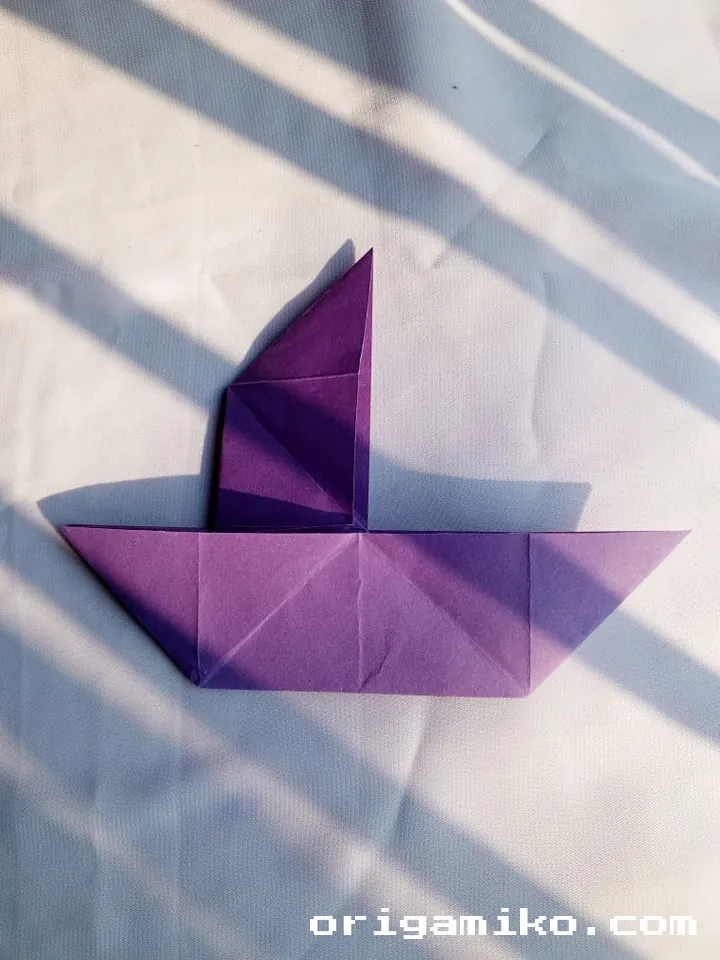
Congrats! You’ve made your own simple origami yacht! Wasn’t that easy? Keep practicing, and you can create a whole fleet!
Tips for Success in Making Your Origami Yacht
- Use the Right Paper: For best results, use lightweight paper that folds easily without tearing.
- Crease Well: Make sure each fold is sharp and clean by pressing down firmly on the edges.
- Practice Makes Perfect: If your first attempt isn’t perfect, don’t worry! The more you fold, the better you’ll get at it.
Common Mistakes and How to Avoid Them
- Incorrect Folding: Ensure you are folding evenly and precisely. It’s easy to go off-track if the folds aren’t aligned.
- Weak Creases: Strong, crisp creases are crucial for getting the cleanest folds and the best results. Use your fingers or a bone folder to press the paper down.
- Not Following the Sequence: Don’t skip any steps. Each fold builds on the previous one, so it’s important to follow the instructions in order.
Similar Variations That Can Be Made
Once you’ve mastered this easy origami yacht, you can try creating other origami boats or even advanced models. Here are some ideas:
- Origami Paper Boat: A classic variation, this boat is easier to make and a great starting point.
- Origami Sailboat: A slightly more advanced project, but equally fun.
- Origami Fishing Boat: Add some creative flair by modifying the design to resemble a fishing boat.
Frequently Asked Questions (FAQs)
How long does it take to make an origami yacht?
It typically takes 5-10 minutes, depending on your familiarity with origami folding.
Can I use different paper sizes for this project?
Yes, you can experiment with various paper sizes, but the 9″ × 9″ square is ideal for a neat finish.
What if I make a mistake while folding?
No worries! Simply unfold and re-align your folds. Origami is all about practice!
Conclusion
Creating your own origami yacht is a fantastic and simple way to explore the art of paper folding. By following the easy steps, you’ll quickly see how rewarding it can be. The best part? You can experiment with different variations once you’ve mastered the basic yacht.
I hope you enjoyed this origami adventure! Keep folding, and let your creativity sail!