


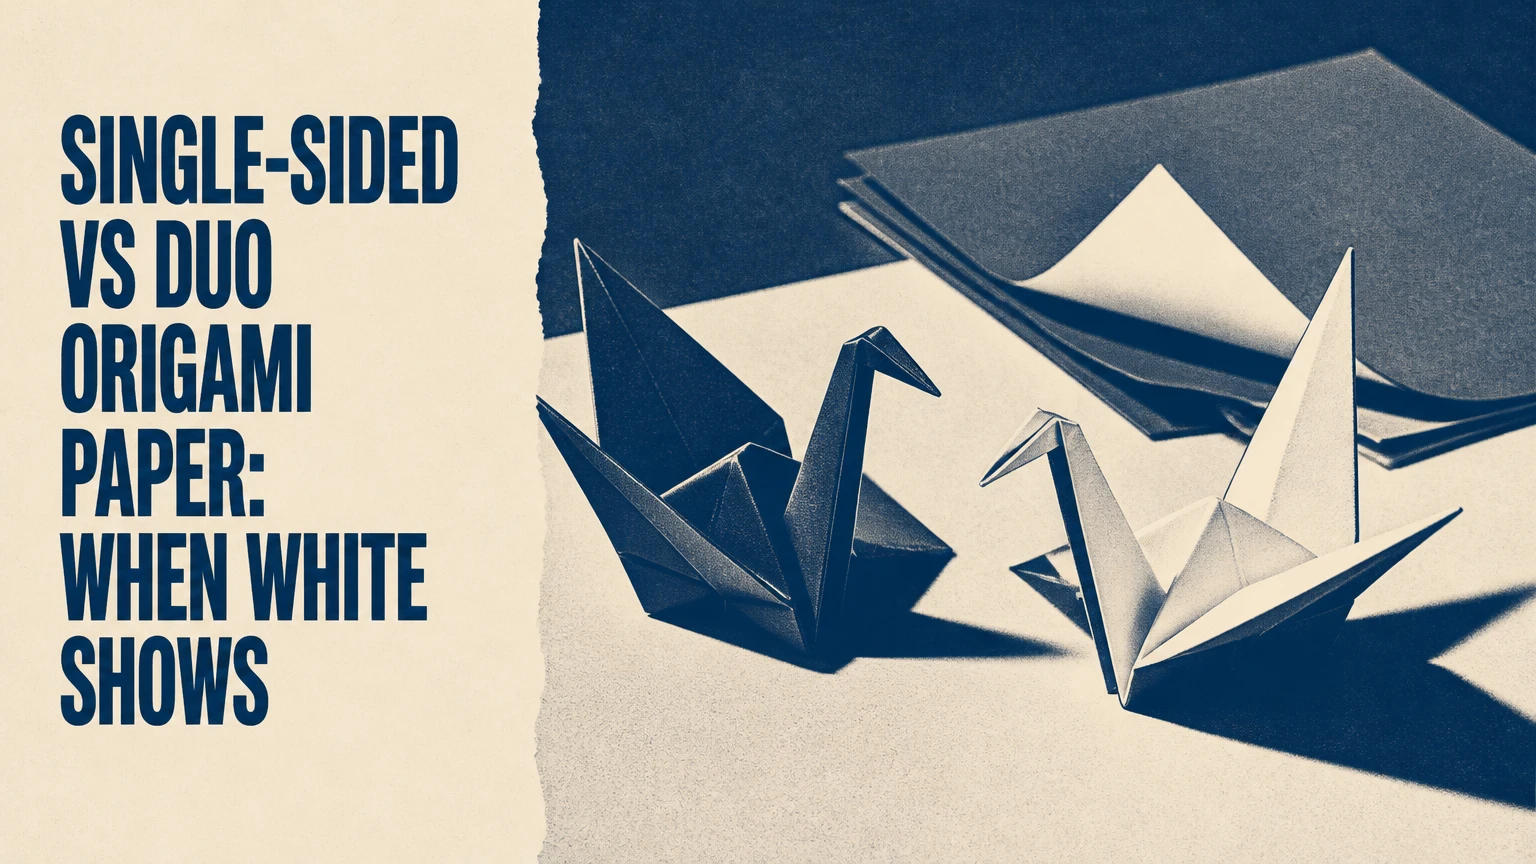
Single-sided origami paper has color or pattern on one face and white on the reverse, so white appears wherever a fold turns that reverse surface outward. Duo origami paper has a deliberate colored, patterned, or metallic surface on both faces, replacing accidental white exposure with planned two-tone color. The correct choice depends on the model’s intended color layout.
Key Facts at a Glance
Single-sided kami exposes white at reverse folds, turned edges, open sinks, and layered tips.
Duo paper does not automatically prevent white: some duo sheets use white as one of their two surfaces.
The first-side-up symbol controls the starting orientation, but later fold layers determine the final visible color.
A 15 x 15 cm sheet weighing 50-70 GSM suits most beginner and intermediate models.
Single-sided kami usually costs less and is easier to crease; duo paper gives more reliable two-color results.
A model designed for a white belly or chest can look wrong when folded with solid/solid duo paper.
What Is the Difference Between Single-Sided and Duo Paper?
Single-sided origami paper places one printed or dyed surface over a white paper base, while duo paper intentionally gives both faces distinct usable colors or patterns. Single-sided paper creates a built-in contrast; duo paper gives the folder control over that contrast.
The word “kami” commonly refers to thin, machine-made origami paper, often colored on one side. However, “kami” describes a paper category and format more broadly, not a guarantee that every kami sheet is single-sided. Product listings can use “duo,” “double-sided,” “two-tone,” or “color/color” inconsistently, so inspect a sample or product photograph before buying.
| Feature | Single-sided kami | Solid/solid duo | Patterned duo | Tissue-foil or foil duo |
|---|---|---|---|---|
| Usable face colors | 1 color plus white | 2 solid colors | Pattern plus solid or pattern | Metallic plus colored backing |
| Typical weight | 50-60 GSM | 55-70 GSM | 60-75 GSM | 70-100 GSM |
| Common sheet size | 7.5, 15, 24 cm | 15, 20, 24 cm | 15 cm | 15-30 cm |
| Typical price per 100 sheets | $3-$8 | $6-$15 | $8-$20 | $15-$45 |
| Best visual effect | White accents | Clean two-tone blocking | Decorative surface contrast | Sculptural color and shine |
The practical distinction is not simply “white versus no white.” The important question is whether the reverse face is an intentional design color. A red-and-white sheet is technically double-sided, but it still produces white whenever the white face turns outward. That sheet behaves differently from red-and-black solid/solid duo paper.
When Does the White Side Show?
The white side shows whenever the reverse face of single-sided paper becomes visible in the finished model. Typical exposure points include a turned-back flap, an inside-reverse fold, a squash-fold layer, an open sink, a pleated edge, or a narrow strip created by inaccurate alignment.
A fold does not reveal white merely because the paper was flipped in your hands. The result depends on which layer moves, whether the layer becomes exterior, and how the diagram defines the completed shape. A white triangle may be intentional, hidden inside another layer, or an error caused by a misplaced crease.
Which folds commonly reveal white?
| Fold or action | Likely visible area | Intended use in models | White-side risk |
|---|---|---|---|
| Inside-reverse fold | Beak, tail, ear, claw | Changes direction without adding paper | Medium |
| Outside-reverse fold | Horn, tail tip, limb | Creates an exterior point | High |
| Squash fold | Petal, wing, head | Opens a pocket into a flat flap | Medium |
| Petal fold | Bird neck, flower petal | Raises a central flap | Medium |
| Pleat fold | Chest, clothing, layered edge | Compresses or offsets layers | High |
| Open sink | Head, body indentation | Inverts a vertex internally | Low to medium |
Traditional animal diagrams often use single-sided paper because white can represent a belly, throat, eye area, toe, or wing underside. A white patch may therefore be a design instruction rather than a paper defect.
Why do thin white lines appear along creases?
Thin white lines usually come from one of four causes: an exposed cut edge, a crease that shifted away from the intended line, ink or pigment cracking, or fiber compression that opened the printed surface. On cheap coated sheets, a very sharp crease can break the colored layer even when the underlying fold is accurate.
A useful diagnostic is to unfold the model partially and inspect the line. If the white line follows the paper’s cut edge, the model has exposed a layer boundary. If the line is irregular and sits on the fold ridge, surface cracking or pigment loss is more likely.
How Should the Paper Be Oriented?
Orient the paper according to the opening symbol and the model’s color requirements, not according to a universal rule that white side up always creates a white exterior. The first orientation establishes the starting layer arrangement, while the sequence of folds determines which surfaces ultimately face outward.
Many diagram conventions show a white square for the uncolored side and a shaded or colored square for the colored side. Conventions vary between publishers, so read the symbol key when one is provided. Video tutorials may also rotate the sheet during the first few seconds, making the presenter’s “top” unreliable.
A reliable orientation procedure
- Identify the intended front color. Decide which surface should form the animal’s back, flower petals, clothing, or geometric shell.
- Find the opening diagram. Check whether the model begins with the white face, colored face, or a patterned face upward.
- Mark a temporary corner. Place a small removable pencil dot on the upper-left corner so rotations do not confuse the surface plan.
- Fold the first two reference creases. Confirm that the resulting layers match the diagram before committing to complex folds.
- Audit visible layers after each inversion. Ask which face is now exterior rather than assuming every flipped flap has the same color.
- Stop if the first color block is wrong. Correcting orientation at step four takes seconds; correcting it after a collapse can require restarting.
For a single-sided red sheet, colored side up often keeps red on the broad exterior, but it does not guarantee that every visible surface remains red. A red-and-white bird can still show white on a neck fold even when the model began red side up.
How Is Duo Paper Constructed?
Duo origami paper uses two intentionally different surfaces, but the construction may involve separate dyed layers, printing, lamination, metallic film, or a color treatment applied to a paper substrate. These methods affect thickness, crease memory, opacity, and edge appearance.
A solid/solid duo sheet is the simplest choice for predictable color blocking. Patterned duo paper adds visual information but can make small folds difficult to read, while foil and tissue-foil hold sculptural shapes better but punish inaccurate creases.
| Duo type | Surface combination | Typical behavior | Suitable models | Main limitation |
|---|---|---|---|---|
| Color/color kami | Blue and yellow, red and black | Thin, easy to crease | Animals, kusudama units | Limited availability |
| Color/white | Green and white | Deliberate accent contrast | Frogs, birds, flowers | Still exposes white |
| Pattern/solid | Print and red, print and blue | Strong front/reverse distinction | Simple animals, envelopes | Busy small details |
| Foil/color | Silver and red | Resists flattening after creasing | Sculptural animals, stars | Shows every crease |
| Tissue-foil | Tissue layer and foil core | Thin yet shape-retaining | Complex insects, dragons | Requires accurate handling |
A manufacturing detail matters at model scale: a sheet can have two useful colors while still showing a narrow white core at a cut edge. If the design uses exposed edges, inspect the sheet under light before folding. Duo does not always mean edge-dyed.
Which Paper Is Easier to Use?
Single-sided kami is usually easier for beginners because it is light, inexpensive, and visually matches the color conventions in many introductory diagrams. Duo paper becomes easier when the model requires precise two-color separation, because the second surface makes layer orientation immediately visible.
The best beginner choice is therefore model-dependent. A traditional crane, jumping frog, or simple fox usually works well with standard kami. A modular kusudama, two-tone butterfly, or geometric model with exposed reverse flaps benefits from duo paper.
| User and project | Recommended paper | Sheet size | Reason |
|---|---|---|---|
| First-time folder, crane | Single-sided kami | 15 x 15 cm | Low cost and clear diagram contrast |
| Child’s simple animal | Single-sided kami | 15-20 cm | Larger flaps tolerate inaccuracy |
| Modular kusudama | Solid/solid duo | 7.5-15 cm | Interlocking units avoid white breaks |
| Intermediate two-tone bird | Color/color duo | 15-20 cm | Supports planned chest and wing colors |
| Advanced insect or dragon | Tissue-foil or thin duo | 20-30 cm | Handles many layers and shaping |
| Wet-folded mammal | Dampened kami or uncoated paper | 20-30 cm | Fibers soften and hold curved forms |
Single-sided kami is not automatically the superior training material. It teaches layer awareness because white exposure reveals what a fold did. Duo paper can conceal a layer mistake visually when both faces are dark, although color contrast between the two faces still helps with orientation.
How Do Thickness, Coating, and Size Affect the Result?
Paper thickness determines how many layers a model can accept before creases become blunt, while coating affects slip, cracking, and ink adhesion. For ordinary origami, 50-70 GSM is a practical range; complex models often need thinner stock, while wet-folding and shaped figures may require stronger fibers.
GSM means grams per square metre, not a complete measure of folding quality. Two 60 GSM papers can behave differently because one has long fibers and the other has a brittle coating. A 15 cm sheet also accumulates layers faster in apparent scale than a 24 cm sheet folded into the same design.
| Paper specification | Typical value | Folding consequence | Practical use |
|---|---|---|---|
| Lightweight kami | 45-55 GSM | Sharp creases, weak after refolding | Beginner animals and modular units |
| Standard kami | 55-65 GSM | Balanced handling | Cranes, flowers, boxes |
| Heavy printed paper | 65-80 GSM | Stronger but thicker layers | Simple geometric models |
| Thin tissue-foil | 25-45 GSM equivalent | Many layers remain manageable | Complex insects and figures |
| Metallic foil | 70-100 GSM | Holds shape, resists correction | Stars and display models |
Choose a larger sheet when the model has many layers, narrow points, or shaping steps. A useful practitioner rule is to move from 15 cm to 20 or 24 cm when the final model will contain more than eight folded layers at its thickest point.
Which Paper Should You Choose for Different Models?
Choose single-sided paper when the instructions use white as a designed feature, and choose solid/solid duo paper when the finished model needs two non-white colors without accidental white flashes. Choose specialized thin duo or tissue-foil only when the model’s layer count and shaping requirements justify the added cost.
Animals, birds, and characters
Single-sided paper is usually the safest choice for a penguin, frog, swan, polar bear, or character whose diagram shows a white face, belly, eye, or chest. The reverse surface becomes part of the visual vocabulary, especially in traditional color-change models.
Use color/white duo when you want to preserve the original white accent while improving color saturation on the front. Use black/yellow or blue/white solid combinations only after checking that the model’s intended white area will not become the wrong color.
Modular and geometric models
Solid/solid duo paper is often the better choice for kusudama units, sonobe variations, stars, and geometric tessellations. Interlocking units repeatedly expose edges and reverse flaps, so a white strip can interrupt an otherwise regular color field.
For modular work, paper thickness matters more than the printed pattern. Sheets around 50-65 GSM fold into compact units without making the completed assembly excessively tight. Patterned paper can work, but alignment is harder when the print has a directional motif.
Complex representational models
Advanced models need paper with long fibers, low bulk, and enough strength for repeated shaping. Tissue-foil, double tissue, thin washi, and selected uncoated papers are common choices, but no paper removes the need for accurate pre-creasing.
Standard 70 GSM duo paper is often a poor choice for a complex dragon or insect. The two colors may look attractive, yet every additional layer increases stiffness at the model’s center. A thinner single-sided sheet can produce a better structure if white exposure is hidden or intentionally used.
How Much Do These Papers Cost?
Typical retail prices range from $3-$8 per 100 sheets for standard single-sided kami, $6-$15 for solid duo, $8-$20 for patterned duo, and $15-$45 for tissue-foil or specialty foil packs. Prices vary with country, brand, sheet size, handmade content, and import costs.
Price per sheet is only one part of value. A $10 pack that matches the model can save several failed folds, while a cheap unsuitable pack may produce poor color placement and wasted time. Specialty paper also has a higher opportunity cost because many folders reserve it for a tested crease pattern.
| Purchase type | Typical pack quantity | Typical total price | Typical price per sheet | Best buying reason |
|---|---|---|---|---|
| Basic kami pack | 100-200 sheets | $3-$10 | $0.03-$0.10 | Practice and classroom use |
| Solid duo pack | 40-100 sheets | $6-$18 | $0.06-$0.18 | Two-tone models |
| Patterned duo pack | 24-60 sheets | $8-$22 | $0.13-$0.37 | Decorative simple models |
| Tissue-foil pack | 10-30 sheets | $15-$45 | $0.50-$2.00 | Complex display models |
These figures are typical retail ranges, not fixed market prices. Local sellers in India, Bangladesh, Europe, and North America can differ substantially, especially for imported Japanese brands.
What Are the Main Failure Modes?
The most common failures are incorrect starting orientation, excessive crease pressure, inaccurate squares, and choosing paper whose thickness exceeds the model’s layer capacity. Each problem leaves a different physical clue, so diagnosis should precede replacement of the paper.
Wrong color at the finished front
If the entire model has the wrong broad color, the starting surface was probably incorrect or the diagram was interpreted without its symbol key. Restart with a temporary corner mark and compare the first completed flap to the reference image.
If only one small region is wrong, the issue is more likely a reverse fold or layer selection. Unfold that local operation rather than rebuilding the entire model.
White lines along exposed edges
White edge exposure can be intentional, but a narrow uneven strip usually indicates that two edges missed alignment. Reopen the last fold, align the corners under bright side lighting, and use a light pinch before flattening the crease.
Do not use a fingernail repeatedly on coated single-sided kami. Excess pressure can fracture the colored surface, producing a white line that remains even after alignment is corrected.
Duo colors split unevenly
Uneven duo color blocks usually result from a non-square starting sheet, an offset preliminary fold, or accumulated error across several layers. Measure the diagonal difference of the square before folding; a 0.5 mm error can become visually obvious at a narrow tip.
For a handmade or trimmed sheet, compare both diagonals and the four side lengths. Correct the paper before beginning rather than compensating with later folds.
The model becomes too thick
A thick center means the paper weight, sheet size, or fold sequence is unsuitable for the model. Move from 70 GSM to 50-60 GSM, use a larger sheet, or select tissue-foil if the model needs shape retention after many layers.
A thinner sheet is not always better. Weak paper can tear at narrow points, particularly after repeated unfolding, so test the same crease pattern on one practice sheet first.
What Is the Best Way to Test Paper Before Folding?
Test paper with four operations before committing to a finished model: a diagonal fold, a reverse fold, a squash fold, and a tight narrow point. The test takes about three minutes and reveals crease sharpness, surface cracking, layer bulk, and edge behavior.
| Test | What to observe | Acceptable result | Warning sign |
|---|---|---|---|
| Diagonal fold | Crease continuity | One clean line across 15 cm | Surface cracks or fuzzy ridge |
| Inside-reverse fold | Layer control | Tip changes direction cleanly | Tearing or spring-back |
| Squash fold | Pocket opening | Flat symmetrical flap | Slipping layers or wrinkles |
| Narrow point | Strength and bulk | Tip closes under light pressure | Split fibers or blunt tip |
Use a spare corner or a sheet from the same pack. A product photograph cannot reveal how the paper behaves after three reversals and a compressed multi-layer point.
Are There Better Alternatives to Standard Kami?
Alternatives include uncoated copy paper, washi, tant, double tissue, tissue-foil, and metallic foil. Each solves a specific problem, but none combines low price, easy creasing, thin layers, strong color, and perfect surface durability.
| Alternative | Typical weight or build | Color options | Best application | Principal drawback |
|---|---|---|---|---|
| Copy paper | 75-90 GSM | White or printed | Large practice models | Too thick for many layers |
| Tant | 70-80 GSM | Many solid colors | Sculptural animals | Can feel stiff in small folds |
| Washi | 50-100 GSM | Dyed or patterned | Curved, expressive models | Fiber direction varies |
| Double tissue | 20-40 GSM layered | Custom colors | Very complex models | Preparation takes 20-60 minutes |
| Tissue-foil | 25-45 GSM equivalent | Custom metallic colors | Thin, shaped figures | Higher material cost |
| Metallic foil | 70-100 GSM | Silver, gold, colored foil | Stars and ornaments | Surface records mistakes |
Printer paper works for learning diagrams and large preliminary models, but its stiffness increases quickly at the center. Tant and washi are stronger choices for shaping, while tissue-foil is better when the model contains many narrow appendages.
Which Paper Should You Choose?
Choose single-sided kami for traditional color changes
Select single-sided kami when a diagram intentionally assigns white to a belly, face, chest, underside, or interior accent. The paper also makes a cost-effective practice medium for beginners who need to repeat the model several times.
Avoid it when the finished design requires a clean dark reverse or when exposed edges form a large visible pattern. White flashes can then look accidental rather than structural.
Choose solid duo for modular and two-tone designs
Select solid duo when both sides need deliberate colors, such as navy and white, black and red, or yellow and orange. Check whether the sheet has a visible white core before using it for open-edge designs.
Avoid heavy duo stock for models with dense centers. The visual result may improve while the folding mechanics deteriorate.
Choose tissue-foil for advanced thin-layer models
Select tissue-foil when a complex crease pattern needs thin layers plus a model that retains three-dimensional shaping. The material is especially useful for insects, birds with separated feathers, and figures with long tapered points.
Avoid tissue-foil for a first attempt. Its thin surface can crease permanently, and correcting a poor fold may create a visible scar.
How Do You Decide in Five Minutes?
Use the model’s color plan first, then its layer count, then the required shaping. If white is a designed feature, begin with single-sided or color/white duo; if two solid colors must remain visible, use solid/solid duo; if the model has many layers, prioritize thinness over surface novelty.
A practical decision sequence is:
- Check the finished reference. Identify every white, colored, patterned, and metallic region.
- Count dense layers. Mark the thickest area and estimate whether standard kami can close it.
- Inspect exposed edges. Decide whether a white core or cut edge will remain visible.
- Match sheet size. Use 15 cm for simple models and 20-30 cm for dense or delicate designs.
- Run the four-fold test. Reject paper that cracks, slips, or becomes blunt too quickly.
- Fold a practice copy. Use specialty paper only after color placement and sequence are confirmed.
The practitioner rule is simple: choose paper for the model’s exposed surfaces, not for the pack’s front label. “Duo” describes the paper’s surface relationship, but the model determines whether that relationship is useful.
Frequently Asked Questions
Does double-sided origami paper ever include white?
Yes. Some double-sided sheets combine a color with white, while others use two solid colors, a pattern with a solid reverse, or metallic film. The term “double-sided” means both faces are intentionally finished, not that both faces are non-white. Check the actual surface colors before folding.
Should the colored side face up for an origami crane?
Usually, the colored side faces up when the crane’s broad exterior should be colored and the reverse should provide white accents. The exact orientation depends on the diagram and the desired neck, wing, and belly colors. Follow the opening symbol, then verify the first major flap.
Can I use single-sided paper for modular origami?
Yes, but single-sided paper can create white breaks along interlocking unit edges. Use it for modules where the reverse remains hidden or forms part of the pattern. Solid/solid duo generally gives cleaner kusudama and Sonobe assemblies when both surfaces remain exposed.
Is 15 x 15 cm paper large enough for complex origami?
A 15 x 15 cm sheet is often too small for complex models with many layers and narrow appendages. A typical upgrade is 20 x 20 cm or 24 x 24 cm, although the designer’s recommended size remains the best guide. Larger paper also makes alignment errors easier to see.
How can I hide an unwanted white edge?
First determine whether the edge is intentional, misaligned, or surface cracking. Reopen and realign a misplaced fold; for cracking, reduce crease pressure and use a smoother tool or fingertip. If the design truly requires a non-white edge, switch to color/color duo or a paper with a dyed core.
Does duo paper fold better than single-sided kami?
Duo paper does not inherently fold better. Standard kami is often thinner and easier to crease, while some duo sheets are heavier because of lamination, foil, or dense printing. Choose duo for controlled color placement, and choose thinner stock when layer count and crease sharpness matter most.
The Bottom Line
Single-sided vs duo origami paper, when the white side shows, is primarily a question of planned surface exposure. Single-sided kami is the better choice for traditional models that use white accents, while solid/solid duo is better for modular, geometric, and two-tone designs that should not reveal white accidentally.
Check the model’s color map, diagram orientation, layer density, and exposed edges before buying paper. A 50-65 GSM sheet in the correct surface combination usually outperforms a more expensive paper chosen only because its package says “duo.”
