


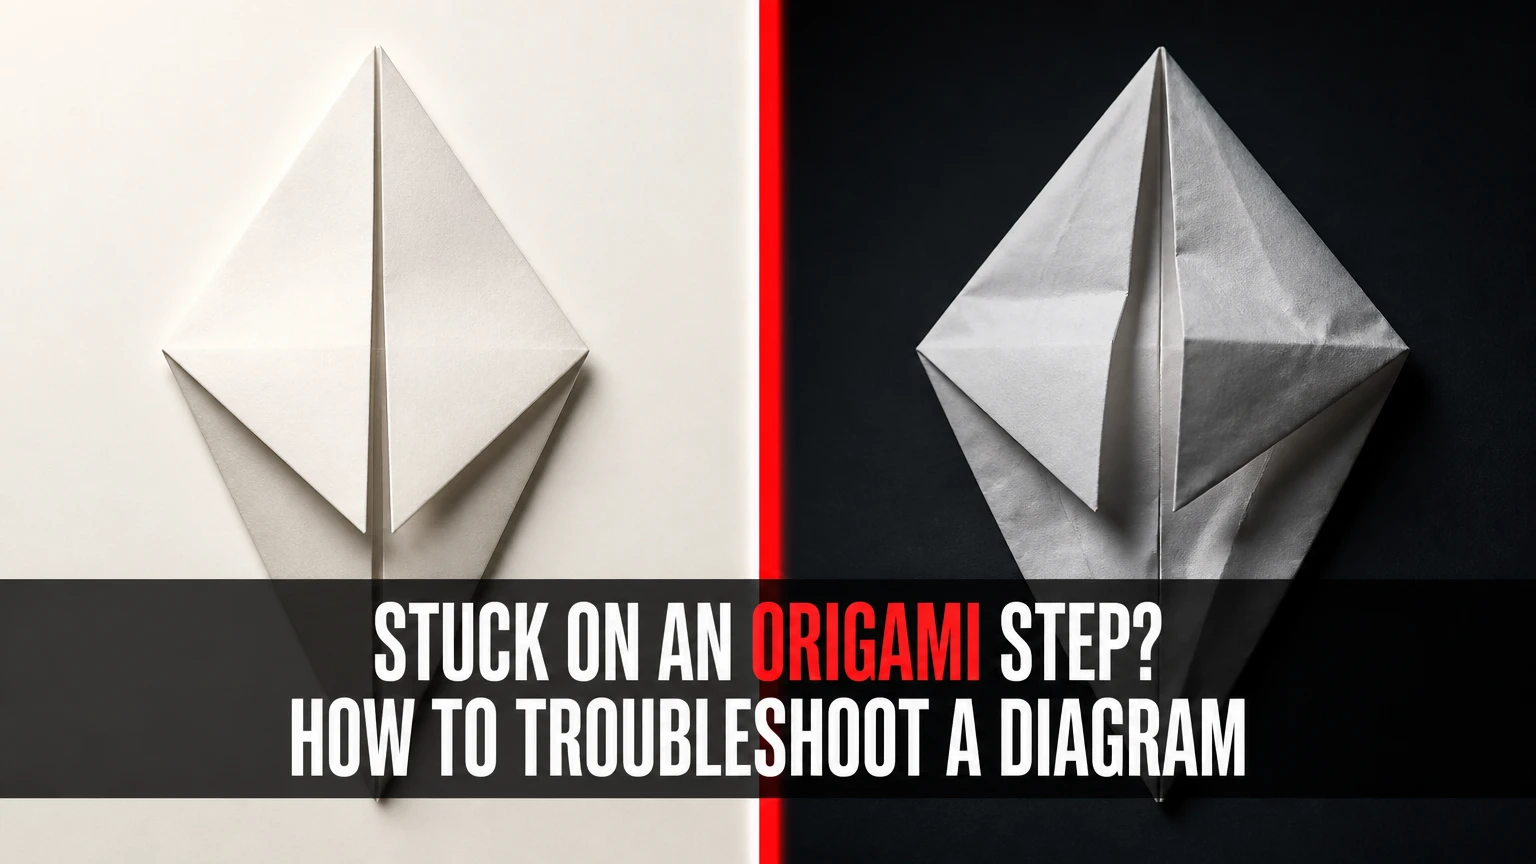
When stuck on an origami step, stop forcing the paper and diagnose the last confirmed shape. Check the previous diagram, count visible layers, verify model orientation, identify the arrow’s action, and locally unfold the model if needed. Most failures come from an earlier crease, a hidden flap, or a valley and mountain fold being reversed.
Key Facts at a Glance
An origami diagram communicates paper movement through symbols, line types, arrows, shading, and sequential views.
The safest recovery point is the last step whose edges, colors, layers, and creases all match the illustration.
Paper resistance usually indicates a geometric error, trapped layer, incorrect orientation, or insufficient pre-creasing.
A rotate symbol changes the model’s viewing angle; a turn-over symbol changes which face is visible.
Typical troubleshooting takes 3-10 minutes for a local error and 15-30 minutes for a rollback to the base.
A crease pattern is a complete crease map, not a numbered sequence of folding instructions.
What Does an Origami Diagram Actually Show?
An origami diagram is a sequence of two-dimensional drawings that represents changes to a three-dimensional paper model. The diagram tracks the sheet’s boundary, creases, layers, flaps, hidden edges, color, and orientation from one state to the next.
Modern notation is strongly associated with the system developed by Akira Yoshizawa, Samuel Randlett, and other twentieth-century diagrammers. Yoshizawa-Randlett conventions are widely recognized, but publishers vary in arrowheads, shading, dashed lines, and symbols. Treat the model’s legend, when present, as the controlling reference.
A diagram does not show every finger movement. It shows the geometric result the fingers must produce. That distinction explains why a drawing can look simple while the physical maneuver feels difficult.
Which Visual Features Carry the Most Information?
| Diagram feature | Typical visual form | Meaning to verify | Common misread |
|---|---|---|---|
| Valley crease | Dashed line | Fold edge toward the viewer or inside the model | Read as a mountain crease |
| Mountain crease | Dash-dot line or alternating pattern | Fold edge away from the viewer | Ignore because it appears faint |
| Existing crease | Thin solid line | A crease already made | Treat as a new fold |
| Hidden edge | Dashed or dotted line | Edge located behind a layer | Fold the visible edge instead |
| Fold arrow | Broad arrow with shaft | Move paper in arrow direction | Follow only the arrowhead |
| Turn over | Curved or double-headed symbol | Show the opposite face | Rotate the model in the plane |
| Rotate | Circular arrow, sometimes with angle | Turn the model without changing faces | Flip the paper over |
| Repeat | Small repeated arrows or labels | Perform the same action on another flap | Stop after the first flap |
Line conventions are not perfectly universal. A high-quality book normally defines its notation in an introductory key, and that key takes precedence over a general symbol chart found online.
How Do You Troubleshoot a Diagram When Stuck on an Origami Step?
Use five diagnostic passes: confirm the last correct state, inspect the next target, audit layers, restore orientation, and re-crease the local geometry. A typical local correction takes 3-10 minutes, while returning to a basic base can take 15-30 minutes depending on crease density and paper thickness.
Step 1: Return to the Last Confirmed Shape
Place the model beside the current illustration and compare only observable features. Check the number of open flaps, the position of every colored face, the direction of prominent creases, and whether major corners meet at the same landmarks.
Do not compare the model by overall resemblance alone. A model can look correct while one internal flap is reversed, and that hidden error can make the next collapse impossible.
Checkpoint: The model’s boundary, visible color, flap count, and major crease directions match the previous numbered step.
Common mistake: Going back only halfway through a previous operation. Reverse the entire action, including any tucked flap or preliminary squash.
Step 2: Read Two Steps Ahead
Study the next one or two illustrations before touching the paper. Identify the destination of the moving point, the pocket that must open, and the edge that will become visible after the collapse.
The future shape often reveals the present action. For example, a narrow triangular point in the next image may require a flap to move behind an existing layer rather than across the front.
Checkpoint: You can name where the moving corner ends and which surface remains outside.
Common mistake: Copying the silhouette without identifying the layer path. Origami instructions describe a transformation, not merely a final outline.
Step 3: Count the Paper Layers
Open the model only as far as the relevant operation requires. Use a blunt tool, fingernail, or rounded bone-folder edge to separate layers without stretching the paper, then trace the target flap from its tip to its hinge.
| Layer clue | What to inspect | Likely diagnosis | Safe response |
|---|---|---|---|
| Tip disappears | Flap enters a pocket | Tuck or closed sink | Open the pocket along existing creases |
| Two edges move together | Multiple layers are attached | Layer stack is too thick | Separate the intended flap |
| Paper bunches inside | Internal polygon cannot flatten | Trapped layer or wrong hinge | Unfold one local crease |
| White face appears unexpectedly | Reverse-side layer is exposed | Orientation or reverse fold error | Compare color with the previous step |
| Edge stops short | Layer is caught by a crease | Incomplete opening | Trace the hinge and reopen gently |
A hidden layer is not an invitation to pull harder. If paper stretches, wrinkles sharply, or begins to tear, the operation is probably being attempted on the wrong layer or from the wrong orientation.
Checkpoint: The moving flap has a clear hinge, destination, and layer position.
Common mistake: Inserting a finger into the entire model. That can flatten the wrong pocket and erase the reference creases needed for recovery.
Step 4: Restore Orientation
Origami diagrams commonly change viewpoint. Separate three actions that are often confused:
- Rotate the model: turn it clockwise or counterclockwise while keeping the same face upward.
- Turn the model over: reveal the opposite face.
- Turn a section: swivel one flap or layer around a crease.
| Instruction | Face shown afterward | In-plane position | Diagnostic test |
|---|---|---|---|
| Rotate 90 degrees | Same face | Quarter-turn changed | Logo or colored corner remains on top |
| Rotate 180 degrees | Same face | Top and bottom exchange | Crease pattern is unchanged |
| Turn over | Opposite face | Usually unchanged | Paper color or back markings reverse |
| Repeat on back | Opposite working surface | Flap operation repeats | Matching feature appears on reverse side |
| Swivel flap | Face may change locally | One section moves | Hinge crease remains fixed |
A turn-over symbol cannot be replaced by a 180-degree rotation. Both actions can place a point at the top of the page, but only one changes the visible paper face.
Checkpoint: The same corner, color, and crease shown in the diagram occupy the same physical position.
Common mistake: Rotating the model because the next picture appears mirrored. First check whether the publisher expects a turn over.
Step 5: Unfold and Re-Crease the Local Area
Rollback is the correct response when a fold resists after the orientation and layers appear correct. Unfold only the affected maneuver when the base remains accurate; return farther when the error changes a reference edge or corner.
Reinforce each valley and mountain crease separately. A sink, petal fold, or reverse fold often becomes easy only after its component creases are sharply established.
Checkpoint: The paper collapses along existing creases without tearing, dragging, or producing a new random wrinkle.
Common mistake: Flattening the whole model immediately. Full resets create unnecessary crease noise and make the original error harder to identify.
Which Origami Symbols Cause the Most Confusion?
The most confusing symbols are hooked arrows, curved arrows, shaded regions, and lines that indicate hidden or reversed geometry. The correct interpretation depends on the starting layer and the destination shown in the next diagram, not on the arrow shape alone.
How Do You Read a Hooked or Looping Arrow?
A hooked arrow commonly indicates a reverse fold, swivel, sink, or layer movement into the model, but no universal hook symbol identifies one operation in every publication. Compare the arrow with the crease lines and the next model state.
| Visible clue | Most likely action | Paper movement | Confirmation |
|---|---|---|---|
| Point enters the body | Inside reverse fold | Tip moves inside along a hinge | Point remains visible at a new angle |
| Entire polygon disappears | Sink fold | Creases invert and collapse inward | Former outer edges become internal |
| Flap swings around a corner | Swivel fold | Flap pivots around a fixed crease | Hinge stays stationary |
| Layer passes through pocket | Pull-through or tuck | Flap travels behind another layer | New edge emerges from the pocket |
| Arrow loops around a crease | Reverse or swivel action | Existing crease changes orientation | Valley and mountain assignments switch |
Do not pry open a sink from its tip. Open the surrounding layers, locate the hinge creases, and push the central region inward while guiding the corners along their existing paths.
What Do Dashed, Dotted, and Dash-Dot Lines Mean?
Line meanings vary by publisher, but a dashed line often marks a valley fold and a dash-dot line often marks a mountain fold or hidden feature. The diagram key is authoritative because some books use line weight, color, or shading differently.
A hidden-edge line is not always a crease instruction. It may show an edge behind the front layer, which tells you where the paper is located rather than where to fold it. If folding directly on every visible dashed line produces an impossible shape, determine whether the line represents an existing crease, hidden edge, or proposed fold.
Why Do Creases Stop Aligning Later?
Crease misalignment usually begins as a small error in a reference edge, corner, or base fold and becomes visible after layers accumulate. In a 20-step model, a 1 mm early displacement can create several millimeters of visible mismatch once later folds use that edge repeatedly.
The error is not necessarily distributed evenly. A single wrong bisector can move one point dramatically while leaving the opposite side apparently accurate.
How Can You Find the First Bad Crease?
Work backward from the failed step until one of four tests fails: a corner no longer meets its target, a centerline is off, a color face is wrong, or a flap count differs from the illustration.
| Audit point | Measurement or comparison | Acceptable practical result | If it fails |
|---|---|---|---|
| Initial diagonal | Corner-to-corner crease | Crease passes through both corners | Rebuild the base |
| Center fold | Two edges or corners | Edges overlap with no visible step | Refold from the center |
| Flap bisector | Point to reference line | Tip lands on the intended axis | Correct the bisector |
| Layer stack | Visible flap count | Count matches diagram | Separate or release a layer |
| Symmetry check | Left and right landmarks | Similar distances and angles | Inspect the earliest asymmetric step |
Use the earliest failed checkpoint, not the step where the error becomes obvious. That approach preserves cleaner paper and reduces the number of uncertain creases.
What Should You Do When the Paper Resists?
Stop immediately when paper resistance produces bunching, tearing, whitening at a crease, or a fold that requires force beyond a controlled fingertip press. Resistance is a diagnostic signal, not proof that a harder push is needed.
Typical causes include a reversed mountain or valley fold, an unopened pocket, too many layers under a flap, an incorrect model orientation, or paper that is too thick for the design.
| Symptom | Probable cause | First correction | Restart threshold |
|---|---|---|---|
| Sharp bunching | Wrong layer path | Open the local pocket | Return one step if wrinkles remain |
| Paper tears at hinge | Fold forced against geometry | Stop and flatten gently | Restart if fibers are split |
| Flap will not reach point | Wrong orientation or hinge | Check turn-over instruction | Return to last confirmed state |
| Thick ridge blocks collapse | Paper too heavy | Use thinner paper or fewer layers | Restart with new sheet for dense models |
| Model twists | Unequal preliminary folds | Recheck symmetry | Return to the base if both sides differ |
Forcing a fold can permanently erase the evidence needed to diagnose the problem. A clean rollback is faster than repairing a crushed sink or torn reverse fold.
Which Paper and Tools Make Diagram Troubleshooting Easier?
Two-sided kami paper around 60-80 gsm is a practical choice for beginner and intermediate diagrams because its color difference exposes orientation errors and its thickness tolerates repeated unfolding. Thin tissue foil or other strong thin papers are better for dense models, but they punish imprecise handling.
| Material or tool | Typical specification | Best use | Limitation |
|---|---|---|---|
| Kami paper | 60-80 gsm, 15 cm square | 10-40 step models | Weak for repeated wet handling |
| Copy paper | 75-90 gsm, 21 cm square | Large beginner practice folds | Fibers soften after many resets |
| Tant paper | About 70-80 gsm, 15-24 cm square | Color-sensitive intermediate models | Costs more than basic kami |
| Tissue foil | Often below 40 gsm | Dense multi-layer models | Tears if creases are dragged |
| Bone folder | Rounded edge, 10-15 cm tool | Sharpening long creases | Hard edges can scar thin paper |
| Tweezers | Smooth tip, 10-12 cm | Small layers and pockets | Can puncture paper with pressure |
A fingernail is sufficient for many folds, but a rounded bone folder produces more consistent creases on broad flaps. Metal rulers and sharp tools are poor choices inside a model because they can cut fibers at hidden hinges.
Paper size also affects diagnosis. A 15 cm sheet is convenient for simple models, while a 24 cm sheet gives more room for dense models and makes small alignment errors easier to see.
Should You Use a Diagram, Photo Tutorial, or Video?
Use traditional diagrams for geometric accuracy, photographs for layer visibility, and videos for finger placement and transitions. The best troubleshooting combination is usually the original diagram plus a video or photo reference for the one operation that remains unclear.
| Format | Typical cost | Pause or inspect control | Best difficulty range | Main weakness |
|---|---|---|---|---|
| Printed diagram book | $15-$60 | High, page remains visible | Beginner to advanced | Transitional motion may be omitted |
| Free digital diagram | $0 | High with zoom | Beginner to intermediate | Image quality varies |
| Photo tutorial | $0-$15 | High, real layers visible | Intermediate | Shadows can hide creases |
| Video tutorial | $0-$30 | Medium, rewind required | Beginner to intermediate | Camera angle may conceal layers |
| Crease pattern | Usually $0 | High, one complete map | Advanced | No sequential collapse path |
A video is not automatically more precise. Video can hide a thin flap behind the fingers, use a different paper size, or reverse the camera image. Treat it as a motion reference and confirm the resulting geometry against the published diagram.
How Do You Use a Video to Repair a Diagram Step?
Find the same model, designer, and paper orientation before using a video as a cross-check. Jump to the suspected operation, pause before the motion begins, identify the starting layers, and compare the finished state with the diagram.
Record the video timestamp for the fold, then return to the original instructions. If the video uses a mirrored image, reverse left and right mentally or place the model so the visible landmark matches the printed view.
When Is a Crease Pattern a Useful Alternative?
A crease pattern is useful when the folder already understands bases, layer ordering, symmetry, sinks, and reference geometry. It is not a beginner-friendly replacement for sequential instructions because a CP omits the order and direction of many collapses.
| Experience level | Recommended instruction | Typical model length | Practice priority |
|---|---|---|---|
| Beginner | Diagram with symbol key | 5-25 steps | Valley, mountain, squash, reverse folds |
| Intermediate | Diagram plus video | 20-60 steps | Sinks, swivels, layer management |
| Advanced | Master diagram or CP | 50-200+ steps | Collapse order and thickness control |
| Designer | CP plus geometric analysis | 100-500+ creases | Circle packing and layer allocation |
A CP can reveal whether a missing crease caused the failure, but it cannot always tell you which crease to make first. Use a reference model or collapse sequence when the CP has several plausible folding orders.
How Much Time and Money Does a Recovery Usually Require?
A local diagram correction typically takes 3-10 minutes and costs nothing beyond the sheet already in use. A full restart usually takes 15-30 minutes for a beginner model, while dense intermediate or advanced models can require 1-3 hours and a fresh sheet.
| Recovery situation | Typical time | Replacement material | Recommended action |
|---|---|---|---|
| Misread rotate symbol | 1-3 minutes | $0 | Restore orientation and continue |
| Hidden flap trapped | 3-8 minutes | $0 | Open local layers carefully |
| Wrong reverse fold | 5-15 minutes | $0-$1 sheet | Unfold to the previous hinge |
| Base misaligned | 15-30 minutes | $0-$1 sheet | Restart from the base |
| Torn dense model | 30-180 minutes | $1-$5 specialty sheet | Restart with thinner, stronger paper |
These are typical practitioner ranges, not universal measurements. Model complexity, paper memory, and the quality of the original diagram change the recovery time substantially.
What Are the Most Common Diagram Troubleshooting Mistakes?
The most damaging mistakes are forcing resistant paper, trusting silhouette alone, ignoring paper thickness, and continuing after the first failed checkpoint. Each mistake removes geometric evidence and increases the number of creases that must be reconstructed.
Forcing a Resistant Fold
A correct fold follows prepared creases with controlled pressure. If the paper buckles, stop and inspect the hinge, pocket, and orientation before applying more force.
Using Thick Paper for Dense Models
Paper thickness accumulates at every enclosed layer. A sheet that works at 20 steps may become unmanageable at 60 steps because stacked layers change the effective hinge position.
Creasing Softly
Soft creases make intermediate models look inflated and allow layers to drift. Sharpen long reference creases with a rounded tool, but avoid crushing the paper at small points.
Ignoring the Diagram Key
A generic online symbol guide can conflict with the book’s notation. Read the publisher’s legend before interpreting an unfamiliar arrow, shaded region, or line pattern.
Copying a Mirrored Image
Some videos reverse the image, and some digital scans are rotated. Match a distinctive feature, such as a colored corner or asymmetrical flap, before copying left and right.
Continuing After a Failed Checkpoint
One incorrect step can remain hidden for several pages. Stop at the first mismatch, because later folds often compress or conceal the original error.
Practitioner rule: If a fold needs force, first assume the geometry is wrong. If the geometry checks out, assume the paper is too thick or the crease is incomplete.
Counterintuitive insight: A sharper crease does not always improve accuracy. Over-creasing a wrong line can make rollback harder, so confirm the fold direction before reinforcing it.
Layer-management rule: Trace a flap to its hinge before moving its tip. The hinge determines the legal path; the tip only shows the destination.
What Should Beginners Do Differently?
Beginners should use a two-color, 60-80 gsm square, work on a flat surface, and keep the diagram’s previous image visible. Models with 5-25 steps provide enough repetition to learn symbols without producing excessive crease buildup.
Mark the starting corner mentally rather than writing on the paper. After every major base change, compare the model with the illustration before moving forward.
Intermediate folders can use 20-60 step diagrams with thin Tant or kami paper and a video cross-check for sinks or compound reverse folds. Advanced folders should select thin, strong paper and learn to interpret layer ordering before attempting crease patterns.
How Can You Diagnose a Specific Failed Step?
Identify the model, designer, step number, paper size, paper type, visible color, and exact symbol before asking for help. A photograph showing the model from the same angle as the diagram is more useful than a general statement that the fold will not work.
Use this diagnostic record:
| Detail to record | Example value | Why it matters |
|---|---|---|
| Model and designer | Crane by John Montroll | Identifies the exact notation system |
| Step number | Step 14 | Establishes the last known state |
| Paper size | 15 cm square | Indicates available flap length |
| Paper type | 70 gsm kami | Reveals likely thickness limits |
| Problem symbol | Hooked arrow into pocket | Narrows the operation |
| Failed result | Tip remains outside | Shows the layer-path error |
| Current orientation | White side facing up | Detects turn-over mistakes |
Do not restart automatically. First photograph the current state, then compare it with the last confirmed image. The existing creases may reveal exactly which layer or direction was wrong.
FAQ
Can I Fix Origami Without Unfolding the Whole Model?
Yes, most local errors can be fixed by unfolding only the affected flap and its hinge creases. Full rollback is necessary when the mistake changes a base edge, symmetry axis, or reference point used by several later steps. Preserve correct areas whenever possible because unnecessary unfolding creates confusing crease noise.
Why Does My Origami Look Different Even Though I Followed Every Step?
Your model may differ because the paper is a different size, the photograph uses another camera angle, or a hidden layer was placed on the wrong side. Compare landmark points and layer order rather than overall appearance. If the next fold fails, return to the earliest step where a landmark no longer matches.
Is a Valley Fold Up or Down?
A valley fold usually brings the crease toward the folder and creates a valley shape when viewed from the indicated side. The exact visual direction depends on the diagram’s viewpoint, so confirm the line type, arrow, and next state together instead of relying on the words up or down.
How Do I Know Whether to Rotate or Turn Over the Model?
Rotate the model when the same face remains visible but its position changes on the page. Turn the model over when the opposite face must appear. Compare paper color, markings, and an asymmetrical corner with the next illustration to distinguish the two operations reliably.
Can I Use Regular Printer Paper for Complex Origami?
Printer paper works for practice and large beginner models, but 75-90 gsm sheets become difficult when many layers overlap. Dense models generally benefit from thinner, stronger paper because reduced thickness preserves hinge movement and allows pockets to close without crushing the model.
What If the Diagram Itself Seems Wrong?
Check the errata page, another edition, and an independent photo or video of the same model before assuming the diagram is incorrect. A printing defect, missing page, mirrored scan, or ambiguous symbol can cause the problem. If multiple sources disagree, follow the source that identifies the same designer and edition.
The Bottom Line
When stuck on an origami step, how to troubleshoot a diagram is a geometry question before it is a dexterity question. Return to the last confirmed state, inspect the next target, trace hidden layers to their hinges, distinguish rotation from turning over, and re-crease only the affected area. Use thinner paper, a clear symbol key, and a video or photograph as a cross-check, not as a substitute for understanding the model’s layer path.
