


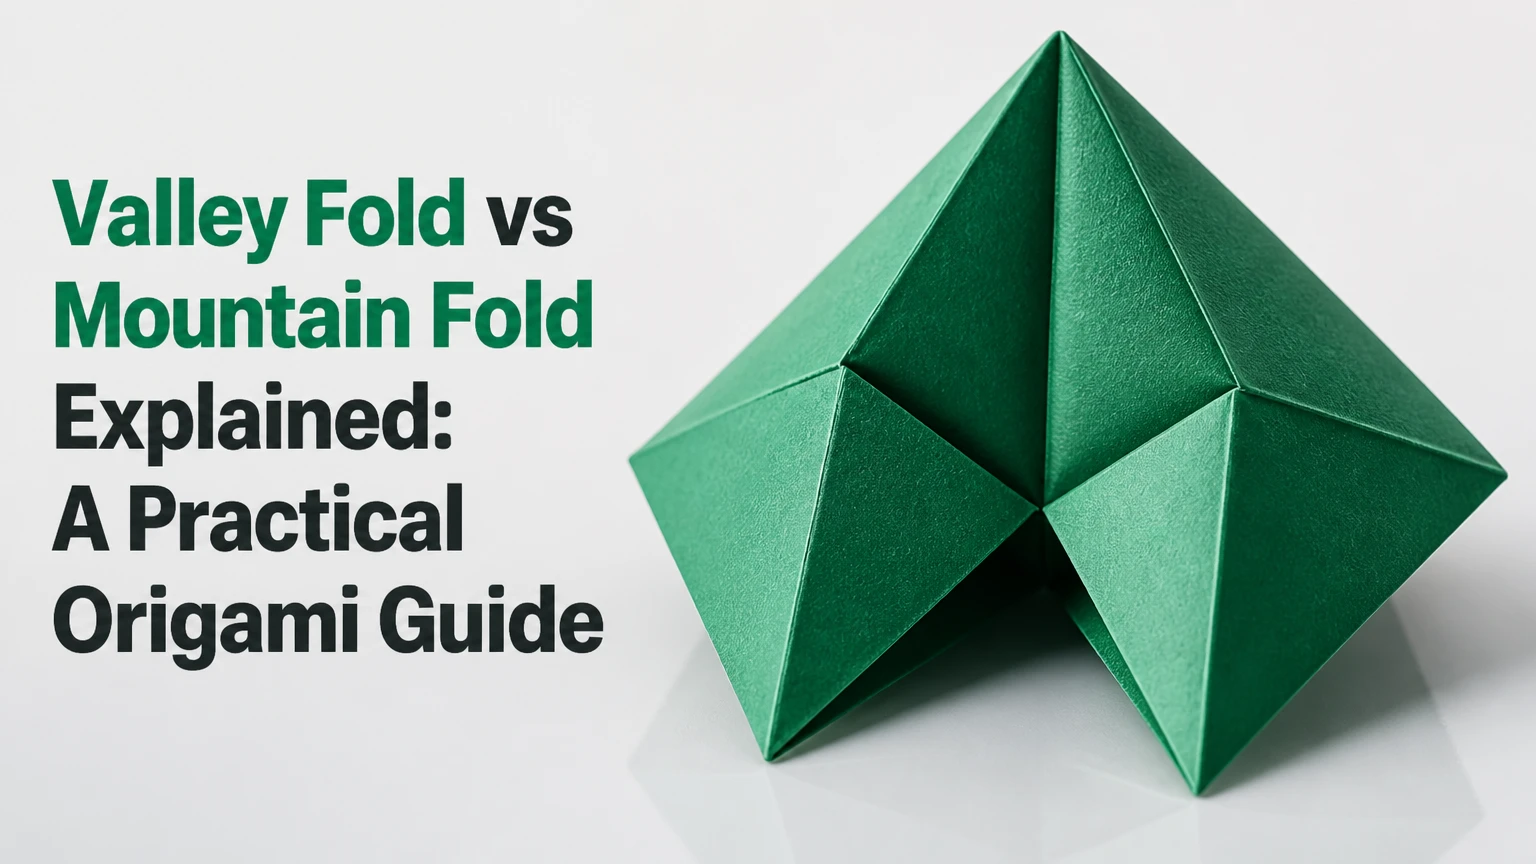
A valley fold bends paper toward the folder so the crease forms the bottom of a V, while a mountain fold bends paper away so the crease forms a raised ridge. Valley fold vs mountain fold explained simply: the two folds describe opposite directions from the visible side, although the same crease becomes the opposite fold when the paper is turned over.
Key Facts at a Glance
- A valley fold makes the paper’s crease line concave toward the viewer, like the bottom of a valley.
- A mountain fold makes the crease line convex toward the viewer, like a ridge.
- Turning the sheet over changes a visible valley fold into a mountain fold without changing the physical crease.
- Origami diagrams commonly show a valley crease with a dashed line and a mountain crease with a dash-dot line, but diagram conventions can vary.
- A sharp crease behaves like a rotational hinge, but the paper still has thickness, friction, and resistance between layers.
- Standard 70-80 GSM origami paper is usually easier for first practice than cardstock above 150 GSM.
What Is a Valley Fold?
A valley fold brings one part of the sheet toward the other so the crease sits at the lowest point of the bend on the visible side. If the paper is viewed edge-on, the folded sections form a V, with the crease at the V’s base.
The simplest example is folding a square in half by bringing the bottom edge to the top edge. The resulting center crease is a valley fold on the side facing you when the fold is made. Valley folds commonly establish symmetry, collapse pockets, gather layers, and create preliminary creases for later bases.
A valley fold describes direction, not a permanent identity printed into the paper. Once the sheet is turned over, the same crease appears as a mountain fold because the viewer is now looking from the opposite side.
What Is a Mountain Fold?
A mountain fold pushes the paper away from the viewer so the crease rises to a ridge on the visible side. Viewed edge-on, the folded sections form an inverted V or wedge, with the crease at the peak.
Mountain folds shape outward contours, raise flaps, define ridges, and help form the external silhouette of animals, boxes, flowers, and geometric models. A mountain fold can feel less intuitive because the folder often has to push from behind or fold without seeing the final alignment directly.
A practical method is to turn the paper over, make a valley fold on the reverse side, then turn the paper back. The crease has not changed physically, but its visible orientation has changed.
Why Are Valley and Mountain Folds Opposites?
Valley and mountain folds are opposites only relative to the side from which the paper is viewed. A single crease is a valley on one face and a mountain on the reverse face, so orientation matters more than the crease line itself.
Paper mechanics explain the relationship. Bending stretches fibers on the outside of the curve and compresses material on the inside. Folding does not normally require every cellulose bond along the crease to break; repeated bending and pressure rearrange fibers, compress coatings, and create permanent crease memory.
A finished crease also is not a perfect hinge with zero lateral movement. The crease permits rotation more easily than the uncreased sheet, but paper thickness, fiber recovery, friction, and layer slippage still affect movement.
The Orientation Test
Use this test when a diagram seems unclear:
- Hold the sheet with the diagram-facing side toward you.
- Imagine the crease as a line running through the paper.
- If the paper rises toward you at that line, it is a mountain fold.
- If the paper dips away from you at that line, it is a valley fold.
- Turn the sheet over and repeat the test to verify the reverse orientation.
A fold’s name follows the visible side, not the direction your fingers happen to move. That distinction prevents many errors in models with inside layers.
Valley Fold vs Mountain Fold: Which Difference Matters?
The practical difference is the direction of the fold, the diagram symbol, and the structural result. Neither fold is inherently stronger, more accurate, or more advanced; accuracy depends on paper grain, alignment, crease pressure, and whether the fold is made before or after surrounding layers become crowded.
| Criterion | Valley fold | Mountain fold |
|---|---|---|
| Visible profile | V-shaped depression | Inverted V-shaped ridge |
| Viewer-side action | Paper moves toward the viewer | Paper moves away from the viewer |
| Common diagram line | Dashed line | Dash-dot line |
| Typical first use | Symmetry crease or pocket | Raised flap or outside contour |
| Reverse-side identity | Mountain fold | Valley fold |
| Beginner feedback | Alignment is often visible | Alignment may be partly hidden |
| Common error | Folding the wrong flap inward | Folding the wrong flap outward |
| Structural effect | Gathers or sinks layers | Raises or projects layers |
How Do Diagram Symbols Work?
Origami diagrams usually use a dashed line for a valley fold and a dash-dot line for a mountain fold. Arrowheads show motion, while a crease line shows where the paper bends; the line alone does not always communicate the complete three-dimensional result.
| Diagram feature | Common meaning | What to verify |
|---|---|---|
| Short repeated dashes | Valley crease | Arrow points toward the fold |
| Dash-dot pattern | Mountain crease | Arrow points behind or away |
| Solid line | Existing edge or major crease | Check the diagram legend |
| Hollow arrow | Fold or move flap | Follow the arrowhead direction |
| Darkened edge | Front or exposed layer | Confirm layer order |
| X or cross marks | Alignment point or reference | Match corners before creasing |
Conventions differ among publishers, especially in modular origami, kirigami, and technical paper engineering. Read the project’s symbol key before relying on a line style. The British Origami Society and many traditional diagram systems use the dashed-versus-dash-dot distinction, but a local legend takes priority.
Why Do Arrows Matter More Than Line Style?
Arrows often reveal the intended action more reliably than a low-resolution crease symbol. A valley arrow commonly curves toward the viewer or toward the crease, while a mountain arrow may pass behind the sheet or use a reversed motion cue.
When the image is ambiguous, inspect three signals together: the arrow direction, which face is shaded, and whether the resulting flap lies in front or behind neighboring layers. Never infer fold direction from the final silhouette alone.
What Structural Job Does Each Fold Do?
Valley folds usually sink, gather, or open paper, while mountain folds usually raise, ridge, or wrap paper. Complex origami models need both because a flat sheet must alternate between concave and convex surfaces to create volume.
A waterbomb base uses intersecting valley and mountain creases to collapse a square into a compact form. A bird base adds layers and reverse folds, using crease direction to position wings, a head, and a tail. In a paper box, valley folds may create interior walls while mountain folds define outer corners.
| Origami structure | Valley-fold contribution | Mountain-fold contribution | Example result |
|---|---|---|---|
| Pleat fold | First inward crease | Alternating outward crease | Accordion strip |
| Crimp fold | Inward displacement crease | Closely paired return crease | Offset edge |
| Squash fold | Opens a pocket | Flattens the pocket around a new ridge | Broad flap |
| Inside reverse fold | Existing layer turns inward | Original outer ridge becomes concealed | Animal head |
| Outside reverse fold | Layer prepares the turn | Paper wraps around the exterior | Tail or beak |
| Waterbomb base | Diagonal and central sinks | Opposing diagonal ridges | Collapsible base |
How Do Advanced Folds Combine Valley and Mountain Creases?
Advanced folds combine both directions in a controlled sequence rather than treating them as isolated actions. A pleat alternates valley and mountain lines, a crimp places them close together, and a reverse fold changes the direction of an existing flap through several layers.
An inside reverse fold hides a tip inside the model. An outside reverse fold wraps that tip around the outside. A squash fold opens a pocket, then presses its sides flat along a new crease, often producing both a valley and a mountain boundary.
The counterintuitive rule is that a model’s visible ridge may come from a valley crease made earlier on the reverse side. Crease history and current viewing side must be tracked separately.
How to Make Both Folds Accurately
A clean foundational fold typically takes 2-5 seconds after alignment, while a beginner may need 5-10 minutes to gain consistent control. The deciding factor is not force; it is precise point alignment before the crease is sharpened.
Valley Fold Method
- Place the paper with the intended front face upward.
- Match the required corners, edges, or reference points before pressing.
- Pinch the midpoint of the proposed crease while the reference points remain aligned.
- Sweep from the midpoint toward both edges with a fingertip.
- Flatten the complete crease only after checking that the edges meet evenly.
- Burnish lightly with a bone folder if the paper and model require a crisp line.
The checkpoint is a continuous crease that meets every stated reference point. A common mistake is aligning one corner first and dragging the opposite edge into place, which produces a diagonal error that becomes larger in later steps.
Mountain Fold Method
- Mark the crease and identify the two reference points.
- Push the center of the sheet upward from the reverse side.
- Bring the side edges or target points together without twisting the paper.
- Pinch the center, then extend the crease toward each edge.
- Turn the sheet over if direct alignment is difficult.
- Recheck the visible ridge before applying firm pressure.
The checkpoint is a raised ridge whose endpoints match the diagram. A common mistake is pushing the wrong layer, especially when a flap partially covers the crease.
When Should You Turn the Sheet Over?
Turn the sheet over when the mountain fold blocks your view of the alignment points or when thick paper resists a controlled backward bend. Making a valley fold on the reverse side is mechanically equivalent and usually improves accuracy for beginners.
Do not turn the sheet over when the design depends on a colored face, printed orientation, adhesive layer, or asymmetrical pre-creased pattern that must remain visible. Mark the front face with a small removable pencil dot outside the model if orientation is easy to lose.
Which Paper and Tools Work Best?
Use 70-80 GSM kami paper for first exercises, 100-120 GSM Tant or kraft paper for sturdier models, and scoring or wet-folding techniques for many sheets above 150 GSM. Paper fiber direction, coating, moisture, and model complexity matter as much as the GSM number.
| Material or tool | Typical specification | Typical cost | Best use |
|---|---|---|---|
| Kami paper | 60-80 GSM, 15 cm square | $0.10-$0.50 per sheet | Basic practice |
| Tant paper | 100-120 GSM, 15-24 cm square | $0.50-$2 per sheet | Layered models |
| Kraft paper | 100-140 GSM, 20-35 cm square | $0.20-$1.50 per sheet | Structural prototypes |
| Cardstock | 180-300 GSM, letter or A4 | $0.10-$1 per sheet | Cards and models with scoring |
| Plastic bone folder | Smooth polymer, 12-15 cm | $3-$6 | Light burnishing |
| Bone folder | Cattle bone or polished tool | $12-$25 | Crisp crease finishing |
| Steel ruler and stylus | 30 cm ruler, blunt point | $15-$30 | Pre-scoring cardstock |
A bone folder should refine an aligned crease, not force an incorrectly placed one. On coated or dark paper, excessive pressure can create shiny burnish marks, so test on a scrap first.
Wet folding can help thick or sculptural paper hold a curved form, but moisture does not solve every tearing problem. Too much water weakens fibers, distorts dimensions, and makes precise geometric alignment harder.
Which Fold Is Easier to Learn?
Valley folds are usually easier for beginners because the moving edges remain visible while the folder brings them together. Mountain folds become equally manageable after the folder learns to use the reverse-side method and track the model’s front face.
| User situation | Preferred first action | Reason | Typical practice time |
|---|---|---|---|
| First origami lesson | Valley fold | Edges move into view | 5-10 minutes |
| Diagram has hidden alignment | Reverse-side valley | Reference points stay visible | 2-5 minutes |
| Single-sided colored paper | Mark front, then mountain fold | Prevents color reversal | 5-8 minutes |
| Thick cardstock | Score reverse side | Reduces cracking | 10-20 minutes |
| 3D animal model | Direct mountain practice | Builds layer awareness | 15-30 minutes |
An experienced folder does not treat mountain folds as intrinsically harder. The difference is visual access. Once the folder checks layer order instead of relying on hand motion, both folds become equally repeatable.
What Happens When a Fold Goes Wrong?
Most folding failures come from inaccurate alignment, premature pressure, or incorrect layer selection. Repair depends on whether the problem is a misplaced crease, a weak crease, a torn fiber, or a wrong-side fold.
| Failure mode | Likely cause | Immediate repair | Prevention |
|---|---|---|---|
| Crooked crease | Edge aligned sequentially | Unfold and realign both endpoints | Pinch the midpoint first |
| Double or ghost crease | Repeated repositioning | Massage layers flat, avoid burnishing | Confirm alignment before pressure |
| Frayed crease | Heavy paper or dry fibers | Stop folding, change stock | Use 60-120 GSM practice paper |
| Cracked coating | Excessive tool pressure | Fold from the reverse side | Use a blunt stylus lightly |
| Wrong flap direction | Side orientation lost | Turn sheet over and compare layers | Mark the front face |
| Uneven model | Reference points missed | Reopen before the crease sets | Check both endpoints and center |
A ghost crease is often permanent, especially in thin kami paper. If the crease does not affect the final silhouette, continue; if it changes symmetry, restart with a larger sheet rather than trying to erase the line.
Never mist paper casually as a first repair. For wet folding, use controlled moisture and suitable uncoated paper, because dampening a coated commercial sheet can cause ripples and delamination.
How Does Origami Differ From Scored Paper Engineering?
Origami folds usually deform one continuous sheet without cutting, while paper engineering often combines scoring, folding, cutting, tabs, adhesives, and multiple sheets. Valley and mountain terminology remains useful in both fields, but a scored cardstock crease behaves differently from a hand-pressed origami crease.
| Method | Typical material | Crease method | Suitable model |
|---|---|---|---|
| Traditional origami | 60-120 GSM paper | Folding and pre-creasing | Animal or geometric base |
| Wet-folding | Dampened uncoated paper | Fold plus controlled shaping | Sculptural animal |
| Card making | 180-300 GSM cardstock | Scoring board or stylus | Pop-up mechanism |
| Architectural mock-up | 200-400 GSM board | Knife scoring and ruler | Building massing study |
| Packaging prototype | 250-500 GSM board | Die scoring and folding | Box or carton |
Origami is not automatically more precise than scored construction. For repeated commercial folds, a scoring die gives more consistent depth and position; for organic forms, hand folding allows curvature that a straight score cannot reproduce.
A practical paper-engineering rule is to score the inside of a valley crease and the outside of a mountain crease when the project specifies a controlled fold direction. Test the convention on scrap because manufacturers and software packages may label the crease from different sides.
What Are the Most Useful Expert Rules?
Three rules prevent a large share of beginner and intermediate errors:
- Track the viewing side, not the finger movement. Pushing paper upward can create a valley when viewed from the reverse side.
- Make alignment before memory. A crisp wrong crease is harder to correct than a soft, accurately placed crease.
- Use larger paper for complex layers. Increasing a 15 cm square to 24 cm gives more room for alignment and reduces compression near the center.
A fourth rule matters in dense models: stop burnishing once layers begin to shift. Friction between multiple layers can move a reference point several millimeters, enough to distort a head, wing, or box corner.
FAQ
Is a valley fold always an inward fold?
A valley fold is inward only relative to the viewer’s side of the paper. The same physical crease is a mountain fold when viewed from the reverse side, so “inward” and “outward” are useful descriptions only after the front face has been identified.
Can I make every mountain fold by flipping the paper?
Most basic mountain folds can be made by flipping the sheet, creating a valley fold on the reverse, and flipping it back. The method becomes unsuitable when the paper has a one-sided print, adhesive, pre-creased orientation, or layered construction that cannot be safely turned over.
Which origami fold should I practice first?
Practice valley folds first because edge alignment is easier to see and verify. Use a 15 cm square of 70-80 GSM kami paper, make five center folds and five diagonal folds, then repeat the exercise by turning the sheet over to understand the mountain orientation.
Do valley and mountain folds have different strength?
The two fold directions do not inherently have different strength. Strength depends on crease depth, paper thickness, grain direction, coating, repeated flexing, and how many layers share the load; a sharp mountain ridge can resist bending differently from a flat valley only because of the finished geometry.
How do I fold cardstock without cracking it?
Score cardstock with a blunt stylus and steel ruler before folding, using light pressure on the intended crease side. Cardstock around 180-300 GSM often needs scoring, while paper above 300 GSM may require a deeper channel or a designed hinge rather than a simple hand crease.
What is the fastest way to identify a fold in a diagram?
Check the project’s legend first, then combine the crease pattern with the arrow direction and visible layer movement. A dashed line commonly indicates a valley fold, while a dash-dot line commonly indicates a mountain fold, but the publisher’s symbol key overrides general convention.
The Bottom Line
Valley fold vs mountain fold explained in practical terms: a valley dips toward the viewer, and a mountain rises toward the viewer. The same crease changes name when the sheet is turned over, so reliable origami depends on tracking orientation, reference points, arrows, and layer order rather than memorizing hand motions. Use 70-80 GSM paper for practice, make a valley fold when alignment is visible, turn the sheet over for difficult mountain folds, and delay firm burnishing until every point matches.
