


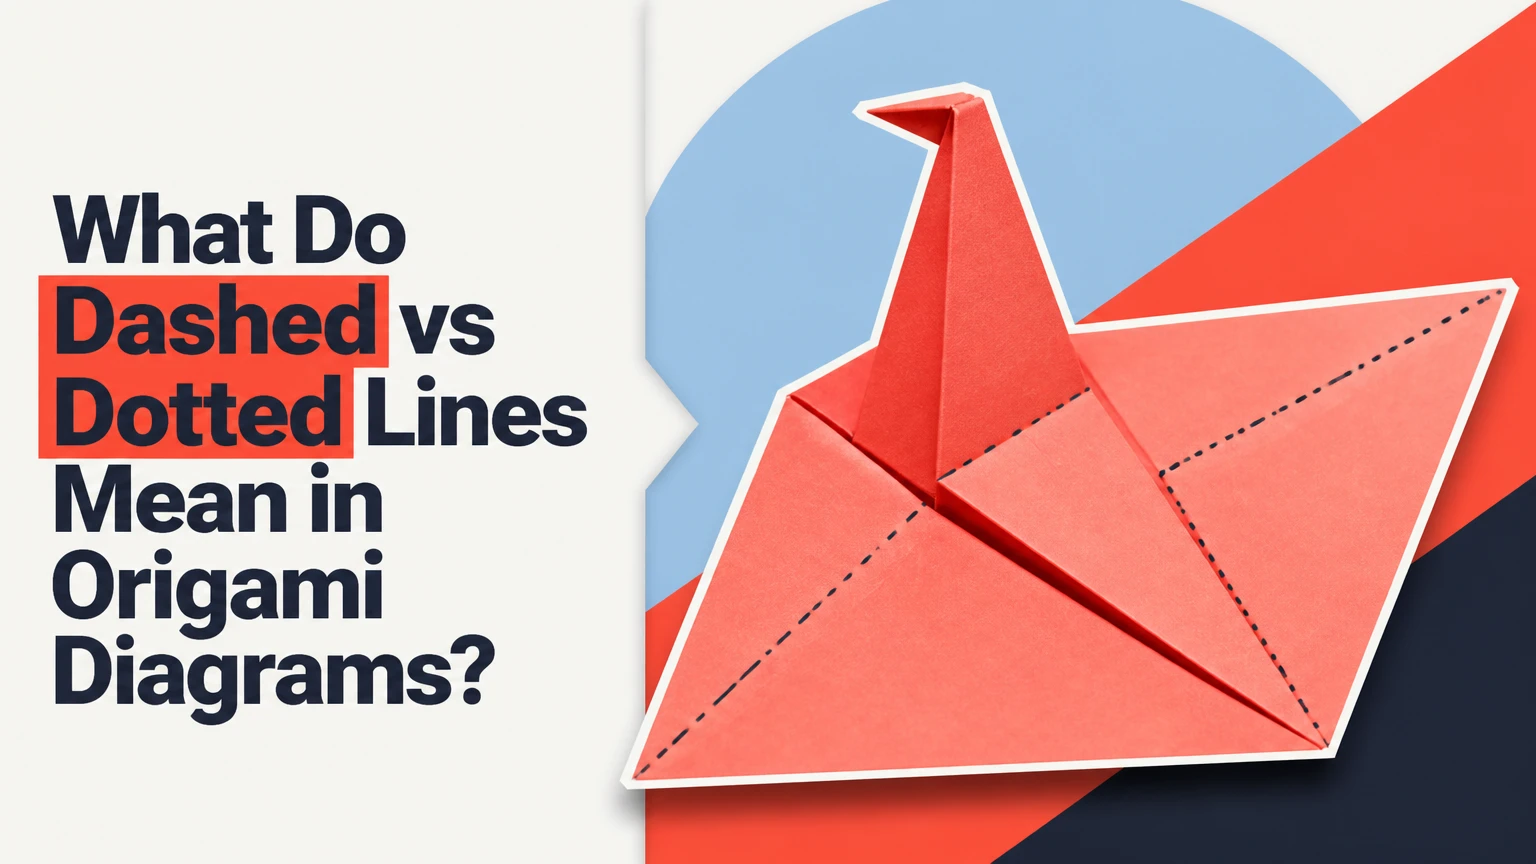
In origami diagrams, a dashed line usually marks a valley fold, while a dash-dot line commonly marks a mountain fold. A dotted line is less universal: it may show a hidden edge, an underlying crease, or a crease to make and unfold. The diagram’s legend, arrows, and changing paper layers determine the correct action.
Key Facts at a Glance
- A dashed line commonly indicates a valley fold, with the paper brought toward the viewer.
- A dash-dot line commonly indicates a mountain fold, with the paper folded away from the viewer.
- A dotted line does not have one universal meaning across every origami book or website.
- A dotted line may identify a hidden edge, an underlying layer, or a pre-crease.
- Solid arrows show motion, while many line styles show the crease or edge involved in that motion.
- A publisher’s symbol key takes priority over a general origami convention.
What Do Dashed vs Dotted Lines Mean in Origami Diagrams?
The short answer is that dashed and dotted lines usually carry different jobs. In the widely used Yoshizawa-Randlett diagramming tradition, a regular dashed line represents a valley fold, a dash-dot line represents a mountain fold, and a dotted line often indicates a hidden or underlying feature rather than a fold instruction.
The distinction matters because line style describes geometry, not decoration. A valley fold makes the crease sink relative to the viewer, whereas a mountain fold makes the crease rise. A dotted line may remain entirely passive, showing where a flap or crease exists beneath the visible layer.
No single international authority forces every diagram maker to use identical marks. Designers sometimes use dotted lines for pre-creases, hidden edges, or folds that occur behind a layer. Read the key first when one exists.
The Core Line Convention
| Diagram mark | Common meaning | Typical paper action | Main visual result |
|---|---|---|---|
- - - - |
Valley fold | Bring paper toward viewer | Crease forms a trough |
- · - · |
Mountain fold | Fold paper away from viewer | Crease forms a ridge |
· · · · |
Hidden edge or guide | Usually no immediate fold | Feature appears beneath a layer |
- · · - |
Variant mountain mark | Fold away from viewer | Ridge, if the legend assigns it |
The first two meanings are comparatively stable. The third is the source of most beginner confusion because “dotted” can identify either information about the model or an action in a particular author’s system.
How Does a Valley Fold Work?
A valley fold bends the paper so the crease sinks away from the side facing you. In a flat sheet, place the target line between the two regions being aligned, bring one section forward, and sharpen the crease without letting the reference corners drift.
A valley fold is usually drawn as a sequence of evenly spaced short dashes. A solid arrow often curves toward the moving flap, although arrow design varies by publisher. The fold direction is easier to confirm when the diagram shows a before-and-after pair.
Valley-Fold Procedure
- Locate the dashed crease. Identify the endpoints and the edges or corners that must meet.
- Position the paper. Keep the illustrated side facing the same direction as the diagram unless the step tells you to turn it over.
- Align landmarks. Match named corners, edges, or existing creases before pressing the fold.
- Bring the flap forward. Move the paper toward yourself, creating the valley shape.
- Crease from the center outward. Press along the target line, then extend pressure to both ends.
- Check the result. The aligned landmarks should coincide, and the crease should sink when viewed from the front.
Success checkpoint: The fold is correct when the target edges meet exactly and the new crease follows the dashed line from endpoint to endpoint. A common mistake is aligning the paper’s outer edge while ignoring a marked corner, which creates a mathematically neat but incorrect fold.
For a first practice sheet, use a 15-centimeter square of ordinary copy paper. Copy paper is inexpensive, holds a visible crease, and tolerates repeated opening better than thin foil-backed paper.
How Does a Mountain Fold Work?
A mountain fold bends the paper so the crease rises toward the viewer. The usual diagram mark is a dash-dot sequence, and the moving flap travels away from you or behind the model rather than toward the front.
Mountain folds often feel less intuitive because the target edge disappears from view during the action. A practical alternative is to turn the paper over, make the equivalent valley fold on the reverse side, then return the paper to its original orientation.
Mountain-Fold Procedure
- Find the dash-dot line. Trace the entire line, including any portions hidden by a flap.
- Confirm the arrow. A backward-pointing, open, or differently styled arrow may reinforce the mountain action.
- Move the indicated flap backward. Fold the paper away from the viewer.
- Use the reverse-side method if needed. Flip the sheet over, valley-fold along the same geometric line, and flip it back.
- Press the ridge sharply. Strengthen the crease while holding the reference points in alignment.
- Compare the next diagram. The model’s raised flap and silhouette should match the following step.
Success checkpoint: The crease should project toward you when the model is viewed from the diagram’s stated side. The most common error is treating the dash-dot mark as a regular dashed line, which often produces a shape that looks plausible but reverses the model’s internal layers.
Valley and Mountain Folds Compared
| Attribute | Valley fold | Mountain fold | Practical consequence |
|---|---|---|---|
| Common mark | Regular dashes | Dash-dot sequence | Line pattern identifies direction |
| Fold direction | Toward viewer | Away from viewer | One flap moves in opposite directions |
| Crease shape | Concave trough | Convex ridge | Paper surface confirms the result |
| Reverse-side equivalent | Mountain on opposite face | Valley on opposite face | Flipping paper can simplify execution |
Are Dotted Lines Always Folds?
Dotted lines are not always folds. In many step-by-step diagrams, dotted marks show a hidden edge, an underlying flap, an existing crease beneath the top layer, or a location that becomes relevant in a later step.
A dotted line becomes an action instruction only when the diagram’s legend, arrow, or sequence clearly assigns it an operation. Some creators use dotted lines for “fold and unfold” pre-creases, especially when a crease is important for a later collapse. Others use a dotted or broken mark to reveal geometry hidden behind the front layer.
This is why the statement “dotted means x-ray” is useful as a first warning but too absolute as a rule. Origami diagramming conventions are shared practices, not a perfectly enforced universal code.
How to Interpret a Dotted Mark
| Dotted-line context | Likely role | Fold immediately? | Verification clue |
|---|---|---|---|
| Inside a closed flap | Hidden edge | No | Edge disappears behind a layer |
| Extends from an existing crease | Underlying crease | Usually no | Later step exposes the line |
| Has a fold arrow | Author-defined fold | Yes, if legend agrees | Arrow points to moving paper |
| Appears before an open-and-close sequence | Pre-crease | Usually yes | Next step uses the new crease |
| Appears only in the completed model | Construction information | No | No movement occurs between panels |
What Is an X-Ray Line?
An x-ray line represents geometry that exists behind the visible paper surface. The line helps the reader understand hidden alignment, flap depth, or the location of a crease that cannot be drawn as a visible solid edge.
An x-ray line is informational unless an arrow or legend turns it into an instruction. Folding every dotted line can add creases that the model never needs, distort layers, and make later shaping harder.
Why Do Origami Arrows Matter More Than Line Style Alone?
Origami arrows describe movement, while line styles identify the crease or edge involved. The safest interpretation comes from combining both signals rather than treating a dashed or dotted mark as an isolated command.
A straight solid arrow commonly indicates a fold or movement toward the arrowhead. A curved arrow can show rotation, turning, or folding around a point. An arrow that passes behind a flap may indicate that the paper moves away from the viewer, but arrow conventions differ enough that the diagram key remains decisive.
Symbol-Reading Rules
- Follow the arrow’s tail to identify the moving section.
- Follow the arrowhead to identify the destination.
- Check whether the line touches an edge, crease, or hidden layer.
- Compare the paper silhouette before and after the step.
- Do not infer fold direction from a line that remains unchanged between panels.
- Treat half-arrow and open-arrow designs as author-specific until confirmed.
For example, a dashed line crossing the center of a square with a curved arrow may mean “valley-fold this half.” A dotted line inside the folded triangle may only reveal the hidden continuation of the same crease.
What If the Diagram Has No Legend?
When a diagram has no legend, use the common convention first, then verify the result against the next panel. Regular dashes usually mean valley, dash-dot usually means mountain, and isolated dots usually mean hidden or guide information.
The next image is a powerful error detector. If the following step requires a flap to sit behind the model, a valley interpretation may be wrong even when the crease placement appears accurate. If the model becomes a mirror image, reverse the fold direction rather than moving the crease.
Low-resolution scans create another problem: dash-dot lines can look dotted, and short dashes can merge into solid lines. Zooming the image, viewing the original print, or tracing the mark across several panels can reveal the intended pattern.
When Conventions Conflict
| Situation | First interpretation | Confirmation method | Safe response |
|---|---|---|---|
| Clear regular dashes | Valley fold | Check arrow and next panel | Fold toward viewer |
| Clear dash-dot pattern | Mountain fold | Check reverse-side layers | Fold away or flip paper |
| Uniform small dots | Hidden or guide line | Look for arrow and layer change | Do not fold automatically |
| Blurred or compressed scan | Unknown | Compare nearby steps | Find the original legend |
| Diagram key disagrees with convention | Key meaning | Apply the key consistently | Follow the named author system |
A diagram key overrides the general Yoshizawa-Randlett expectation because the key defines that publication’s visual grammar. Applying a familiar meaning against an explicit legend is a preventable source of errors.
How Should Beginners Practice These Symbols?
Beginners should practice one valley fold and one mountain fold on a large square before attempting a dense multi-layer model. A 15-20 centimeter sheet, a contrasting front and back color, and five minutes of testing make direction errors easier to see.
Use ordinary kami, copy paper, or lightweight printer paper first. Avoid very small paper because a 1-millimeter alignment error becomes significant when several folds accumulate.
Beginner Practice Sequence
- Mark one diagonal with regular dashes and make a valley fold.
- Open the paper and inspect the trough from the front.
- Mark the other diagonal with a dash-dot pattern and make a mountain fold.
- Flip the sheet and repeat the mountain fold as a valley from the reverse side.
- Add a flap over one crease and draw the hidden edge with pencil.
- Compare the visible and hidden portions without adding another crease.
The goal is not artistic finish. The goal is associating a graphic mark with paper movement and a resulting three-dimensional surface.
An experienced folder often uses a contrasting sheet for models with frequent inside reverse folds. Color contrast exposes which layer moved, while monochrome paper can hide a reversed flap until several steps later.
What Is the Difference Between Step Diagrams and Crease Patterns?
A step diagram shows a controlled sequence of actions, while a crease pattern shows many creases on one unfolded sheet. Step diagrams are suitable for beginners because each panel limits the number of decisions; crease patterns require knowledge of mountain-valley assignment, layer ordering, and collapse geometry.
A crease pattern may contain dozens or hundreds of lines. It can use solid, dashed, dotted, or colored marks according to the designer’s system, but the pattern alone may not explain every fold direction. A crease pattern is therefore an advanced alternative, not a faster version of ordinary instructions.
Reading Level Comparison
| Diagram type | Typical line density | Direction information | Suitable experience | Main limitation |
|---|---|---|---|---|
| Beginner step diagram | 1-4 key lines per panel | Usually explicit | New folder | May omit hidden geometry |
| Intermediate sequence | 4-10 lines per panel | Mixed arrows and marks | Practiced folder | Layer order becomes important |
| Technical sequence | 8-20 lines per panel | Often author-specific | Advanced folder | Requires spatial reasoning |
| Crease pattern | 20-500+ lines per sheet | Often encoded by style or color | Expert folder | Collapse sequence is absent |
In a crease pattern, “pre-crease all dashed lines as valleys and dash-dot lines as mountains” is safe only when the designer’s legend assigns those meanings. Some crease patterns use different colors, solid lines, or specialized notation.
How Can You Fix a Wrong Valley or Mountain Fold?
Fix a wrong fold before adding later creases. Open the paper completely, flatten it in the correct orientation, and use the next diagram to identify whether the problem is direction, alignment, or layer order.
Paper remembers damage. A sharply reversed crease can remain visible, especially in foil, handmade paper, and thin kami. If the model is early in the sequence, rotate the sheet so the unwanted crease becomes less prominent; if the crease changes the geometry, restart with a fresh square.
Troubleshooting Table
| Symptom | Likely cause | Recovery action | Restart threshold |
|---|---|---|---|
| Model looks mirrored | Valley used for mountain | Unfold and reverse direction | Restart after 2 later folds |
| Edges miss by 2-3 mm | Landmark ignored | Reopen and align corners first | Restart if layers no longer lie flat |
| Extra crease appears | Dotted line folded blindly | Flatten and disregard passive mark | Restart if crease crosses a key tip |
| Flap disappears | Wrong layer moved | Reconstruct layer order from next panel | Restart if hidden flap cannot reopen |
| Line looks solid in scan | Image compression | Compare high-resolution source | Do not fold until mark is confirmed |
| Shape twists after collapse | Pre-creases inconsistent | Re-score intended lines lightly | Restart if the base will not flatten |
Practitioner Rules That Prevent Most Errors
Rule 1: Crease placement and fold direction are separate decisions. A folder can place a line perfectly and still fold the wrong side. Confirm both independently.
Rule 2: The next panel often explains the current panel better than the current panel does. Diagram authors omit hidden movement when the resulting layer arrangement makes the action obvious later.
Rule 3: Stop after the first unexplained mismatch. Continuing for five steps can bury the original error under new creases and make diagnosis substantially harder.
Does Paper Orientation Change the Meaning?
Paper orientation does not change the geometric meaning of a fold, but turning the model over changes which surface appears to face you. A valley viewed from the reverse side appears as a mountain, so diagrams that instruct a flip must be followed literally.
Track three conditions at every turn: which side faces upward, where the model’s top edge is, and which flap the arrow moves. A small pencil dot on the paper’s front side can help during practice, although finished models should not need permanent marks.
Orientation Check
| Diagram instruction | Paper state before action | Viewer sees | Correct interpretation |
|---|---|---|---|
| Fold forward | Front side up | Target flap visible | Valley toward viewer |
| Fold behind | Front side up | Flap moves away | Mountain from front |
| Turn over | Reverse side up | Former underside visible | Reinterpret surface, not geometry |
| Rotate model | Same surface up | Top edge changes position | Keep fold assignment unchanged |
A model can look “backward” simply because it has been rotated 180 degrees rather than folded incorrectly. Compare a distinctive asymmetrical tip or colored side before undoing a correct fold.
What Should You Do When a Dotted Line Runs Through a Flap?
Treat a dotted line running through a flap as hidden geometry first, especially when the line has no arrow and the flap remains stationary. The mark commonly shows an edge or crease beneath the top layer, allowing you to understand where the concealed paper lies.
If the next panel opens the flap and reveals a crease in that exact location, the dotted line may have been a guide for a later pre-crease. If the current panel includes a clear fold arrow aimed at that line, follow the publication’s legend and perform the action.
The distinction is temporal. A hidden line describes what is already there; a pre-crease instruction describes what you must create now. The same geometric location can appear as passive information in one panel and as an active fold target in another.
What Tools and Materials Help With Diagram Reading?
A beginner needs a square sheet and a flat work surface, not specialized equipment. A bone folder can sharpen creases, but a fingernail or the back of a plastic spoon works for early practice when used without scratching the paper.
Practical Setup
| Item | Typical quantity | Typical cost | Useful role |
|---|---|---|---|
| 15 cm kami square | 10-30 sheets | $3-$8 per pack | Beginner practice and simple models |
| Copy paper square | 5-10 sheets | $0.05-$0.20 per sheet | Cheap crease-direction testing |
| Bone folder | 1 | $5-$15 | Sharp, controlled creasing |
| Pencil and ruler | 1 each | $1-$8 total | Temporary orientation and line study |
| Flat cutting mat | 1 | $10-$25 | Protects the work surface |
Do not draw permanent dashed and dotted lines on a finished model unless the instructions permit it. Temporary pencil marks are useful for learning, but added graphite can transfer to light paper and interfere with visual layer reading.
This method is also limited: tools cannot resolve an ambiguous convention. Only the legend, surrounding panels, or a reliable original edition can establish what an unusual symbol means.
What Is the Most Reliable Reading Method?
The most reliable method is a five-part check: identify the line, locate the arrow, inspect the moving flap, compare the next panel, and confirm the resulting layer order. This method works better than memorizing one symbol because publishers adapt line styles for clarity and printing constraints.
Use the following sequence whenever a mark is unclear:
- Name the mark: regular dash, dash-dot, dots, solid, or colored line.
- Find its endpoints: determine whether it is a crease, edge, or hidden continuation.
- Read the arrow: identify movement and destination.
- Predict the layer order: decide which flap should sit above or below.
- Test the next panel: verify silhouette, corners, and hidden edges.
A correct interpretation should explain both the present action and the next state. If it explains only the current crease but not the following layer arrangement, keep investigating before pressing firmly.
Frequently Asked Questions
Are dashed and dotted origami lines interchangeable?
No. Regular dashed lines commonly indicate valley folds, while dotted lines often show hidden or guide geometry. Some designers assign dotted marks to pre-creases, so the publication’s legend and arrows control the final interpretation. Interchanging the marks can create either an unwanted crease or a reversed layer arrangement.
What does a dash-dot-dot line mean in origami?
A dash-dot-dot line is an author-specific variant, often used to distinguish a mountain fold from a hidden line or another construction mark. It does not have a single universal meaning. Check the diagram key, then verify the intended ridge or layer position in the following panel.
Can a dotted line mean a pre-crease?
Yes. A dotted line can indicate a pre-crease when the diagram’s legend or sequence assigns it an active folding action. The next panel often shows the crease being used for a collapse or alignment. Without an arrow, legend, or subsequent use, treat the dotted mark as hidden or guide information.
Why does my mountain fold look like a valley?
A mountain fold looks like a valley when the paper was folded toward the viewer or when you are viewing the reverse side. Unfold the model, flip the paper, and make the equivalent valley fold from the opposite face. Confirm the raised ridge and the next panel’s layer order.
Should I fold every line in an origami diagram?
No. Fold lines that the instructions activate, and treat passive dotted or hidden lines as visual information unless the legend says otherwise. Folding every visible mark produces unnecessary creases and can damage the intended layer structure, particularly in sink folds and multi-layer bases.
What is the best paper for learning fold directions?
A 15-20 centimeter square of kami or ordinary copy paper is the most forgiving starting material. A two-color sheet is even easier because the moving layer remains visible. Very small paper, thick cardstock, and foil are poor choices for early practice because alignment errors and accidental creases are harder to correct.
The Bottom Line
For the query what do dashed vs dotted lines mean in origami diagrams, remember the practical rule: regular dashes usually mark valley folds, dash-dot marks usually indicate mountain folds, and dotted marks often reveal hidden or guide geometry rather than an automatic fold. Arrows, legends, paper orientation, and the next diagram panel resolve exceptions. When uncertain, delay creasing until the intended layer movement is clear.
