


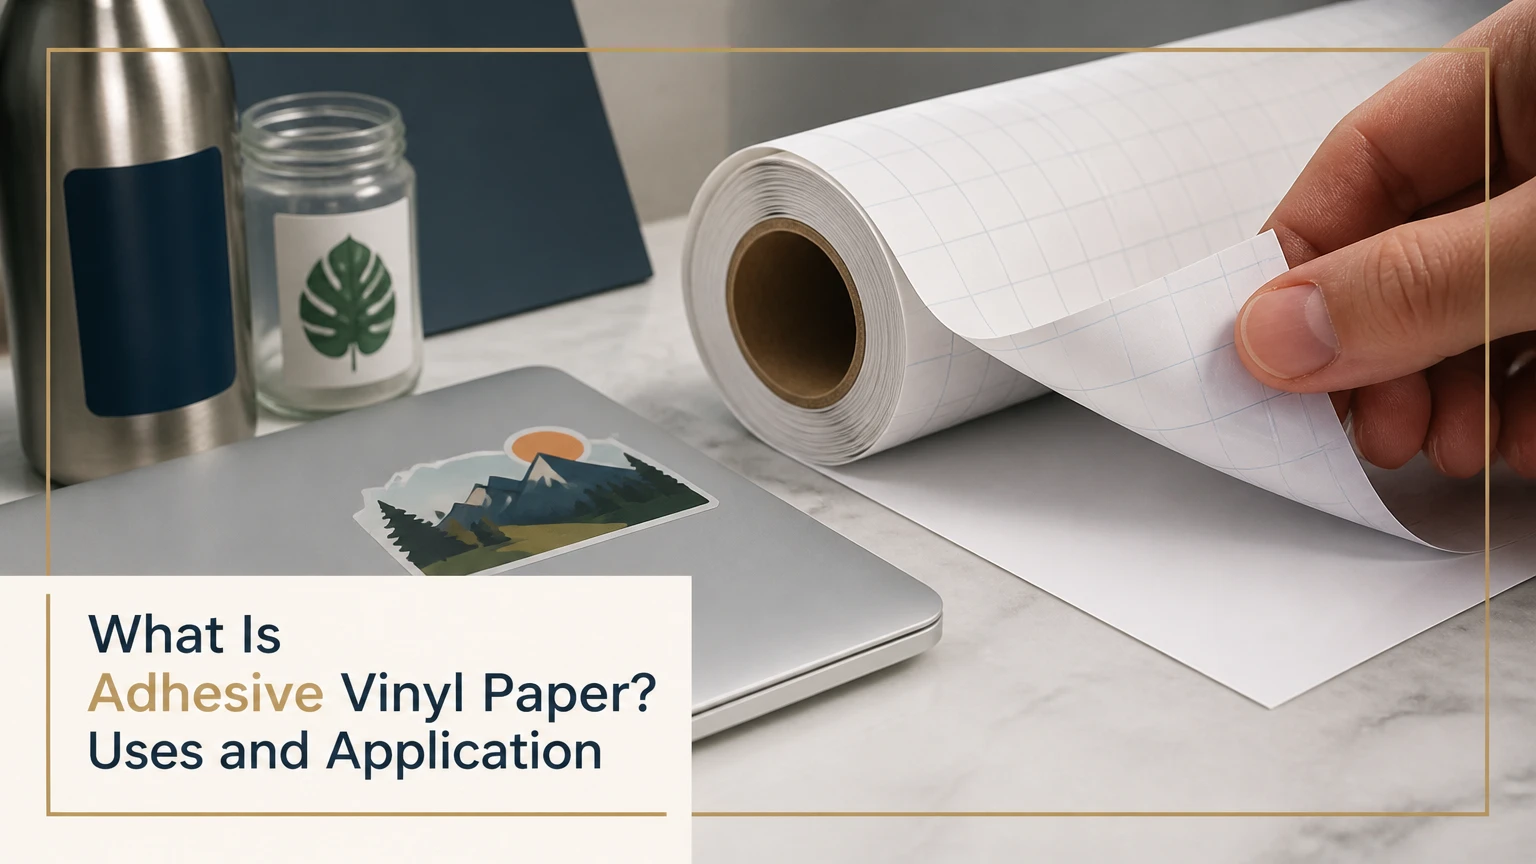
Adhesive vinyl paper is a thin vinyl film with a pressure-sensitive adhesive and a removable release liner. It works like a durable sticker: pressure activates contact with a hard, smooth surface, so no heat press is required. Crafters cut it for decals, labels, signs, drinkware, walls, and other decorative applications.
Key Facts at a Glance
Adhesive vinyl paper is usually PVC film, not ordinary paper.
The material is cut face-up, with the liner against the cutting mat.
Permanent vinyl is intended for longer exposure, while removable vinyl suits temporary indoor graphics.
Transfer tape moves cut designs from the liner to the final surface.
A clean, dry, low-texture substrate determines bond quality more than aggressive squeegee pressure.
Typical adhesive curing takes 24-72 hours, even when the vinyl feels attached immediately.
What Is Adhesive Vinyl Paper Used For?
Adhesive vinyl paper is used to create cut lettering, decals, labels, stencils, signs, and decorative graphics on nonporous surfaces. Common substrates include glass, sealed wood, painted metal, acrylic, ceramic, and smooth plastic, provided the surface is clean and compatible with the adhesive.
The term “paper” usually describes the sheet format or backing, not the face material. A standard sheet contains a plastic vinyl layer backed by a paper or film liner. Retail listings also use “sticky vinyl,” “self-adhesive vinyl,” “adhesive vinyl,” and “pressure-sensitive vinyl” for closely related products.
Adhesive vinyl is particularly useful when the design contains lettering or separate shapes. Unlike a rectangular sticker, weeded vinyl leaves only the intended graphic on the substrate. A sign reading “Staff Only,” for example, can be cut from one color and transferred without a visible background panel.
What adhesive vinyl paper is not
Adhesive vinyl is not heat-transfer vinyl, ordinary sticker paper, or removable masking tape. Heat-transfer vinyl has a heat-activated adhesive and is designed for fabric; adhesive vinyl bonds to a surface at room temperature. Sticker paper generally has a paper face, while adhesive vinyl has a more water-resistant plastic face.
How Is Adhesive Vinyl Paper Constructed?
Adhesive vinyl paper has three functional layers: a face film, a pressure-sensitive adhesive, and a release liner. The face film carries the color or printed image, the adhesive creates the bond, and the liner protects the adhesive before installation.
| Layer | Typical material | Primary function | Practical consequence |
|---|---|---|---|
| Face film | PVC, 2-4 mil typical | Carries color, texture, or ink | Determines finish, flexibility, and weather resistance |
| Adhesive | Acrylic polymer | Bonds under pressure | Controls tack, removability, and curing time |
| Release liner | Silicone-coated paper or film | Protects adhesive before use | Supports cutting, handling, and clean peeling |
Why does pressure-sensitive adhesive stick?
Pressure-sensitive adhesive flows microscopically into surface irregularities when force brings the vinyl into contact with the substrate. Initial tack allows the graphic to stay in place, while contact area, temperature, dwell time, and adhesive chemistry influence the stronger final bond.
Adhesive manufacturers commonly distinguish initial tack from ultimate adhesion. A vinyl graphic may lift easily from transfer tape on installation day but become significantly harder to remove after several days or weeks. Cold temperatures slow adhesive flow, while dust, skin oil, condensation, and textured paint reduce effective contact.
A release liner has two jobs that are easy to overlook. It prevents contamination during storage, and it gives thin vinyl enough rigidity to pass through a cutting machine without folding or stretching.
Which Adhesive Vinyl Type Should You Choose?
Choose removable indoor vinyl for temporary wall graphics and permanent vinyl for durable decals on smooth, hard surfaces. Choose cast vinyl for demanding curves, polymeric calendered vinyl for moderate outdoor use, and monomeric calendered vinyl for economical flat applications.
| Vinyl type | Typical film thickness | Typical service range | Best application |
|---|---|---|---|
| Removable indoor | 2.5-3.0 mil | Months to several years indoors | Painted walls, temporary signs, event graphics |
| Permanent calendered | 2.5-3.0 mil | 3-6 years outdoors | Glass, cups, signs, flat vehicle panels |
| Polymeric calendered | 2.5-3.0 mil | 3-7 years outdoors | Mild curves and medium-term signage |
| Cast vehicle vinyl | 1.5-2.5 mil | 5-8 years outdoors | Deep curves, recesses, vehicle wraps |
| Printable adhesive vinyl | 3-6 mil total | 1-3 months unlaminated outdoors | Full-color labels and custom stickers |
Permanent versus removable vinyl
Permanent vinyl uses a stronger adhesive and normally develops a more durable bond. It is the better choice for outdoor signs, frequently handled drinkware, and graphics that should remain in place, but removal can damage weak paint or leave residue.
Removable vinyl uses a lower-strength adhesive intended for cleaner removal from suitable indoor surfaces. “Removable” does not mean residue-free in every situation. Paint age, wall condition, exposure duration, heat, and substrate porosity all affect the result.
| Decision factor | Permanent vinyl | Removable vinyl |
|---|---|---|
| Recommended exposure | Outdoor and high handling | Indoor and temporary |
| Typical cure time | 24-72 hours | About 24 hours for best bond |
| Removal risk | Higher paint and residue risk | Lower on cured, smooth paint |
| Water exposure | Rain and incidental washing, product dependent | Limited and product dependent |
| Typical price | $0.50-$1.20 per square foot | $0.45-$1.00 per square foot |
| Example product class | ORACAL 651-style vinyl | ORACAL 631-style vinyl |
Calendered versus cast vinyl
Calendered vinyl is manufactured by forcing vinyl through rollers, creating an economical film with some material memory. Monomeric calendered vinyl is the least dimensionally stable option; polymeric calendered vinyl uses more stable plasticizers and performs better outdoors.
Cast vinyl begins as a liquid coating that is dried into a film rather than mechanically stretched through rollers. The resulting film is thinner and more conformable, with less tendency to shrink back after installation. That advantage explains its higher cost.
Cast vinyl is not automatically better for every project. A flat indoor sign gains little from paying for wrap-grade material, while a vehicle recess can expose the limitations of inexpensive calendered vinyl through lifting, shrinkage, or edge curl.
What Specialty Forms of Adhesive Vinyl Exist?
Specialty adhesive vinyl changes the face finish, printability, optical effect, or installation behavior without changing the basic pressure-sensitive structure. Printable, metallic, holographic, glitter, frosted, reflective, and air-release products solve different design or installation problems.
| Specialty form | Surface characteristic | Main limitation | Typical use |
|---|---|---|---|
| Printable vinyl | Matte or gloss printable face | Ink requires drying and often laminate | Photo stickers and full-color labels |
| Metallic or foil | Reflective colored surface | Shows scratches and cut marks | Signs, lettering, premium packaging |
| Holographic | Light-shifting pattern | Can complicate optical registration | Decorative decals and craft graphics |
| Frosted or etched | Translucent diffused finish | Lower contrast than opaque film | Glass privacy and window decoration |
| Reflective | Returns directed light | Requires careful application | Safety signs and vehicle markings |
| Air-release wrap vinyl | Microchannels in adhesive | More expensive and technique-sensitive | Vehicle panels and large graphics |
What is printable vinyl?
Printable vinyl is adhesive vinyl with a coated face designed for inkjet or laser printing, depending on the product specification. It supports photographs, gradients, and detailed illustrations that would be impractical to assemble from separate solid-color pieces.
Unlaminated inkjet printable vinyl is not automatically waterproof. Water-soluble dye ink can run or fade, and pigment ink still requires product-specific testing. A compatible clear laminate or outdoor-rated overlaminate adds protection against water, abrasion, and ultraviolet exposure.
Never assume inkjet and laser printable vinyl are interchangeable. Laser printers apply heat, so a sheet made only for inkjet printers can curl, deform, or damage the printer when used in a laser device.
How Do You Apply Adhesive Vinyl?
Apply adhesive vinyl in seven stages: design, face-up cut, weed, transfer, clean the substrate, position the graphic, and burnish the finished application. A small decal usually takes 10-20 minutes, excluding the recommended 24-72-hour curing period.
Before you start
| Requirement | Typical specification | Why it matters |
|---|---|---|
| Cutting machine | Cricut, Silhouette, or equivalent | Produces a controlled kiss cut |
| Transfer tape | Low, medium, or high tack | Matches vinyl finish and detail size |
| Cleaning solution | 70% isopropyl alcohol | Removes many oils without adding detergent residue |
| Application tool | Squeegee, scraper, or old card | Presses vinyl evenly onto the substrate |
| Temperature | 60-90°F, or 16-32°C | Supports predictable adhesive flow |
| Test material | 2 x 2 inch vinyl sample | Prevents waste on unsuitable settings |
Step 1: Set up the design
Create the design at its final size and check that narrow strokes, counters, and gaps can survive weeding. Adhesive vinyl does not require mirroring because the face remains on top during cutting and transfers directly to the surface.
Step 2: Cut the vinyl face-up
Place the vinyl colored side up and the liner side down on the cutting mat. Select a material setting appropriate to the brand, then perform a test cut before committing to the full design.
The correct cut penetrates the vinyl face but leaves the release liner intact. Cutting through the liner makes weeding and transfer less controlled. Blade depth, force, speed, and machine calibration vary, so manufacturer presets are starting points rather than universal values.
Step 3: Weed the excess
Remove the unwanted vinyl surrounding and inside the design with a hook or fine-point weeding tool. Work from a corner at a low angle, and use a light source behind translucent material when small internal details are difficult to see.
Step 4: Apply transfer tape
Cut transfer tape slightly larger than the weeded graphic. Place the tape from one edge toward the other, then burnish across the tape with firm overlapping strokes. Medium tack suits many standard matte and gloss films, while glitter and heavy textured vinyl may require a stronger adhesive surface.
Step 5: Prepare the substrate
Clean glass, metal, ceramic, or sealed plastic with 70% isopropyl alcohol and allow it to evaporate completely. Do not apply over condensation, wax, silicone, dust, uncured paint, or greasy fingerprints.
Painted walls require extra caution. Test an inconspicuous area because alcohol can affect some coatings, and removable vinyl can still pull weak or recently applied paint from the wall.
Step 6: Transfer the design
Peel the transfer tape and vinyl away from the original liner, keeping the assembly low and controlled. If the vinyl remains on the liner, lay it back down, burnish the face again, and peel the tape at a sharper angle.
Position one edge first, then use a hinge method or gradual squeegee application to reduce trapped air. Repositioning is safest before the vinyl receives firm pressure, because repeated lifting can reduce adhesive contact.
Step 7: Burnish and release the tape
Press from the center toward the edges, concentrating on thin strokes and corners. Peel the transfer tape back slowly at approximately 45 degrees rather than pulling straight upward.
The application worked when the vinyl remains flat after tape removal, edges do not lift, and no cloudy air pockets remain. Wait at least 24 hours, and preferably 48-72 hours, before washing or exposing the graphic to heavy weather.
How Durable Is Adhesive Vinyl?
Adhesive vinyl can last from several months to eight years, depending on film construction, adhesive, ultraviolet exposure, washing, substrate, and installation quality. Manufacturer ratings are usually based on controlled exposure conditions, so a product’s advertised life is not a guarantee for every vehicle, wall, or cup.
| Use case | Suitable vinyl | Typical life | Important condition |
|---|---|---|---|
| Indoor wall quote | Removable indoor | 6 months-3 years | Smooth, cured paint and moderate humidity |
| Outdoor flat sign | Permanent calendered | 3-6 years | Clean substrate and normal UV exposure |
| Vehicle side panel | Cast wrap vinyl | 5-8 years | Correct post-heating and edge sealing |
| Unlaminated inkjet sticker | Printable vinyl | 1-3 months outdoors | Limited UV and water resistance |
| Hand-washed tumbler | Permanent vinyl | 1-3 years typical | Hand washing, not abrasive scrubbing |
| Dishwasher-used mug | Product dependent | Variable | Follow the vinyl maker’s care instructions |
Adhesive vinyl is not a reliable food-contact coating, cutting-board surface, or substitute for a certified waterproof label. It also performs poorly on silicone, waxed surfaces, dusty concrete, unfinished wood, and heavily textured walls because the adhesive cannot form enough continuous contact.
Adhesive Vinyl Versus Common Alternatives
Adhesive vinyl is the best option when a user needs a cut graphic on a hard surface without heat. Sticker paper is simpler for sheet-fed labels, heat-transfer vinyl is correct for fabric, and paint or stencil film is preferable when the graphic must become part of the substrate rather than remain a film layer.
| Material | Activation method | Best substrate | Main advantage | Main limitation |
|---|---|---|---|---|
| Adhesive vinyl | Pressure at room temperature | Smooth hard surfaces | Clean cut lettering and decals | Needs suitable surface energy |
| Heat-transfer vinyl | Heat and pressure | Cotton and compatible textiles | Bonds to fabric fibers | Not intended for glass or walls |
| Sticker paper | Pressure-sensitive adhesive | Paper, packaging, labels | Easy full-sheet printing | Paper face absorbs water |
| Printable adhesive vinyl | Pressure plus printed ink | Smooth hard surfaces | Photos and gradients | Needs printer-compatible protection |
| Paint or stencil film | Paint application | Walls, wood, signs | No permanent film layer | Requires drying and masking skill |
Is adhesive vinyl the same as sticker paper?
Adhesive vinyl and sticker paper both have pressure-sensitive backing, but adhesive vinyl uses a plastic face while sticker paper uses a paper face. Vinyl generally resists water and tearing better, whereas sticker paper is often less expensive and easier to print in ordinary sheet-fed workflows.
The choice depends on the finished object. A planner label kept indoors may need only sticker paper, while a reusable bottle or outdoor sign needs a vinyl face and an adhesive system rated for that exposure.
What Does Adhesive Vinyl Cost?
Typical retail adhesive vinyl costs $0.45-$5.00 per square foot for cut film, while an 8.5 x 11-inch printable sheet commonly costs $1.00-$2.00 before ink, laminate, transfer tape, and waste. Commercial rolls reduce the material cost but increase the upfront purchase and storage requirement.
| Product format | Typical retail price | Area or quantity | Extra cost to budget |
|---|---|---|---|
| Removable craft sheet | $0.45-$1.00 per sq. ft. | 12 x 12 inches | Transfer tape |
| Permanent craft roll | $0.50-$1.20 per sq. ft. | 12 inches x 5-12 feet | Weeding waste |
| Cast wrap roll | $2.50-$5.00 per sq. ft. | 12-60 inches wide | Heat gun and installation labor |
| Printable vinyl sheet | $1.00-$2.00 each | 8.5 x 11 inches | Ink and laminate |
| Clear laminate sheet | $1.00-$3.00 each | 8.5 x 11 inches | Alignment and additional thickness |
For a small decal, material cost is rarely the largest expense. Transfer tape, failed cuts, printer ink, laminate, replacement blades, and installation time can exceed the vinyl price, especially when the design contains fine lettering or multiple colors.
Why Does Adhesive Vinyl Fail?
Adhesive vinyl fails when the substrate blocks contact, the film is mismatched to the exposure, the cut damages the liner, or application traps air and contamination. Lifting, bubbling, jagged cuts, residue, and peeling edges each point to a different corrective action.
| Symptom | Likely cause | Corrective action |
|---|---|---|
| Vinyl lifts with transfer tape | Low tack, cold surface, or weak burnishing | Use compatible lower-tack tape, warm the surface, and burnish again |
| Edges curl after days | Calendered shrinkage or poor surface contact | Use polymeric or cast vinyl and seal clean edges |
| Jagged cut lines | Dull blade, excess force, or residue | Clean or replace blade and reduce force incrementally |
| Large bubbles | Flat-drop installation or trapped air | Use a hinge method and push air outward |
| Paint peels during removal | Weak or uncured coating | Warm the vinyl, peel slowly, and test first |
| Ink smears | Wrong printer media or insufficient drying | Confirm printer type and allow the printed sheet to dry |
| Residue remains | Long dwell time, heat, or aggressive adhesive | Warm gently and use substrate-safe adhesive remover |
A practitioner rule of thumb is to fix the surface before changing the blade or adhesive. A dirty substrate can make premium vinyl appear defective, while a clean surface often resolves lifting without stronger tape or greater pressure.
Fine details also have a mechanical limit. Lines below roughly 1 millimeter are difficult to weed and may not retain enough bonded area, particularly on textured surfaces or when the design is smaller than the manufacturer’s recommended minimum.
How do you remove adhesive vinyl?
Warm the graphic moderately with a hair dryer, lift one corner with a plastic scraper or fingernail, and peel slowly at a low angle. Remove residue with an adhesive cleaner tested on the substrate, avoiding metal blades on glass coatings, painted panels, and acrylic.
Permanent vinyl may leave residue after long exposure, and removable vinyl may still damage chalky, fresh, or poorly bonded paint. Do not use heat on heat-sensitive plastics, and do not use solvent cleaners on unknown finishes without a spot test.
Which Surfaces Work Best?
Smooth, clean, nonporous surfaces with moderate surface energy provide the most reliable bond for adhesive vinyl. Glass, glazed ceramic, painted metal, acrylic, and sealed wood usually work well; silicone, wax, dusty masonry, and highly textured coatings usually do not.
| Surface | Compatibility | Preparation | Recommended vinyl |
|---|---|---|---|
| Glass | High | Alcohol clean, dry fully | Removable or permanent |
| Glazed ceramic | High | Remove grease and moisture | Permanent for handling |
| Painted drywall | Medium | Test paint, use clean removable film | Removable indoor |
| Sealed wood | Medium-high | Smooth, cure finish, remove dust | Permanent or removable |
| Bare wood | Low-medium | Sand, seal, and cure | Permanent after testing |
| Polypropylene plastic | Variable | Test adhesion for 24-72 hours | High-tack specialty film |
| Silicone rubber | Low | Standard vinyl usually unsuitable | Specialized silicone adhesive |
| Textured wall | Low-medium | Flatten or use purpose-made wall film | Wall-rated removable film |
Application temperature matters. Vinyl applied below the product’s recommended range may look attached while failing at edges, and a surface exposed to direct sun can become too hot for accurate positioning.
FAQ
Can adhesive vinyl paper be used on fabric?
Standard adhesive vinyl is not designed for fabric because fibers and laundering disrupt the pressure-sensitive bond. Use heat-transfer vinyl for cotton or compatible textiles, following the product’s temperature, pressure, and peel instructions. Adhesive vinyl may work temporarily on rigid fabric-backed boards, but that is a different use from clothing decoration.
Can you use adhesive vinyl without a cutting machine?
Yes. Adhesive vinyl can be cut with scissors, a craft knife, or a stencil blade, although intricate lettering is much easier with a Cricut, Silhouette, or comparable plotter. Hand cutting works well for simple shapes, labels, stripes, and paper-craft details, including decorative origami components that need a self-adhesive surface.
Does adhesive vinyl damage walls?
Adhesive vinyl can damage walls when the paint is weak, fresh, chalky, porous, or already failing. Removable indoor vinyl lowers the risk but does not eliminate it. Wait until paint has fully cured, test a hidden area, avoid textured surfaces, and remove the graphic slowly after warming it slightly.
Can adhesive vinyl go in a dishwasher?
Some permanent vinyl products tolerate limited top-rack washing, but adhesive vinyl is not universally dishwasher-safe. Heat, detergent, abrasion, and prolonged water exposure can lift edges or fade printed surfaces. Hand washing is the safer care method, and printable vinyl generally needs a compatible laminate before contact with repeated moisture.
How long should adhesive vinyl dry before washing?
Allow adhesive vinyl to cure for 48-72 hours before washing whenever the product instructions permit that interval. The vinyl may feel firmly attached sooner, but pressure-sensitive adhesive continues developing contact with the substrate. Cold temperatures, curved surfaces, and heavy handling justify waiting toward the longer end.
What is the best transfer tape for small vinyl lettering?
Low- or medium-tack transfer tape is usually best for small standard vinyl lettering because high-tack tape can pull the design from the substrate or distort thin strokes. Glitter, textured, and strongly pigmented films may require higher tack. Match the tape to the vinyl manufacturer’s recommendation and test one letter before transferring the full graphic.
The Bottom Line
Adhesive vinyl paper is a pressure-sensitive vinyl film used as a room-temperature decal material for smooth, hard surfaces. Select removable indoor vinyl for temporary walls, permanent calendered vinyl for ordinary durable graphics, printable vinyl for full-color designs, and cast vinyl for vehicle curves. Clean and dry the substrate, cut face-up, use transfer tape, burnish carefully, and allow 24-72 hours for the adhesive to cure. For most projects, surface preparation and correct material selection matter more than cutting-machine brand or maximum application pressure.
