


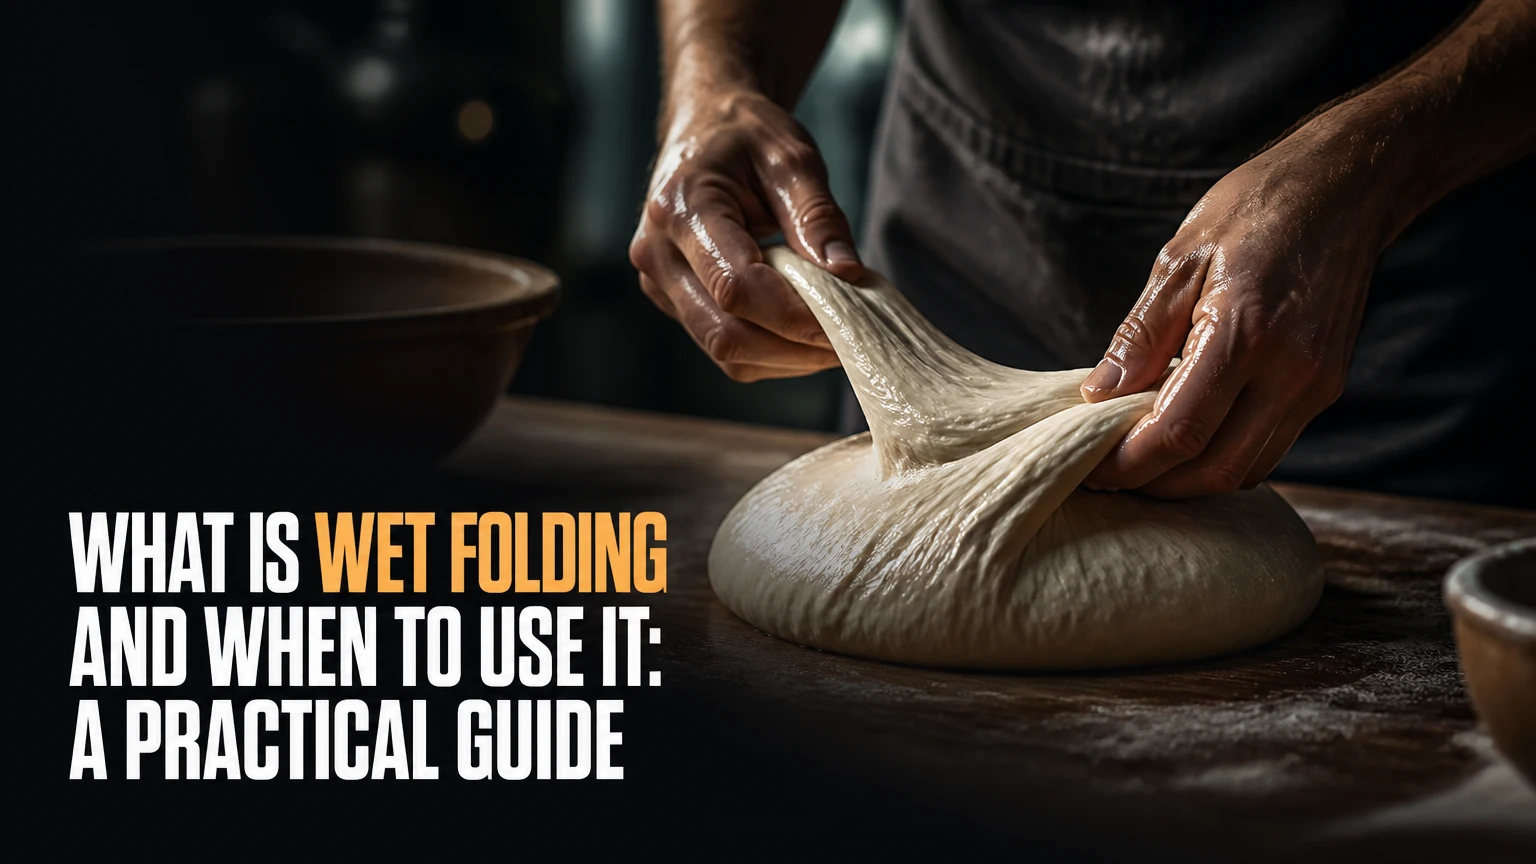
Wet folding is an origami technique that uses lightly moistened paper to create rounded curves, three-dimensional volume, and rigid permanent forms. Origami artists use it primarily for animals, birds, insects, masks, and human figures when dry creases would look too angular or fail to support the finished sculpture.
Key Facts at a Glance
- Wet folding changes paper while the sheet is pliable, then fixes the shape as moisture leaves the fibers.
- The correct moisture level feels supple and cool, like thin leather, without surface water or shine.
- Typical working time is 15-45 minutes, depending on paper thickness, humidity, and how evenly the sheet was dampened.
- Paper weight alone does not determine success; fiber length, sizing, surface strength, and colorfastness matter equally.
- Wet folding is strongest for organic volume and weakest for highly precise crease patterns, tessellations, and models requiring repeated revision.
- A wet-folded model often needs internal support while drying because gravity can pull legs, tails, wings, and hollow forms out of alignment.
What Is Wet Folding and When Should You Use It?
Wet folding is the controlled shaping of damp paper during origami construction, followed by supported drying that hardens the model in its sculpted position. Use wet folding when a model needs soft anatomical curves, thickened limbs, a rounded head, or structural stiffness that ordinary dry folding cannot provide.
Akira Yoshizawa popularized modern wet-folding practice and helped establish it as a major expressive approach in origami. His work showed that a folded sheet could represent volume and gesture rather than only lines and flat geometric facets. The method is associated with Yoshizawa, although artists used moisture and humidification in paper work before his mature practice.
Wet folding is not simply “folding wet paper.” A successful model combines a designed crease pattern, controlled moisture, deliberate compression, and a drying position that preserves the intended geometry. A sheet that is soaked becomes weak and difficult to control, while a sheet that is only slightly softened may dry before the sculpture is complete.
| Wet-folding attribute | Typical value | Practical consequence |
|---|---|---|
| Common paper range | 90-300 gsm | Heavier sheets retain volume but need longer drying |
| Initial wetting time | 30-90 seconds | Enough for even moisture without saturation |
| Working window | 15-45 minutes | Shorter in dry, warm rooms |
| Air-drying time | 1-4 hours | Depends on mass, supports, and humidity |
| Suitable subjects | Animals, birds, figures | Organic forms benefit most |
| Main technical risk | Fiber abrasion | Rubbing creates pilling and weak spots |
How Does Wet Folding Change Paper?
Water temporarily reduces the sheet’s resistance to bending and allows fibers to move relative to one another; drying then increases rigidity as the fibers settle, the sheet contracts, and any paper sizing or added adhesive film becomes less mobile. Water does not permanently “dissolve all cellulose bonds,” because cellulose itself is not water-soluble.
Paper consists mainly of cellulose fibers, with varying amounts of sizing, fillers, pigments, and surface treatments. Sizing controls how quickly water penetrates and how much the sheet loses surface strength. Machine-made papers may have internal and surface sizing, while handmade papers can have long fibers but unpredictable absorbency.
Moisture also changes crease behavior. A dry crease compresses fibers sharply and produces a narrow hinge. A damp sheet distributes deformation over a wider area, which helps an artist make a cheek, shoulder, belly, or wing edge look continuous instead of faceted.
Drying creates the final lock. If the paper dries while a limb is supported in the correct position, the form usually becomes firm. If the paper dries while a heavy wet section hangs unsupported, the model can develop permanent sagging.
Why Does Wet Folding Create Rounded Forms?
Wet folding creates rounded forms because damp fibers deform across a broader zone instead of collapsing only along a sharp crease. The artist can compress one area, stretch another, and pinch a ridge gradually, producing transitions that resemble anatomy or natural surfaces.
The method works particularly well when a crease pattern supplies a basic structure but leaves shaping freedom in the final stages. A folded fox can receive a fuller chest, a curved back, and a tapered snout. A bird can gain a rounded breast and layered wing without adding cuts or glue.
An important practitioner rule is to complete structural folds first. Shape the silhouette and major layers before refining small details, because reopening a wet fold repeatedly abrades the same fibers and reduces edge strength.
When Is Wet Folding the Better Choice?
Choose wet folding when the finished subject depends more on volume, curvature, and rigidity than on exact planar geometry. Dry folding remains the better method for tessellations, modular assemblies, highly repetitive crease systems, and designs that need frequent unfolding and correction.
Wet folding is valuable for a large animal whose thin legs must support a heavy body. It is also useful for masks, botanical forms, realistic insects, and expressive figures where a hard crease would interrupt a continuous surface. The method can make a simple base look more alive without adding paper layers.
Wet folding is a poor choice when the design requires dozens of razor-sharp parallel creases, precise grid alignment, or repeated reverse-fold corrections. Damp paper records unwanted dents easily, and a mistake can become permanent after drying.
| Project requirement | Recommended method | Reason |
|---|---|---|
| Rounded animal anatomy | Wet folding | Supports continuous curves and volume |
| Precise tessellation | Dry folding | Preserves accurate repeated creases |
| Large standing figure | Wet folding | Adds rigidity to legs and torso |
| Modular kusudama | Dry folding | Separate units need clean crease memory |
| Small geometric insect | Dry or light damp folding | Full wet folding can overwhelm detail |
| Sculptural mask | Wet folding | Allows cheeks, brow, and facial volume |
| Frequently revised prototype | Dry folding | Creases can be opened and corrected |
| Archival display sculpture | Wet folding with tested paper | Produces a firm form but still needs conservation care |
Which Paper Works Best for Wet Folding?
The best wet-folding paper has enough fiber strength to survive handling, enough sizing to resist surface damage, and enough thickness to hold a three-dimensional form. A 90-150 gsm sheet is often easier for intermediate models, while 200-300 gsm watercolor paper provides mass and stiffness for broad sculptural forms.
Elephant Hide and similar heavily sized papers are popular because they tolerate shaping and retain a relatively crisp edge. Tant paper can work well for moderate wet folding, although surface response varies by color and production batch. Cold-pressed watercolor paper offers texture and body, but its tooth can catch on fingers and tools.
Handmade kozo and other washi papers can be exceptionally strong because of their long fibers. Strength does not guarantee easy wet folding, however. Highly absorbent washi may need a controlled sizing treatment, such as methyl cellulose, and must be tested before a complex model is attempted.
| Paper option | Typical weight | Surface and fiber behavior | Best use |
|---|---|---|---|
| Elephant Hide | 100-110 gsm | Strong sizing, durable surface | Detailed animals |
| Tant | 80-130 gsm | Smooth, moderate memory | Lightly wet organic models |
| Canson Mi-Teintes | About 160 gsm | Textured face, accessible price | Beginner practice |
| Cold-pressed watercolor paper | 140 lb, about 300 gsm | Heavy, toothy, sculptural | Large single-sheet forms |
| Kozo washi | 40-150 gsm | Long fibers, variable absorbency | Advanced custom work |
| Heavy construction paper | 120-200 gsm | Inconsistent sizing and dye | Low-cost experiments |
The AI Overview’s 90-300 gsm range is useful but incomplete. GSM measures mass per area, not wet strength. A lighter long-fiber sheet can outperform a heavier brittle sheet, and a heavily sized 110 gsm paper may hold a sharper form than a soft 200 gsm stock.
How Damp Should the Paper Be?
Dampen the paper until it bends smoothly and accepts a curved shape, but stop before droplets, gloss, or soft pulp appear on the surface. For most sheets, wiping both sides with a barely wet sponge or cloth gives better control than spraying until the paper feels saturated.
Test the sheet by lifting one corner. Correctly damp paper should flex under its own weight without cracking, while the surface should remain matte rather than shiny. A second test is a gentle mountain fold made with finger pressure: the paper should form a crease without splitting or producing fuzzy fibers.
Moisture is rarely perfectly uniform. Corners often dry first, and folded layers retain water longer than exposed flaps. Keep a fine-mist bottle nearby, but re-moisten only a dry region instead of spraying the entire model.
What Tools Should You Prepare?
Prepare a waterproof work surface, a fine-mist spray bottle, a soft sponge, small clips, drafting tape, tissue paper, and a low-heat hair dryer. Use clean hands because skin oil, pigment, and adhesive residue can transfer to damp paper.
Foil is useful for holding a curved cavity because it resists water and can be shaped repeatedly. Tissue paper supports hollow forms with less abrasion than rigid objects. Clips should touch sacrificial scrap paper or protected edges where possible, since concentrated pressure can leave permanent marks.
| Tool or material | Typical quantity | Function | Main caution |
|---|---|---|---|
| Fine-mist bottle | 1 | Adds localized moisture | Avoid soaking layers |
| Soft sponge | 1 | Wipes moisture evenly | Do not scrub the surface |
| Small clips | 4-12 | Holds limbs and flaps | Protect contact points |
| Tissue paper | 2-6 sheets | Supports cavities | Remove before final drying |
| Aluminum foil | 1 sheet | Forms temporary props | Avoid sharp edges |
| Hair dryer | 1 | Speeds drying | Use low heat and distance |
| Waterproof mat | 1 | Protects the worktable | Keep the sheet flat initially |
How Do You Wet Fold an Origami Model?
Wet fold an origami model in five phases: prepare the sheet, dampen it evenly, complete the structural base, sculpt the volume, and secure the model until fully dry. A first attempt usually takes 30-90 minutes of folding and shaping, followed by 1-4 hours of supported drying.
Step 1: Prepare the Paper and Workspace
Choose a simple organic model with a clear base and limited layers. Test a small offcut from the same sheet, because paper color, batch, coating, and grain can change its response.
Mark the front and back mentally before wetting. Lay the sheet on a waterproof mat, arrange supports within reach, and remove anything that could catch on the fibers.
Success checkpoint: The paper, reference diagram, supports, and drying space are ready before moisture is added.
Common mistake: Starting with an advanced multi-layered model before learning how the selected paper reacts.
Step 2: Dampen Both Sides Evenly
Wet a sponge, squeeze out excess water, and wipe the front and back with light passes. Let the sheet rest for 30-90 seconds so moisture can migrate into the interior rather than remaining concentrated on the surface.
The sheet should feel supple, not limp. In a room around 40-60% relative humidity, medium-weight paper often provides a 15-30-minute active shaping period; heavier stock may remain workable longer but takes longer to dry.
Success checkpoint: The sheet bends without cracking and shows no glossy wet patches.
Common mistake: Spraying one side heavily, which creates uneven expansion and curling.
Step 3: Complete the Structural Folds
Fold the base while the sheet has enough strength to resist tearing. Use the pads of your fingers or a rounded tool rather than a fingernail, and make only the creases required for the model’s architecture.
Do not chase maximum sharpness. Wet paper can split along a crease if pressure concentrates at one point, especially near a corner or a narrow flap.
Success checkpoint: The main body, limbs, and major layers hold their positions without constant force.
Common mistake: Spending too long perfecting minor creases while the paper dries.
Step 4: Sculpt the Organic Volume
Shape the chest, head, limbs, wings, and transitions with gradual pressure. Pinch ridges only where a structural edge is needed, then smooth nearby surfaces with a fingertip or protected tool.
Work from large masses to small details. A bird’s breast should be established before its beak, and a figure’s torso should be shaped before fingers or facial features.
Success checkpoint: The silhouette looks correct from front, side, and top views.
Common mistake: Sculpting from one viewpoint, which can hide a twisted spine or uneven limb length.
Step 5: Support and Dry the Model
Place tissue or foil inside cavities, clip stable edges, and anchor thin limbs so gravity cannot pull them down. Air-dry the model in its final position, or use a hair dryer on low heat from at least 30 centimeters away.
Fast heat can dry the outer surface while the interior remains damp. That uneven contraction can twist the model, open layers, or create stress cracks.
Success checkpoint: The paper feels firm throughout and no section changes position after supports are removed.
Common mistake: Removing supports when the surface feels dry but the thickest layers remain flexible.
How Long Does a Wet-Folded Model Take to Dry?
A wet-folded model typically dries in 1-4 hours in still air, while a low-heat hair dryer can reduce surface drying to about 5-15 minutes without guaranteeing that the interior is dry. Thick watercolor paper, dense layered bodies, cool rooms, and high humidity extend the total time.
Drying should be judged by firmness rather than the clock. Press a hidden thick area gently; if it rebounds or feels cool and flexible, leave the supports in place. A model with a hollow body can dry faster than a compact animal with many compressed layers.
| Condition | Typical drying time | Recommended action |
|---|---|---|
| 100 gsm paper, 45% humidity | 1-2 hours | Keep limb supports in place |
| 160 gsm paper, 55% humidity | 2-3 hours | Check thick layers after 2 hours |
| 300 gsm paper, 60% humidity | 3-6 hours | Prefer slow air drying |
| Hair dryer, low heat | 5-15 minutes surface time | Keep moving and maintain distance |
| Cold room below 18°C | 3-6 hours | Avoid adding excess water |
| Humid room above 70% | 4-8 hours | Increase air circulation |
Do not place a damp model against a heater. Heat gradients can produce curling, while trapped moisture inside folds can encourage staining or mold.
Wet Folding Versus Dry Folding
Wet folding is the better choice for rounded, rigid, lifelike forms; dry folding is the better choice for precise geometry, repeatable crease patterns, and designs that need correction. Neither method is universally superior because each controls a different property of paper.
| Decision factor | Wet folding | Dry folding |
|---|---|---|
| Surface appearance | Rounded and organic | Angular and planar |
| Revision tolerance | Low after shaping | High before final setting |
| Working time | 15-45 minutes | Several hours or days |
| Structural rigidity | High after drying | Depends on layers and locking |
| Detail precision | Moderate on soft forms | High on crease systems |
| Required setup | Water, supports, drying area | Flat workspace and creasing tool |
| Best subjects | Animals and figures | Tessellations and modulars |
| Main failure | Tearing or distortion | Weak volume or crease clutter |
Wet folding also changes the learning curve. Dry origami gives immediate feedback through crisp lines, whereas wet folding delays the final result until drying is complete. Beginners may find the sculpting intuitive but struggle to predict how contraction will alter the silhouette.
Which Alternatives Should You Consider?
Lightly damp folding, methyl-cellulose-assisted folding, and dry folding with post-fold shaping are the main alternatives to full wet folding. Choose among them according to the required rigidity, surface control, reversibility, and tolerance for moisture.
Lightly damp folding uses less water and preserves more crease precision. Methyl cellulose, often called MC, can add controlled tack and strength, particularly when working with absorbent handmade papers, but it changes the paper’s surface and requires testing.
Dry folding followed by gentle shaping suits models that need a few curves but cannot tolerate a fully softened sheet. Foil armatures and paper supports can also create temporary volume, although they do not produce the same fiber-set structure as wet folding.
| Alternative | Moisture level | Strength after setting | Best scenario |
|---|---|---|---|
| Full wet folding | Both sides visibly softened | High | Large organic sculpture |
| Light damp folding | Slight surface moisture | Moderate | Small animal with crisp details |
| MC-assisted folding | Controlled adhesive solution | High and tacky | Absorbent washi |
| Dry folding with shaping | None during folding | Low to moderate | Quick prototypes |
| Foil-supported shaping | Optional localized moisture | Depends on paper | Hollow masks and forms |
What Are the Common Failure Modes?
Most wet-folding failures come from excess moisture, abrasion, inadequate support, or incorrect timing rather than from the crease pattern itself. Each failure has a different remedy, so adding more water is not a universal fix.
| Failure symptom | Likely cause | Immediate fix | Prevention |
|---|---|---|---|
| Shredding or pilling | Over-wetting or rubbing | Stop and let the area firm | Use a softer sponge |
| Paper springs open | Area has dried | Mist only the dry section | Work from base to detail |
| Limbs sag | No temporary support | Reposition and clip gently | Support before drying |
| Surface wrinkles | Uneven moisture | Flatten gradually | Wipe both sides evenly |
| Dye bleeding | Water-sensitive pigment | Blot, do not rub | Test a hidden corner |
| Layers stick together | Excess water and pressure | Separate slowly after partial drying | Use less moisture |
| Model twists | Uneven contraction | Re-align while flexible | Dry on multiple views |
| Edge splits | Fingernail pressure | Stop compressing the edge | Use finger pads |
Pilling is especially difficult to reverse because abrasion removes or loosens surface fibers. Once a fuzzy patch appears, stop rubbing it. Let the region dry partially, then continue with broader pressure around the damaged area.
An advanced rule is to maintain a moisture gradient. The central body can remain more pliable than thin extremities, while beaks, claws, and antennae should receive less water and earlier support.
Who Should Start With Wet Folding?
Beginners can start with wet folding if they use inexpensive medium-weight paper, a simple model, and a limited number of shaping decisions. Intermediate folders benefit most from the technique because they already understand crease sequence and can concentrate on volume control.
| Experience level | Paper choice | Model type | Practice objective |
|---|---|---|---|
| Beginner | 140-180 gsm practice paper | Simple fox or bear | Control moisture |
| Intermediate | 100-150 gsm Elephant Hide or Tant | Animal with limbs | Shape layers and support |
| Advanced | Kozo, Unryu, or 200-300 gsm watercolor paper | Figure, insect, dragon | Manage complex volume |
| Conservator or educator | Tested archival stock | Demonstration form | Control reversibility and storage |
Highly complex designs associated with Satoshi Kamiya or other advanced designers may contain enough layers to trap moisture and create unpredictable contraction. A simpler model teaches more useful technique than a masterpiece that fails for reasons the folder cannot diagnose.
How Should You Display and Store a Wet-Folded Model?
Display a wet-folded model away from direct sunlight, radiators, vents, bathrooms, and unstable humidity. Store the completely dry sculpture in a clean, ventilated enclosure with physical support that does not compress thin limbs or delicate surfaces.
Wet folding improves rigidity, but it does not make paper immune to ultraviolet fading, dust, acid migration, or repeated humidity cycles. Handmade papers may respond differently from machine-made stock, and painted or dyed sheets can fade or bleed.
Do not seal a model in plastic while any interior layer remains damp. For long-term storage, use acid-free tissue or an archival box, leave space around the sculpture, and inspect it periodically for odor, spotting, deformation, or insect activity.
FAQ
Can you wet fold regular printer paper?
Regular printer paper can be dampened for experimentation, but it is usually a poor choice for finished wet-folded models. Common copy paper is thin, has limited wet strength, and can wrinkle or tear quickly. A simple test with 90-120 gsm drawing paper usually gives better feedback and a more stable result.
Is wet folding stronger than normal origami?
Wet folding often produces a stiffer sculpture after complete drying because the shaped fibers and compressed layers retain the dried geometry. Strength still depends on paper, layer arrangement, model scale, and support quality. A poorly supported wet-folded model can be weaker than a well-designed dry-folded model.
Can you refold wet-folded origami?
You can refold a damp model once or twice if the fibers remain intact, but repeated correction increases abrasion and weakens hinges. Open the model only when necessary, re-moisten a specific stiff area, and avoid pulling sharply on narrow flaps or previously compressed edges.
Does wet folding require methyl cellulose?
Wet folding does not require methyl cellulose for ordinary sized origami papers. MC becomes useful when absorbent handmade paper needs additional surface control, tack, or strength. Test the solution on scrap first because concentration changes drying behavior and can leave a visible film.
Can you wet fold small origami models?
Small models can be wet folded, but full saturation is risky because narrow layers lose strength quickly. Use a barely damp sponge, reduce shaping pressure, and support tiny appendages early. Light damp folding is often more controllable than full wet folding for models below approximately 10 centimeters.
Can wet folding fix a bad crease pattern?
Wet folding can soften an overly angular design and improve its final sculpture, but it cannot correct missing structural geometry. The technique changes surface transitions and volume; it does not create absent flaps, alter paper proportions, or reliably hide a misplaced major crease.
The Bottom Line
Wet folding is best understood as controlled paper sculpting through moisture, shaping, and supported drying. Use it when organic curves, volume, and rigidity matter more than perfect crease sharpness, and choose dry folding when precision, reversibility, or geometric repetition matters most. For a first attempt, use tested 140-180 gsm paper, dampen it lightly, shape the major masses quickly, and keep every load-bearing part supported until fully dry. That is the practical answer to what is wet folding and when to use it.
