


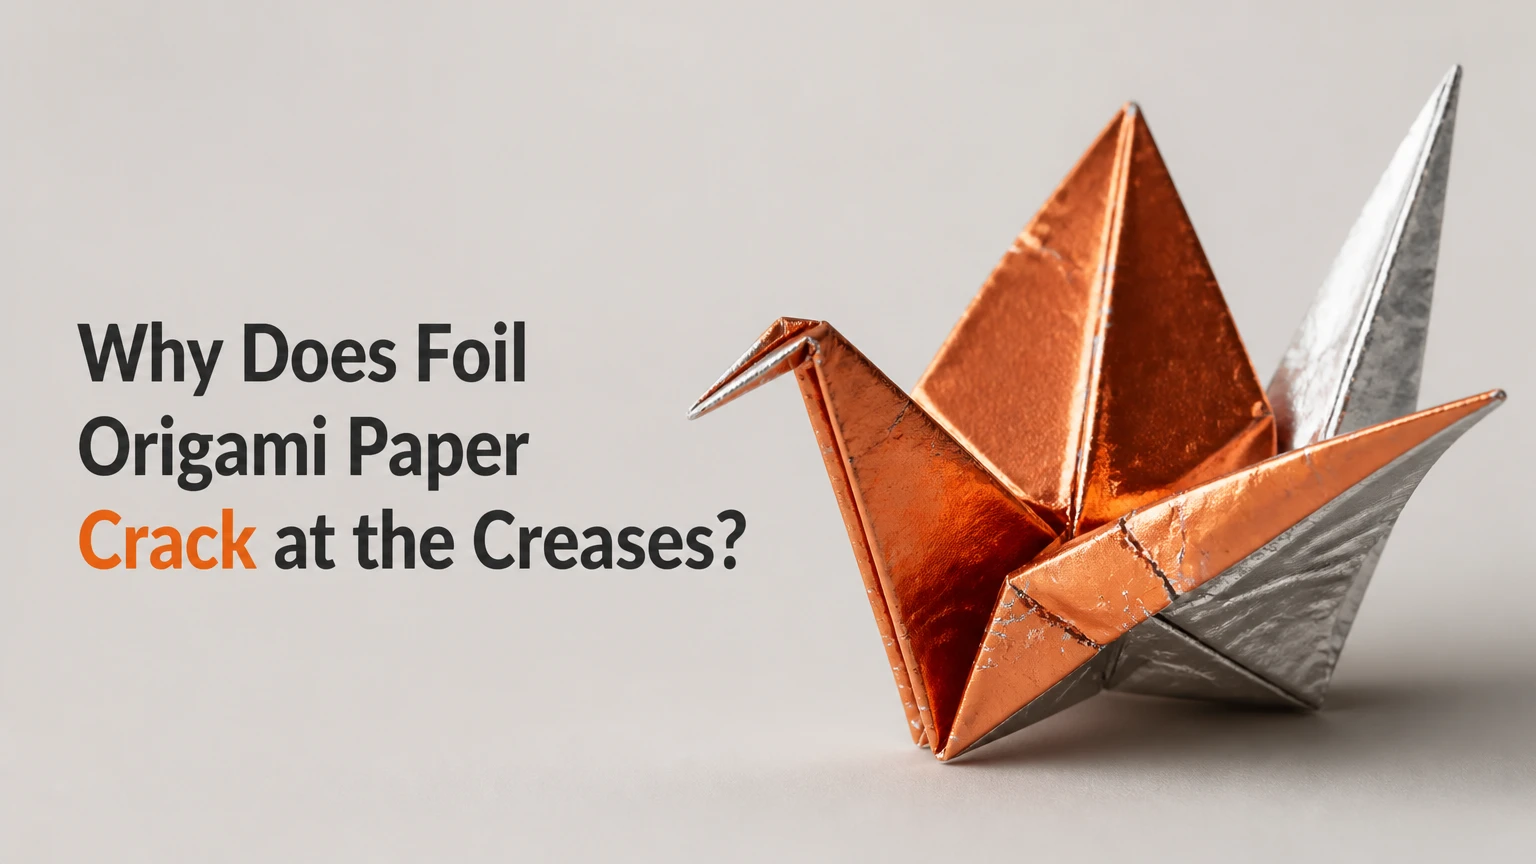
Foil origami paper cracks at the creases because a thin metallic layer and a flexible backing deform differently during a sharp fold. The outer foil surface experiences tension, while the inner layers compress; repeated bending then causes aluminum splitting, coating failure, or delamination from the paper before the backing itself fails.
Key Facts at a Glance
- Commercial foil origami paper is usually a laminate of thin aluminum, adhesive, and paper rather than a single material.
- Sharp folds create more surface strain than broad curves because the same angle is concentrated into a smaller radius.
- Aluminum foil is ductile in bulk, but thin foil can work-harden, split, and lose its bond after repeated folding.
- White crease lines usually expose the pale backing or a fractured colored coating; they do not always indicate a complete metal tear.
- Tissue foil generally tolerates repeated shaping better than inexpensive retail foil because its thin tissue backing distributes stress.
- A bone folder, fingernail, or ruler can turn a recoverable fold into permanent laminate damage.
Why Does Foil Origami Paper Crack at the Creases?
Foil origami paper cracks at the creases when the fold imposes more tensile strain and interlayer shear than the laminate can absorb. The outer surface stretches, the inner surface shortens, and the aluminum, adhesive, paper fibers, ink, and protective coating each respond at different rates.
A flat sheet can tolerate handling that a razor-sharp crease cannot. In a 180-degree fold, the fold apex has an extremely small radius, so deformation concentrates along a narrow line instead of spreading across several millimetres. The foil layer may split, the adhesive may release, or the printed finish may fracture first.
The important correction is that aluminum is not simply “brittle.” Aluminum foil can bend substantially, but very thin foil becomes less forgiving after local work hardening, scoring, abrasion, and repeated reverse folds. Commercial foil paper therefore fails as a composite structure, not necessarily because every aluminum layer is inherently brittle.
What happens inside the fold?
| Fold event | Dominant force | Layer at risk | Visible result |
|---|---|---|---|
| Initial bend | Tensile strain | Outer foil surface | Dull line or fine silver mark |
| Sharp crease | Localized tension and compression | Foil and pigment | White line or metallic split |
| Flattening | Interlayer shear | Adhesive bond | Bubbling or delamination |
| Reverse fold | Alternating tension | Previously damaged foil | Tear, flaking, or paper separation |
| Tool-pressed crease | High contact pressure | Coating and foil | Bright scratch or crushed ridge |
A crease can therefore look cracked even when the paper backing remains continuous. Inspect the line under bright side lighting. A narrow white line with no raised edge often indicates coating or pigment damage, while a lifted edge, bubble, or visible gap indicates delamination.
Is Aluminum Foil Supposed to Crack When Folded?
Aluminum foil is not guaranteed to crack on the first fold, but thin laminated foil paper is expected to retain permanent marks after a sharp crease. The risk rises when foil thickness, adhesive flexibility, coating adhesion, and backing fiber length are poorly matched.
The commonly cited retail range of approximately 6-9 micrometres for aluminum and 40-60 grams per square metre for the backing is best treated as a typical range, not a specification for every brand. Manufacturing differences can be larger than the difference between two nominally similar packs.
A thicker metal layer may resist pinholes, but thickness alone does not solve the problem. A rigid adhesive, brittle varnish, weak backing, or rough surface can still produce a white crease. Conversely, a very thin metal layer on a flexible tissue laminate may survive complex shaping better than a thicker foil on stiff paper.
Which layer is actually failing?
| Visual symptom | Most likely failure | Simple inspection | Practical consequence |
|---|---|---|---|
| Thin white line | Backing exposure or ink fracture | View at 45 degrees | Cosmetic damage, moderate weakening |
| Silver line on colored foil | Pigment or varnish fracture | Rub gently with a dry cotton swab | Finish damage before metal failure |
| Raised blister | Adhesive delamination | Press beside, not on, the blister | Local separation can spread |
| Ragged metallic edge | Aluminum tear | Use a 10x loupe if available | Further reverse folds may split it |
| Fuzzy paper edge | Backing fiber rupture | Inspect from the unprinted side | Structural tear through the laminate |
| Shiny flattened ridge | Tool compression | Compare with an uncreased area | Permanent loss of surface texture |
A useful practitioner rule is to diagnose the failure before changing technique. Softer handling will not restore a coating that has already fractured, and extra glue will not make a split foil layer continuous.
Does Fold Radius Matter More Than Fold Angle?
Fold radius often matters more than fold angle because a 180-degree fold can be gentle or destructive depending on how tightly the layers are bent. A broad rounded fold spreads strain across a wider zone, while a knife-edge crease concentrates strain at the apex.
For a practical test, fold four equal strips of the same sheet around approximate radii of 0.5, 1, 2, and 4 millimetres. Use one slow pass for each strip, then inspect the outer surface. The smallest radius usually shows the earliest whitening or delamination.
| Approximate fold radius | Typical handling method | First-pass damage risk | Suitable use |
|---|---|---|---|
| 0.5 mm | Fingernail or hard folder | High | Final points on resilient tissue foil |
| 1 mm | Finger pressure | Moderate to high | Ordinary preliminary creases |
| 2 mm | Rounded fingertip | Moderate | Most commercial foil folds |
| 4 mm | Broad rolling bend | Low | Shaping curves and test folds |
| 6 mm or more | Gentle forming over a cylinder | Very low | Preforming large surfaces |
These radii are practical workshop values, not universal laboratory thresholds. Foil thickness, laminate direction, surface coating, and temperature change the result. Still, the test reveals whether a sheet fails because of its material or because the folding method creates an unnecessarily tight bend.
Why do points and narrow flaps crack first?
Points and narrow flaps crack first because they receive pressure from several converging layers while offering little area to distribute it. A collapse that is harmless in the centre of a sheet can split a tip when four or five layers meet within a few millimetres.
Pre-crease large structural lines lightly, then reinforce only the final geometry. Avoid compressing a tiny tip while it is trapped beneath a thick stack. If a point must be sharply defined, support the surrounding paper with a fingertip and apply pressure in short increments rather than one hard stroke.
How Do You Fold Foil Paper Without Cracking It?
Fold foil origami paper without cracking it by reducing surface damage, using a rounded pressure point, limiting fold reversals, and separating preliminary shaping from final sharpening. The most important technique is to create accurate folds with controlled pressure rather than forcing alignment after the laminate has already been crushed.
Use the following sequence for a new sheet:
- Condition the sheet for 10-15 minutes. Keep it flat at approximately 18-24°C and away from condensation, direct sunlight, and dusty work surfaces.
- Test one corner. Make a 20-millimetre fold with fingertip pressure, then inspect the metallic surface before committing to the model.
- Mark lightly if needed. Use a blunt scoring tool on the paper side, never a sharp pencil or metal point on the foil side.
- Start with a broad bend. Establish the direction with a 2-4 millimetre radius before sharpening the crease.
- Press once, gradually. Move from the centre outward with two or three controlled passes rather than repeated scrubbing.
- Use a soft support. A clean felt pad or smooth silicone mat reduces concentrated pressure under small flaps.
- Reverse only when necessary. If alignment is wrong, open the fold through its existing path instead of bending it across the crease.
- Sharpen at the end. Apply final pressure after the model has reached its correct geometry.
You will know the method is working when the crease remains straight, the metallic reflection changes continuously across the line, and no pale halo appears after the fold is opened. A common mistake is using a bone folder because the resulting edge looks precise for several seconds, then develops a fracture when the model is collapsed.
Should you use a bone folder?
Use a bone folder only for broad, low-pressure pre-creases on the paper side, and avoid it on a finished foil surface. A hard tool can exceed the coating’s scratch resistance and create a narrow defect that later becomes a tear.
| Tool | Contact hardness | Best use | Risk level |
|---|---|---|---|
| Finger pad | Low, compliant | Final shaping and thin flaps | Low |
| Cotton-wrapped stick | Low to medium | Controlled small curves | Low to moderate |
| Silicone folder | Medium, rounded | Paper-side pre-creasing | Moderate |
| Plastic ruler | Medium, broad edge | Large paper-side folds only | Moderate to high |
| Metal ruler | High, sharp edge | Not recommended | Very high |
| Bone folder | High, polished edge | Limited paper-side work | High on foil coating |
Experienced folders often use less pressure than beginners expect. The laminate needs accurate geometry, not maximum compression.
Does Tissue Foil Crack Less Than Store-Bought Foil?
Tissue foil usually cracks less than inexpensive store-bought foil because its thin paper layers bend with less resistance and spread interlayer stress across a larger, more compliant structure. Tissue foil can still split when overworked, contaminated with excess adhesive, or folded into extremely tight points.
A common tissue foil construction uses one sheet of thin tissue, one sheet of household or craft aluminum foil, and a thin layer of methyl cellulose or acrylic medium. The finished sheet must dry flat and evenly; thick adhesive ridges create local hard spots that crack during folding.
| Material | Typical construction | Approximate cost | Best model range | Main weakness |
|---|---|---|---|---|
| Retail composite foil | Aluminum, adhesive, 40-60 gsm paper | $3-$7 per pack | Simple to intermediate models | Sharp creases whiten quickly |
| Homemade tissue foil | Aluminum plus 1-2 tissue layers | $1-$3 per sheet | Insects, flowers, curved forms | Preparation time and uneven glue |
| Washi-backed foil | Thin foil plus long-fiber washi | $15-$30 per 10-20 sheets | Detailed display models | Higher cost and limited sizes |
| Metallized PET film | Metal vapor layer on polyester | $5-$10 per 40-50 sheets | Smooth geometric models | Weak crease memory and slippery handling |
| Plain kami | Single paper sheet, no foil | $2-$8 per pack | Practice and broad folds | Less shape retention |
| Double tissue | Two tissue layers, no metal | $3-$8 per large sheet | Wet folding and soft curves | Low reflective finish |
“Zero cracking” is not a reliable description for plastic or metallized film. A metallized polyester sheet may avoid aluminum fracture because its reflective layer is deposited as an ultrathin coating, but the plastic can crease, craze, stretch, or lose its reflective appearance.
Is premium foil worth the price?
Premium foil is worth the price when the model has many narrow appendages, repeated collapses, or a visible metallic exterior that must remain clean. It is poor value for learning a new diagram because the sheet can be damaged by errors before its material advantages matter.
Typical cost per usable 15-by-15-centimetre sheet is approximately $0.05-$0.15 for retail packs, $0.10-$0.50 for homemade tissue foil, and $0.75-$2.50 for premium small-format foil. Shipping and minimum pack size can outweigh the material price.
Why Do Colored Foil Sheets Show White Cracks?
Colored foil sheets show white cracks when the surface pigment, primer, varnish, or paper backing becomes visible through a fractured or displaced metallic laminate. The white line may therefore be a finish failure rather than a complete tear through the aluminum.
Dark colors make the defect more obvious because the contrast between the coating and exposed backing is higher. Red, blue, and black surfaces often reveal a pale line sooner than silver sheets, even when both have suffered similar mechanical damage.
Printed foil adds another weak interface. Ink and varnish can have lower flexibility than the metal and paper underneath, so a sharp fold may create a visible line before the aluminum layer separates. The correct response is lower pressure and a larger initial radius, not more aggressive polishing.
Can moisture or heat prevent cracking?
Moderate warmth can make some laminates feel more flexible, but heat and breath are unreliable ways to prevent cracking. Moist breath can soften paper briefly while adding water to the backing, and excessive heat can distort coatings, weaken adhesives, or create uneven curling.
Use room-temperature material first. If a sheet is unusually stiff, place it flat in a clean room for 20-30 minutes rather than heating it with a hair dryer. Never use an iron, steam, or an open flame. The adhesive chemistry is usually unknown, so its softening point cannot be assumed.
| Condition | Typical range | Effect on foil paper | Recommended response |
|---|---|---|---|
| Cool workspace | 10-17°C | Increased stiffness | Wait 20 minutes before folding |
| Normal workspace | 18-24°C | Stable handling | Preferred range |
| Warm workspace | 25-30°C | Slightly softer adhesive and paper | Reduce handling pressure |
| High humidity | Above 65% RH | Backing may curl or swell | Store sealed with desiccant nearby |
| Very dry air | Below 30% RH | Tissue may become brittle | Avoid prolonged storage |
| Condensation | Visible moisture | Adhesive and coating risk | Dry flat before folding |
Can Cracked Foil Origami Paper Be Repaired?
Cracked foil origami paper can be stabilized, but a clean cosmetic repair is rarely possible once the metal layer has split. A small backing-side delamination may accept a minute amount of compatible adhesive, while a white surface crack usually remains visible after repair.
For a loose flap, place a microscopic amount of methyl cellulose or the adhesive recommended by the paper manufacturer under the separated edge, close it with a silicone release sheet, and apply light pressure for 10-20 minutes. Test the adhesive on a scrap first because water-based products can stain tissue and cause curling.
Do not flood the crease with glue. Excess adhesive stiffens the hinge, adds weight, and creates a new hard line beside the original damage. Cyanoacrylate is generally unsuitable because it can turn tissue translucent, leave a glossy halo, and make future folding brittle.
| Damage level | Repair action | Expected appearance | Future handling |
|---|---|---|---|
| Coating line under 1 mm | Leave untreated | Line remains visible | Avoid another reverse fold |
| Small lifted edge | Apply 1-2 tiny adhesive dots | Stabilized, not invisible | Support from the back |
| Foil split under 5 mm | Back with matching foil or tissue | Patch may show | Do not sharply refold |
| Tear through all layers | Replace section or sheet | Visible repair | Structural folding restricted |
| Repeated delamination | Retire sheet from complex work | Progressive bubbling likely | Use for flat display only |
A damaged model can still be displayed successfully if the defect is on a hidden underside. It is not a good candidate for another collapse sequence.
What Paper Should You Choose for Complex Origami?
Choose tissue foil for complex origami when the model requires many collapses, thin legs, or rounded surfaces; choose retail foil for inexpensive practice; choose premium washi-backed foil when surface finish and crease survival justify the cost. Choose metallized polyester when stretch and reflective color matter more than strong crease memory.
| User situation | Recommended material | Sheet size to seek | Reasonable budget | Avoid when |
|---|---|---|---|---|
| First metallic model | Retail composite foil | 15 x 15 cm | $3-$7 per pack | More than 30 dense steps |
| Insect with thin legs | Tissue foil | 25 x 25 cm or larger | $1-$3 DIY | Adhesive cannot dry flat |
| Display dragon | Washi-backed foil | 20 x 20 cm | $15-$30 per pack | Practice folds are expected |
| Smooth modular design | Metallized PET | 15 x 15 cm | $5-$10 per pack | Sharp permanent creases matter |
| Large organic form | Double tissue or tissue foil | 30 x 30 cm | $3-$8 per sheet | High reflective finish is required |
| Repeated teaching sessions | Plain kami first | 15 x 15 cm | $2-$8 per pack | Metallic appearance is essential |
For a difficult model, buy one extra sheet for testing and one for the final fold. The test sheet reveals whether the selected paper survives the model’s narrowest point, which is more useful than judging flexibility by touching the unopened pack.
How Much Does Durable Foil Paper Cost?
Durable foil origami paper typically costs $1-$3 per homemade tissue-foil sheet, $0.75-$2.50 per premium small sheet, or $5-$10 for a pack of metallized plastic film. Retail composite foil is cheaper at approximately $3-$7 per pack, but its low unit cost can disappear when cracking makes several sheets unusable.
Cost should be calculated per successful model rather than per sheet. A $20 pack that produces one clean model may be more expensive in practice than $3 tissue foil that produces three acceptable models.
| Material | Typical pack or sheet price | Usable success assumption | Approximate material cost per model |
|---|---|---|---|
| Retail composite foil | $3-$7 per 50-100 sheets | 1 sheet for simple model | $0.03-$0.14 |
| Retail composite foil, complex model | $3-$7 per 50-100 sheets | 3-8 sheets due to damage | $0.09-$1.12 |
| Homemade tissue foil | $1-$3 per sheet | 1-2 sheets | $1-$6 |
| Premium Japanese foil | $15-$30 per 10-20 sheets | 1 sheet | $0.75-$3 |
| Metallized PET | $5-$10 per 40-50 sheets | 1-2 sheets | $0.10-$0.50 |
Prices vary by country, sheet size, shipping, and seller. These are typical retail ranges, not fixed market prices.
What Are the Most Common Folding Mistakes?
The most damaging mistakes are pressing too hard, reversing a crease repeatedly, folding across a trapped stack, and storing the laminate in unstable humidity. Each mistake concentrates stress in a different way, so the remedy must match the failure.
- Crushing the crease with a hard tool: Replace the tool with fingertip pressure and a rounded support.
- Opening and closing the same fold: Plan the crease direction first, then make one controlled reversal at most.
- Forcing alignment after layers shift: Unfold to the last stable position instead of dragging the tip sideways.
- Folding a cold or curled sheet: Flatten and acclimatize the paper for 20 minutes.
- Using adhesive to correct geometry: Rebuild the fold before applying any adhesive.
- Holding the model by a narrow flap: Support the entire adjacent panel so the flap does not carry the load.
An expert rule of thumb is that a foil crease should become sharper because the model reaches its final position, not because the folder repeatedly irons the same line. Repeated pressure is cumulative damage.
FAQ
Does paper grain affect foil origami cracking?
Paper grain can affect resistance when the backing contains directional fibers, but laminate stiffness and adhesive behavior usually dominate commercial foil paper. Test both directions with identical 20-millimetre folds, then choose the direction that produces less whitening and lower curling.
Is metallized plastic the same as aluminum foil paper?
Metallized plastic is not the same as aluminum foil paper. Metallized polyester or polyethylene contains a very thin deposited metal layer on plastic, while foil paper contains a separate aluminum layer bonded to paper. Plastic film usually resists metal splitting but may stretch and lose crisp crease memory.
Why do reverse folds tear foil paper?
Reverse folds tear foil paper because they alternate tension and compression across an already damaged hinge. The first fold creates work hardening, coating fractures, or partial delamination; the reverse fold opens those defects and concentrates stress at their ends.
Can a white crease be removed?
A white crease usually cannot be removed without replacing or recoloring the damaged surface. Gentle smoothing may reduce a raised ridge, but rubbing, polishing, or adding heat often enlarges the defect and creates a broader dull patch.
Should foil paper be stored in a plastic bag?
Store foil paper flat in a closed sleeve or box at approximately 18-24°C, with low exposure to humidity and pressure. A plastic bag can help against dust, but trapped condensation is harmful, so do not seal damp sheets inside it.
What is the best alternative to foil origami paper?
Tissue foil is the best general alternative when you need metallic appearance with better flexibility. Plain kami is better for learning folds, double tissue is better for broad organic curves, and metallized polyester is better when stretch and reflective color matter more than crisp crease retention.
The Bottom Line
Why does foil origami paper crack at the creases? The laminate concentrates fold strain at a narrow apex where aluminum, coating, adhesive, and paper backing cannot deform together indefinitely. Use a larger initial fold radius, reduce tool pressure, avoid repeated reverse folds, and test the smallest flap before starting the model.
Retail composite foil remains useful for low-cost practice and simple geometric designs. Tissue foil is the safer choice for complex insects, dragons, and multi-layered collapses, while premium washi-backed foil earns its price when a clean metallic finish must survive demanding folds. Once the foil has visibly split, stabilize it gently or replace the sheet rather than forcing another sharp crease.
