


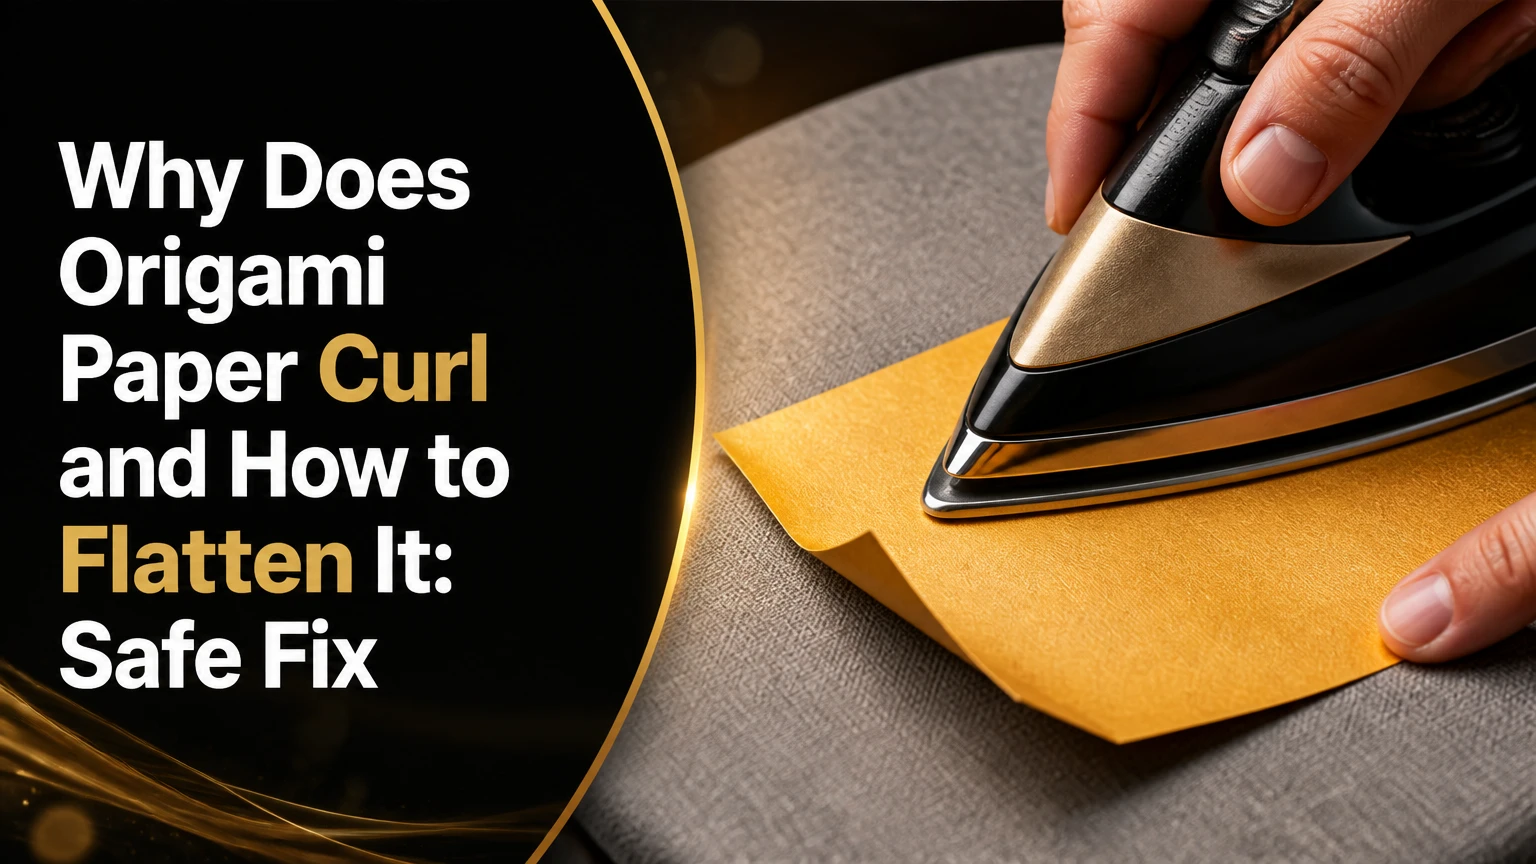
Origami paper curls because cellulose fibers absorb and release moisture unevenly, while grain direction, coatings, inks, foil, and manufacturing tension create unequal movement across the sheet. The safest cure is dry mechanical pressing between clean barrier sheets for 12-24 hours; use low, dry heat only when time matters and the paper can tolerate it.
Key Facts at a Glance
- Cellulose paper changes dimensions as relative humidity changes, and uneven moisture movement creates curl or wavy edges.
- A curled origami sheet should first be flattened dry, between smooth, clean sheets under even weight.
- Standard kami usually tolerates pressing well, but foil, tissue foil, wet-printed, and heavily coated papers require extra caution.
- A dry iron can flatten stubborn curl in minutes, but steam can permanently distort the sheet and damage its square.
- Controlled humidification helps brittle handmade paper, but uncontrolled water can cause cockling, bleeding, mold, and adhesive failure.
- Store origami paper flat in a closed folder at stable indoor humidity, ideally around 40-55% relative humidity.
Why Does Origami Paper Curl and How to Flatten It?
Origami paper curls when one part of the sheet changes size more than another. Humidity causes cellulose fibers to swell, dry air causes them to contract, and paper grain makes that movement directionally uneven. Ink, coatings, metallic film, adhesive, and previous folds can add a second source of tension.
Flattening works by applying even pressure while the sheet reaches a stable moisture condition. For ordinary kami, place the sheet between clean, smooth barriers and press it under books for 12-24 hours. For urgent work, dry low heat followed by cooling under weight can work, but foil and moisture-sensitive papers should not receive direct heat.
What causes the curl?
The four most common causes are humidity change, machine-direction tension, unequal surfaces, and fold memory. A sheet taken from a damp room into air conditioning may curl within an hour because its exposed faces do not exchange moisture at exactly the same rate.
Paper does not behave like an isotropic plastic film. Fiber orientation, basis weight, sizing, and surface treatment change how quickly each region responds. The often-repeated claim that fibers expand a fixed 30% more in width than length is too broad for all origami papers; the exact difference depends on pulp, refining, formation, and humidity range.
How can you identify the cause before flattening?
A loose, broad arc usually indicates moisture or packaging curl. A tight tube usually indicates roll memory, a strong coating imbalance, or a sheet that was stored under compression. Waves around the perimeter indicate uneven moisture exchange or local wetting rather than a single clean curl.
Use a low-risk inspection:
- Check whether the curl changes after 20-30 minutes in the room where you will fold.
- Look for gloss, foil, varnish, or a printed surface on only one face.
- Hold the sheet by one corner and observe whether it bends more easily in one direction.
- Inspect old fold lines, which can pull the surrounding fibers into a permanent curve.
- Measure the square before pressing if the sheet is valuable or handmade.
Which Paper Properties Make Curl More Likely?
Paper with different surfaces, coatings, or fiber orientations on each face curls more readily than through-dyed, uncoated paper of uniform thickness. The practical risk depends on both the material and the recovery method, so a paper comparison is more useful than a single universal flattening rule.
| Paper type | Typical weight | Curl risk | Safest first method | Avoid first |
|---|---|---|---|---|
| Standard kami | 60-65 gsm | Low to moderate | 12-24 hours under books | Steam |
| Tant or kraft | 70-90 gsm | Low to moderate | Flat pressing with blotters | Aggressive edge pulling |
| Washi or hanji | 35-90 gsm | Moderate to high | Pressing with nonwoven barriers | Direct high heat |
| Tissue foil | 20-40 gsm | High | Gentle pressing under silicone-free barriers | Direct iron contact |
| Foil-backed paper | 70-120 gsm | Moderate | Cool mechanical pressing | Steam and hot ironing |
| Handmade MC-sized paper | 25-60 gsm | Moderate to high | Controlled drying under weight | Soaking or rapid wetting |
Why do two-sided sheets curl?
A colored face and a white face may contain different pigment loads, binders, sizing, or coating layers. Those layers alter moisture absorption and drying speed, so one side changes dimension before the other. The resulting curvature usually faces the side that contracts more strongly during drying, but the direction can reverse when the sheet’s humidity history changes.
Through-dyed papers such as many Tant and kraft varieties often show less surface-tension curl because both faces have similar construction. They can still curl from grain, storage rolls, or humidity, so uniform color does not guarantee flatness.
Does paper grain matter in origami?
Paper grain affects bending stiffness and dimensional change, but grain alone does not explain every curl. Machine-made sheets commonly have fibers aligned more strongly in the machine direction, while handmade washi can have a less uniform formation and different local behavior.
To estimate grain, gently bend the sheet in both directions. The easier direction is often parallel to the grain, although thickness and coating can confuse the result. For precision models, test a spare sheet from the same pack rather than cutting or folding the final sheet repeatedly.
Which Flattening Method Should You Use?
Mechanical pressing is the safest default for standard origami paper, dry ironing is the fastest practical option for compatible sheets, and controlled humidification is reserved for brittle or severely stressed paper. The correct choice depends on material, urgency, curl severity, and whether the surface can tolerate heat or contact.
| Method | Best material | Typical time | Household cost | Main risk |
|---|---|---|---|---|
| Book pressing | Kami, kraft, Tant | 12-24 hours | $0-$10 | Uneven pressure |
| Board pressing | Washi, large sheets | 24-48 hours | $5-$25 | Surface imprint |
| Dry ironing | Uncoated, robust sheets | 2-5 minutes | $0-$40 | Scorching or gloss change |
| Edge pulling | Rolled, medium-weight paper | 10-30 seconds | $0-$8 | Edge damage |
| Controlled humidification | Brittle handmade paper | 2-4 hours | $5-$20 | Cockling, bleeding, mold |
The times above are typical household ranges, not guarantees. Paper thickness, room humidity, curl radius, and previous treatment can double the required time.
Step 1: Press the sheet under even weight
Place the curled origami paper between two clean, unprinted sheets of smooth paper or archival blotter. Put the sandwich on a rigid, flat surface, cover it with a board or hardback book, and distribute three to five heavy books across the entire area for 12-24 hours.
Avoid placing a heavy object on only the center. Concentrated pressure can create a reverse curl or imprint a book texture into thin paper. A board wider than the origami sheet spreads the load and protects the edges.
You will know it worked when the sheet lies flat for at least 10 minutes after removal and its diagonals remain equal. The common mistake is using newspaper, tissue with printed dye, or rough cardboard as the contact layer.
For a valuable sheet, use acid-free, unprinted barrier paper. Ordinary clean printer paper is acceptable for casual kami, but it can transfer toner, texture, or optical brightener if the paper becomes warm or damp.
Step 2: Use a dry iron for compatible paper
Set a household iron to its lowest dry setting, usually labeled silk or synthetic, and disable steam completely. Put the origami sheet colored-side down on a smooth ironing surface, cover it with parchment or a thin clean cotton cloth, then move the iron continuously for 5-10 seconds at a time.
Let the sheet cool under a flat book for at least one minute before checking it. Repeat short passes rather than holding the iron in one location. Heat relaxes some curl, but excessive heat can polish fibers, alter gloss, shrink coatings, or soften adhesives.
You will know it worked when the paper cools flat without a shiny patch or altered color. The common mistake is testing heat on the final sheet instead of a spare sheet from the same package.
Never iron metallic foil directly. Tissue foil may contain a plastic film that wrinkles or melts, and some printed papers use heat-sensitive toner or varnish. Parchment reduces contact but does not make an incompatible material heat-safe.
Step 3: Reverse a roll with a smooth edge
For a medium-weight sheet stored as a roll, place a clean plastic ruler or rounded wooden dowel on a flat table. Position the paper with the curl facing upward, hold the tool firmly, and draw the sheet gently across the edge with light, even pressure.
Use one controlled pass, then inspect the sheet. Repeated back-and-forth rolling fatigues fibers and can leave a second curve. This technique is unsuitable for very thin tissue, brittle washi, cracked foil, or paper with fragile surface decoration.
You will know it worked when the tube opens into a broad arc rather than a tight reverse tube. The common mistake is pulling hard enough to crease the edge against the ruler.
Step 4: Humidify only brittle paper
Controlled humidification can restore flexibility to dry, brittle paper before pressing, but it should not be the first treatment for ordinary kami. Place the sheet in a clean box above, never inside, a shallow tray of water, close the box for 15-30 minutes, then transfer the flexible sheet between barriers and press it flat.
The paper must not touch liquid water. Check every five minutes after the first 15 minutes because thin tissue can become overly flexible quickly. After pressing, allow the sheet to dry fully in the sandwich before storage.
You will know it worked when the sheet bends without crackling and no damp patches appear. The common mistake is spraying the surface, which creates localized swelling and edge cockling.
Humidity treatment is a conservation-style intervention, not a shortcut. The Library of Congress describes paper as sensitive to fluctuations in temperature and relative humidity, and conservation practice generally favors stable conditions over repeated wet-dry cycles.
How Long Should Each Method Take?
A loose curl in 60-65 gsm kami usually needs 12-24 hours under books, while a tight roll may need one short edge pass followed by several hours of pressing. Dry ironing can produce a usable result in 2-5 minutes, but cooling under weight remains necessary because warm paper can spring back.
| Curl condition | Paper example | Recommended sequence | Typical total time |
|---|---|---|---|
| Slight edge lift | 65 gsm kami | Barrier sheets and books | 6-12 hours |
| Broad bowl-shaped curl | 80 gsm kraft | Board pressing | 12-24 hours |
| Tight roll | 90 gsm Tant | Smooth-edge pass, then pressing | 1-12 hours |
| Brittle, cracking sheet | 40 gsm washi | Controlled chamber, then pressing | 2-4 hours |
| Foil curl | 80 gsm tissue foil | Cool pressing only | 24-48 hours |
| Printed ink transfer risk | 70 gsm coated sheet | Dry barrier pressing | 12-24 hours |
These ranges assume a stable room around 40-55% relative humidity. A sheet may re-curl if removed from a damp bathroom, sunny windowsill, or air vent immediately after treatment.
What Should You Do in Special Situations?
How do you flatten foil or tissue foil paper?
Use cool mechanical pressing between smooth, nonabrasive barrier sheets for 24-48 hours. Do not use steam, a microwave, or direct ironing because metallic film and plastic laminates can wrinkle, delaminate, melt, or transfer to the barrier.
If the sheet has a paper side and a foil side, place the most delicate surface against a clean silicone-free release sheet. Test the arrangement on a scrap because some release papers leave a sheen or texture.
How do you flatten handmade washi or hanji?
Press handmade washi or hanji slowly with archival blotter or smooth nonwoven material, using a flat board and moderate distributed weight for 24-48 hours. Handmade fibers and inclusions can respond unevenly, so rapid heating may create local shrinkage rather than a flat sheet.
If the paper was sized with methyl cellulose, flatten it after the sizing has dried completely. Cut the final square after flattening because pressing and drying can change dimensions by a small but meaningful amount.
What if the paper must be used immediately?
For ordinary uncoated kami, use a 5-10 second dry-iron pass through parchment, then cool it under a book for one minute. For foil, tissue, wet-printed, or valuable paper, use the edge-pull method only if the sheet is flexible and medium-weight; otherwise accept a slower press.
A quick fix cannot remove every cause of curl. It may flatten the visible arc while leaving internal stress that returns during folding.
How Can You Prevent Origami Paper From Curling?
Store origami paper flat, dry, and away from rapid humidity changes. Keep unused packs in a rigid folder or box, separate large sheets from tightly packed small squares, and let paper acclimatize for 20-30 minutes before opening a sealed package in a different climate.
| Storage choice | Recommended specification | Curl prevention value | Main limitation |
|---|---|---|---|
| Flat portfolio | Rigid, larger than 15 x 15 cm | High | Requires shelf space |
| Polypropylene folder | Acid-free, 12 x 12 inch size | High | Avoid sealed damp paper |
| Original shrink-wrap | Short-term unopened storage | Moderate | Traps moisture after opening |
| Airtight plastic box | Dry paper plus desiccant | High in humid rooms | Excess drying can make paper brittle |
| Silica-gel packet | 5-10 g, separated from sheets | Moderate | Replace or recharge regularly |
| Open desk storage | Exposed for days | Low | Tracks room humidity changes |
Silica gel controls moisture only inside a reasonably sealed container. It does not repair a curled sheet, and excessive desiccation can make delicate paper less flexible. Never place loose desiccant directly against tissue or handmade paper.
What room conditions are best?
A stable relative humidity around 40-55% is a practical target for most household origami work. Avoid storing paper beside radiators, humidifiers, kitchen sinks, windows with direct sun, or air-conditioning outlets because localized changes matter more than the daily average.
Keep the sheet flat with a rigid divider above it. Rubber bands, clips, and narrow weights create pressure lines that may become permanent in thin paper.
Common Mistakes and How to Fix Them
| Mistake | Visible result | Recovery attempt | Stop condition |
|---|---|---|---|
| Steam ironing | Wavy square, softened fibers | Dry pressing between barriers | Corners remain distorted |
| Direct foil ironing | Melted film, shiny patch | Cool pressing only | Film has detached |
| Spraying water | Dark spots, cockled edges | Dry slowly under blotter | Ink has migrated |
| Uneven book weight | Center flat, edges curled | Repress under a larger board | Edge has a hard crease |
| Newspaper barriers | Gray or colored transfer | Replace barriers, dry press | Transfer will not lift safely |
| Repeated reverse rolling | Soft, fatigued edge | Stop manipulation, press flat | Edge has split fibers |
If ink transfers onto the barrier, do not add water. Separate the paper carefully, replace the barrier with dry unprinted sheets, and use only mechanical pressure. Water-soluble dye can spread beyond the original printed area.
If edges remain wavy after pressing, the sheet probably experienced uneven moisture rather than simple roll memory. Use a fresh dry barrier, distribute pressure over the whole sheet, and extend pressing to 24-48 hours.
An important practitioner rule is to preserve geometry before chasing perfect flatness. A slightly curved square can still fold accurately, while a heat-shrunken square may lose equal sides and diagonal alignment permanently.
Can a Permanently Curled Sheet Be Recovered?
A sheet with old fold memory, coating shrinkage, heat damage, or delamination may not return completely flat. Mechanical pressure can reduce the visible curl, but it cannot restore fibers that have cracked or a laminate that has separated.
Test a sacrificial corner or duplicate sheet before treating a collectible, signed, hand-painted, or historically significant paper. For valuable works, a paper conservator is safer than household humidification or ironing because conservation treatment depends on the paper, media, adhesive, and damage history.
Paper that has already melted foil, bled dye, or developed hard radial creases is not a good candidate for aggressive correction. Use it for prototypes, reinforce it only when the model permits, or replace it with a fresh sheet.
FAQ
Can I flatten origami paper with water?
Do not wet ordinary origami paper directly. Sprayed or brushed water creates uneven fiber swelling, which produces cockled edges, dye bleeding, and loss of square geometry. If brittle handmade paper needs flexibility, use controlled indirect humidification above a water tray for 15-30 minutes, followed by pressing between dry barriers.
Can I use a microwave to flatten curled paper?
A microwave is unsafe for origami paper because heating is uneven and any metallic foil, metallic pigment, adhesive, or damp area can scorch or spark. Use mechanical pressing for 12-24 hours instead. Dry ironing through parchment is the fastest household alternative for compatible uncoated paper.
Should the colored side face up or down under books?
Place the sheet between barriers rather than exposing either face directly to a book. For a printed or coated sheet, put the more delicate surface against the smoothest barrier and test for transfer first. Even pressure matters more than which face is technically up.
Why does origami paper curl after I flatten it?
Origami paper can re-curl when it returns to a different humidity level, when internal packaging stress remains, or when one coated face changes dimension faster than the other. Let the sheet cool and acclimatize while pressed, then store it flat in stable 40-55% relative humidity.
Should I flatten paper before or after cutting it?
Flatten handmade, sized, or strongly curled paper before cutting the final square. Pressing and drying can shift dimensions slightly, and cutting beforehand may produce unequal sides or corners. For ordinary kami with only a minor edge lift, cutting first is acceptable if the square remains accurate.
Does flattening damage origami creases?
Correct mechanical pressing usually does not damage an uncreased sheet, but heavy pressure can soften existing folds or imprint textures into thin paper. If a folded model needs flattening, place smooth barriers around it and use light, distributed pressure rather than ironing across the creases.
The Bottom Line
Why does origami paper curl and how to flatten it? Moisture imbalance, fiber direction, surface differences, and storage stress make cellulose paper bend. Start with clean barrier sheets and even book pressure for 12-24 hours, choose dry low heat only for compatible paper, and never steam or directly iron foil. Stable flat storage at approximately 40-55% relative humidity prevents most repeat curling.
