


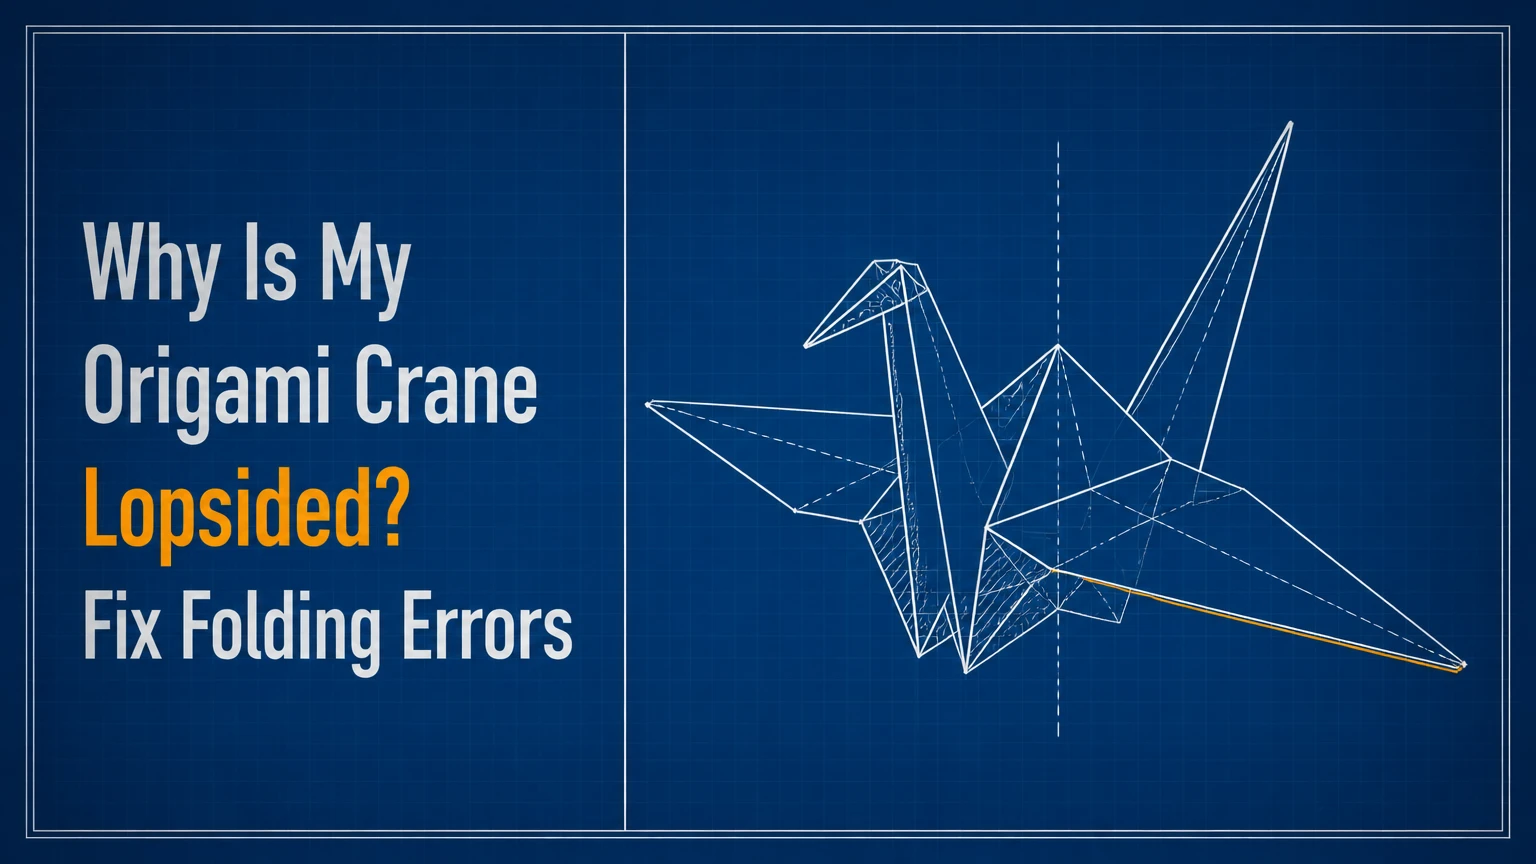
An origami crane becomes lopsided when small alignment errors accumulate through the preliminary base, Bird Base, petal fold, or neck and tail folds. The most common source is an off-center crease or uneven layer collapse, not the final wing pull. Finding the first asymmetric fold usually fixes the whole model faster than reshaping the finished crane.
Key Facts at a Glance
A 0.5 mm center-point error can become visibly larger after several mirrored folds.
The petal fold is the most common stage where a hidden asymmetry becomes obvious.
A finished crane can usually be adjusted, but a sharply twisted body often requires refolding.
Standard 15 x 15 cm, 50-60 GSM kami is the easiest paper for learning consistency.
Printer paper, foil, and small squares expose different problems because their stiffness and thickness differ.
Matching the neck and tail to the same body reference line matters more than matching their apparent angles in space.
Why Is My Origami Crane Lopsided?
The origami crane is lopsided because its left and right layers no longer share the same centerline, crease length, or folding angle. The error may begin with an inaccurate square, drift during the preliminary base, or appear when the petal fold forces uneven layers into a diamond. Later folds preserve and magnify that imbalance.
Origami models are geometric systems rather than loose drawings. A diagonal that misses the square’s center changes the position of several later reference points. When the paper is collapsed, one side may have slightly more slack, while the other side becomes tight and buckles.
A crane can also look crooked when the underlying body is symmetrical but the neck, tail, or wings are set at different angles. That distinction matters. A body problem requires reopening earlier layers, while a finishing problem may need only a controlled reverse fold.
How Does a Small Folding Error Become Visible?
A small folding error becomes visible because each later crease uses the earlier crease as a reference. If the first diagonal is displaced by 0.5 mm, the next fold may transfer that displacement to two edges, and a petal fold can turn the accumulated offset into a wing or tail that clearly leans.
Paper thickness adds a second effect. A folded edge occupies physical space, so stacked layers cannot always meet at the same apparent line. This phenomenon is commonly called paper creep, although the amount depends on paper thickness, fold direction, compression, and the number of layers.
The practical rule is simple: later shaping cannot reliably correct a misplaced structural crease. A sharp final fold can hide an error from one viewing angle, but the crane will usually reveal it from the front, underside, or top.
What Counts as Asymmetry?
Asymmetry means the left and right sides of the crane fail to mirror one another around the central body axis. Useful checks include wing-tip height, neck and tail base position, body width, and the angle of the two upper flaps.
| Visible symptom | Likely location | Typical tolerance | First action |
|---|---|---|---|
| One wing is 2-5 mm lower | Wing pull or body squash | 1-2 mm | Flatten and reset both wings |
| Neck and tail form unequal angles | Reverse folds | 3-8 degrees | Compare both pivots to the body axis |
| Body twists 5-15 degrees | Bird Base or petal fold | 0-3 degrees | Reopen to the first asymmetric collapse |
| One side buckles near the shoulder | Petal fold | 0.5-1 mm | Unfold and align pre-creases |
| Tail points outside the body centerline | Tail reverse fold | 1-3 mm | Use the lower body seam as reference |
These figures are practical inspection ranges, not a universal engineering standard. Paper size changes how noticeable the same error becomes: a 2 mm offset is obvious on a 7.5 cm square but less noticeable on a 20 cm square.
How Much Does the First Square Matter?
The first square matters because every diagonal, midpoint, and corner alignment depends on it. A rectangle disguised as a square creates unequal diagonal lengths, so the preliminary base cannot settle evenly even when the folding technique is careful.
Use a ruler to compare both diagonals before folding. On a 15 cm square, a difference above approximately 1 mm is enough to make precision folding harder. Commercial kami normally performs better than hand-cut printer paper because its edges are manufactured more consistently.
How Can You Check the Square?
- Measure both sides with a ruler. The readings should match within 1 mm.
- Measure both diagonals. Their lengths should also match within 1 mm.
- Place two opposite corners together and check whether the other corners coincide.
- Trim a visible mismatch before making permanent creases.
- Mark the center with intersecting diagonals only if the paper can tolerate a light pencil point.
Do not press the first crease until the corners are aligned. Slide a fingernail or bone folder from the center toward the edge, rather than dragging the paper into alignment after the crease has started.
Why Is the Petal Fold Usually Responsible?
The petal fold is usually responsible because it converts several preliminary creases into a three-dimensional collapse. When the side edges, centerline, and lower point do not meet correctly, the paper resolves the conflict by shifting one layer, creating a crooked upper diamond.
A petal fold should collapse along existing creases. It should not require force to make one side reach the other. If one flap rises earlier, the pre-creases are not synchronized, the centerline is misplaced, or the layers are being held at different heights.
How Should You Test the Petal Fold?
Open the diamond as far as the model allows and inspect the two side creases. Each crease should terminate at the same centerline and meet the lower point at a matching position. A tiny visible gap caused by paper thickness can be acceptable, but deliberately adding a 0.2 mm gap is not a universal rule.
That distinction is important. A tolerance gap may help thick paper, but it can reduce accuracy on thin kami. Align the geometric crease first, then let the material thickness settle naturally instead of moving both sides away from the center by a fixed measurement.
| Petal-fold observation | Mechanical meaning | Corrective action | Restart likelihood |
|---|---|---|---|
| Both sides rise together | Pre-creases are synchronized | Flatten evenly | Low |
| Left side rises 2-4 mm first | Left crease is deeper or shorter | Re-crease the right reference | Medium |
| One layer buckles outward | Excess thickness or wrong pivot | Open and flatten from center | Medium |
| Lower point misses center by 1-3 mm | Initial diagonal error | Return to preliminary base | High |
| Crease lines cross visibly | Reference geometry conflicts | Restart with larger paper | High |
Expert rule: never smash a reluctant petal fold flat. Force compresses the wrong layers and creates a permanent twist that becomes harder to diagnose.
Is the Body, Wing, Neck, or Tail Crooked?
The body, wing, neck, or tail can be crooked independently, so identify the first part that leaves the centerline before changing anything. A level pair of wings with a leaning neck indicates a reverse-fold issue; a twisted body indicates an earlier base or petal-fold issue.
Hold the crane by the body, not by a wing. View it from the front, side, and underside. Rotate the model slowly while keeping the lower body seam vertical.
| Inspection view | Measurement or landmark | What a centered model shows | Common defect |
|---|---|---|---|
| Front | Wing-tip height | Tips within 1-2 mm | Uneven wing pull |
| Side | Neck and tail base | Both emerge from matching body zones | One reverse fold too deep |
| Underside | Lower opening | Opening centered under body | Uneven inflation |
| Top | Body axis | Neck, tail, and center seam align | Twisted Bird Base |
| Three-quarter view | Wing sweep | Similar forward or backward angle | One wing folded at a different pivot |
A crane can be intentionally stylized, so perfect bilateral symmetry is not mandatory for an attractive result. The diagnostic goal is to distinguish deliberate shaping from accidental drift.
How Should the Reverse Folds Be Aligned?
The neck and tail should be aligned against the crane’s inner body axis, not against the wings. A reverse fold becomes lopsided when its pivot point shifts, its insertion angle changes, or one side is compressed more tightly than the other.
Place the crane flat enough to see the lower body seam. Imagine a straight line from the bottom opening through the top point. Position the neck and tail bases relative to that line, then adjust their final angles separately.
The neck and tail do not need identical angles. The neck often bends forward to support the head, while the tail may remain lower or narrower. Their bases should be balanced even when their tips are intentionally different.
How Do You Refold a Crooked Neck?
- Open the neck reverse fold without tearing the compressed layers.
- Find the original pivot crease at the neck base.
- Align the neck’s side edges to the body axis.
- Reinsert the point along the existing crease.
- Compress the fold from the pivot outward.
- Compare the neck with the tail before sharpening the tip.
A common mistake is to match the neck and tail by eye from the side. The correct reference is the body’s center seam, because wing angles can themselves be uneven.
Can You Fix a Crane After Folding?
You can fix a mildly lopsided crane after folding if the body remains flexible and the paper has not been crushed into a twist. A 1-3 mm wing-height difference or a slightly misaligned neck often responds to gentle reopening, repositioning, and controlled re-creasing.
A finished model becomes difficult to rescue when multiple layers are sharply compressed in different directions. Wetting the paper may soften creases, but it also weakens ordinary kami and can produce wrinkles, color bleed, or tearing.
A Safe Five-Minute Repair
- Photograph the crane from the front before changing it.
- Open only the visibly incorrect wing, neck, or tail fold.
- Reposition the part against the body centerline.
- Hold the body with two fingers while pressing the pivot.
- Set the model aside for 2-5 minutes so the new crease stabilizes.
Use gentle pressure on foil-backed paper because foil retains a new position well but records every accidental dent. For thin kami, make one deliberate correction rather than repeatedly rubbing the same crease.
Which Paper Makes a Symmetrical Crane?
Standard kami is the best learning paper because its 50-60 GSM weight, smooth surface, and 15 x 15 cm format make alignment visible without excessive resistance. Thin washi is strong but can feel flexible, Tant is crisp but less forgiving, and printer paper is usually stiff enough to amplify layer stacking.
| Paper type | Typical weight | Useful size | Typical 100-sheet price | Best use |
|---|---|---|---|---|
| Standard kami | 50-60 GSM | 15 x 15 cm | $5-$10 | First 50 cranes |
| Tant | 70-80 GSM | 15 x 15 cm | $12-$20 | Crisp display models |
| Machine-made washi | 40-60 GSM | 15 x 15 cm | $15-$35 | Strong repeated folding |
| Handmade washi | 30-50 GSM | 15-20 cm | $25-$60+ | Textured presentation |
| Foil-backed paper | 40-50 GSM | 12-15 cm | $8-$15 | Sharp sculptural shaping |
| Printer paper | 75-90 GSM | 20-21 cm | $5-$12 per ream | Large practice models |
Price ranges are typical retail ranges in the United States and vary by brand, pack size, and import costs. Printer paper is useful for learning the sequence, but its higher weight creates thicker stacks at the Bird Base.
Does Paper Grain Matter?
Paper grain can affect folding resistance, especially in machine-made paper, but grain direction is rarely the main cause of a lopsided standard crane. A misplaced center crease, uneven corner alignment, or different pressure on the two sides usually has a larger effect.
Test grain by gently bending a scrap strip in two directions. The direction with lower resistance is usually parallel to the grain. For consistency, fold matching practice squares in the same orientation, but do not move a correct crease merely to follow grain.
| Material choice | Fold resistance | Layer thickness effect | Springback | Suitable skill level |
|---|---|---|---|---|
| Kami | Low | Low | Medium | Beginner |
| Tant | Medium | Medium | Low | Intermediate |
| Printer paper | Medium-high | High | Medium | Beginner with large squares |
| Foil paper | Low | Medium | Very low | Intermediate |
| Handmade washi | Low-medium | Low-medium | Medium | Advanced |
What Tools and Setup Reduce Lopsidedness?
A flat, firm surface, bright side lighting, and a ruler reduce lopsidedness more effectively than expensive specialty tools. A 15 cm metal ruler, bone folder, sharp scissors, and six spare squares are sufficient for a controlled practice session.
| Tool or condition | Specific choice | Benefit | Typical cost |
|---|---|---|---|
| Folding surface | 20 x 20 cm cutting mat | Prevents soft-surface drift | $8-$20 |
| Measuring tool | 15 cm metal ruler | Checks 1 mm offsets | $3-$8 |
| Creasing tool | Small bone folder | Sharpens layered creases | $5-$12 |
| Lighting | 500-1000 lumen desk lamp | Reveals raised edges | $15-$35 |
| Practice supply | Six 15 cm kami squares | Allows controlled comparison | $0.30-$1 |
| Marking tool | 0.3 mm pencil | Records center points lightly | $2-$5 |
Avoid folding on fabric, a mattress, or a thick stack of paper. Soft surfaces allow the bottom layers to move while the top layer receives pressure, which produces false alignment.
How Do You Prevent the Problem on the Next Crane?
Prevent lopsidedness by checking symmetry at three checkpoints: the initial square, the Bird Base, and the petal fold. Do not wait until the wings are pulled apart, because the final model cannot reveal which earlier crease caused the drift.
Use this repeatable sequence:
- Confirm both square diagonals are within 1 mm.
- Make each major crease from the center toward the edges.
- Open the preliminary base before collapsing it fully.
- Compare both long flaps at the Bird Base.
- Stop at the petal fold and check matching side creases.
- Keep the crane flat while forming neck and tail pivots.
- Pull the wings evenly, using the lower opening only for gentle inflation.
| Checkpoint | Target result | Time needed | Error that requires reopening |
|---|---|---|---|
| Square preparation | Side and diagonal difference under 1 mm | 1 minute | Over 1 mm |
| Preliminary base | Corners and centerline coincide | 2 minutes | Corner offset over 2 mm |
| Bird Base | Four long points share the axis | 2 minutes | Body twist over 3 degrees |
| Petal fold | Both sides flatten together | 2-3 minutes | One side buckles |
| Final shaping | Wing tips within 2 mm | 1 minute | Wing difference over 3 mm |
The most reliable speed improvement is not folding faster. It is preventing one bad model from becoming the template for the next model.
Should You Use a Larger Square or Start Again?
Use a larger square when the paper is hard to manipulate, the design is under 10 cm, or several layers resist flattening. Start again when the body is twisted, the petal fold has conflicting creases, or the first visible error appears before the Bird Base.
| Situation | Refold current model | Start a new model |
|---|---|---|
| One wing 1-2 mm low | Yes | No |
| Neck tip slightly off-center | Yes | No |
| Body twist above 5 degrees | Rarely | Usually |
| Torn petal-fold layers | No | Yes |
| Multiple crossed center creases | No | Yes |
| Paper under 7.5 cm and stiff | No | Yes, use 15 cm paper |
A larger practice crane does not make the geometry more correct, but it gives fingers more room to align layers. Once the sequence is reliable, reducing from 15 cm to 10 cm is easier than learning directly at a small scale.
What Are the Most Common Mistakes?
The most common mistakes are committing a crease before corners meet, forcing a petal fold, and pulling the wings unevenly. Each mistake has a different recovery point, so correction works best when the model is reopened only to the earliest affected stage.
| Mistake | Visible result | Recovery point | Prevention |
|---|---|---|---|
| Creasing while corners are offset | Leaning preliminary base | Initial square | Pin corners before pressure |
| Using a soft surface | Drifting lower layers | Last clean crease | Use a firm mat |
| Forcing the petal fold | Buckled shoulder | Petal pre-creases | Collapse gradually |
| Matching neck to wing angle | Crooked neck base | Neck pivot | Use body centerline |
| Pulling one wing first | Unequal wing height | Wing base | Pull both sides together |
| Reusing a damaged square | Random resistance | Fresh paper | Discard torn or overworked sheets |
Expert insight: a dull crease is not always the problem. An overly deep crease can also hurt accuracy by making the paper prefer a distorted path during the collapse.
How Do Different Situations Change the Fix?
Different situations change the fix because paper size, surface, humidity, and model age alter how much control remains. A child using a sticky note needs a different correction from an experienced folder using foil or handmade washi.
- Using printer paper: Cut a true 20 cm square, fold slowly, and avoid compressing every layer with maximum force. The larger format offsets the paper’s 75-90 GSM stiffness.
- Using a sticky note: Remove the adhesive edge or accept that the adhesive creates unequal thickness. Fold on the non-adhesive side when possible.
- Using tiny paper: Move to 10 cm or 15 cm squares until the neck and tail pivots are accurate. Micro-origami magnifies finger-placement errors.
- Working in humid conditions: Allow paper to rest flat for 5-10 minutes before folding. Soft paper can lose sharpness and shift during the petal fold.
- Making a display crane: Use Tant or foil for crisp shaping, then avoid repeated corrections because both materials retain dents.
- Folding for speed: Batch-cut squares and use the same grain orientation, but inspect every third crane rather than trusting muscle memory.
Wet-folding can improve sculptural shaping with thick paper, but it is not a first-line solution for a crooked traditional crane. Damp paper changes crease strength and can hide whether the geometry was correct.
What Is the Fastest Diagnostic?
The fastest diagnostic takes about 60 seconds: place the crane on a flat surface, compare the two wing tips, inspect the lower opening, then trace the neck and tail bases back to the body axis. The earliest place where the centerline breaks identifies the repair stage.
If both wing tips differ but the body seam is straight, adjust the wings. If the opening and body seam twist together, return to the petal fold or Bird Base. If only the head leans, reopen the neck reverse fold.
| First defect you see | Probable cause | Recommended response | Typical repair time |
|---|---|---|---|
| Diagonal misses center | Initial square or first fold | Restart | 5-8 minutes |
| One Bird Base flap is longer | Preliminary collapse | Reopen base | 3-5 minutes |
| Petal fold buckles | Misaligned pre-creases | Re-crease and collapse | 2-4 minutes |
| Body is straight, wing is low | Final shaping | Adjust wing | 1-2 minutes |
| Head leans, tail is centered | Neck reverse fold | Reposition neck | 2-3 minutes |
A diagnostic is more useful than repeated finishing adjustments. Repeatedly bending the wing may change the symptom without correcting the cause.
FAQ
Why does my origami crane lean to one side after inflation?
An origami crane often leans after inflation because the lower body pocket was opened unevenly or one wing was pulled before the other. Inflate gently through the bottom opening, then hold both wings at equal height while the body expands. If the body seam itself twists, the defect began earlier in the Bird Base or petal fold.
Is printer paper too thick for an origami crane?
Printer paper is usually thicker than standard kami, but it is not too thick for a crane when the square is large enough. A 20 cm printer-paper square gives the layers more working room; a 7.5 cm square usually creates excessive stacking and stiff collapses. Use printer paper for practice, then switch to 15 cm kami for consistency.
Why is one side of my crane harder to fold?
One side is harder to fold when the paper has unequal layer stacking, a stronger crease, different grain resistance, or a displaced reference line. Do not force the resistant side. Open the last fold, align the edges while the model is flat, and crease both sides with comparable pressure.
Can a lopsided origami crane still be considered correct?
A lopsided origami crane can still be considered complete if the intended sequence and major structure are present, but it is not geometrically symmetrical. Decorative shaping can make wings, neck, and tail intentionally unequal. Accidental body twisting, crossed center creases, and buckled shoulders indicate structural errors rather than artistic variation.
How long should it take to fold a symmetrical crane?
A beginner typically needs 8-15 minutes for a 15 cm kami crane, while an experienced folder may finish in 3-6 minutes. Accuracy improves when the first model takes longer because each checkpoint can be inspected. Tiny paper, foil, and dense handmade sheets often require 10-20 minutes.
Should I use a bone folder for every crease?
Use a bone folder for broad structural creases and thick layers, but use fingertip pressure near delicate tips and reverse folds. Excessive tool pressure can flatten the model unevenly or damage thin kami. The goal is matching crease quality on both sides, not maximum sharpness everywhere.
The Bottom Line
The answer to “why is my origami crane lopsided” is usually a centerline error that became visible during the petal fold or final shaping. Check the square, Bird Base, petal-fold collapse, and reverse-fold pivots in that order. Use 15 cm, 50-60 GSM kami, work on a firm surface, and restart when the body twists more than a few degrees. A careful early alignment fixes more cranes than aggressive wing adjustment.
