

Ever wanted a fun, creative way to give money as a gift?
Maybe something simple, elegant—and way more thoughtful than just handing over cash?
This easy Origami money holder might just be the coolest paper trick you’ll ever learn.
What Are We Making?
So here’s the deal: we’re folding a sleek, smart paper wallet—something that looks fancy but is surprisingly easy to make. This isn’t your average classroom origami bird or crane. Nope. We’re creating a simple money holder step by step from a single A4 sheet of paper.
I love projects like this. Why? Because they’re low cost, high charm, and people are always impressed. It’s practical too—you can use it to gift money, store small notes, or just enjoy the satisfaction of making something useful with your own two hands.
Materials Needed
Here’s what you’ll need. It’s not a long list—I promise.
| Item | Description | Notes |
|---|---|---|
| A4 Paper | Standard printer paper (8.27 × 11.69 inches) | Avoid thick cardstock. Use paper that folds easily. |
| Flat Surface | Table or desk | A clean, flat space helps with accuracy. |
| Your Hands | That’s right—you’re the magic here. | Steady hands make crisp folds. |
That’s it. Seriously. No glue, no scissors. Just a sheet of A4 and a little focus.
Key Terms to Know
Let’s break down a few basic origami terms before we dive into the folds:
Valley Fold
Fold the paper toward yourself (like closing a book).
Mountain Fold
Fold the paper away from yourself (like a tent).
Crease Line
The sharp line left after folding.
Unfold
Open up the paper after a crease is made.
Don’t stress if you’re new to these. I’ll explain each as we go.
How to Make Money Holder (Step-by-Step Instructions)
Follow this exact sequence to fold your origami money holder like a pro. I’ve reworded it for clarity, but the core steps are the same.
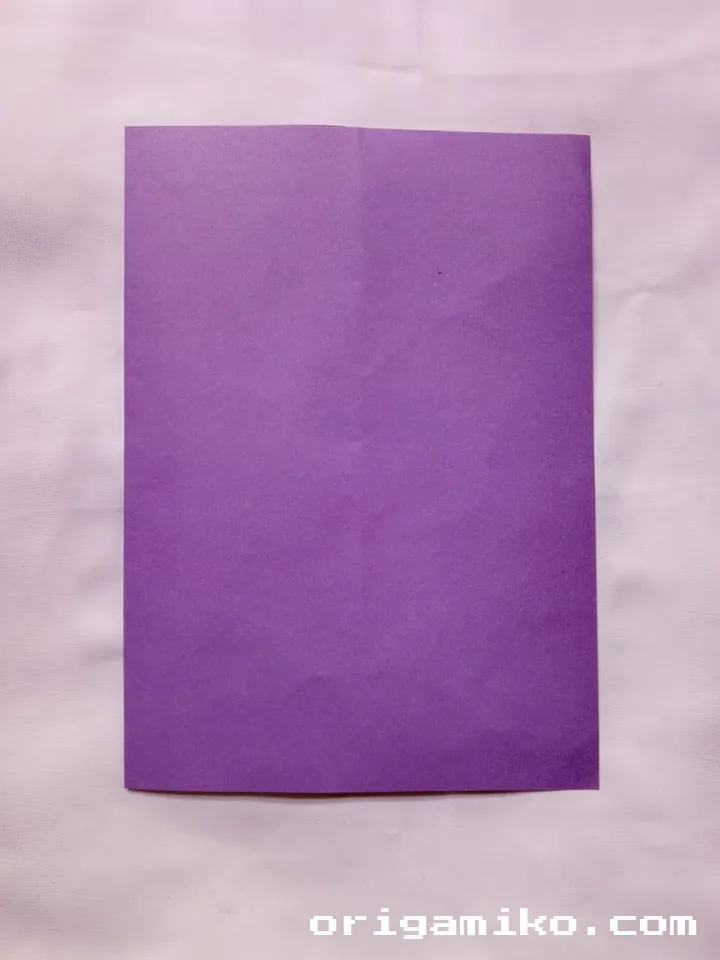
Step 1: Start With a Clean Sheet
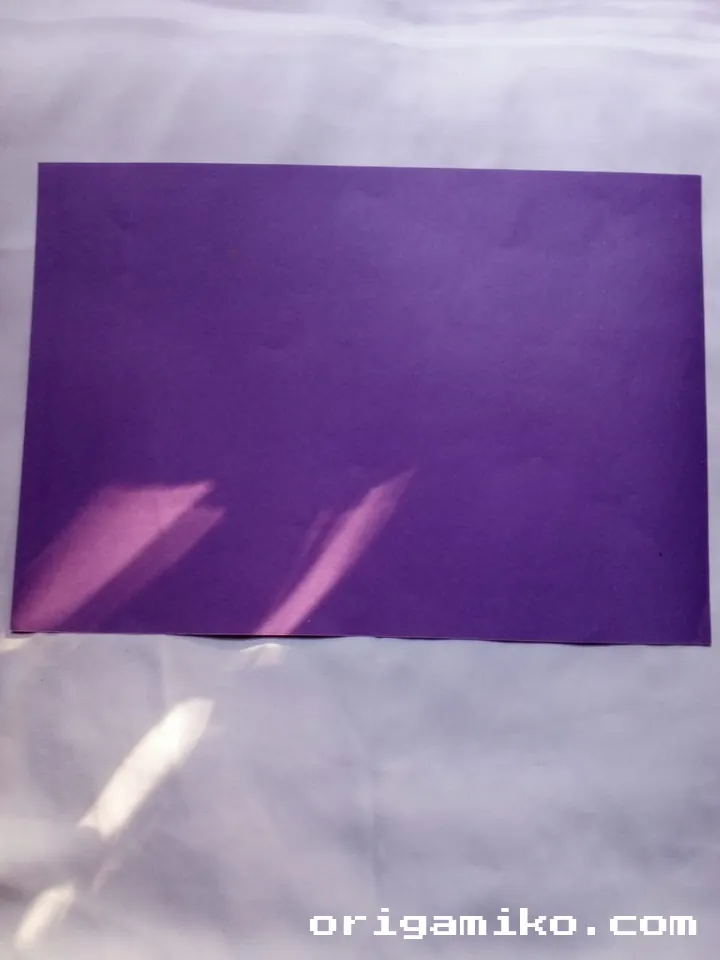
Take your A4 paper and place it vertically in front of you. Smooth it out to remove any wrinkles.
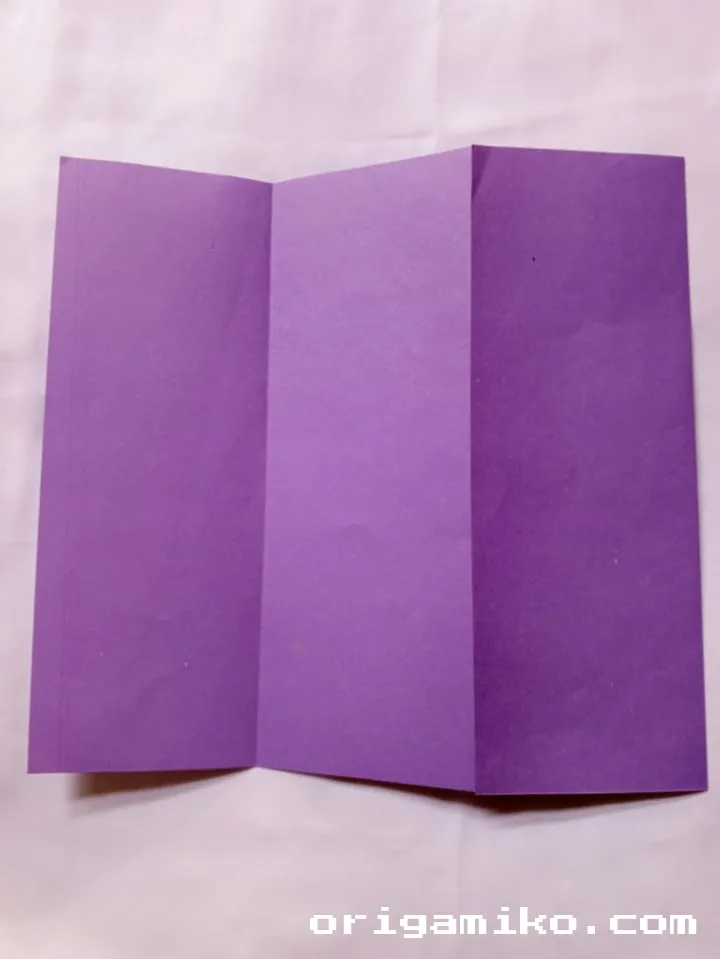
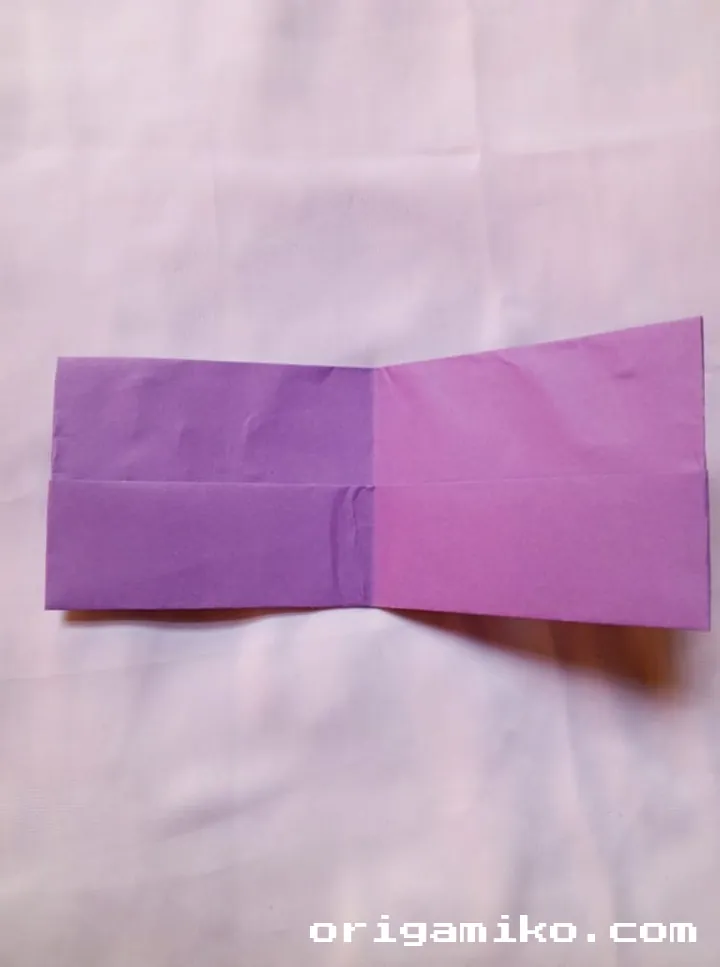
Step 2: Fold Vertically
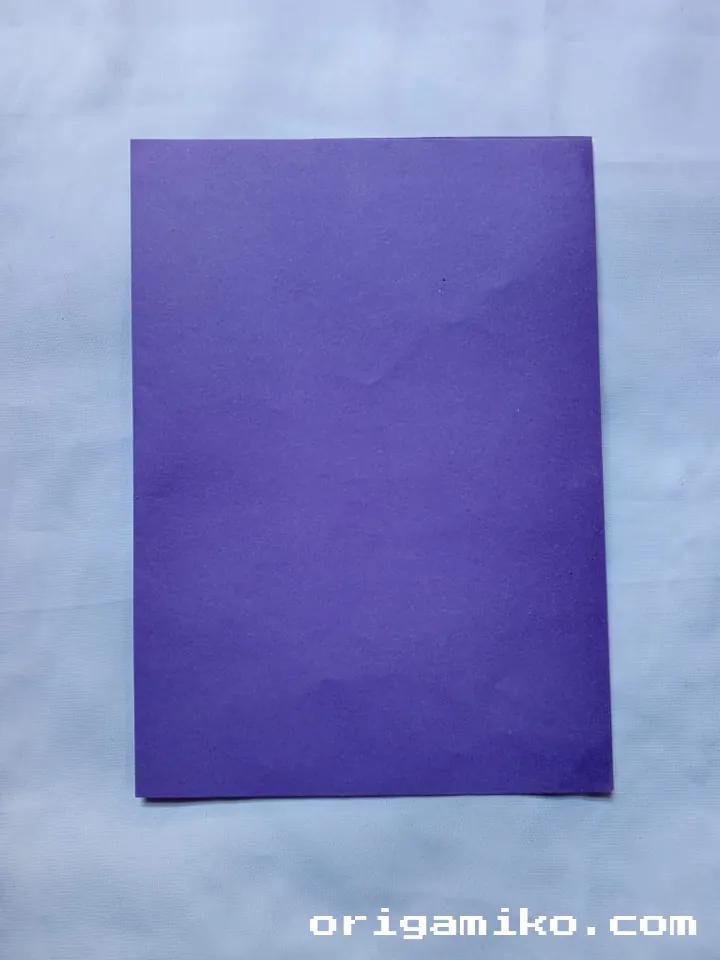
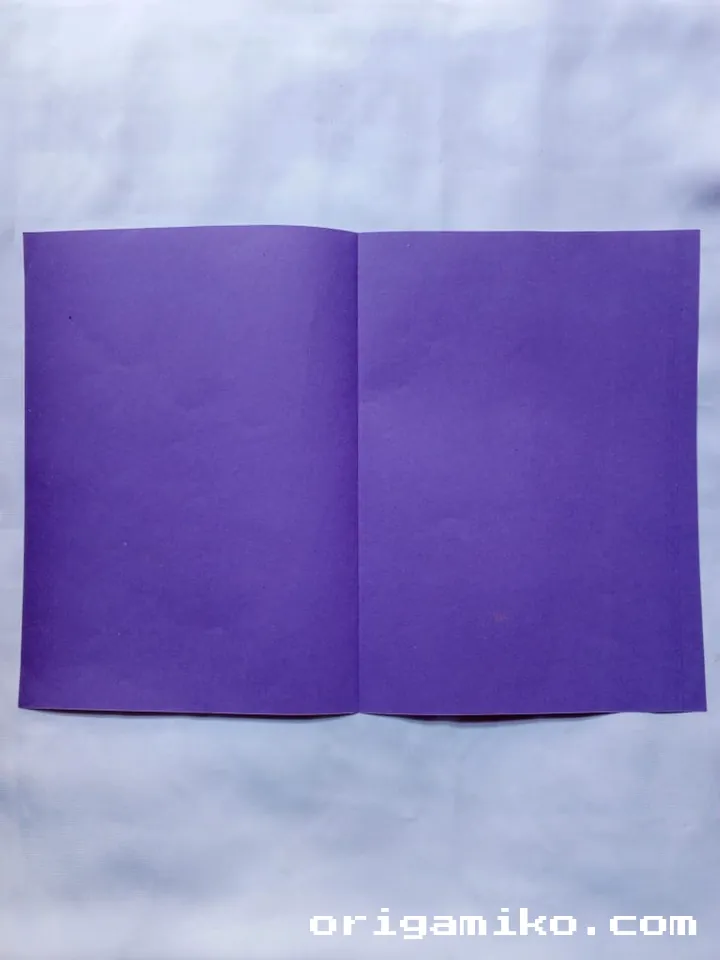
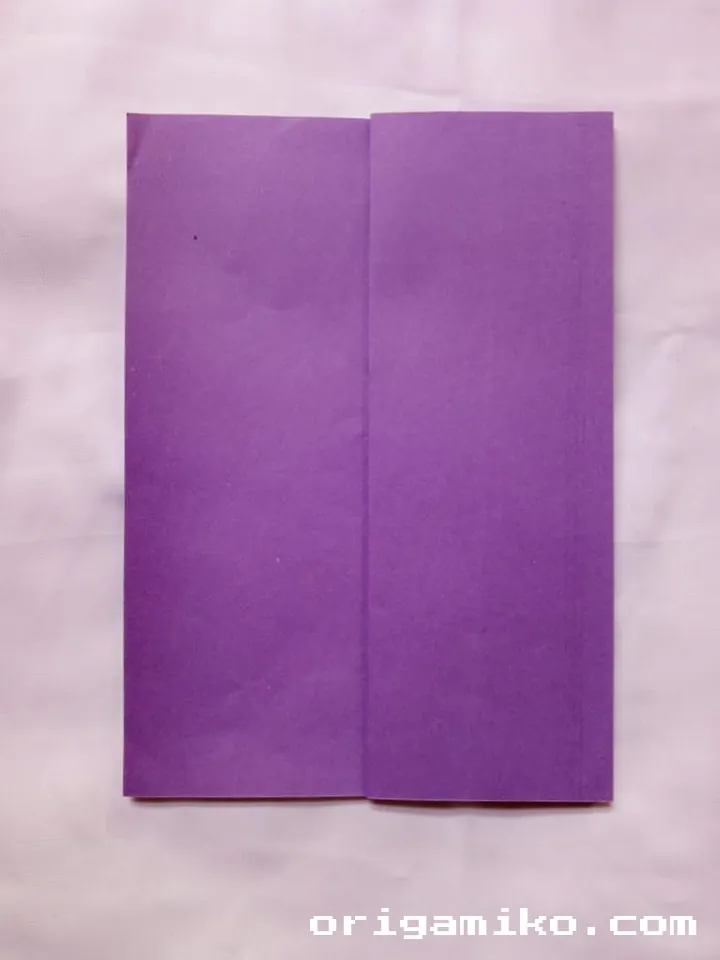
Fold the paper exactly in half lengthwise. Make a strong crease. Then unfold it.
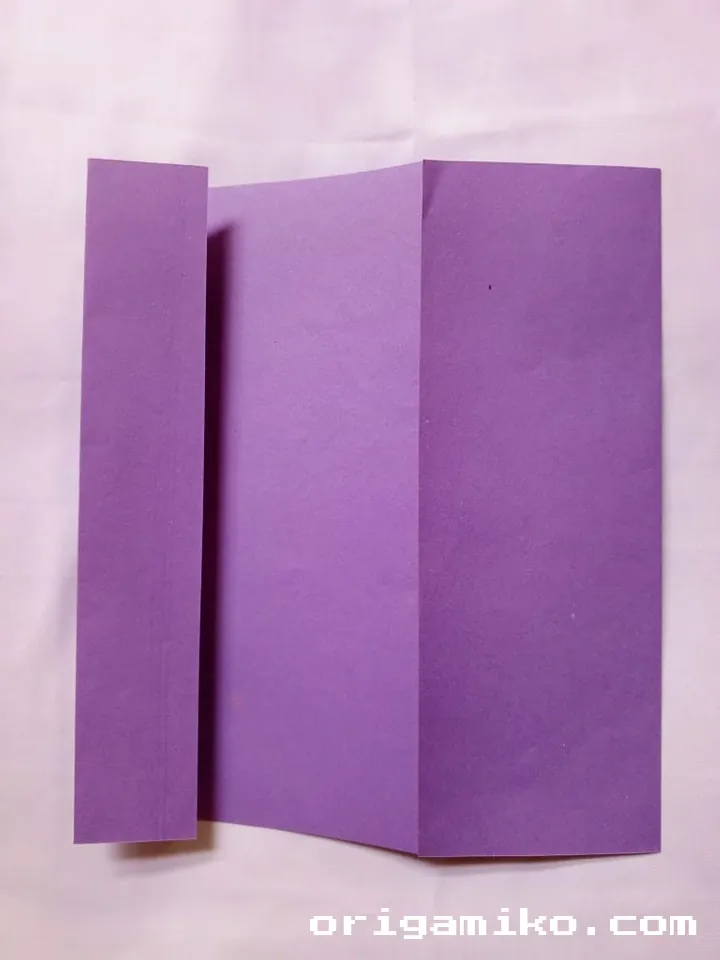
Now fold the right edge toward the center crease and press it down firmly.
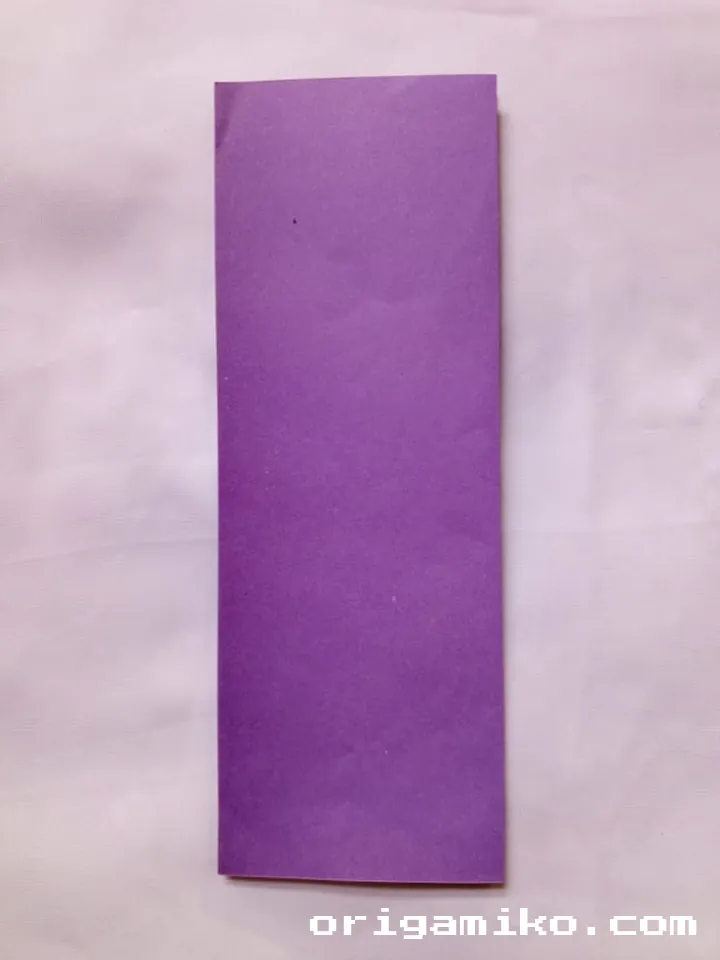
Flip the paper over, and fold that same edge again toward the back.
Step 3: Housefold + Extra Layers
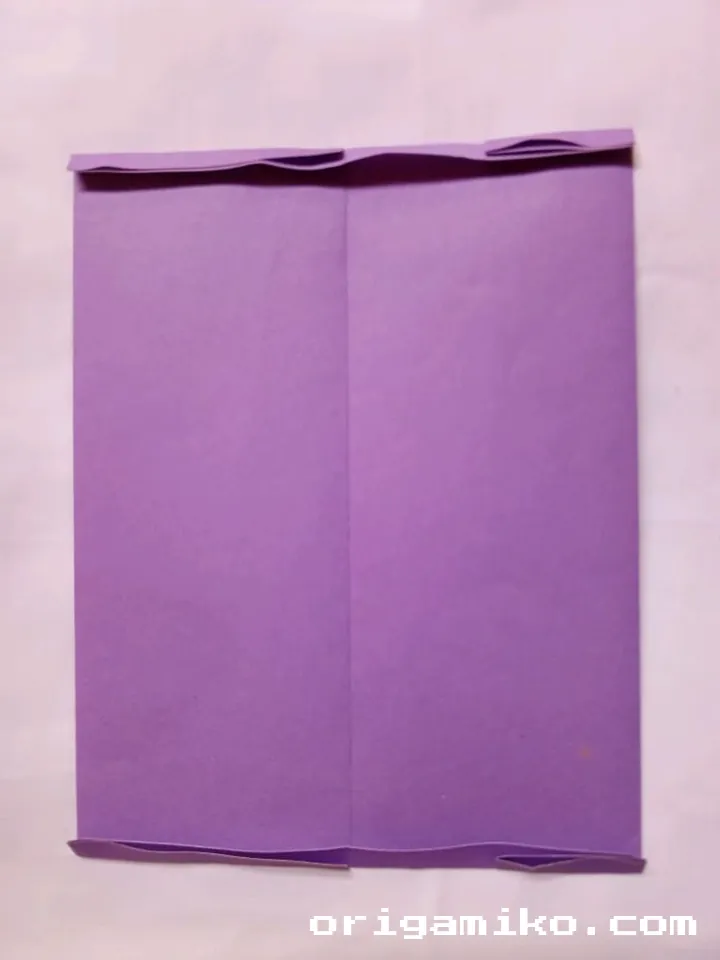
Bring the top right corner down diagonally to meet the vertical crease—like forming a little roof. Repeat for the bottom right corner.
Then unfold both of those.
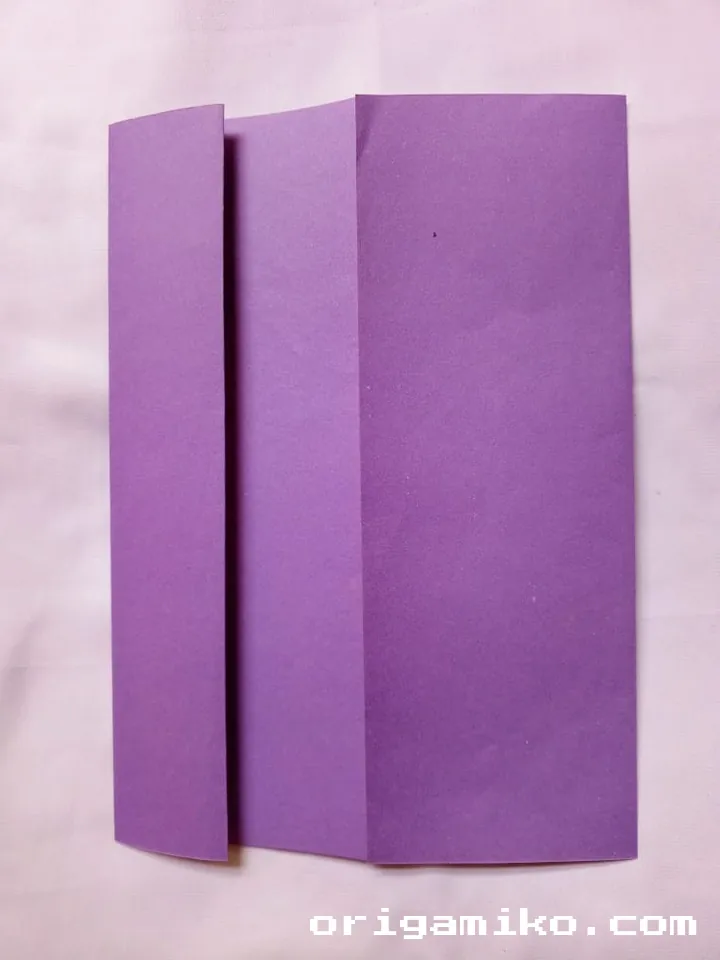
Now, fold the left edge in twice—first halfway to the center, then again to the crease.
Finally, fold small flaps along the top and bottom edges—these will act like soft guards.
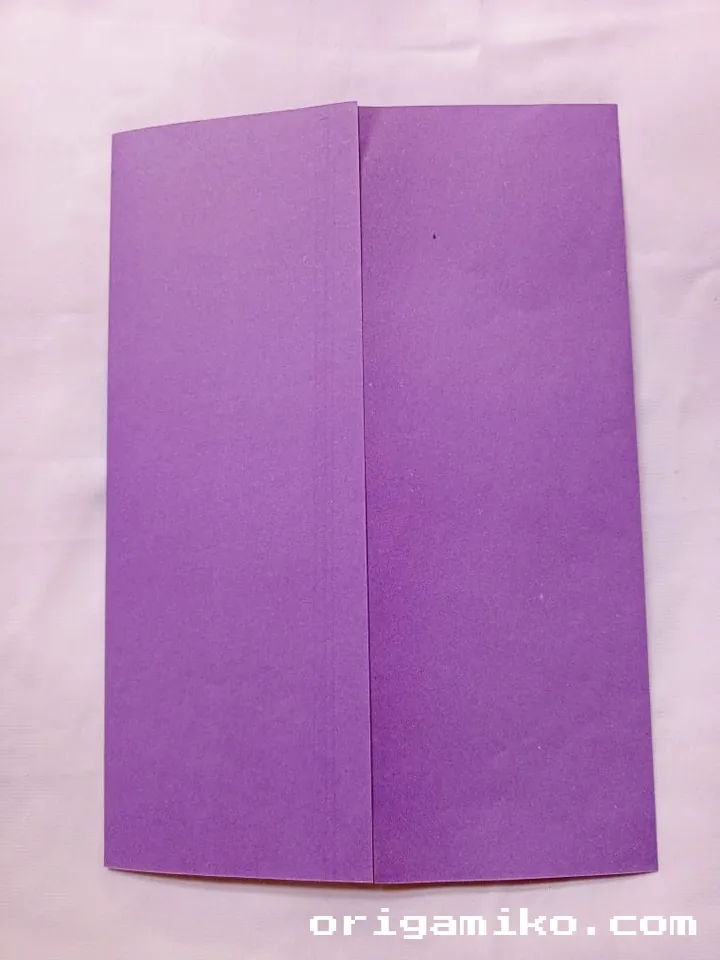
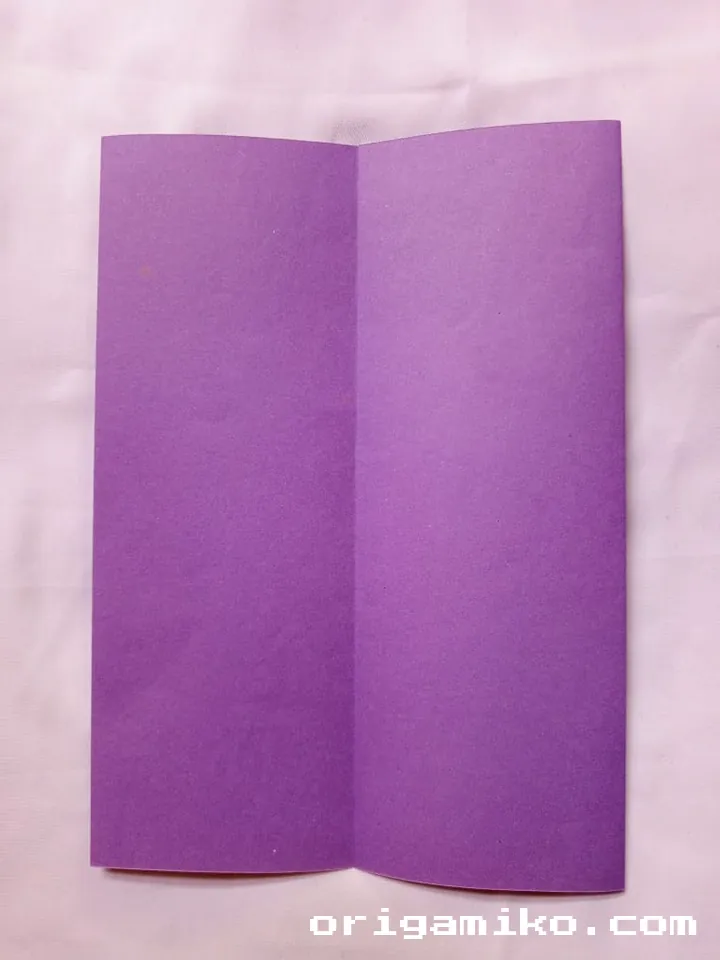
Step 4: Final Fold and Shape
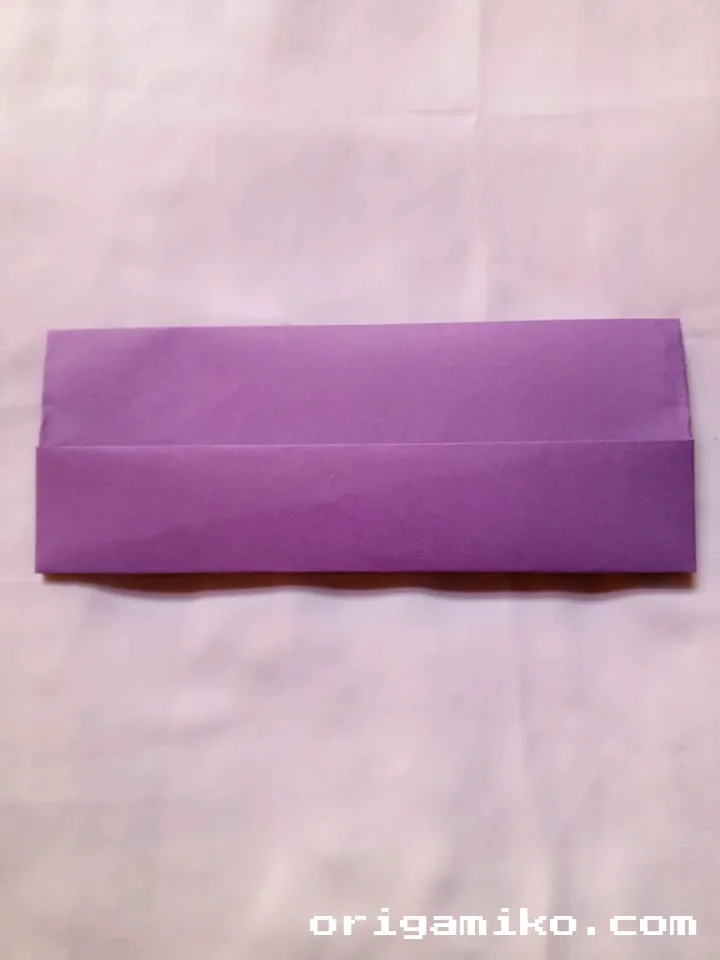


Fold the whole paper in half vertically, then fold it again, horizontally.
Now open it back up. You should see clear layers and folds—this is your finished money holder!
Tips for Success
Let me share a few things I’ve learned along the way. Trust me—these tiny tips make a big difference:
- Line up edges carefully — Misaligned folds can throw off the whole shape.
- Use a fingernail or ruler — For cleaner, sharper creases.
- Work slowly — Speed folds often lead to mistakes or tears.
- Try it with scrap paper first — Practice before using decorative or expensive sheets.
Common Mistakes and How to Avoid Them
Here’s what I see a lot of beginners stumble on—and how to dodge those issues:
- Folding too fast
Origami is about precision. Rushing leads to bad symmetry. - Skipping creases
Every fold should leave a visible line. They act like guideposts. - Not flipping the paper correctly
If the paper’s direction is wrong, the whole design gets flipped. - Using the wrong paper
Heavy card or textured paper doesn’t crease well.
Similar Variations You Can Try
Once you get the hang of this version, try branching out with a few creative takes:
- Mini Envelope Style — Fold in extra flaps to create a sealable pouch.
- Decorative Cover Fold — Add an origami heart or star on the front for gifting.
- Double Pocket Design — Use a second layer of paper to build a hidden compartment.
- Origami Credit Card Holder — Same concept—just folded to a wallet size.
It’s like crafting your own stationery. Only cooler.
FAQs
Q: Can I use square origami paper instead of A4?
A: Not for this version. The design relies on the proportions of A4. Square paper will throw off the balance.
Q: Will real money fit inside?
A: Yes! Standard bills fold perfectly into the holder space. That’s what makes it a great gift option.
Q: Can kids make this?
A: Absolutely. It’s a beginner-friendly project with simple steps. Great for school art or craft day.
Final Thoughts
This easy Origami money holder proves that even a basic sheet of A4 can turn into something elegant, thoughtful, and practical. Whether you’re gifting cash or just looking for a creative break from the digital world—this fold is worth learning.
I hope these origami money holder instructions helped you feel confident and curious. Now you know exactly how to make a money holder with just your hands and a sheet of paper.