

Origami is more than just folding paper. It’s about creating beauty from simplicity. Today, I’ll walk you through how to make an easy Origami Tulip flower. You don’t need special tools—just paper and patience!
This simple Tulip flower step by step guide is perfect for beginners. Even if you’ve never folded paper before, don’t worry. By the end, you’ll have a gorgeous tulip to brighten up your space.
Let’s get started with the materials you need and the Tulip flower instructions to bring this charming creation to life!
What Is an Origami Tulip Flower?
Origami, the Japanese art of paper folding, lets you create intricate designs with just a sheet of paper. The Origami Tulip flower is one of the most popular models, known for its elegant petals and delicate stem.
A finished origami tulip looks just like a real flower, making it perfect for decorations, gifts, or just a fun project. Plus, it’s an excellent way to practice how to make Tulip flower models with precise folds.
Materials Needed
Before we dive into the steps, gather your materials. Here’s a handy table to keep things organized:
| Material | Details |
|---|---|
| Paper | Square (15×15 cm) colored paper works best |
| Flat Surface | Ensures crisp folds and smooth creases |
| Patience | Optional, but highly recommended! |
Step-by-Step Instructions: Simple Tulip Flower
Follow these Tulip flower instructions carefully. Each fold brings you closer to a beautiful bloom!
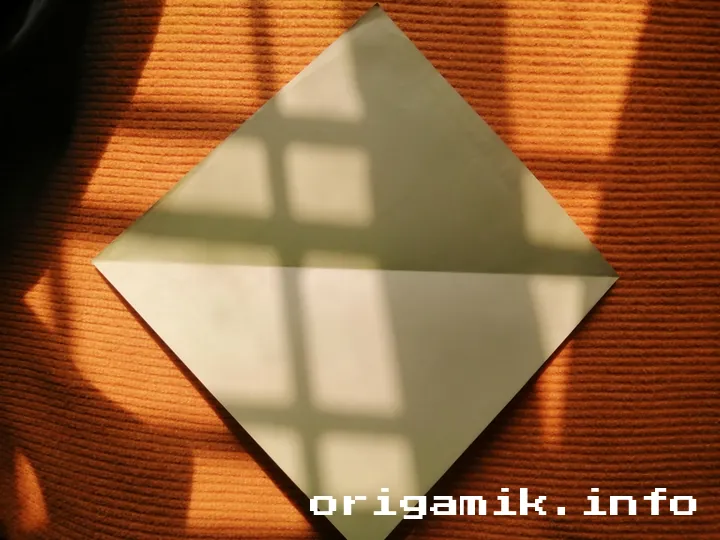
Step 1: Start with a Square Paper

- Take a 15×15 cm square paper. A colored sheet adds charm!
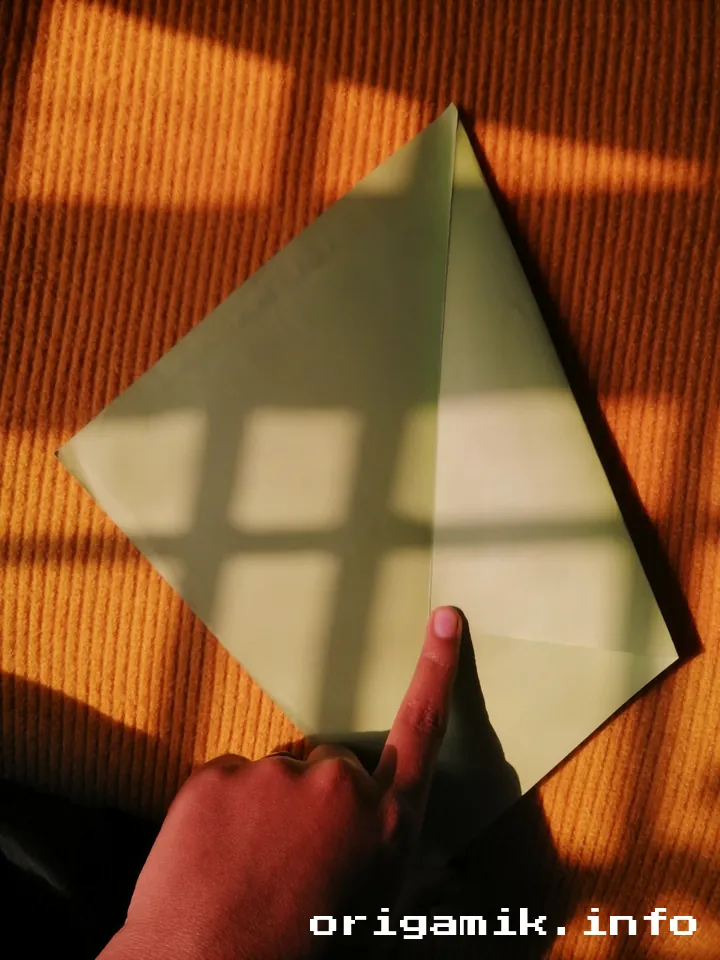
Step 2: Create the Base Folds


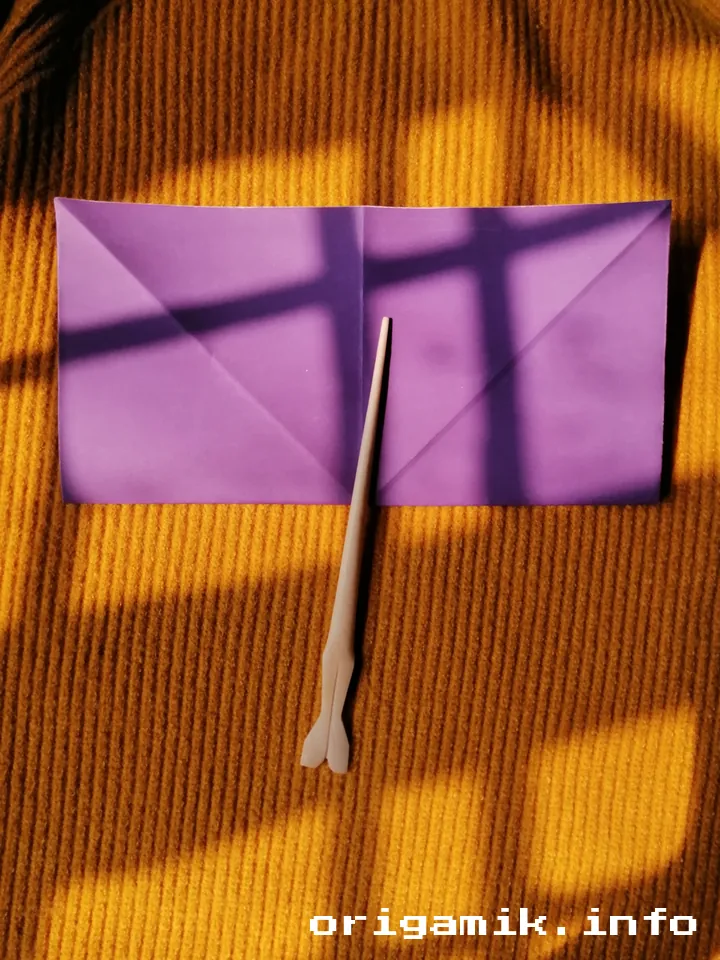


- Fold it horizontally and vertically, then unfold.
- Flip it over and fold along both diagonals. Unfold again.
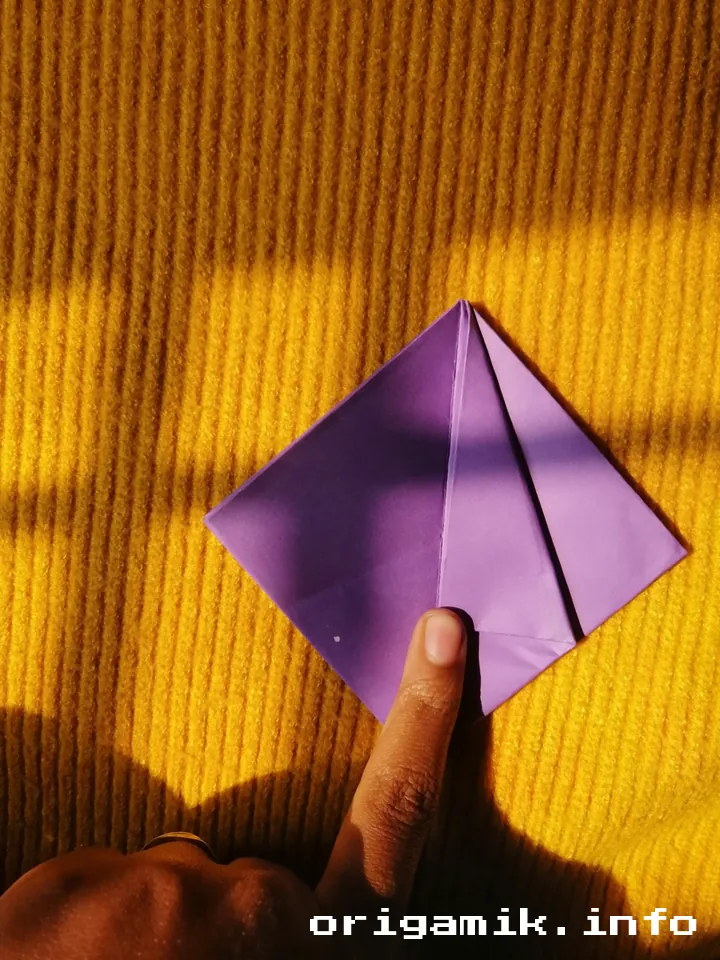
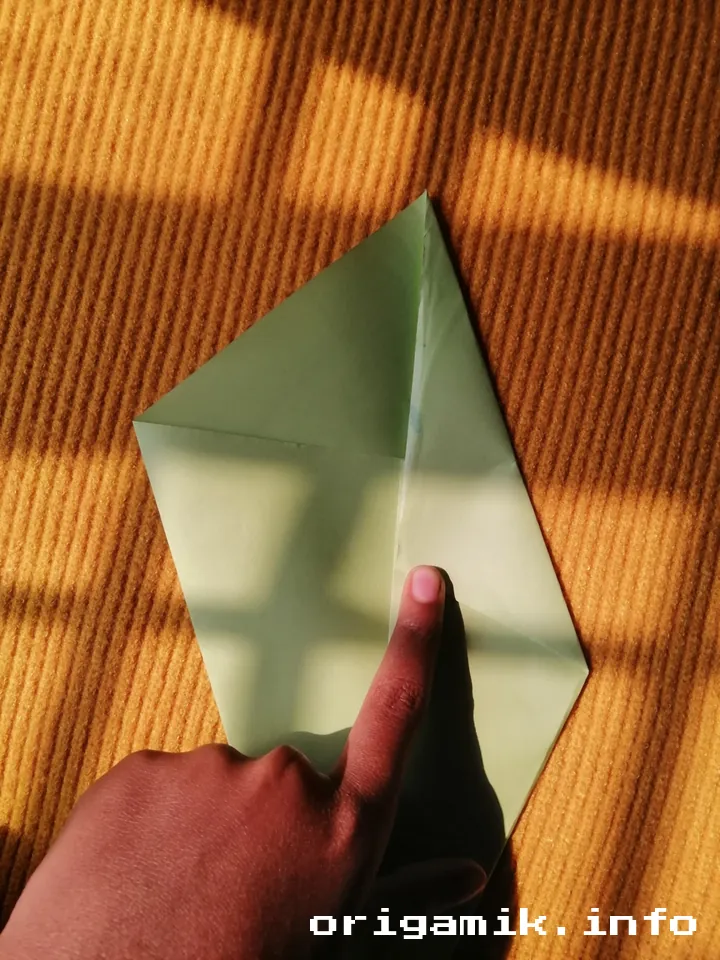
- Now, push the edges inward to form a waterbomb base.
- Fold the corners upward on the front side.
- Flip it over and repeat on the backside.
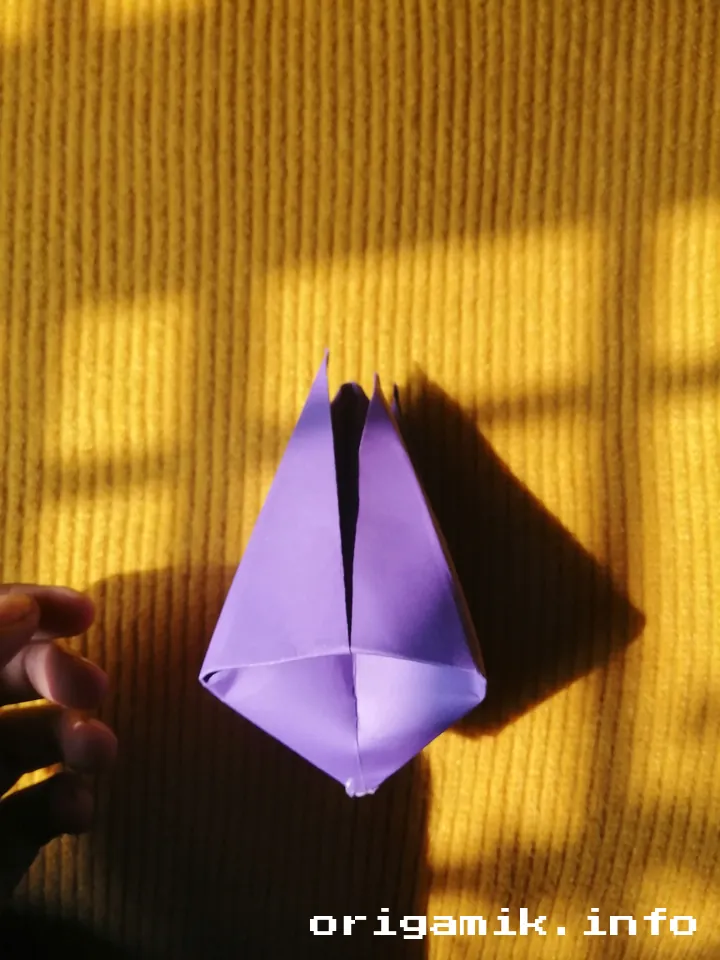
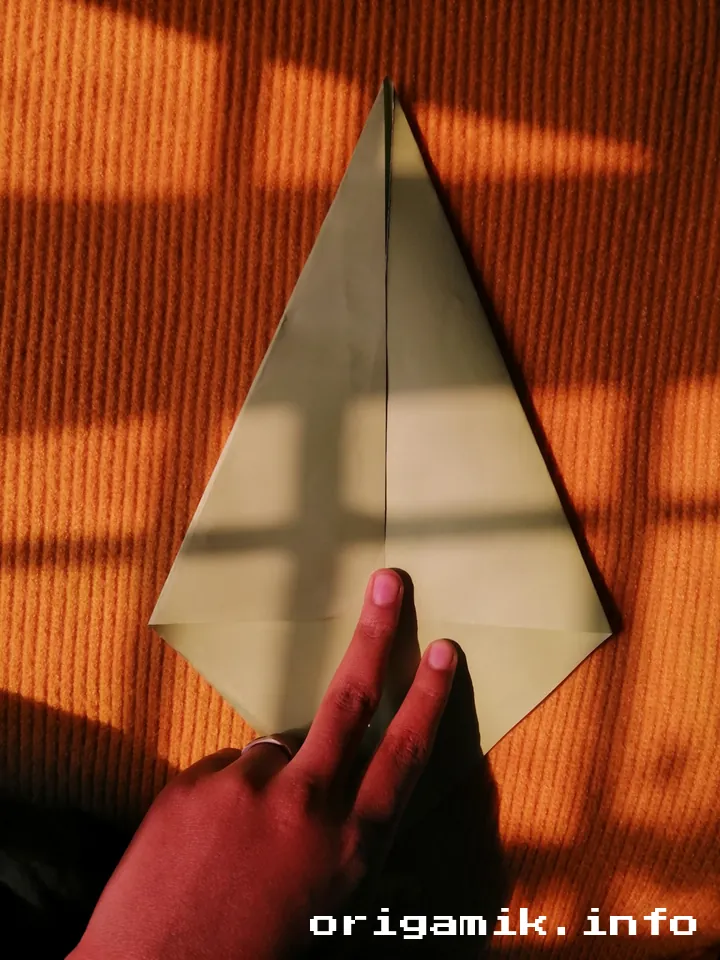
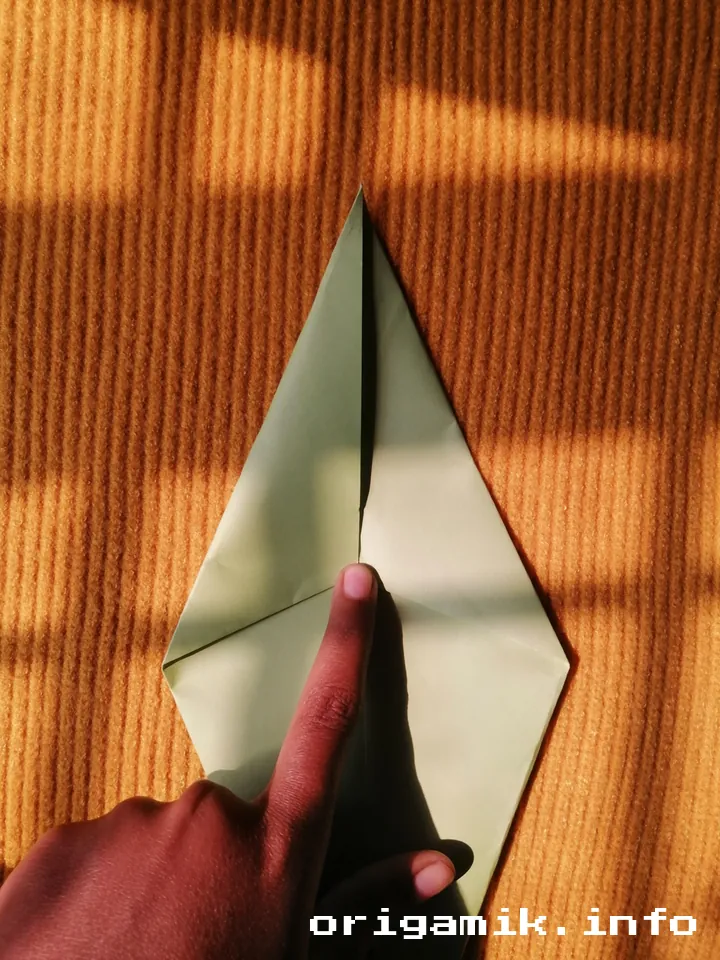
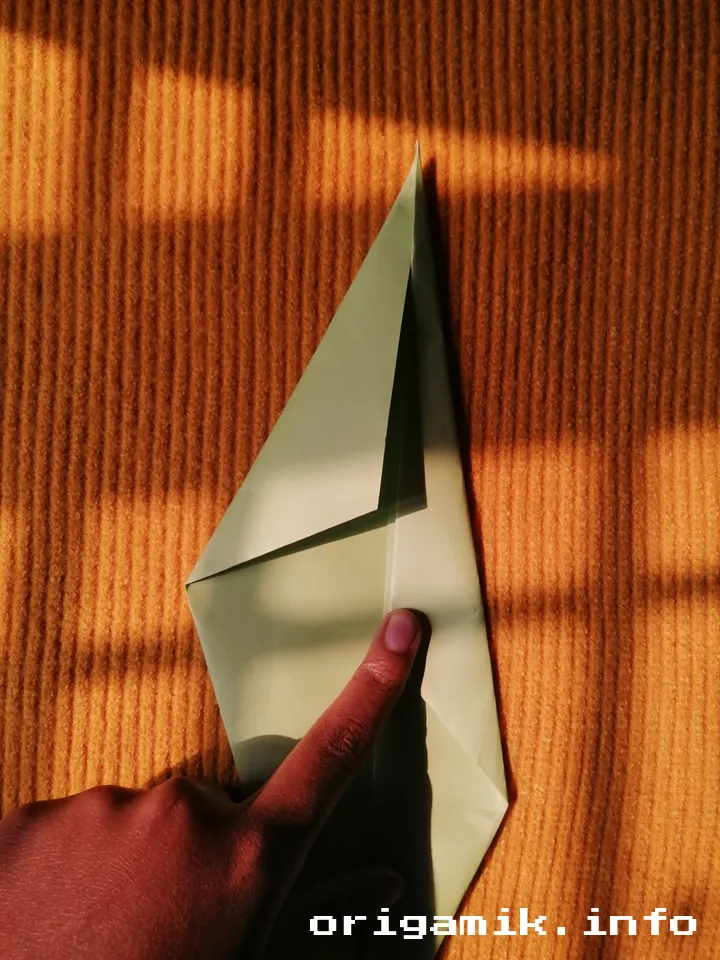
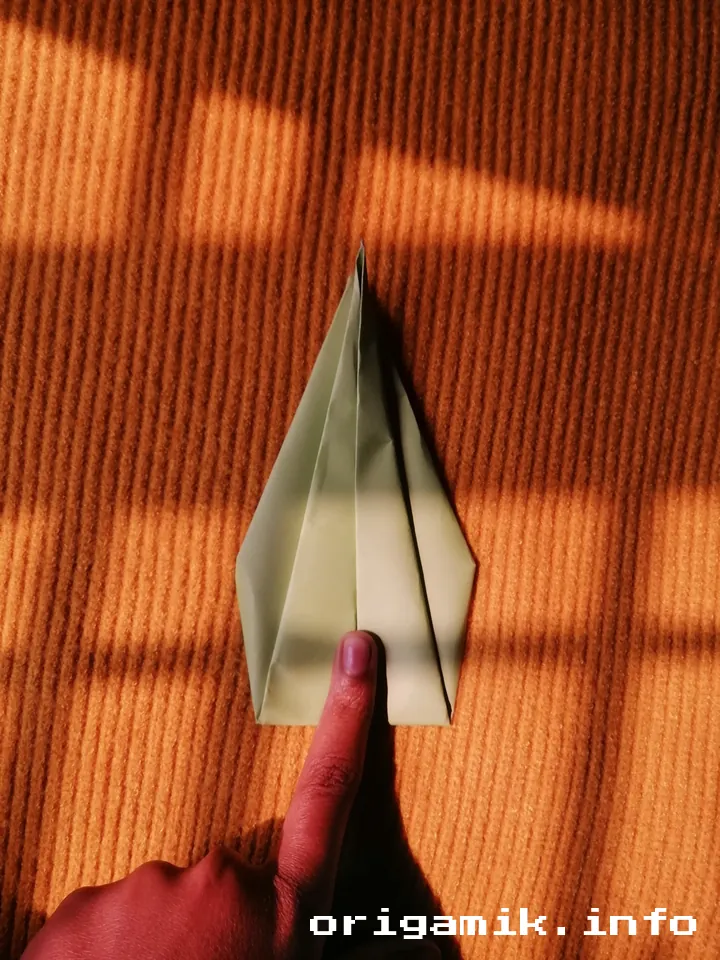
Step 3: Shape the Tulip


- Fold a single layer to the left on the front and right at the back.
- Fold the corner slightly past the center.
- Tuck one flap into the other to secure the shape.
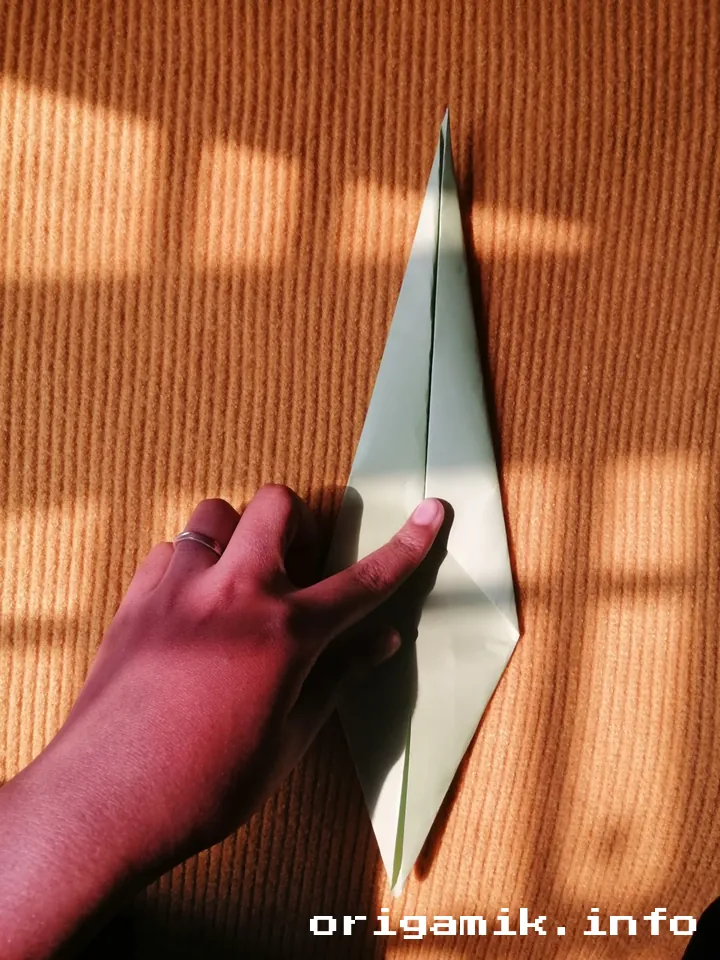
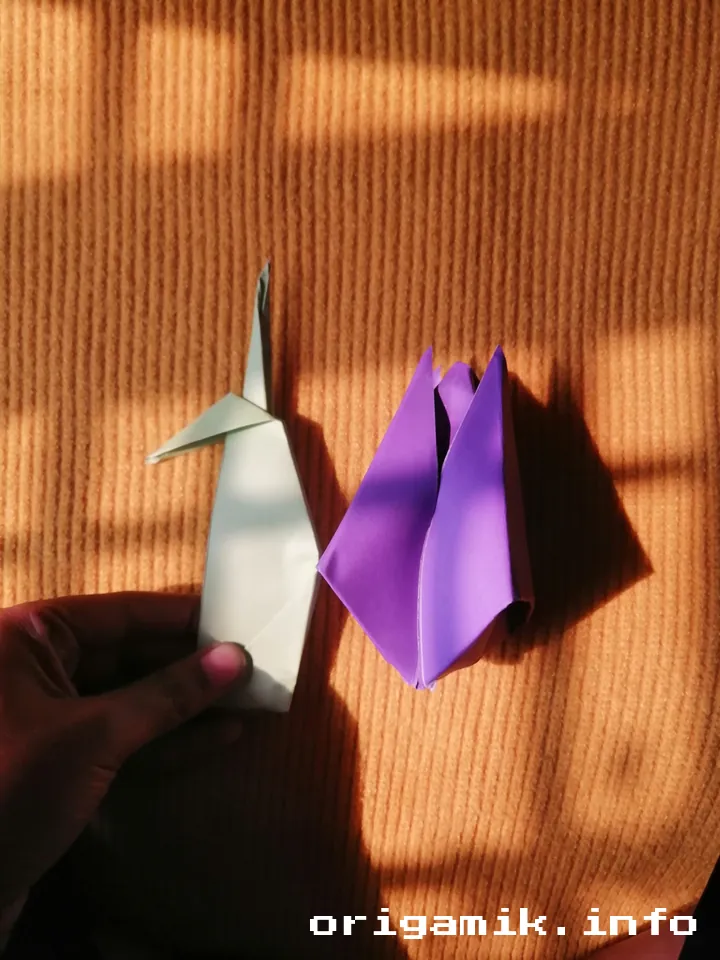
Step 4: Inflate and Form the Petals
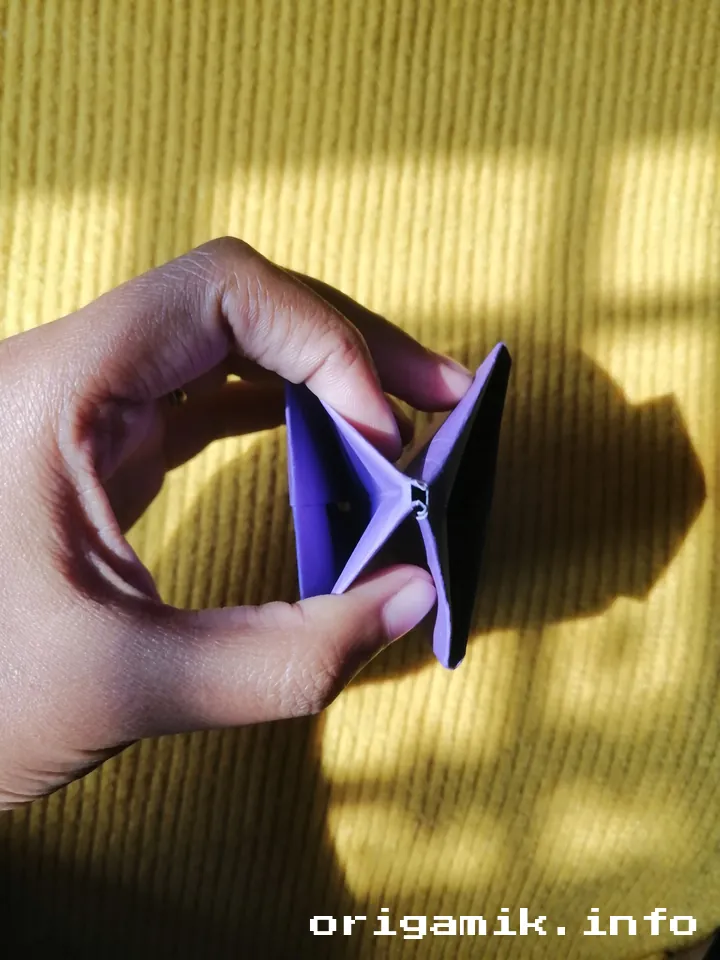

- Blow gently into the base to inflate your tulip.
- Carefully peel down each petal, shaping them gently.
Step 5: Make the Stem

- Roll a separate strip of paper into a thin tube.
- Insert it carefully into the base of the tulip.
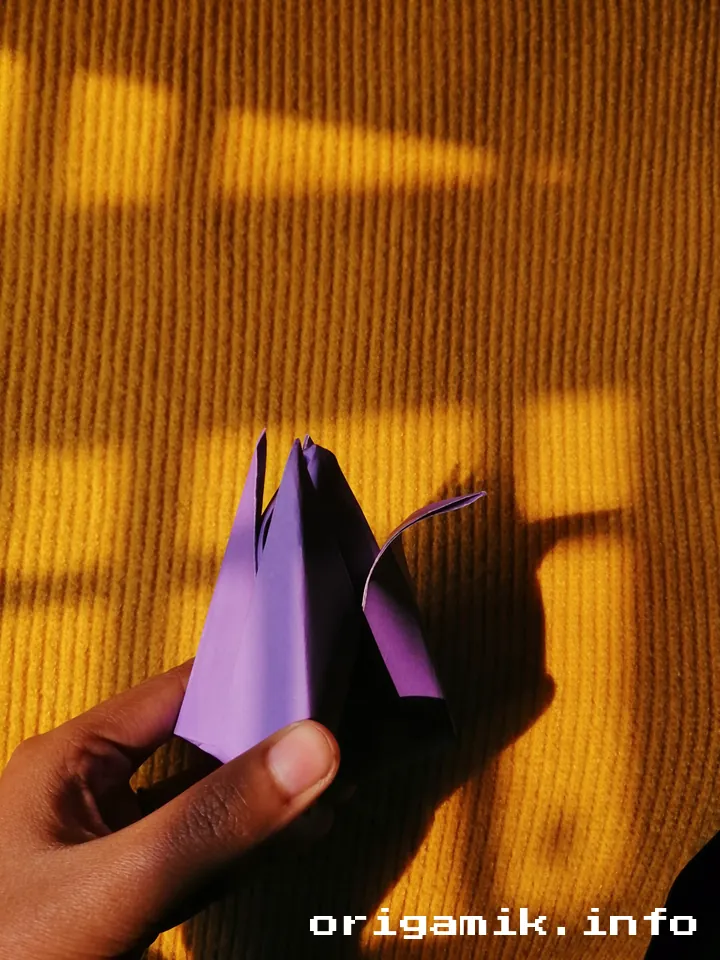
Step 6: Admire Your Work!

- Your easy Origami Tulip flower is now ready. Display it proudly!
Tips for Success
- Use thin, crisp paper for easier folds.
- Be gentle while peeling the petals to avoid tearing.
- Practice the waterbomb base a few times if you’re new to origami.
- If the tulip won’t inflate, double-check the tucking step.
Common Mistakes and How to Avoid Them
| Mistake | How to Fix It |
| Paper won’t hold shape | Use slightly thicker paper |
| Tulip doesn’t inflate | Ensure the folds are crisp and aligned |
| Petals tear | Be gentle when peeling them down |
Variations You Can Try
- Multi-Petal Tulip: Use extra folds to create layered petals.
- Miniature Tulips: Use 7.5×7.5 cm paper for tiny flowers.
- Double-Stem Tulip: Attach two stems for a fuller look.
FAQs
How long does it take to make an Origami Tulip?
It usually takes 5-10 minutes, depending on your skill level.
Can I use regular printer paper?
Yes! But origami paper works best since it holds folds well.
How can I make the tulip last longer?
Use laminated or waxed paper to make it more durable.
Conclusion
Making an easy Origami Tulip flower is a rewarding and fun experience. With these simple Tulip flower step by step instructions, you can create beautiful paper tulips in no time.
Now that you know how to make Tulip flower models, why not try different colors and sizes? Happy folding!