

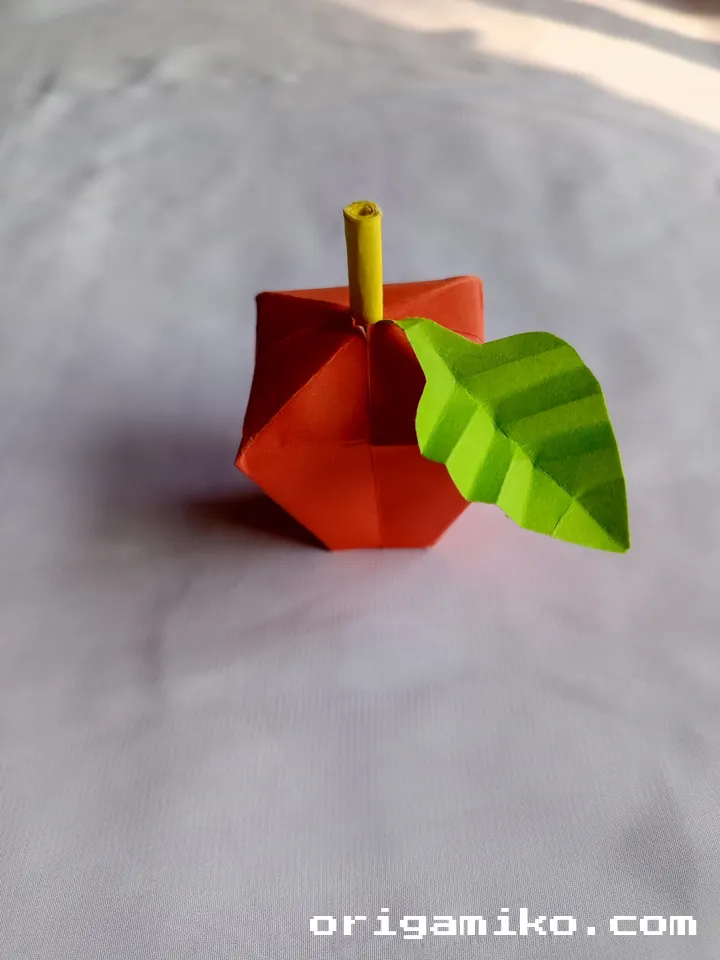
Folding a simple sheet of paper into a realistic apple feels like pure magic.
It’s a fun journey filled with creativity, imagination, and hands-on discovery.
Stick with me—you’ll love the final result!
Whether you are brand new to origami or have years of experience, this project promises a delightful and satisfying experience.
We’ll walk through each fold together, taking it slow, and making sure your apple comes out just right.
By the end, you’ll not only have an adorable paper apple but also feel a boost in your paper folding skills.
Let’s get started on this enchanting journey!

Materials You’ll Need
- One square sheet of paper (preferably 9″ × 9″)
- A flat, clean surface
- A little patience and creativity!
Step-by-Step Instructions to Fold an Origami Apple
Step 1: Start with a Square Piece of Paper
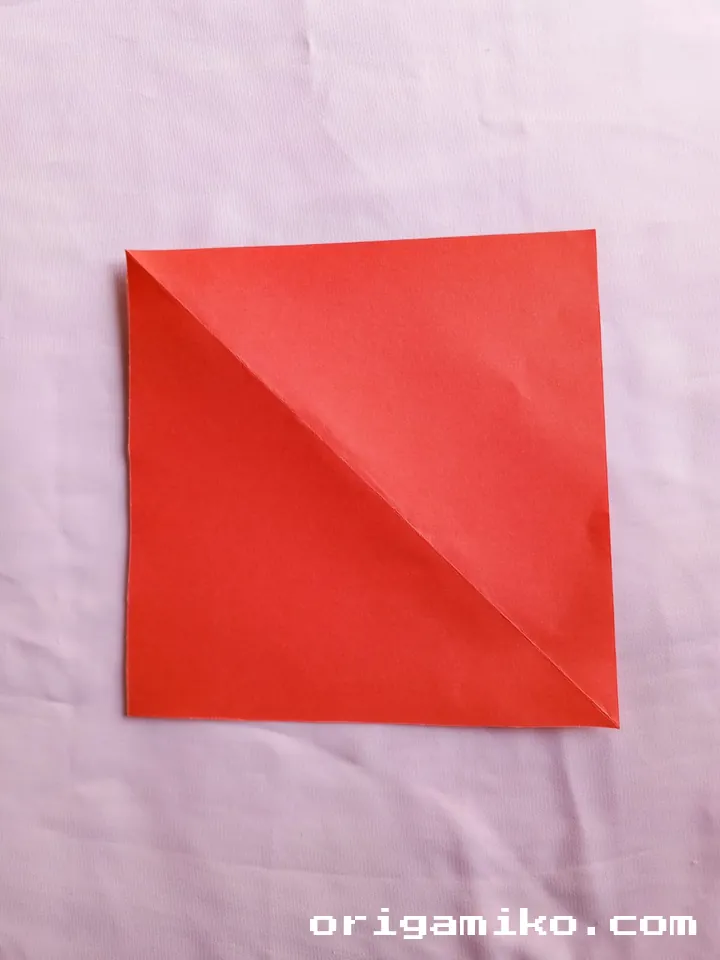
Begin with a square-shaped paper. Make sure it measures 9 inches by 9 inches for the best results. Lay it flat in front of you.
Step 2: Make Guideline Folds
First, fold the paper vertically (top to bottom) and crease well.
Unfold it back to the square shape.
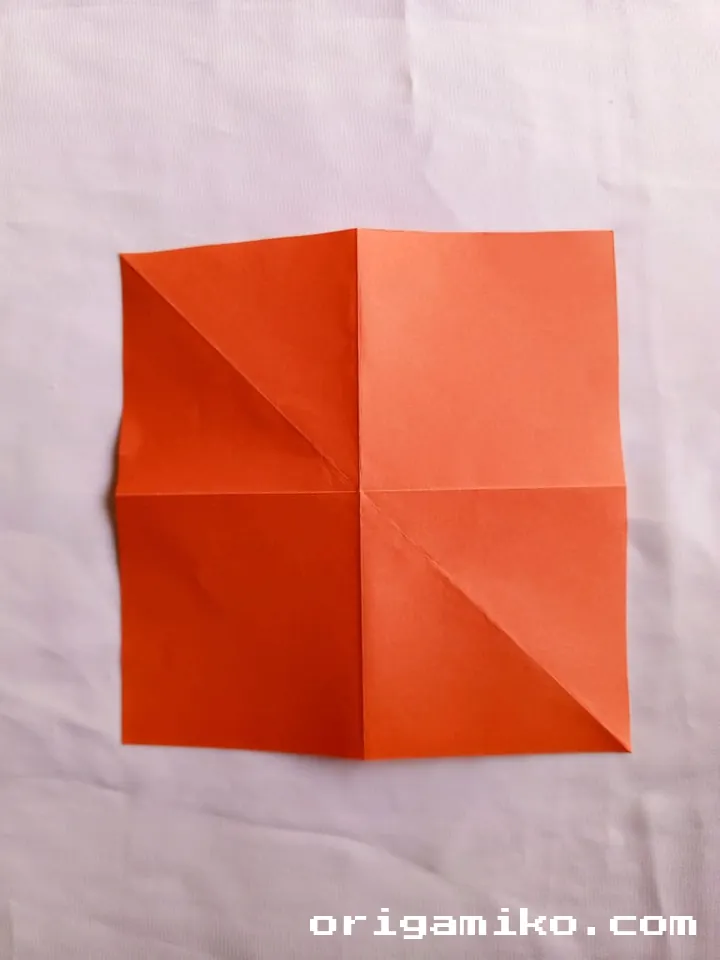
Then, fold it horizontally (left to right), crease sharply, and unfold again.
Now your paper should have a neat cross in the center.
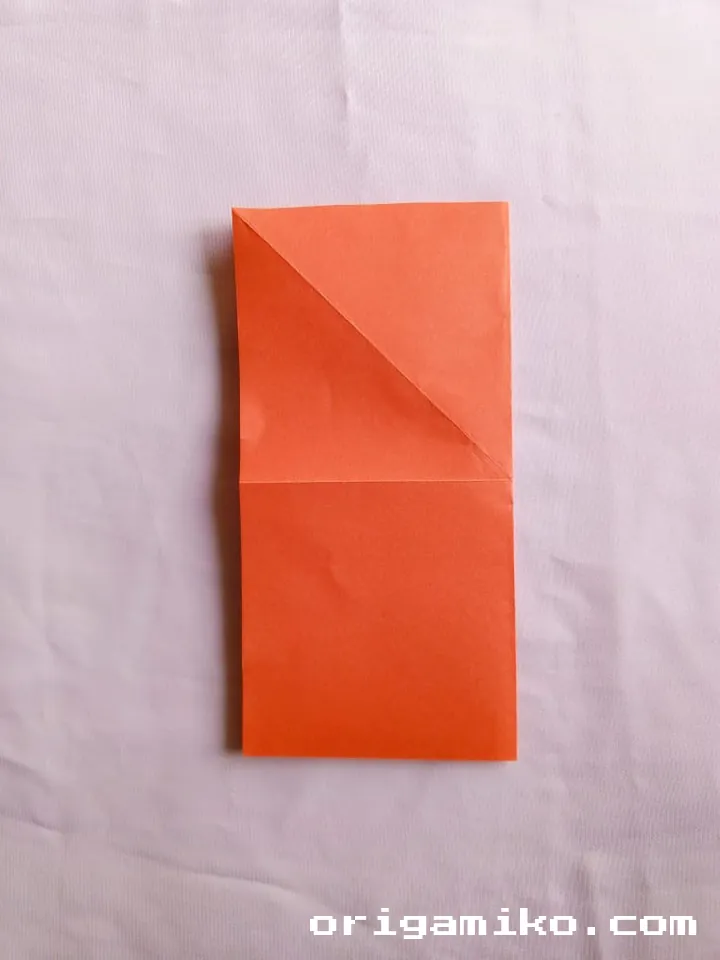
Step 3: Fold the Corners and Unfold

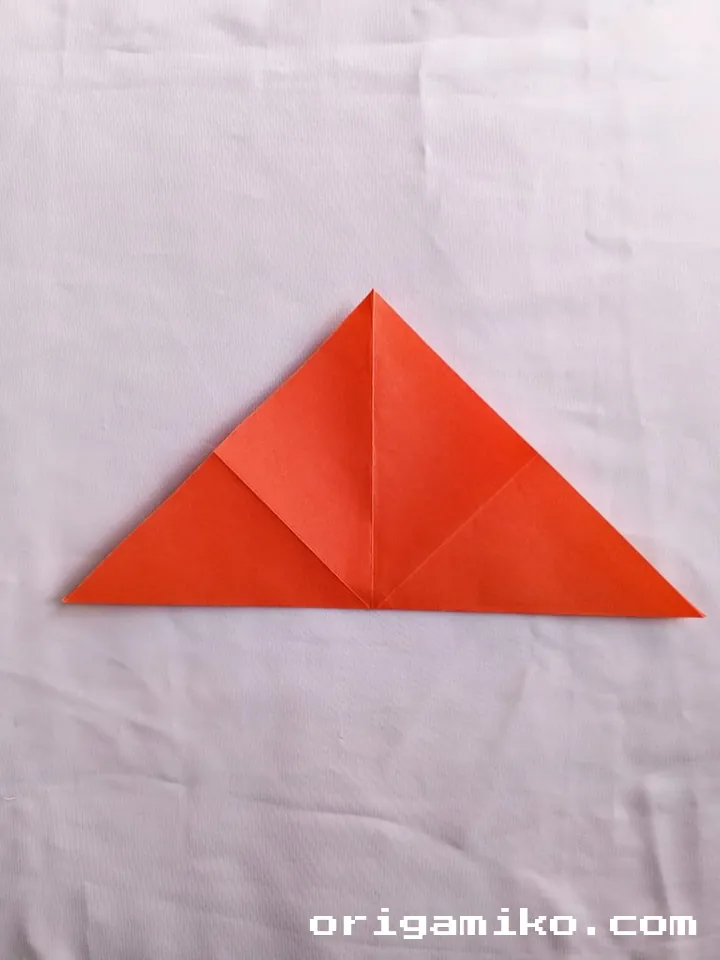


Take two corners of your paper and fold them inward toward the center crease.
After creasing, unfold them back to their original position.
Next, fold the other two corners inward in the way shown, crease well, and unfold again.
Step 4: Fold the Sides and Unfold
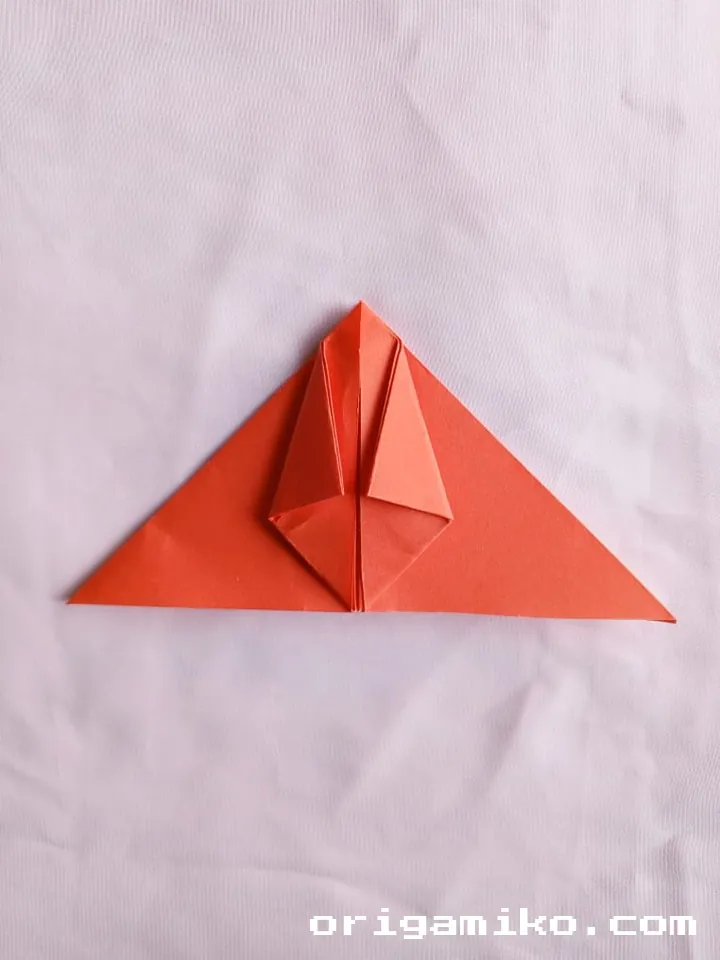

Now fold the left and right sides of the paper inward, using the top two folds as a guide.
Crease sharply and unfold both sides.
Then, do the same thing for the top and bottom sides: fold inward, crease, and unfold.
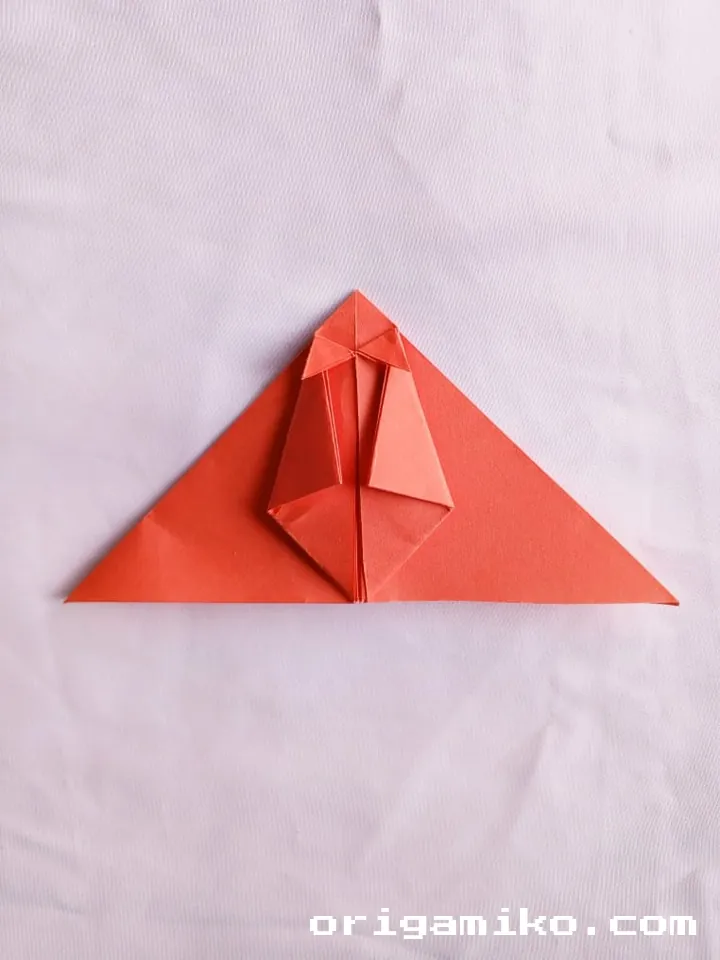
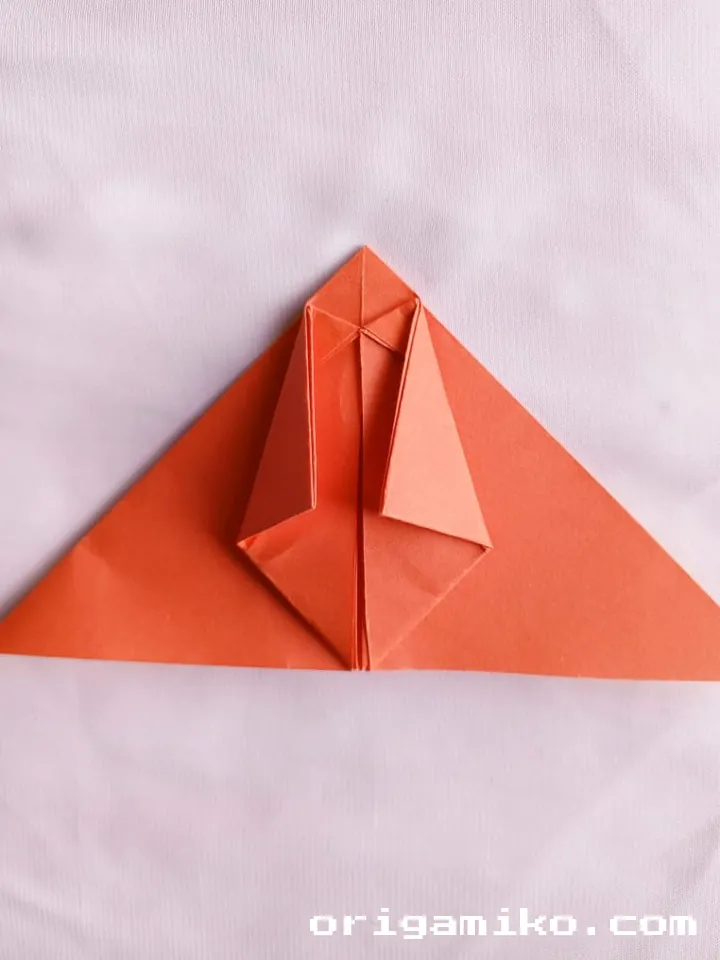
Step 5: Shape the Apple
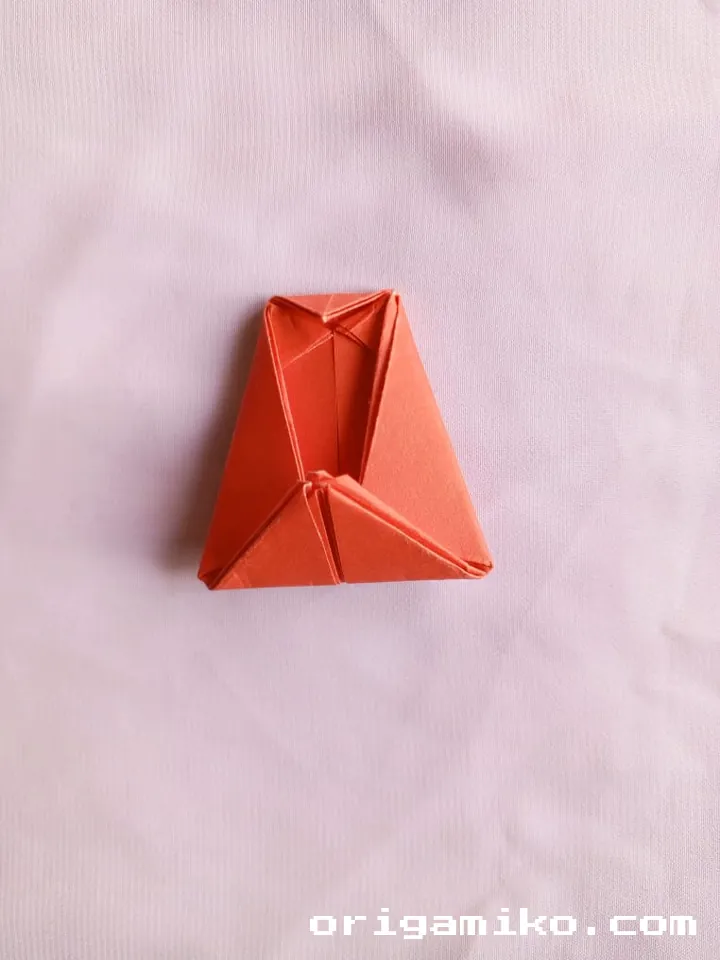
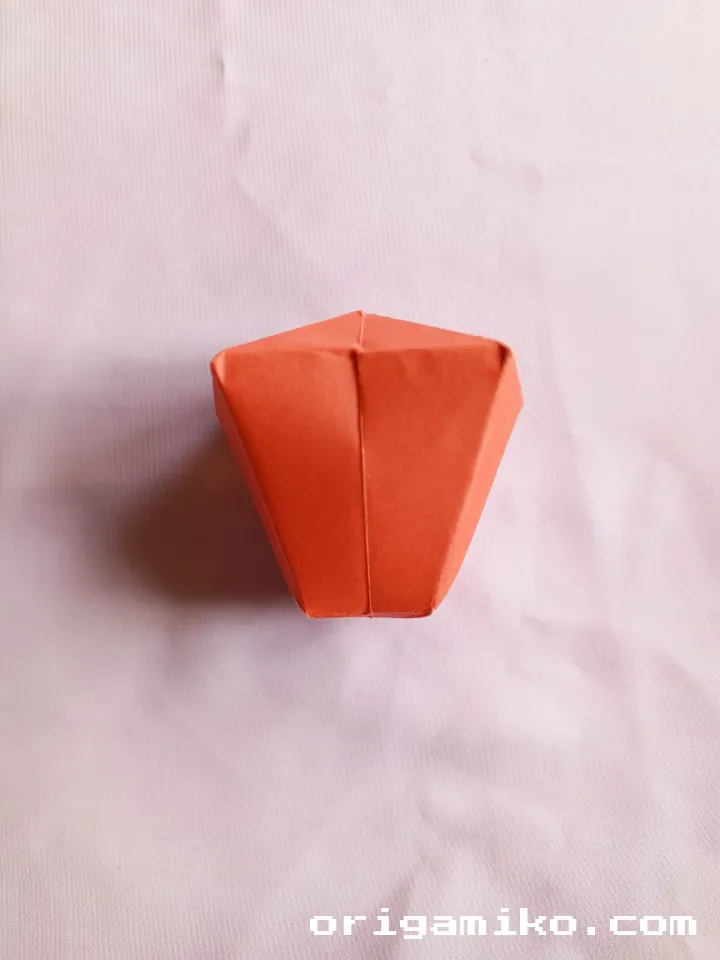


Using all the folds you made as guides, carefully bring the paper together and shape it into the form of an apple.
Take your time here, adjusting and smoothing the folds to create a round, apple-like appearance.
At this stage, your origami apple will start taking a lovely, realistic shape!
Tips for a Perfect Origami Apple
- Use slightly thicker paper if you want a sturdier apple.
- Crease sharply after each fold to make the final shaping easier.
- Be gentle during shaping—small adjustments make a big difference!
- Try using red, green, or yellow paper for a more realistic apple color.
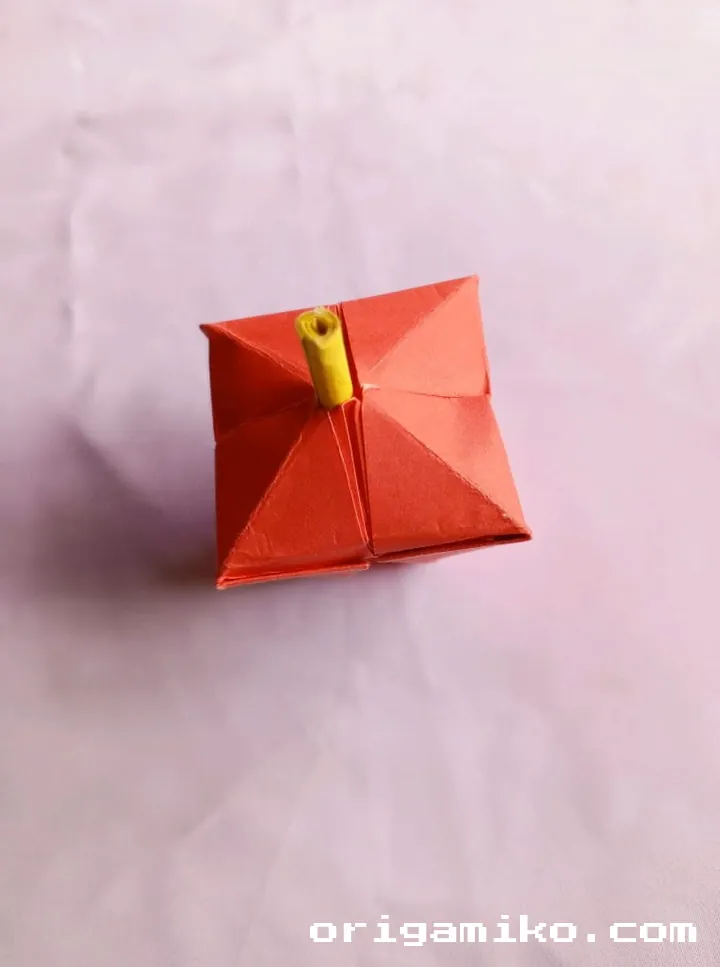
Creative Ideas to Personalize Your Origami Apple
- Draw a little leaf and attach it to the top for extra charm!
- Use patterned paper for a whimsical, fantasy-style apple.
- Make a few apples in different colors and sizes to create a cute paper apple orchard.
Why Folding an Origami Apple is So Rewarding
Folding an origami apple isn’t just about the final piece—it’s about the journey.
Every fold brings you closer to creating something magical with your own hands.
It’s a beautiful reminder of how creativity can transform even the simplest materials into something wonderful.
Whether you’re making one for fun, decoration, or a thoughtful handmade gift, your origami apple will surely bring smiles!
Final Thoughts
Now you know exactly how to turn a flat sheet of paper into a charming origami apple!
With a little practice, you’ll be able to fold apples quickly and even teach others the magic.
Happy folding—and don’t forget to show off your beautiful creation!