

Have you ever wanted to create something adorable with just a piece of paper?
Today, you’ll learn how to fold a delightful origami banana in simple steps.
With a little patience, you’ll discover the magic of paper transformation right at your fingertips.
Why Fold an Origami Banana?
Origami bananas are whimsical, unexpected, and full of charm. They offer a playful break from traditional origami designs while still being approachable for all skill levels. Plus, folding your own banana feels strangely satisfying!
Whether you’re looking for a unique decoration, a fun project to share with friends, or simply a relaxing craft, this guide will walk you through everything clearly. No guesswork. Just pure, rewarding creativity.
Materials You Will Need
- A square piece of paper (any color you like)
That’s it! With just one simple material, you’re ready to dive into the folding adventure.
Step-by-Step Guide to Folding an Origami Banana
Step 1: Start with a Square Sheet of Paper
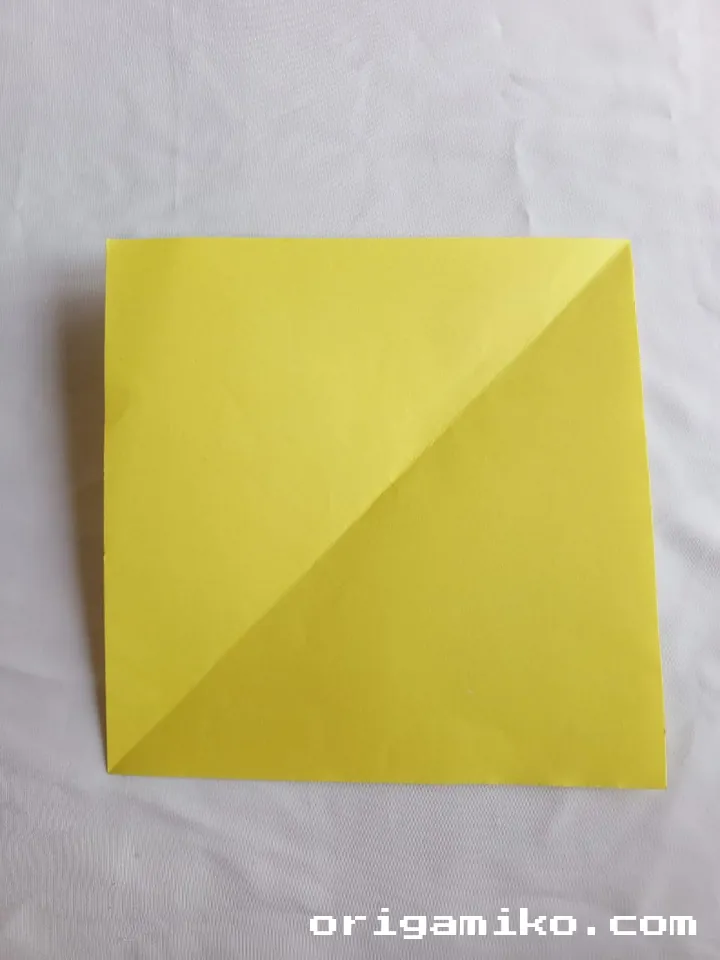
Begin by selecting a square-shaped piece of paper. Make sure the edges are even—this will help your folds stay neat and precise.
Step 2: Fold and Unfold the Corners

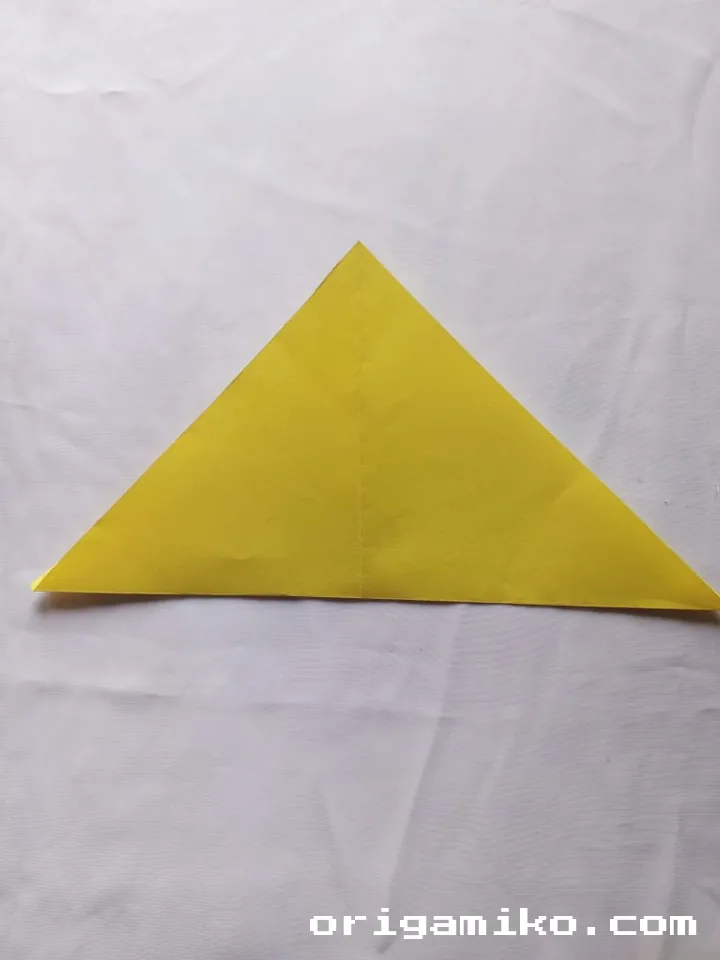
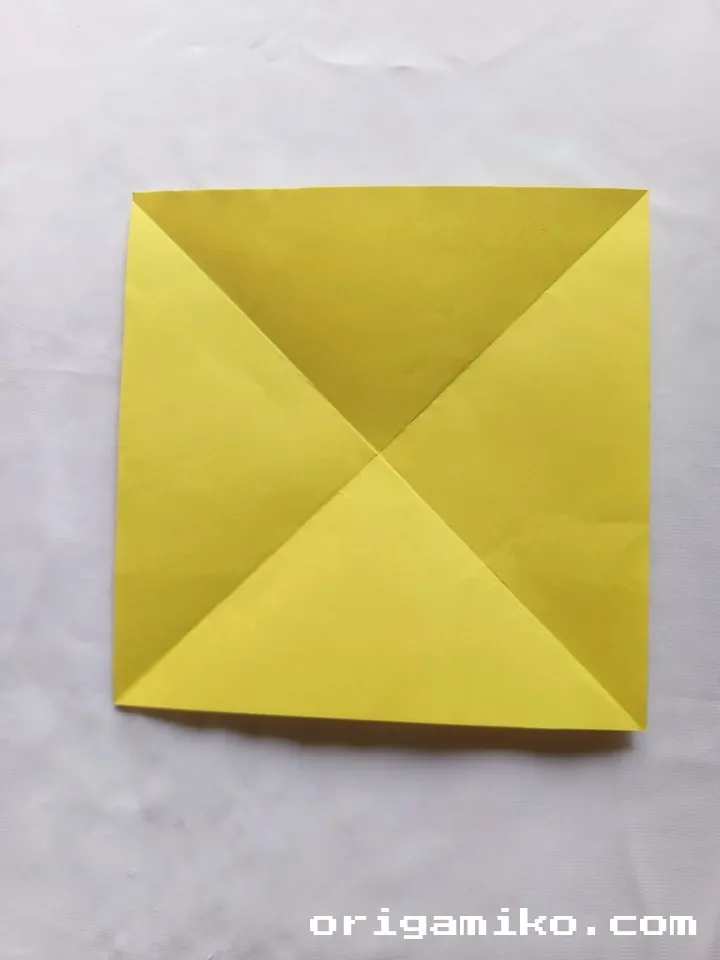
Take one corner of your square paper and fold it over to meet the opposite corner, creating a diagonal crease. Unfold it.
Now, fold the other corner to its opposite and unfold again. You should see an “X” shape formed by the creases.
Step 3: Fold Vertically and Horizontally, Then Unfold
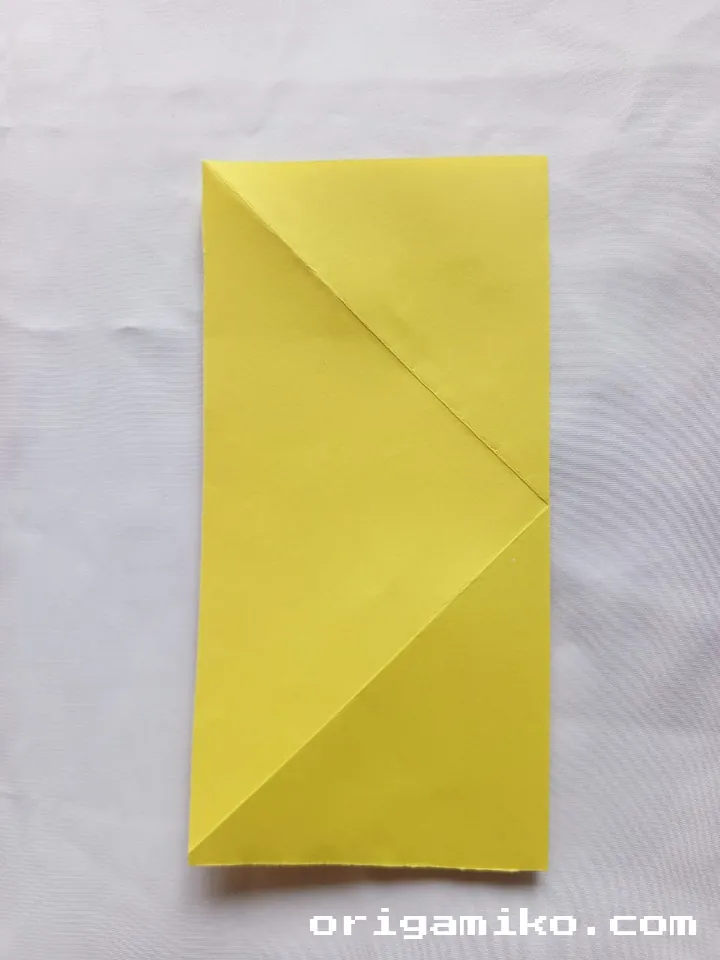
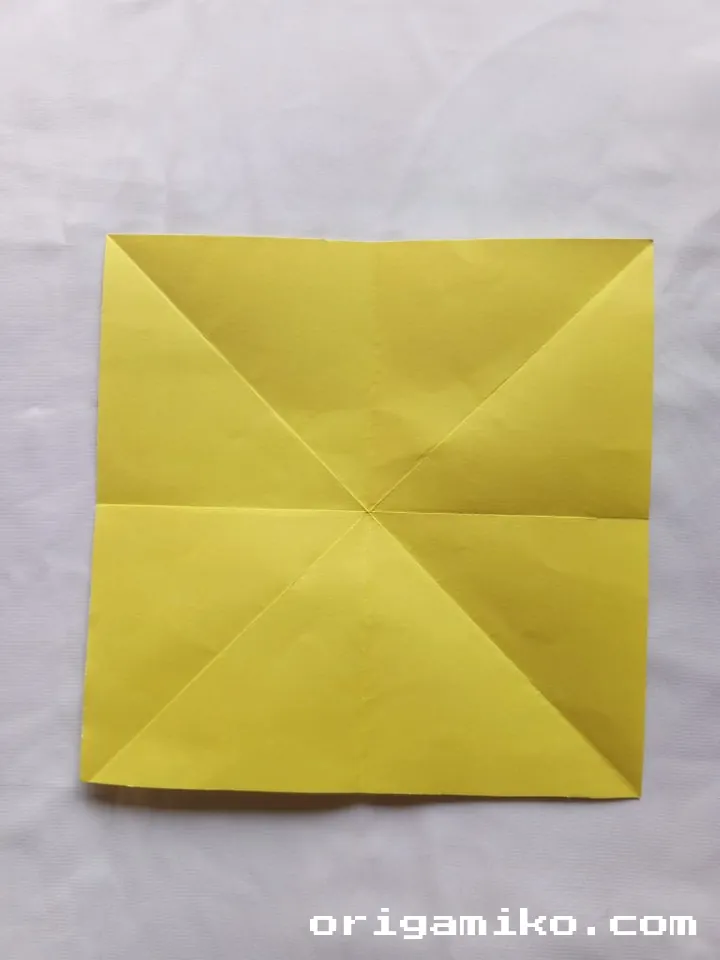
Next, fold the paper in half vertically (top edge to bottom edge) and crease sharply. Unfold it.
Then, fold the paper horizontally (left edge to right edge) and unfold once more.
Your paper will now have an “asterisk” of creases, guiding the rest of your folds.
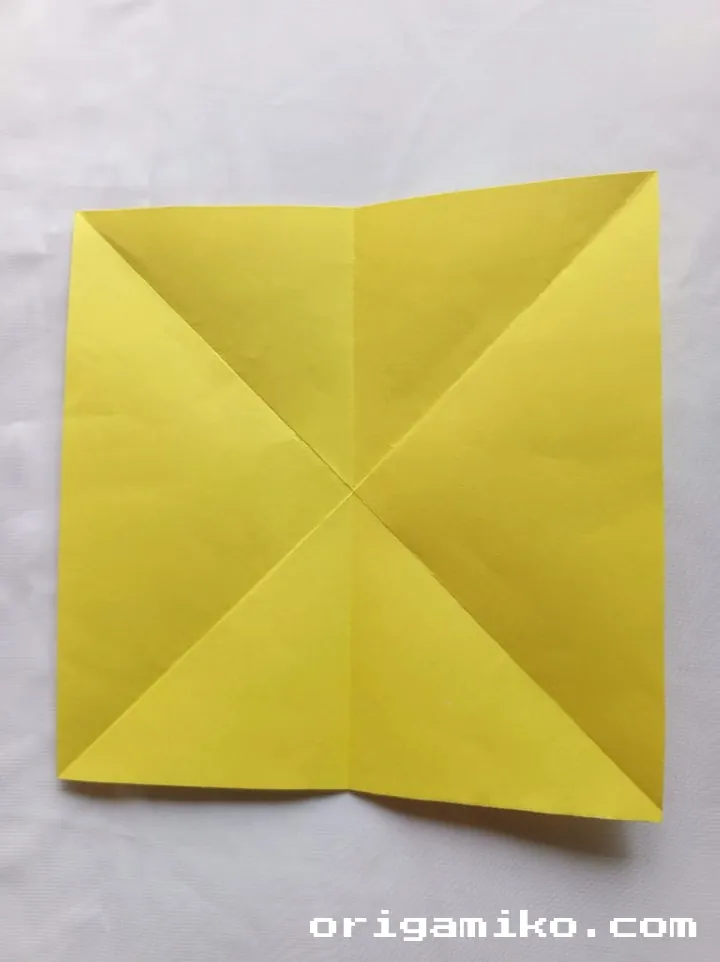
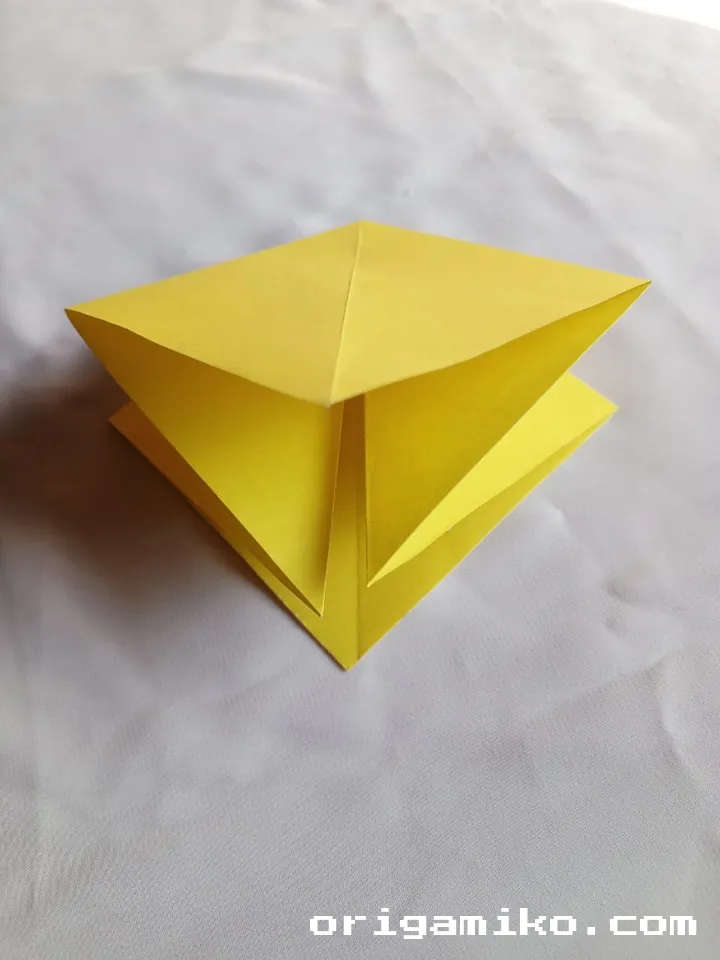
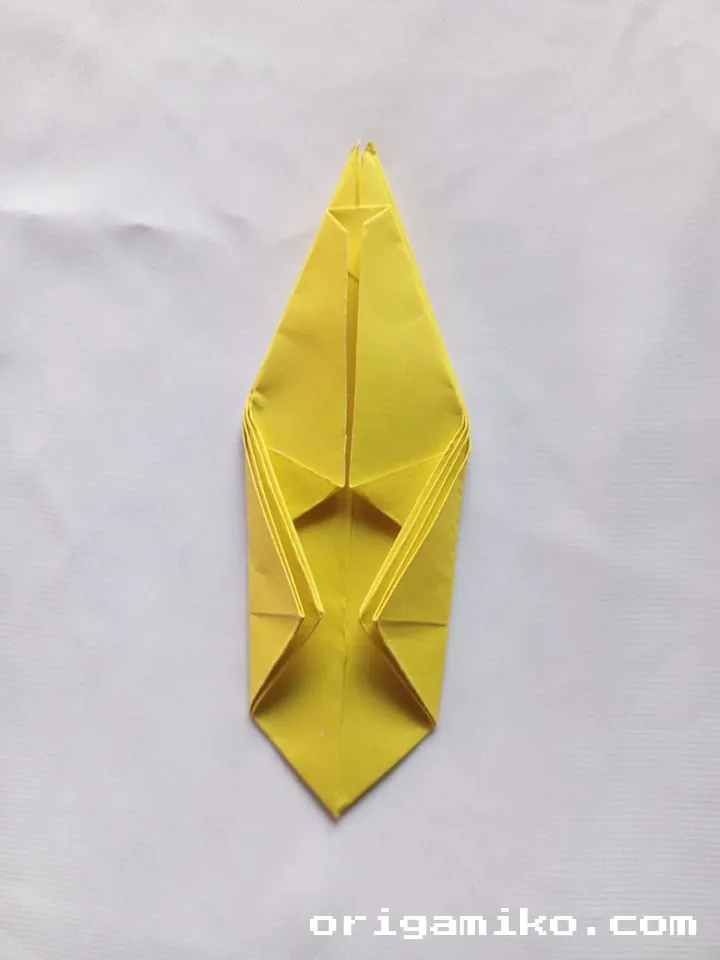
Step 4: Fold Two Sides, Unfold, Then Repeat
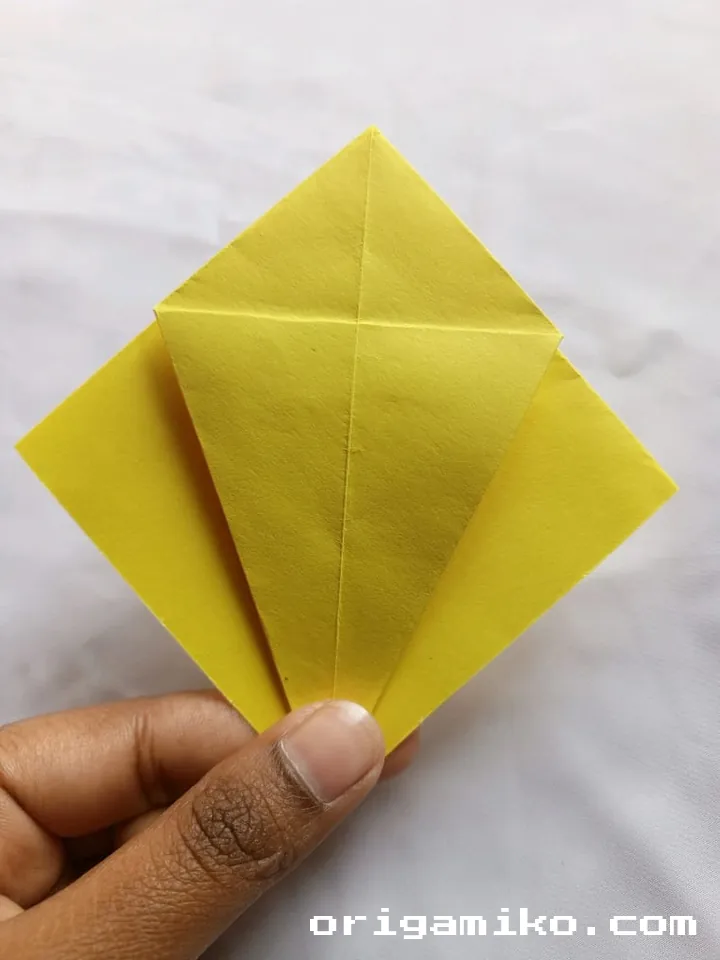
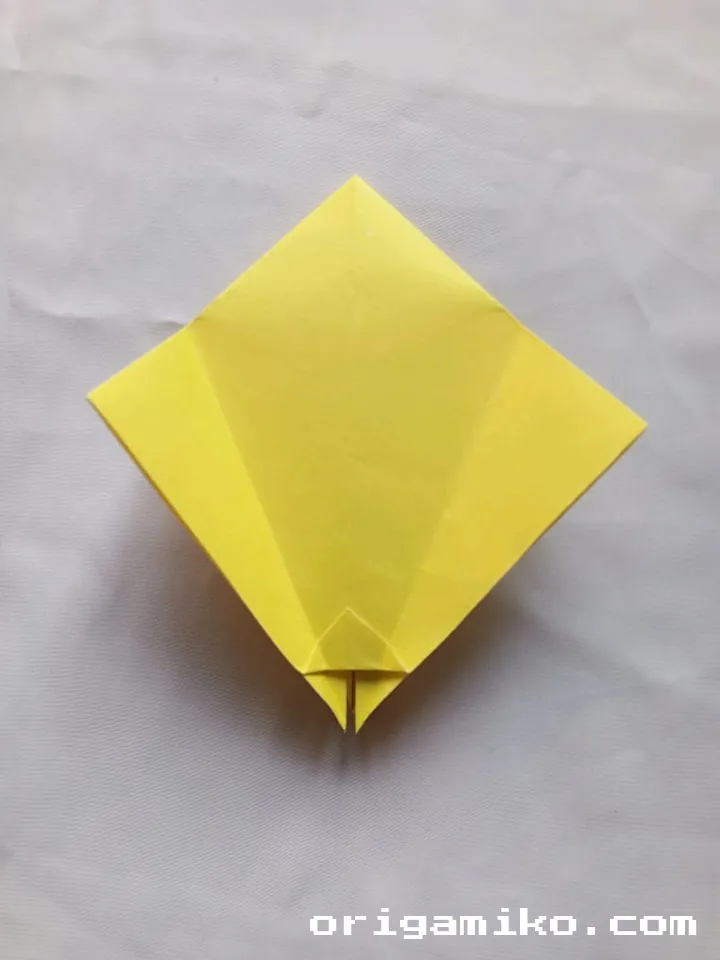
Fold two sides of the square inward toward the center, making sure the edges align neatly with the center crease. Press firmly, then unfold.
Now, take the other two sides and fold them toward the center in the same way. Crease well and unfold.
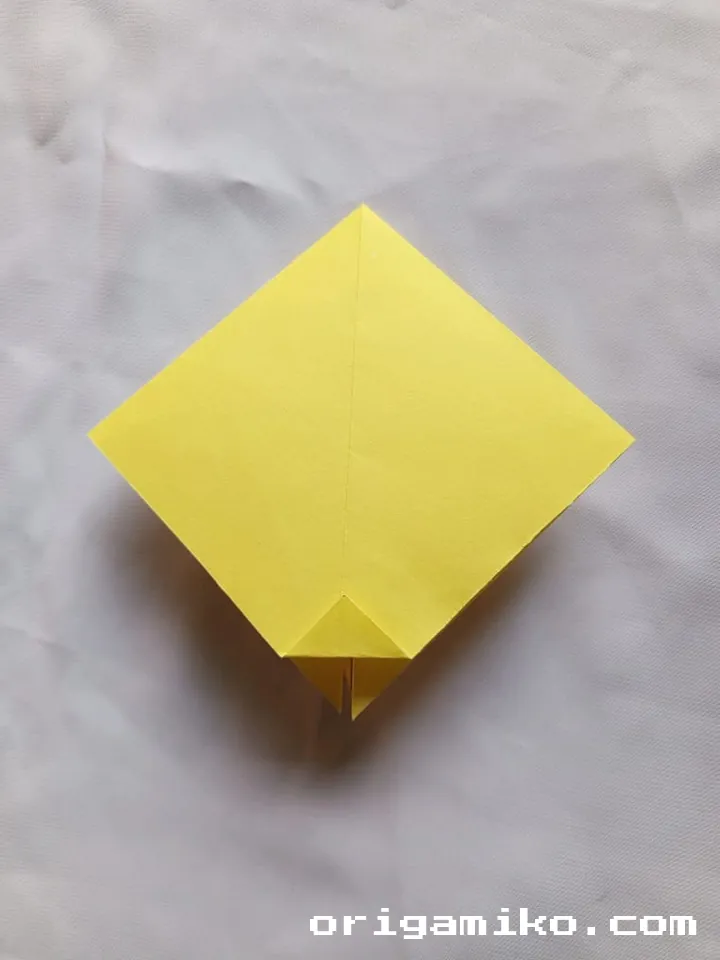
Finally, flip the paper over and repeat the same folding on the back side: fold two sides to the center, unfold, then fold the other two sides and unfold.
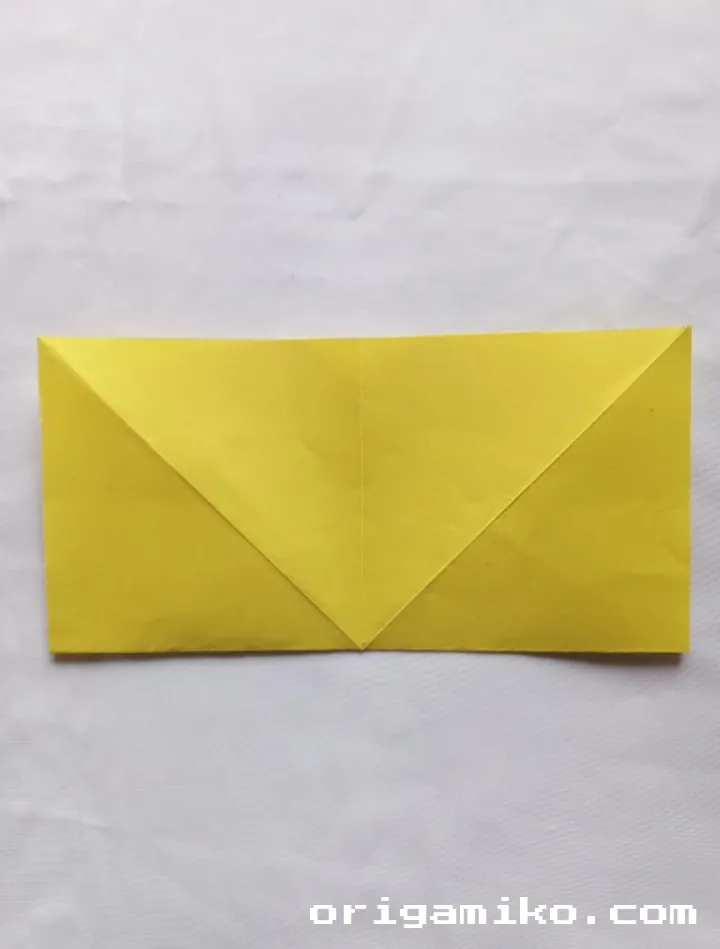
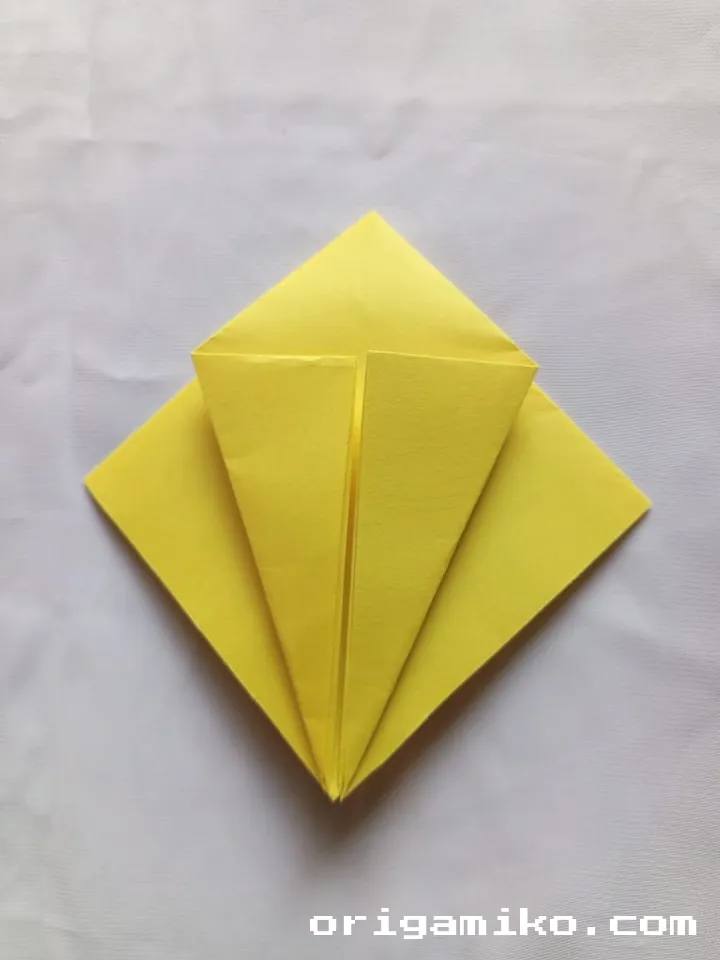
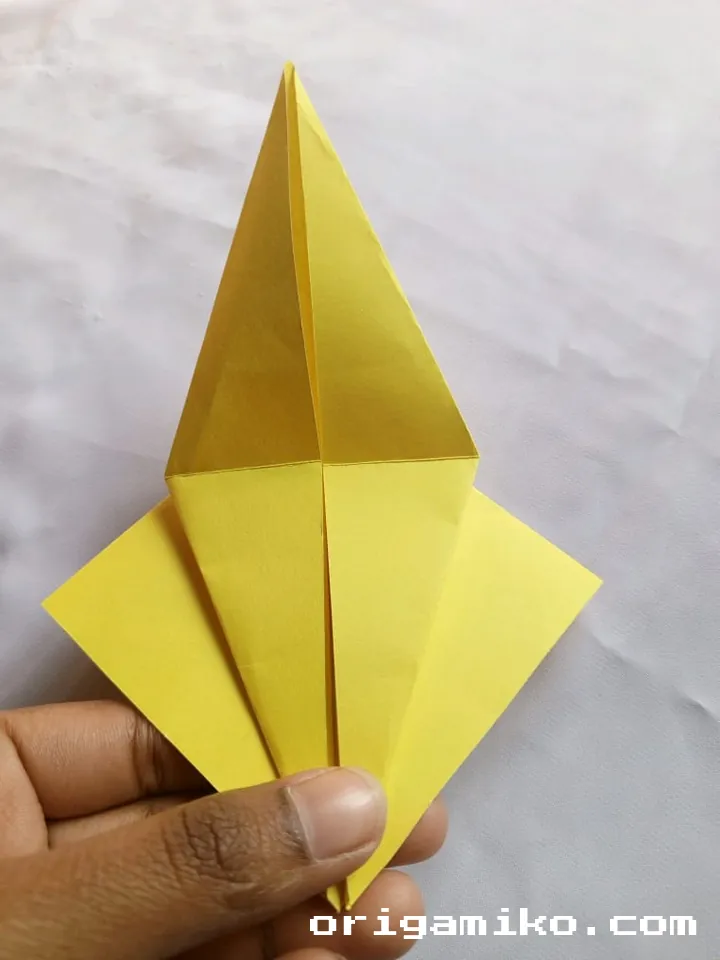
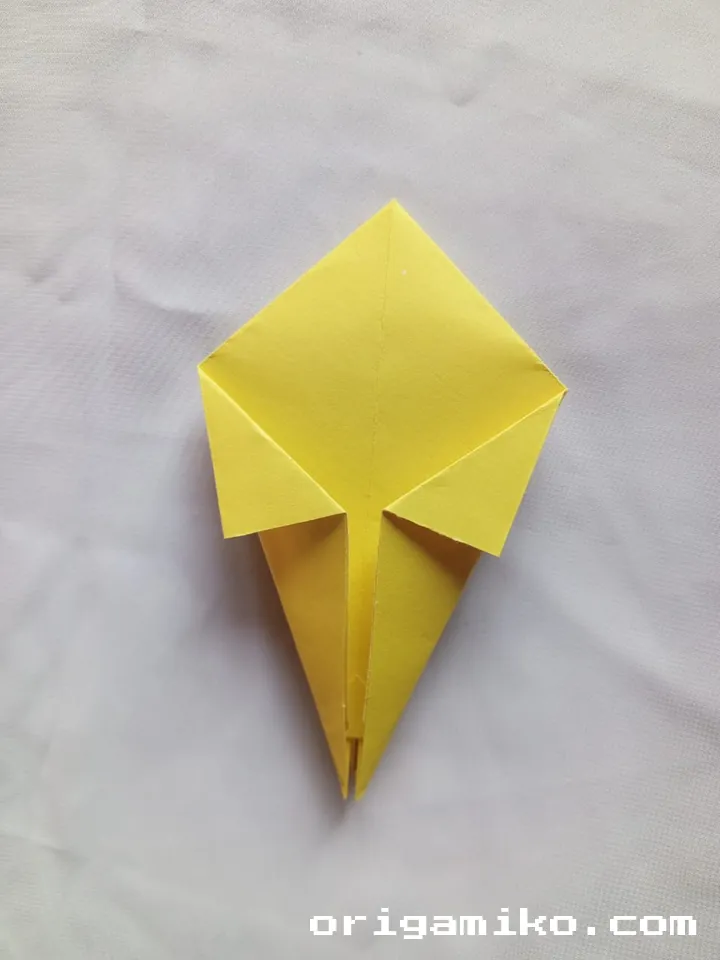
Step 5: Final Folding to Shape Your Banana

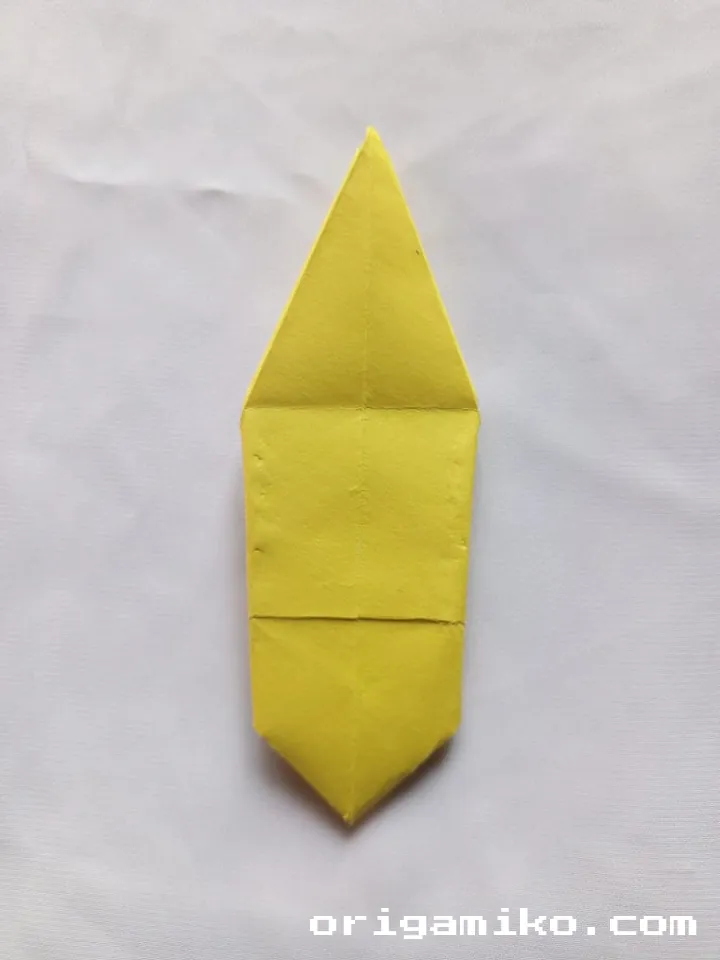
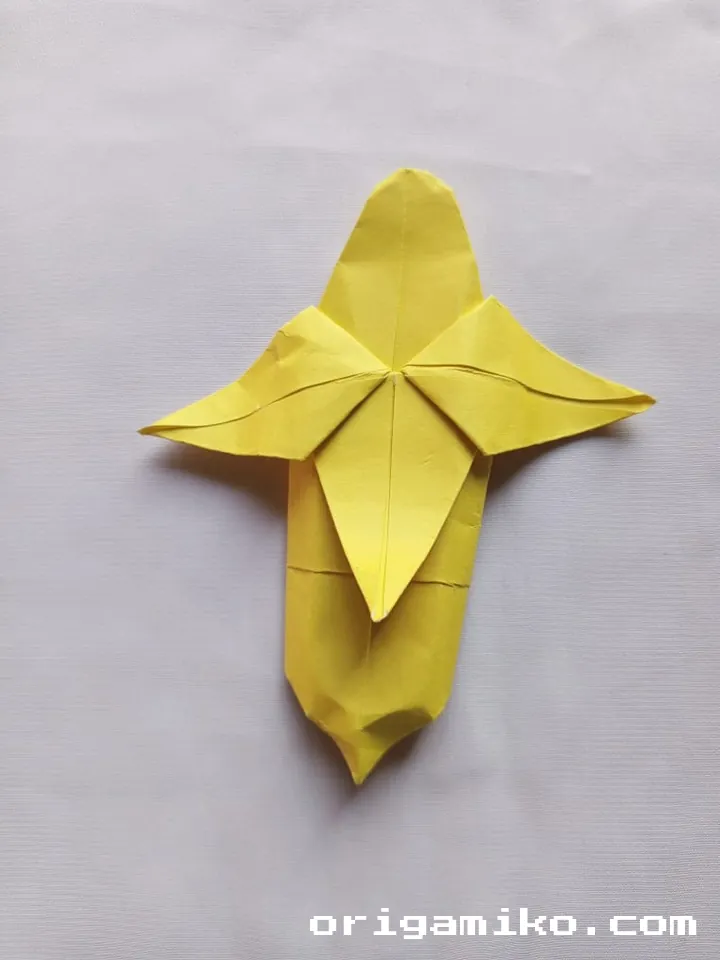
Follow the existing crease patterns to fold as shown (imagine folding the corners inward to form a basic banana shape).
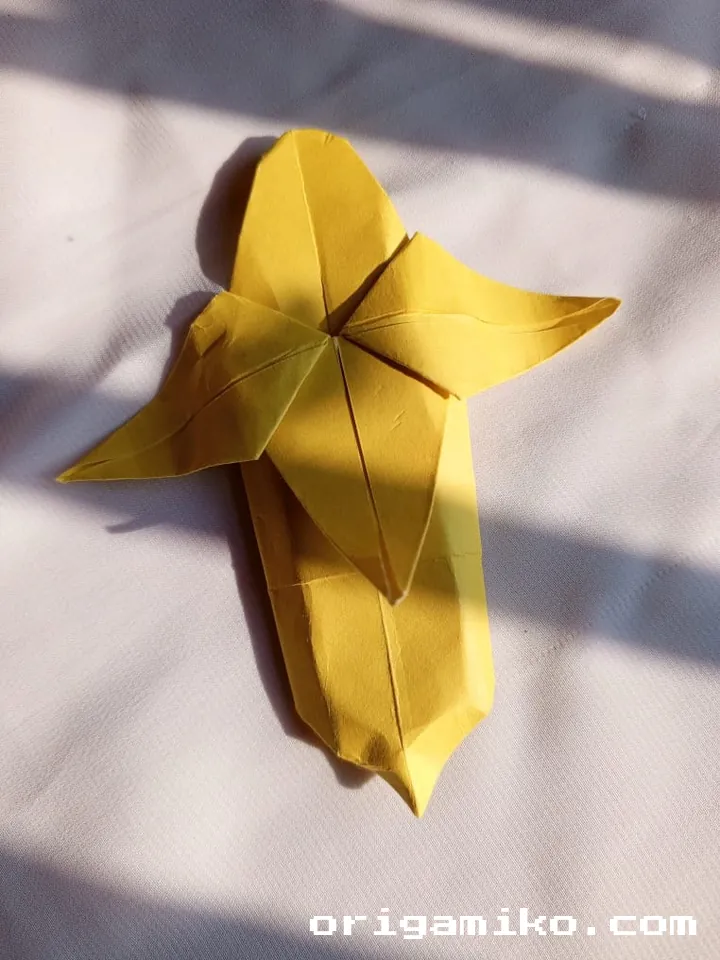
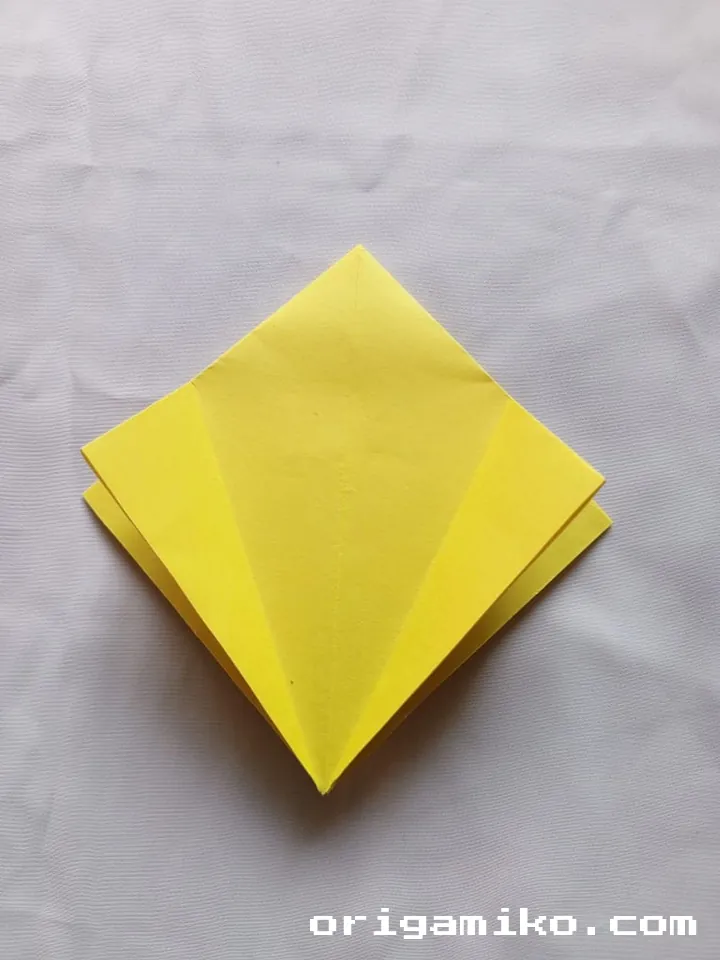
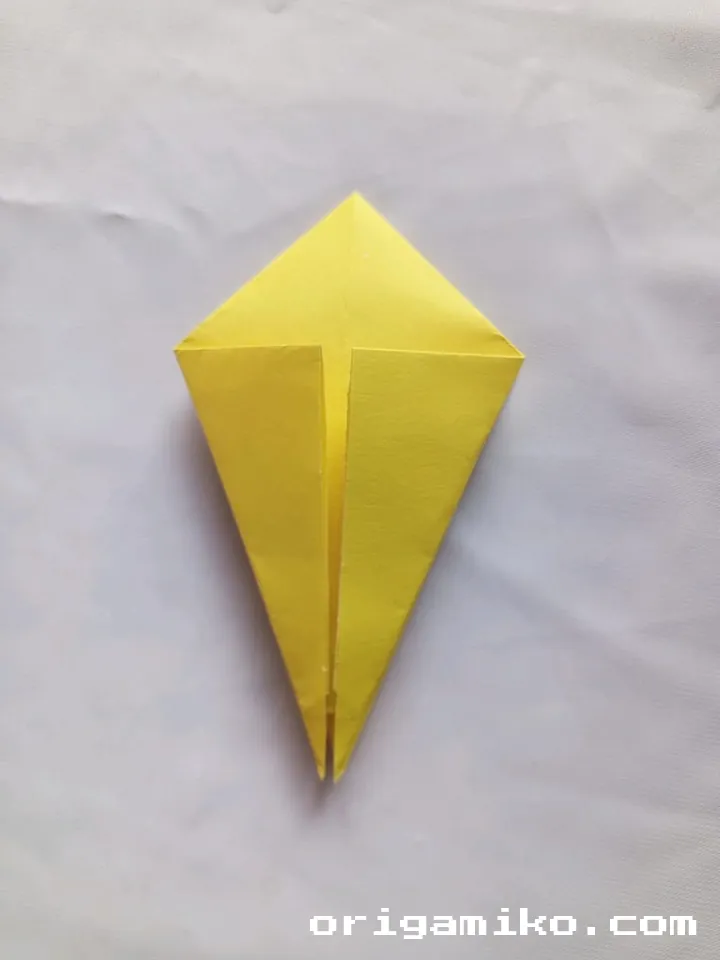
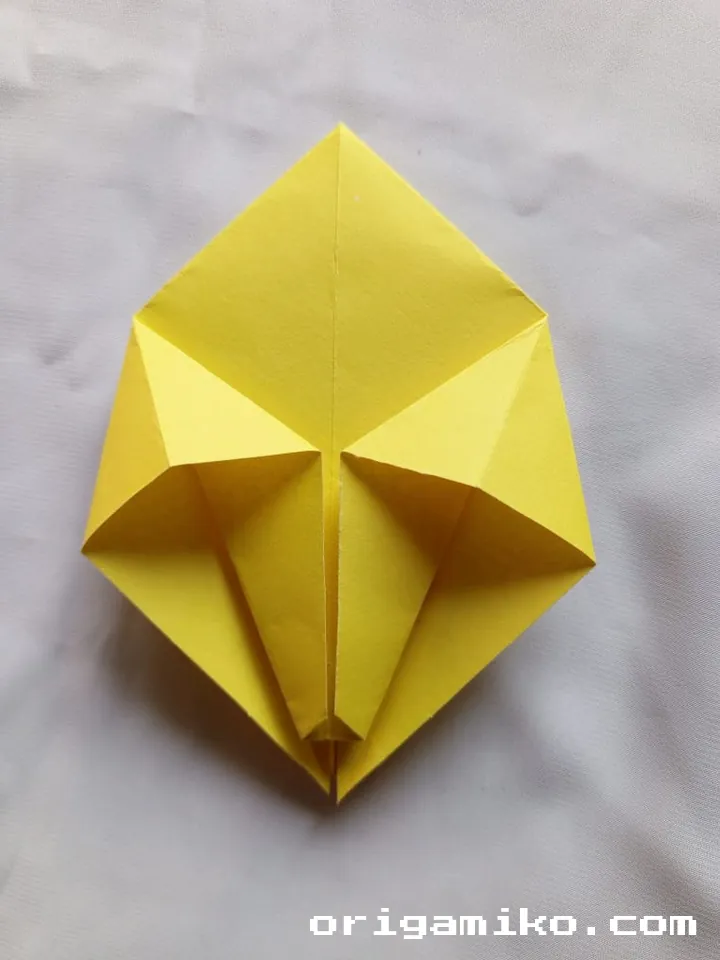
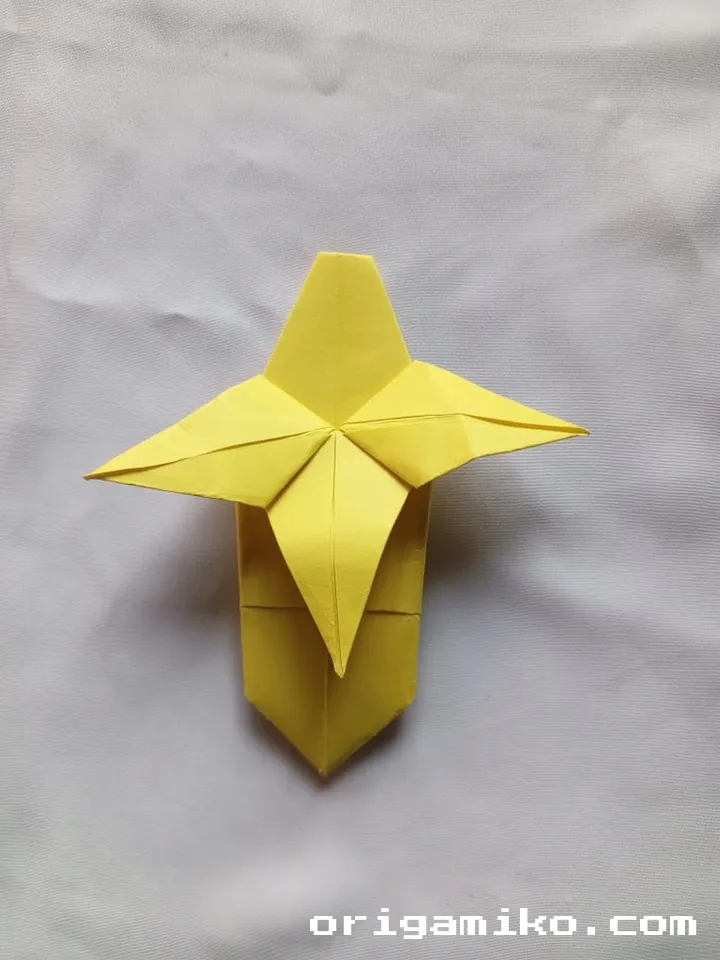
Flip the folded paper over to the back. Gently open the two side folds outward—this action gives the final banana form.
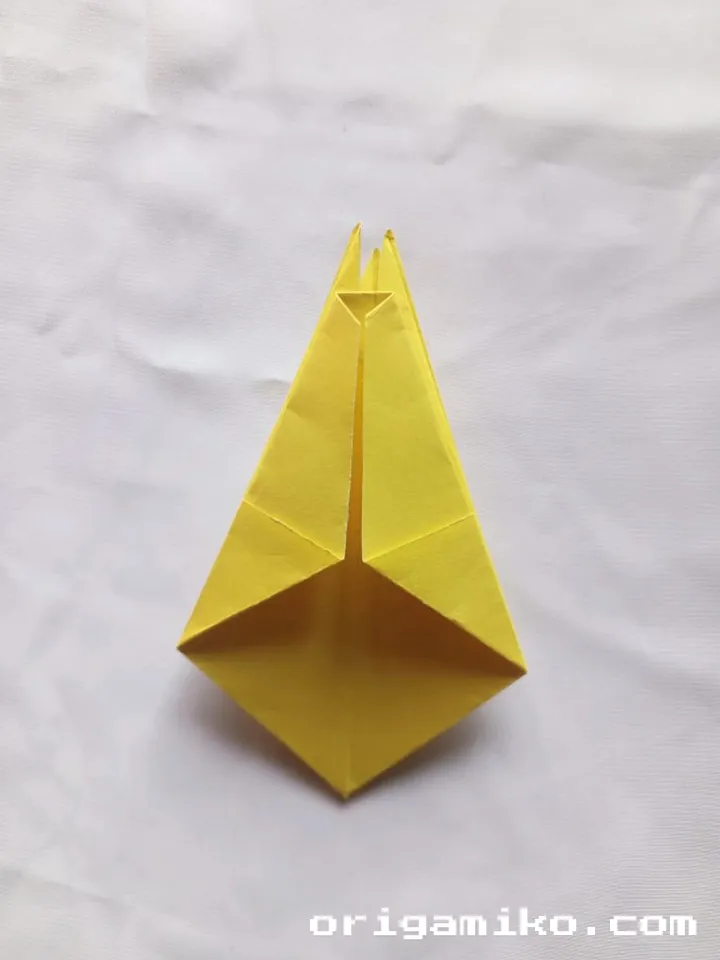
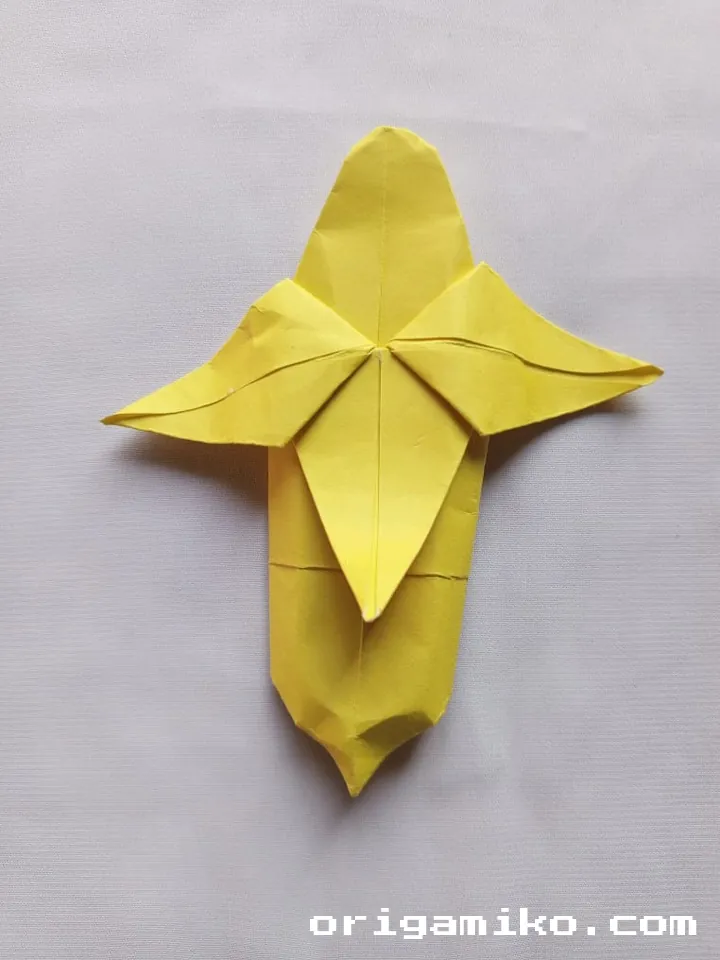
Adjust slightly if needed, and there you have it: your very own origami banana!
Tips for a Perfect Origami Banana
- Sharp Creases Matter: Always press down firmly on each fold to create crisp lines.
- Patience is Key: If a fold doesn’t look right, gently unfold and try again without rushing.
- Paper Choice: Slightly thicker origami paper works best because it holds the banana shape better.
Final Thoughts
Folding an origami banana is a small project packed with magic. It combines simple moves with a creative payoff, offering satisfaction for beginners and experts alike.
Now that you’ve mastered the technique, why not fold a whole bunch and create a paper banana stand?