
Ever stared at a square sheet of paper and wondered, “Can I turn this into something magical?”
You can—and today, you’ll fold a box inside a box using just your hands and a simple sheet of paper.
Trust me, it’s easier than it sounds, and it feels like pulling a secret trick from thin air.
We’re about to go on a journey. One fold at a time.
I’ll walk you through Simple box in a box step by step, no confusing jargon, just real, clear instructions.
And at the end? You’ll hold something truly special that you created yourself.
Ready to fold some magic? Let’s get started.
What Is an Origami Box in a Box?
An Origami box in a box is exactly what it sounds like—a paper creation where one box seems to rest perfectly inside another.
It looks impressive. Intricate. Like something you’d find in a fancy display. But guess what? It’s totally doable—even if you’ve never folded paper before.
I’ve made this with students, friends, even total beginners at craft fairs. Every time, people are stunned by how such a simple process leads to something so eye-catching.
This project combines basic paper folding techniques with a clever twist—literally! Whether you’re into Japanese art or just need a cool handmade gift box, this one’s a winner.
Materials Needed
You don’t need fancy tools or expensive supplies. Just one thing: the right paper.
Here’s a full list to keep things smooth:
| Item | Details | Why It Matters |
|---|---|---|
| Origami Paper | 12″ x 12″ square paper | The perfect size for a sturdy box |
| Flat Surface | Clean, hard table or desk | Helps make clean, accurate folds |
| Fingernails / Bone Folder | Optional but useful for sharpening creases | Makes the final model crisp and polished |
| Good Lighting | Natural light or a desk lamp | Helps you see the folds and angles clearly |
| Patience | Yes, really! | Makes the process way more enjoyable |
Key Terms to Know
Before we fold, let’s break down a few important terms:
- Valley Fold: A fold that dips down like a valley.
- Mountain Fold: A fold that peaks up like a mountain.
- Housefold: A fold that resembles a rooftop or triangle pointing upward.
- Unfold: Opening a fold back to the original state—don’t skip this step!
These terms will pop up again as we go, but I’ll explain them along the way, too.
How to Make Box in a Box (Step-by-Step)
Let’s get to the fun part. This is the Origami box in a box instructions section—stick with me, fold by fold:
Step 1: Start with a Square Sheet
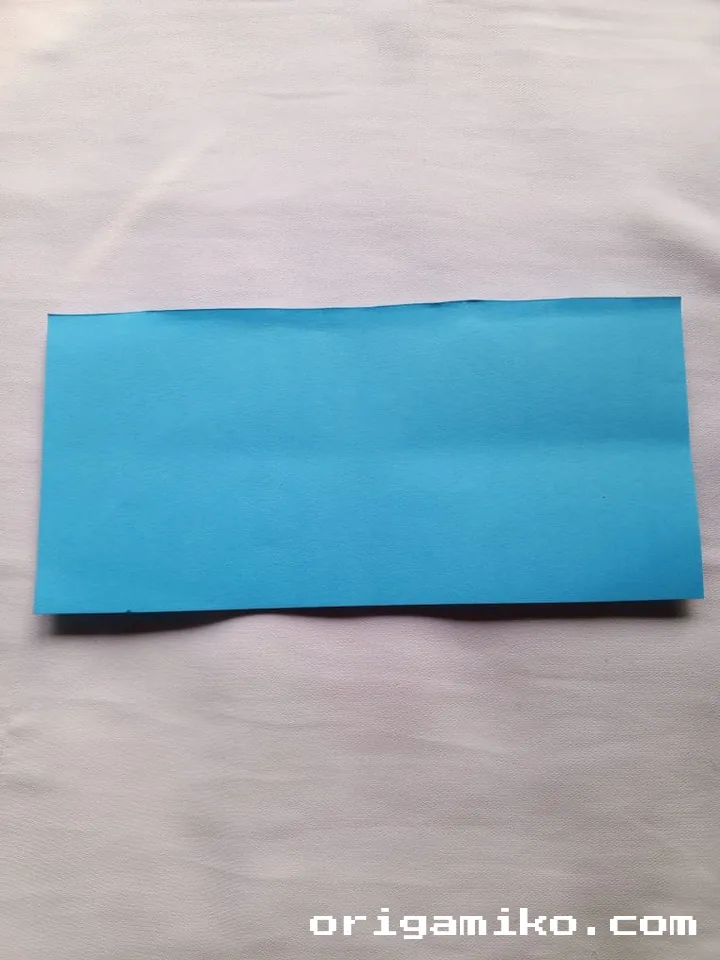
- Grab a 12″ × 12″ square paper.
- Make sure it’s on a clean, flat surface.
Step 2: Fold Vertically and Horizontally
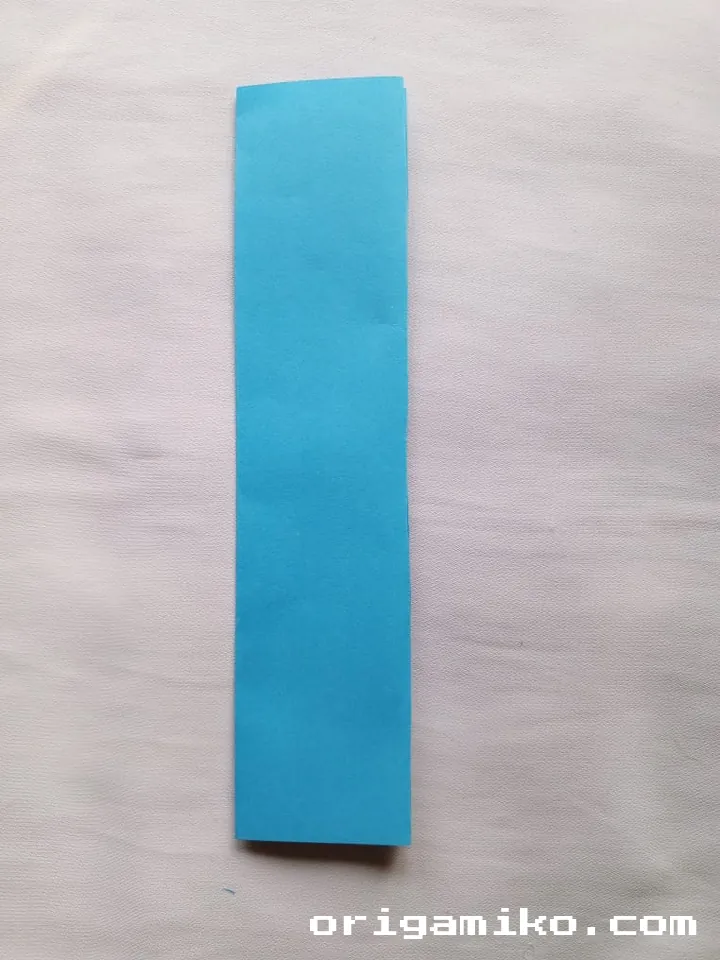
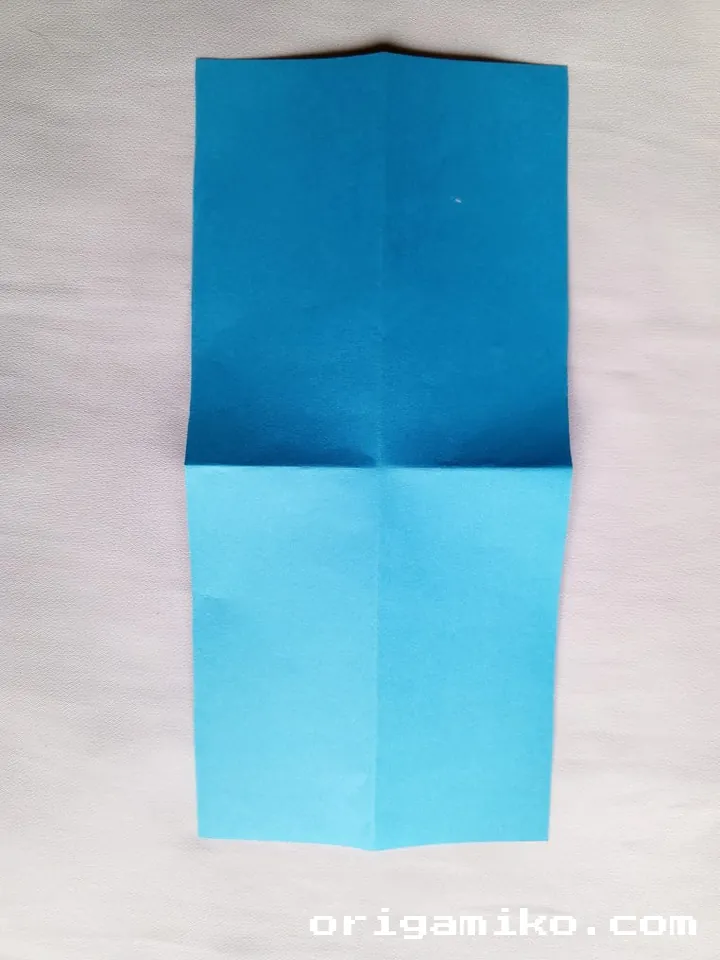
- Fold the paper in half vertically (top to bottom).
- Unfold it.
- Now fold it in half horizontally (left to right).
- Unfold again.
You should now see a “plus sign” crease on your paper.
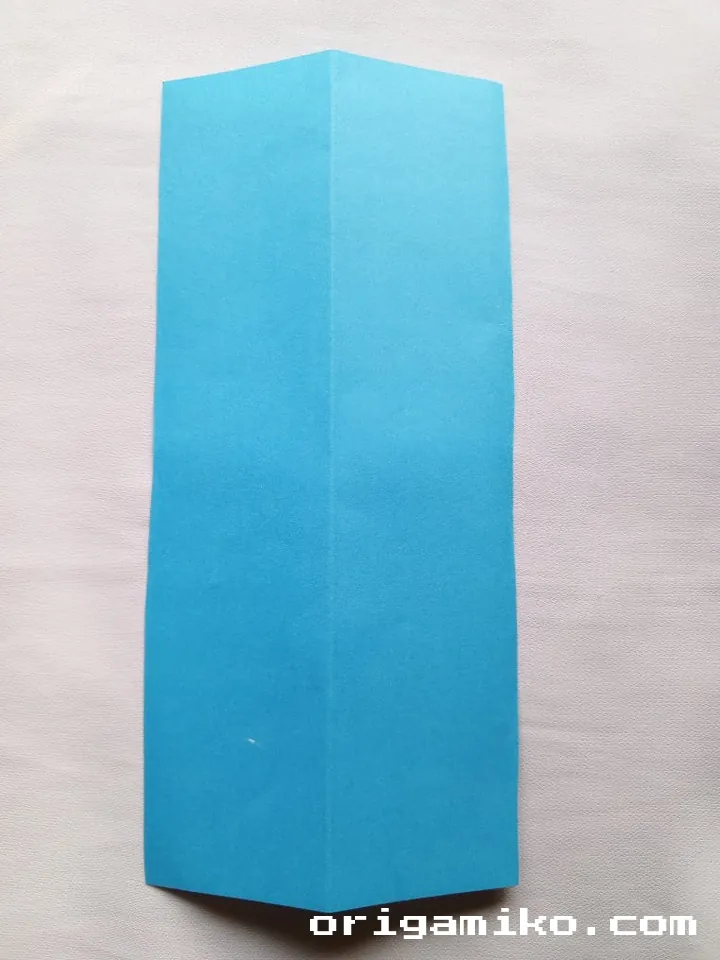
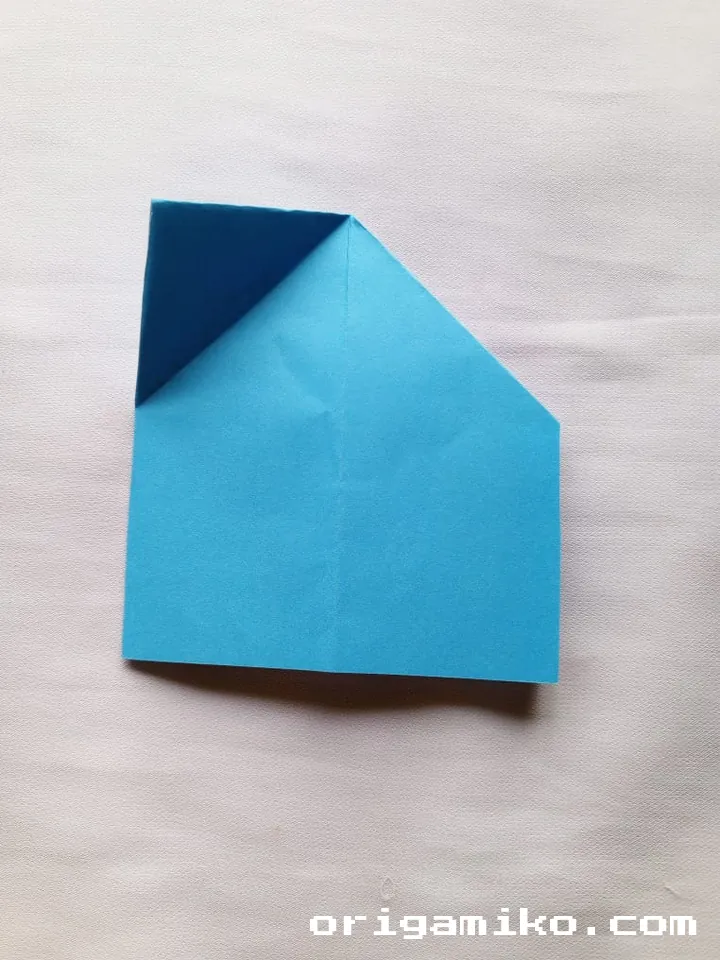
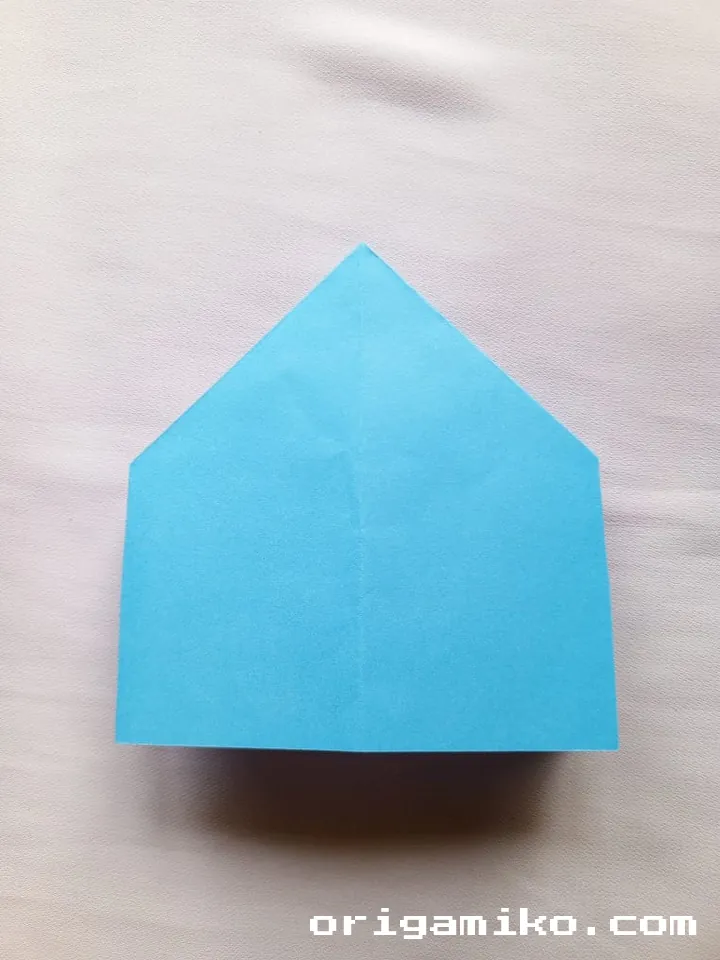
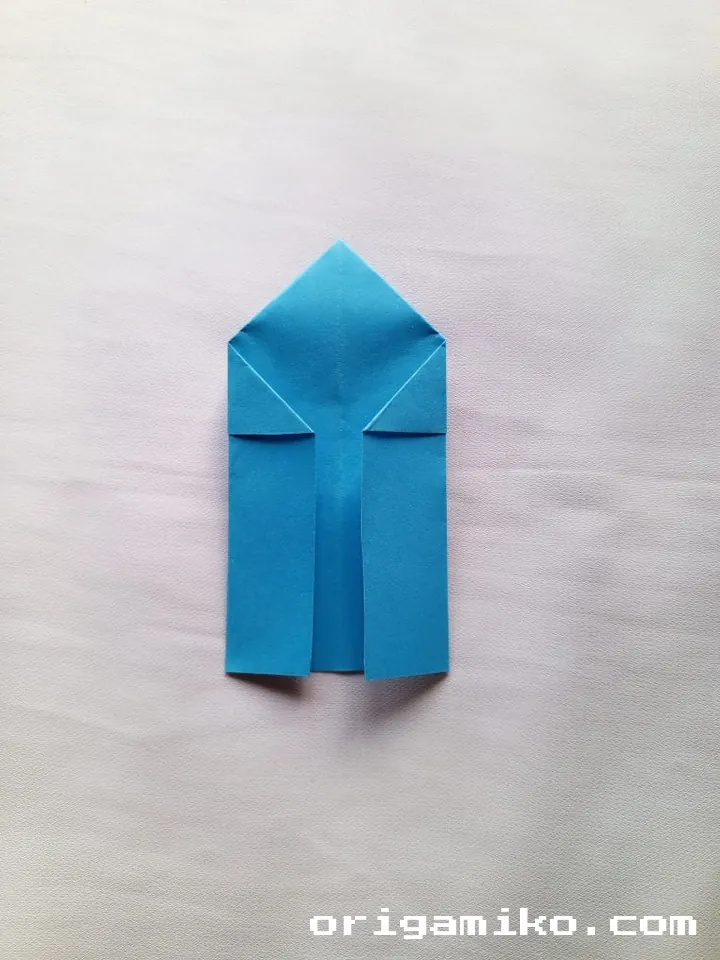
Step 3: Make a Housefold and Unfold
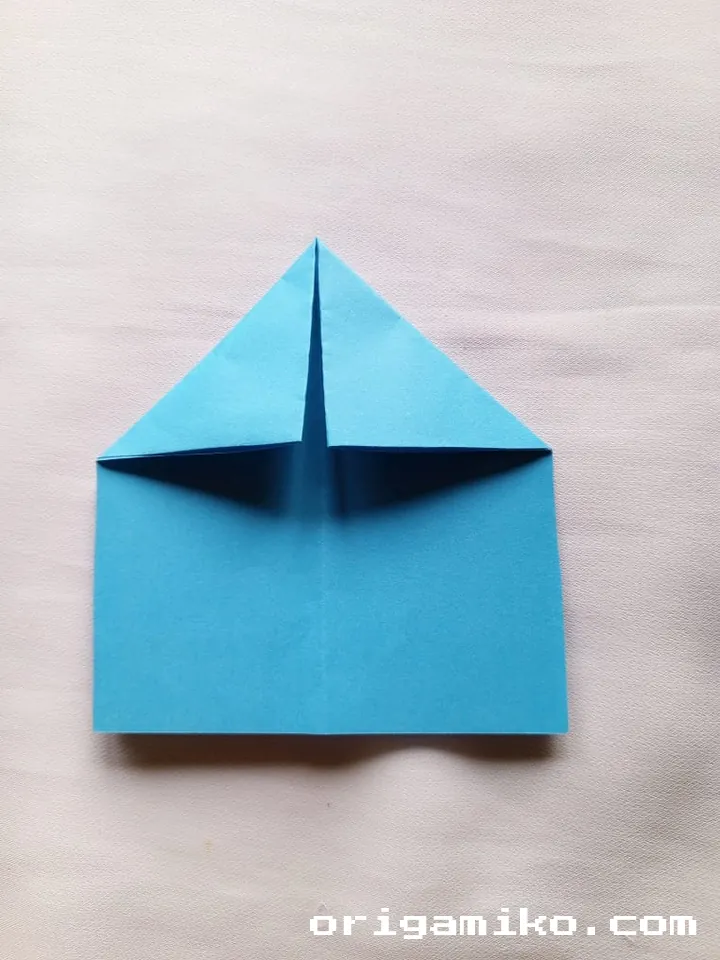
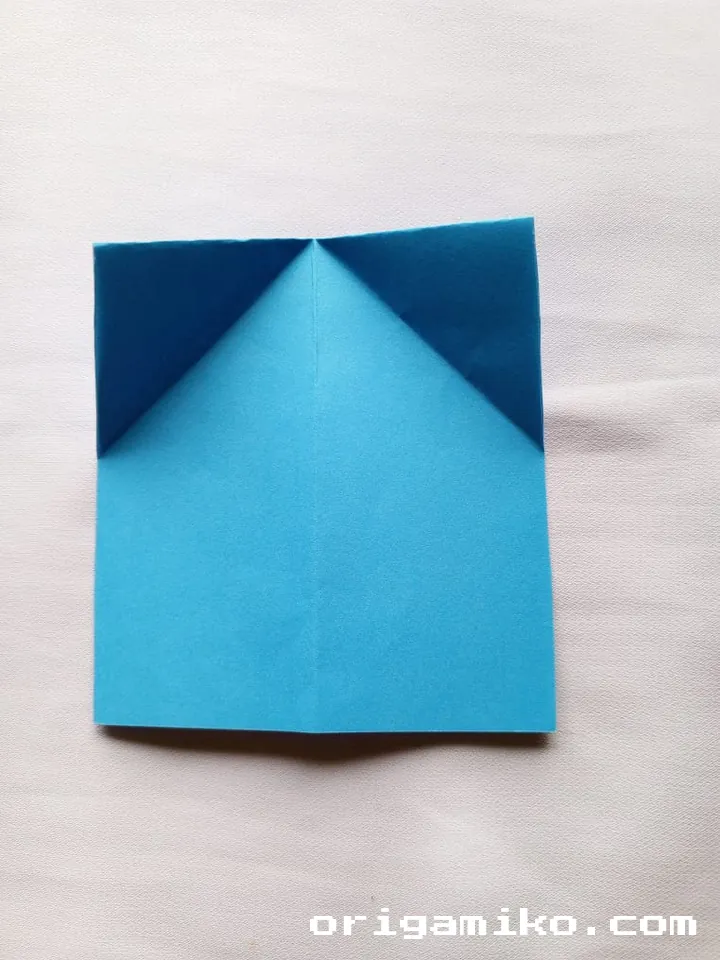
- Fold the top two corners inward so they meet at the center line.
- The result will look like a triangle or a “roof.”
- Then unfold it.
This fold sets up the next steps—don’t skip it.
Step 4: Diagonal Pre-Folds
- Now fold and unfold diagonally, corner to corner.
- Do both directions (bottom left to top right and bottom right to top left).
This adds a key foundation for the inner box.
Step 5: “Fry the Paper” – Yes, Really!

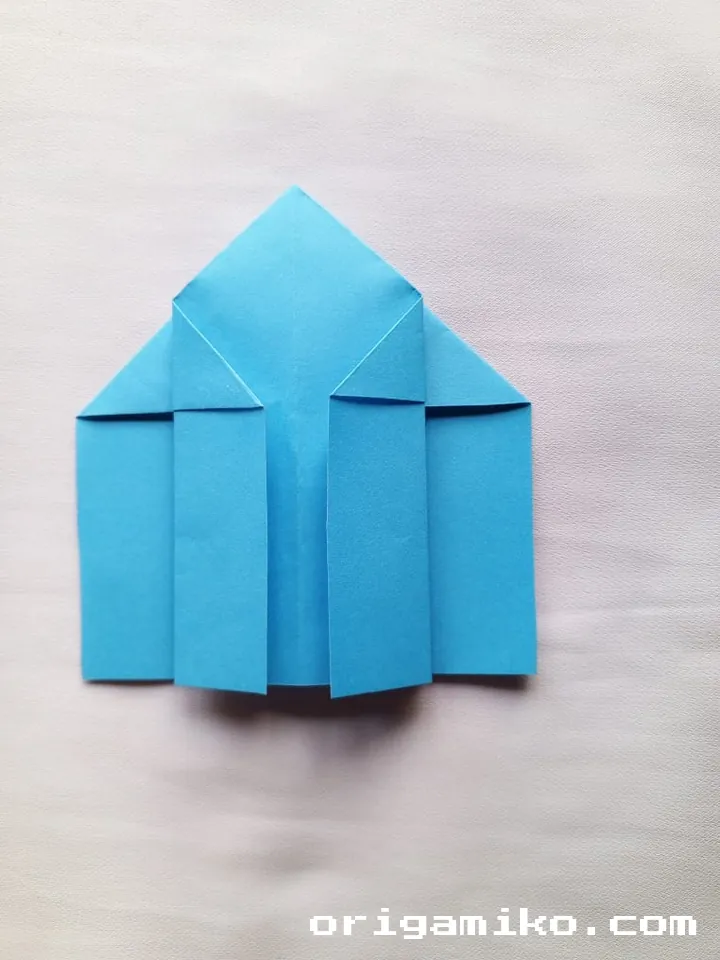

- Gently “fry” or flip the right side of the paper inward, following the folds.
- Do the same with the left side.
- Then, fold the entire sheet horizontally again and unfold.
It might feel a bit like wrangling a stubborn pancake. Totally normal!
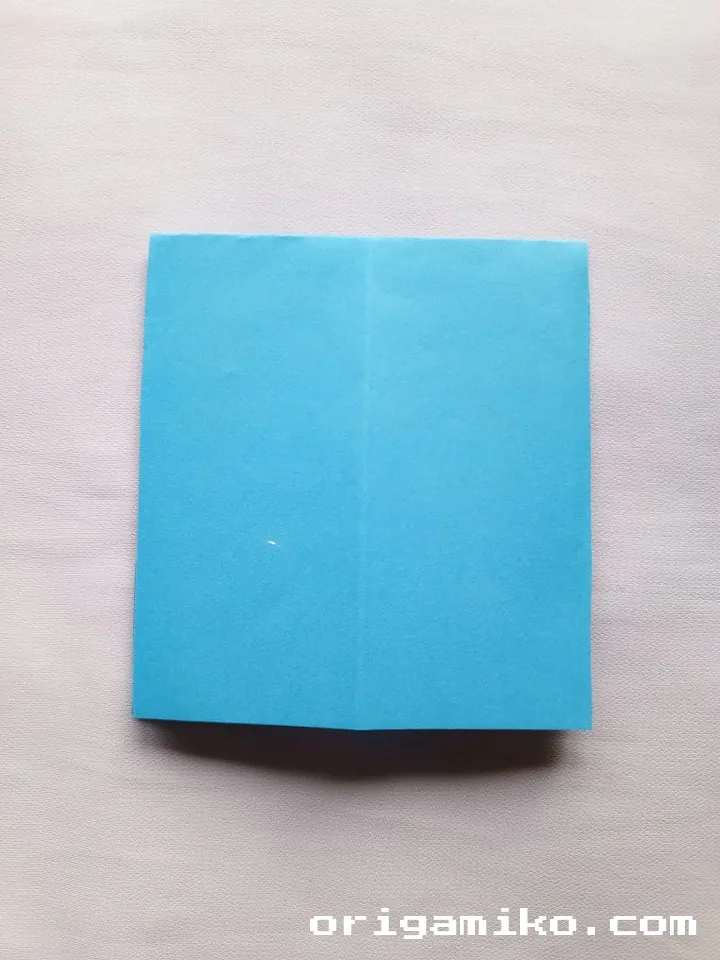
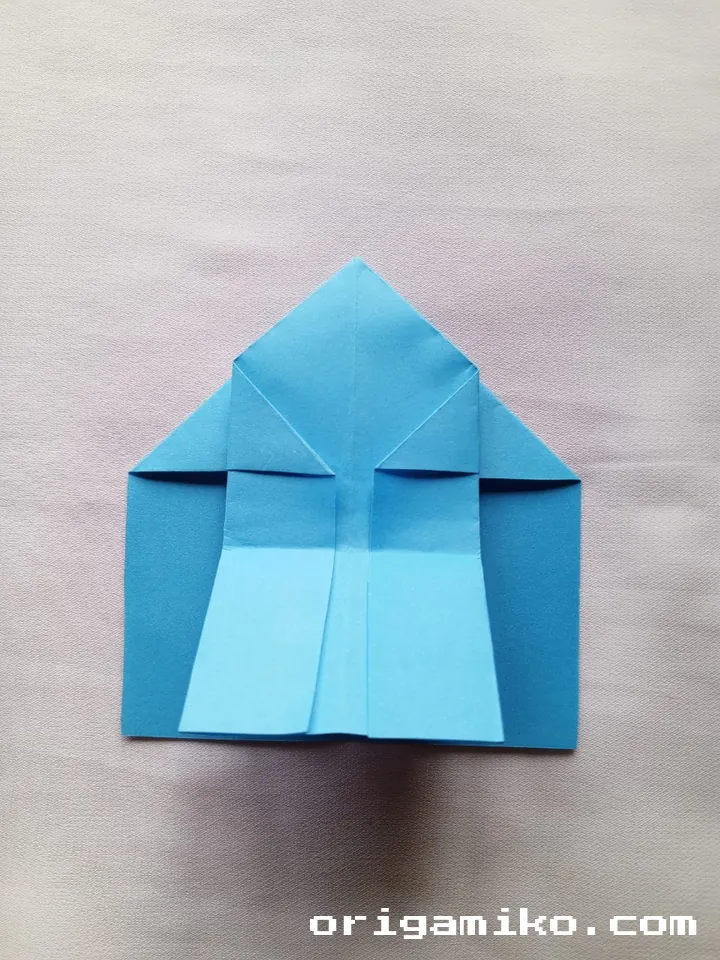
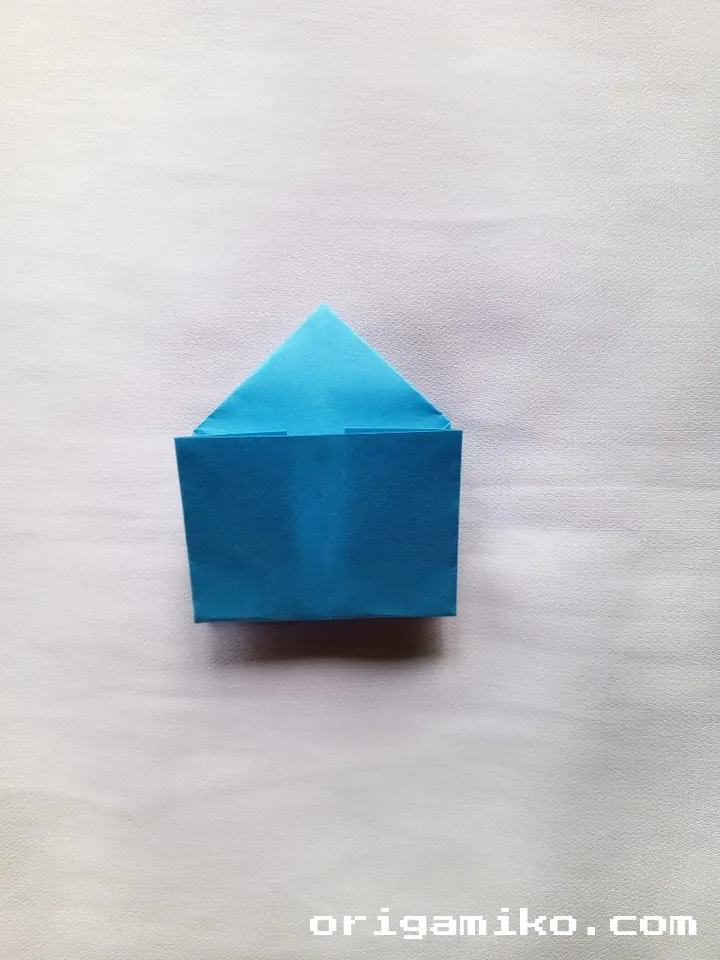
Step 6: Fold In Again and Top Fold


- Once more, fold the right and left sides inward.
- Then fold the top down to the center.
This is where the box-like form starts to take shape.
Step 7: Fold the Center
- Give the entire structure one clean horizontal fold right through the center.
- Press firmly and unfold.
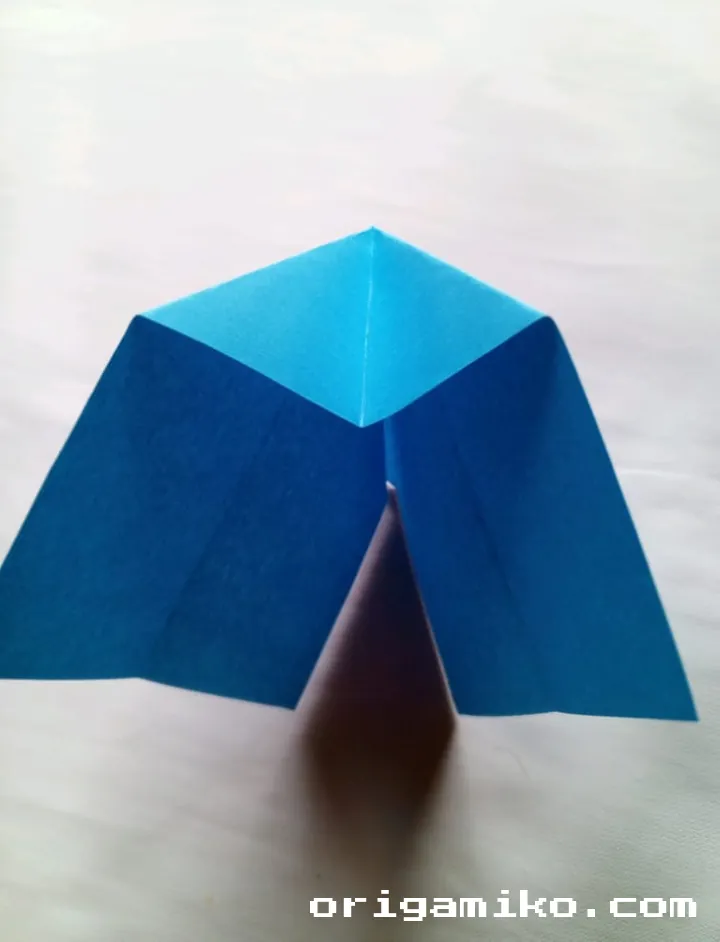
Step 8: Reveal the Magic
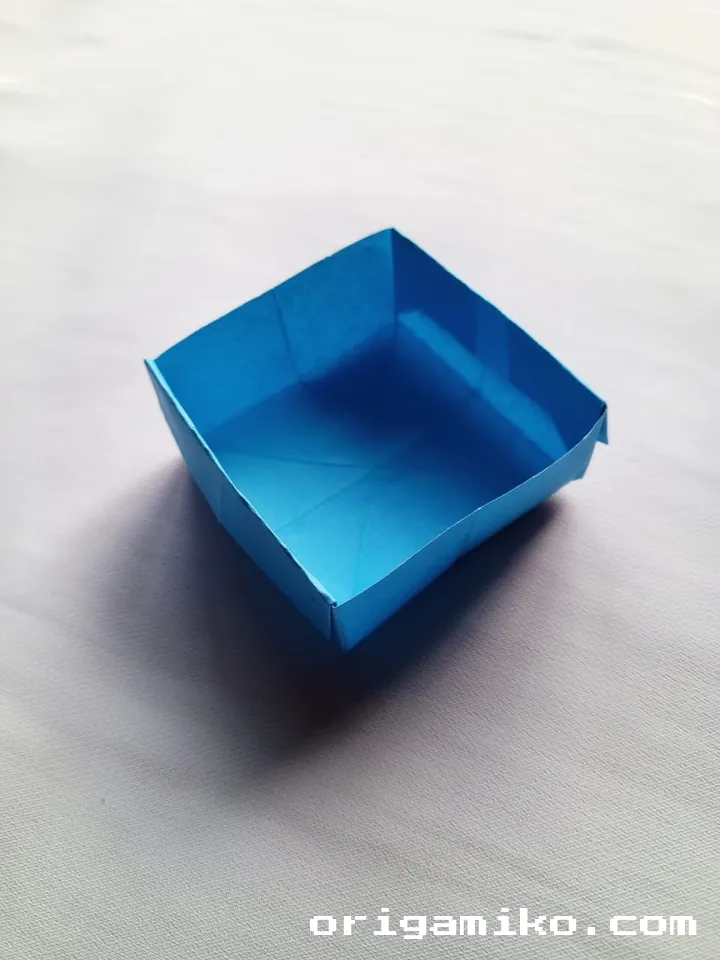
- Carefully open the paper by lifting the folds.
- You’ll see it—a box inside a box!
This is the payoff. You’ll be amazed at how clean and geometric it looks.
Tips for Success
Want a smooth folding experience? Here are a few things I always recommend:
- Use thicker paper for a sturdier finish.
- Sharpen your creases—use a fingernail, ruler edge, or bone folder.
- Practice on scrap paper before using your fancy stuff.
- Fold with intent—no rushing. Slow is smooth, smooth is fast.
Common Mistakes and How to Avoid Them
Even pros mess up sometimes. Here’s what to watch for:
- Skipping the unfolding steps: These are key to setting up future folds. Always unfold as instructed.
- Wrong paper size: A square is not optional. Rectangles won’t work for this method.
- Over-creased paper: If you refold the same area too many times, it gets weak. Be deliberate with your folds.
Similar Variations You Can Try
Once you nail the basic version, explore more creative twists:
- Mini Box in a Box: Use 6″ x 6″ paper instead for a tiny version.
- Two-Toned Paper: Choose dual-colored sheets for a striking contrast.
- Gift Box Design: Decorate with washi tape or stickers before folding.
Want to go deeper? You can even add a lid to your box or stack smaller ones inside larger ones.
FAQs
Q: Can I use regular printer paper?
A: Technically yes, but it’s a bit thick. Go for origami paper or something slightly thinner if you’re new.
Q: Does this work with patterned paper?
A: Absolutely! In fact, it can make the “box within a box” look even more dramatic.
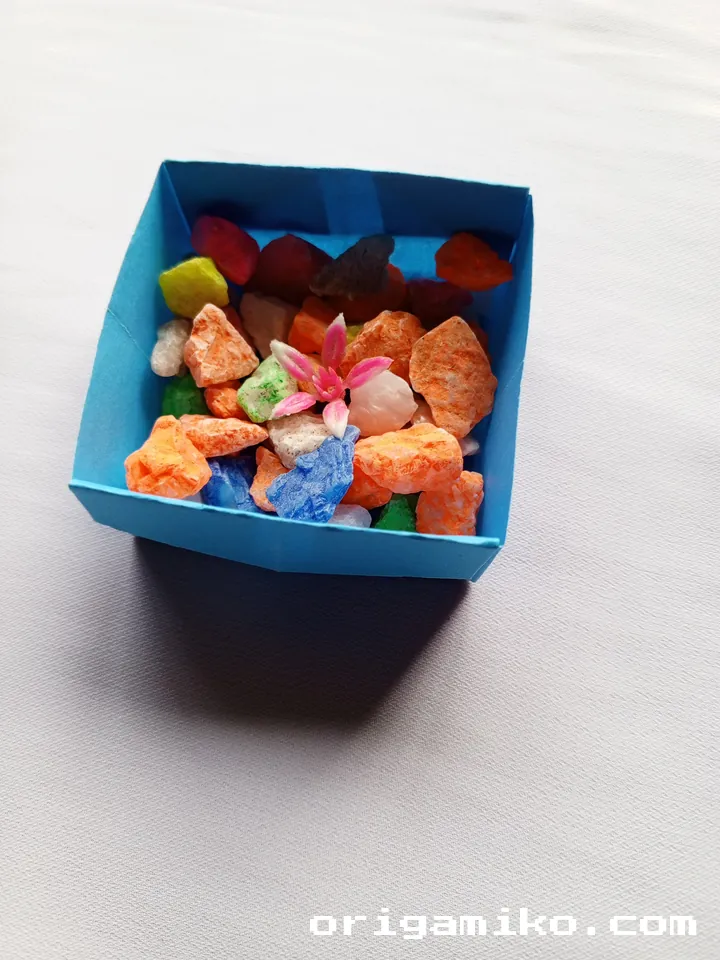
Q: What’s the best use for these boxes?
A: Jewelry gifts, secret messages, or just as a cool desk decoration.
Final Thoughts
That’s it! You’ve just folded a beautiful, easy Origami box in a box using simple steps and a single sheet of paper. Pretty satisfying, right?
So next time someone asks you, “Hey, do you know how to make box in a box?”—you’ll smile, pull out a square of paper, and let the magic unfold.