

Ever sat down with takeout and realized—I need a chopstick holder?
This tiny creation might seem small, but trust me, it makes your table look sharp.
Today, I’m walking you through an easy Origami chopstick holder that’s practical, elegant, and beginner-friendly.
What Are We Making?
We’re folding a simple chopstick holder step by step—one that adds charm to your meal and keeps your chopsticks clean and in place. It’s more than just a folded piece of paper; it’s a thoughtful, stylish touch to any dining experience.
You don’t need to be an origami master to do this. If you can follow a few folds and hold your paper steady, you’re already halfway there. And the best part? It’s surprisingly fun and incredibly satisfying to see your creation take shape.
This fold is great for dinners, bento boxes, or when you just want to impress someone (even if it’s just yourself).
Materials Needed
Before we fold, let’s get everything in order. Here’s a breakdown of exactly what you’ll need:
| Item | Details | Notes |
|---|---|---|
| Square Paper | 15″ × 15″ (inches) | Origami paper is ideal, but any will do |
| Flat Surface | Clean, hard, and flat surface for folding | Avoid soft or uneven spaces |
| Ruler (optional) | To help press folds neatly | Not mandatory, but helpful for precision |
| Chopsticks | To test your final holder | Helps ensure proper size |
Key Origami Terms to Know
Fold Along the Middle
Folding the paper directly in half—either vertically or horizontally—to create a center crease.
Housefold
A fold that brings two corners or edges inward, resembling the roof of a house. It’s a common step in many traditional designs.
Unfold
Open the paper back to its previous flat state after a fold—this creates helpful crease lines.
Back Fold
Folding part of the paper behind the structure. Think of it like tucking something underneath.
Simple Chopstick Holder Step by Step
Let’s dive into the origami chopstick holder instructions with clear, no-fluff steps. Feel free to pause between folds and enjoy the rhythm of the process.
Step 1: Take a Square Sheet of Paper
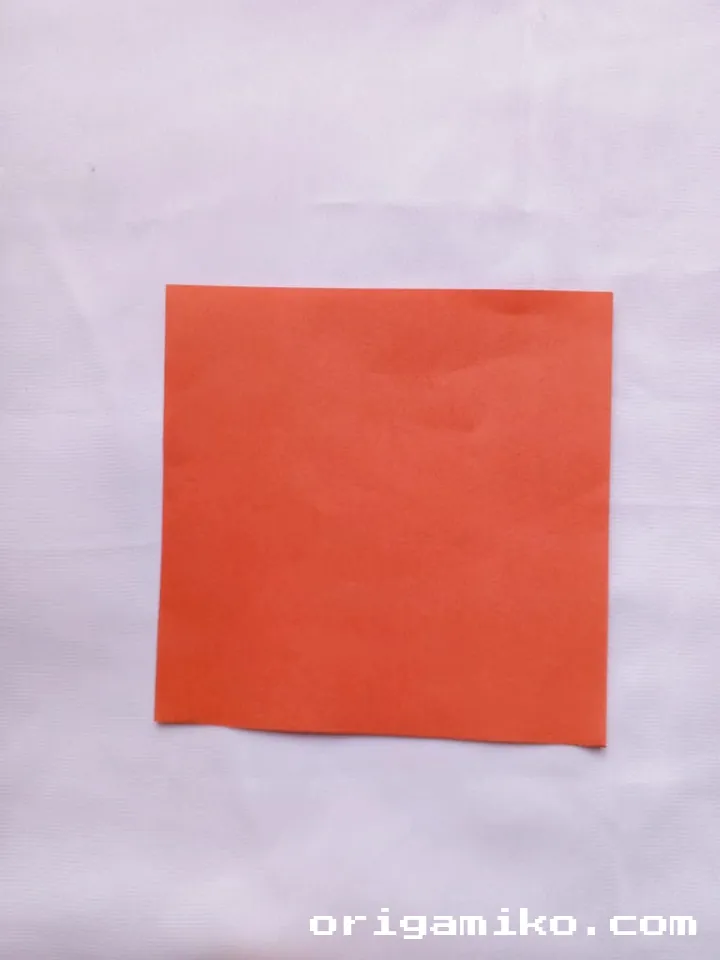
Grab your 15″ × 15″ sheet. Make sure it’s clean and placed on a flat surface.
If your paper has a pattern, place the patterned side face down to start.
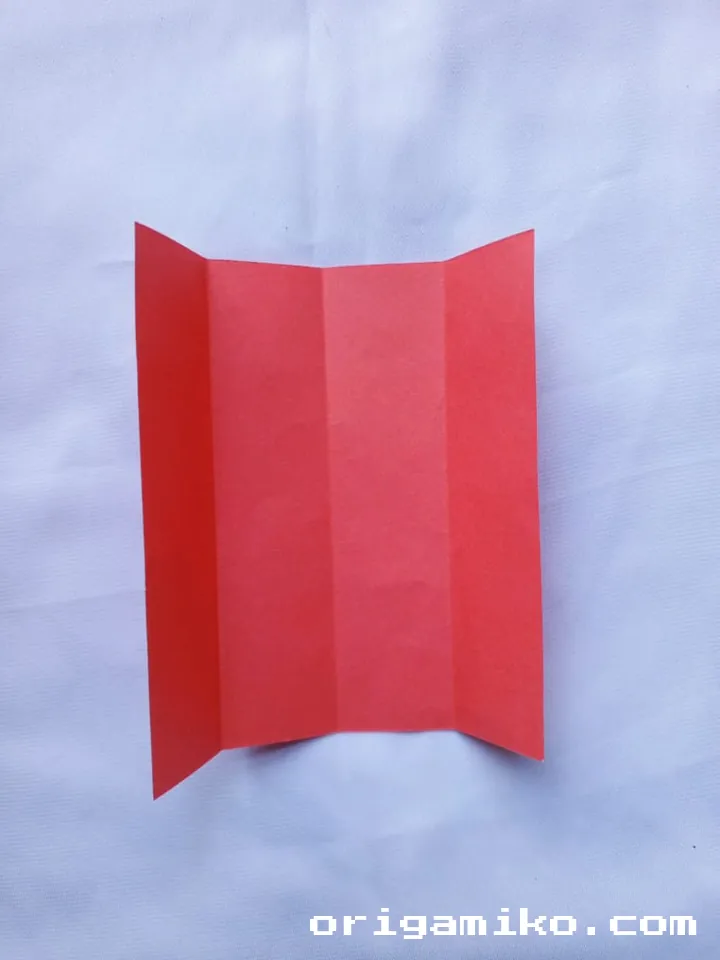
Step 2: Fold Along the Middle and Unfold
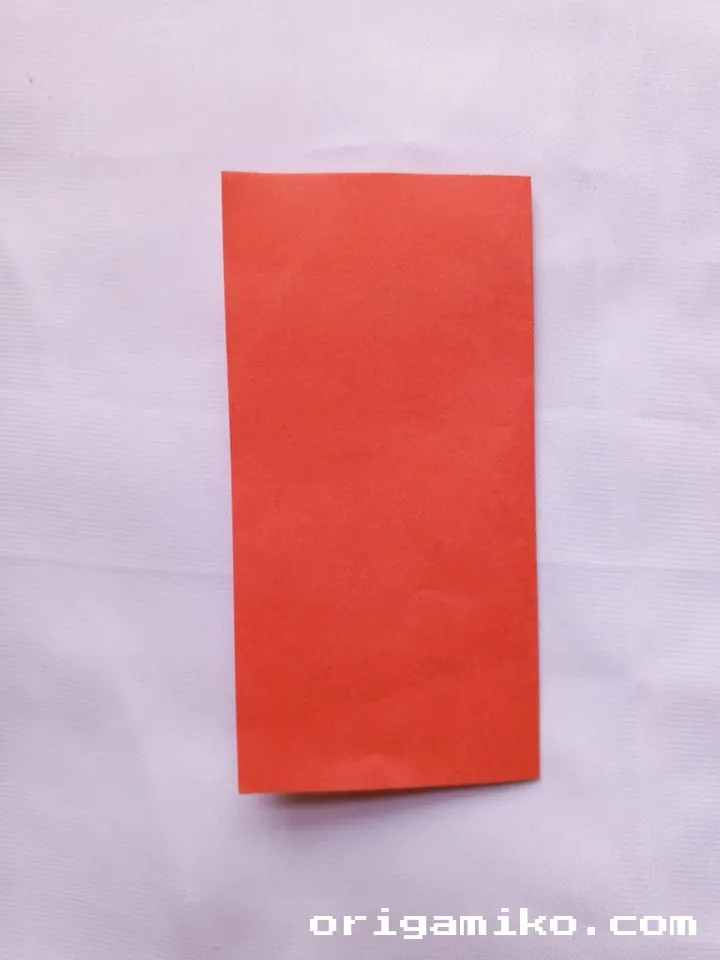
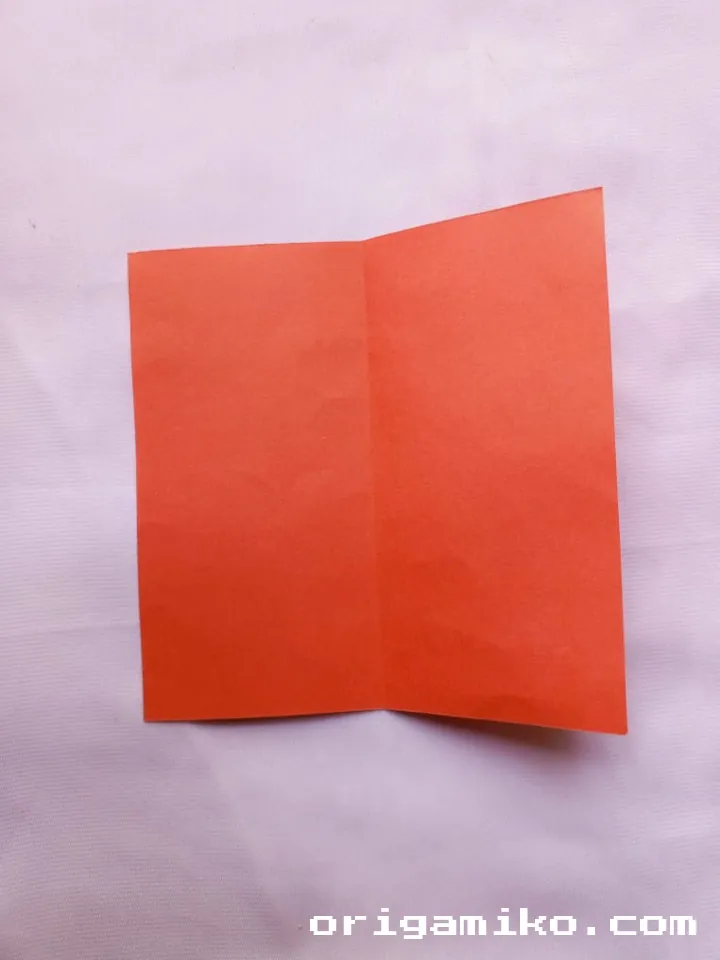
Fold the paper in half, edge to edge. Press down to make a strong crease.
Now unfold it completely. You’ll use that center line as a guide.
Step 3: Housefold and Unfold
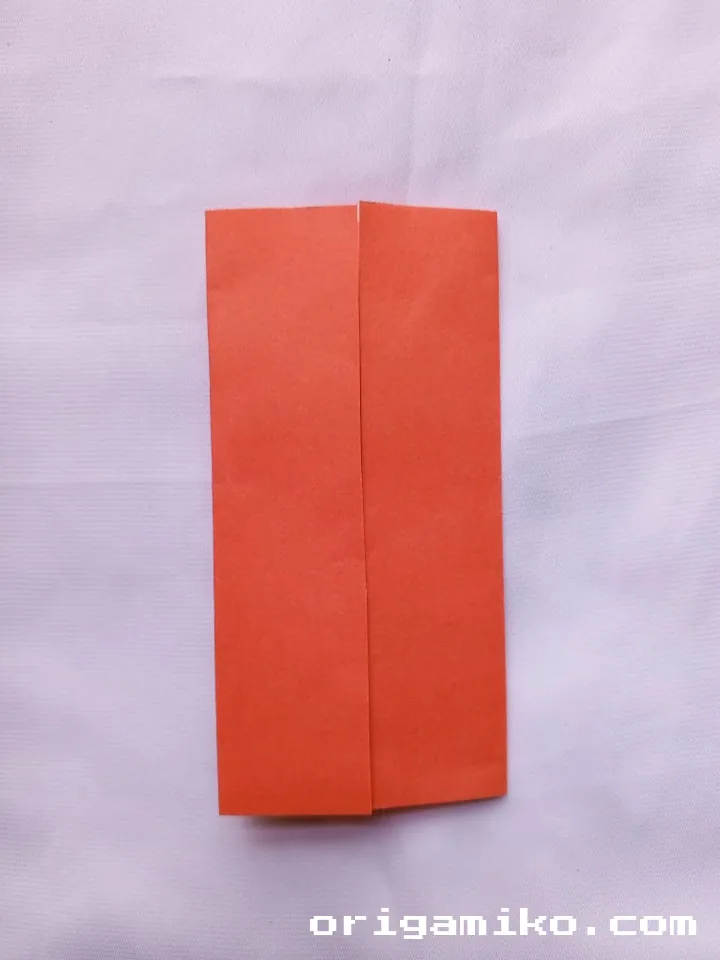
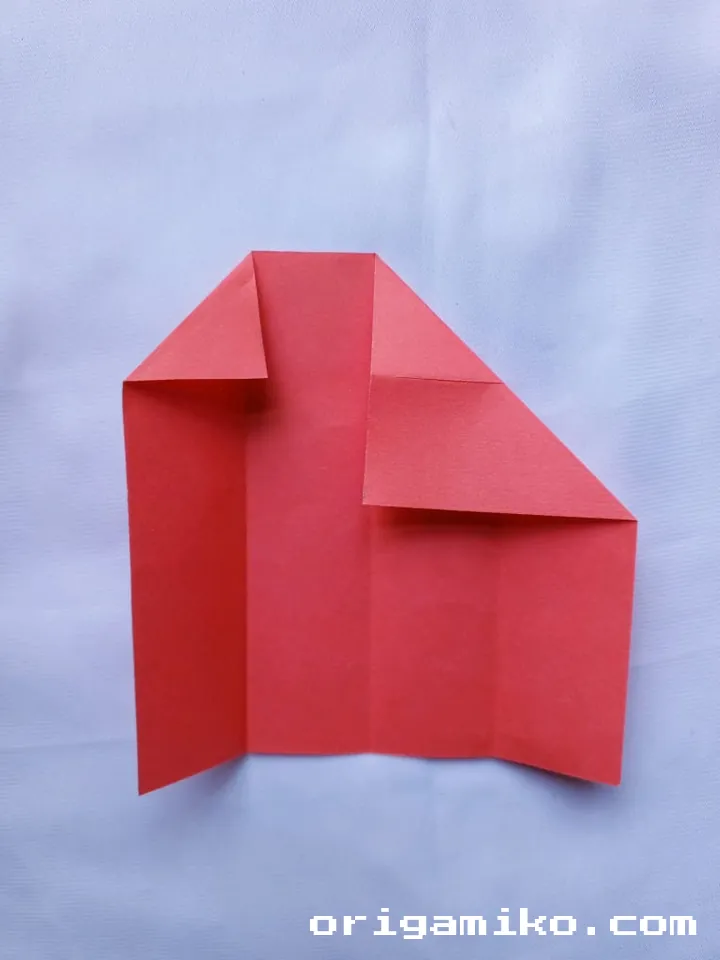
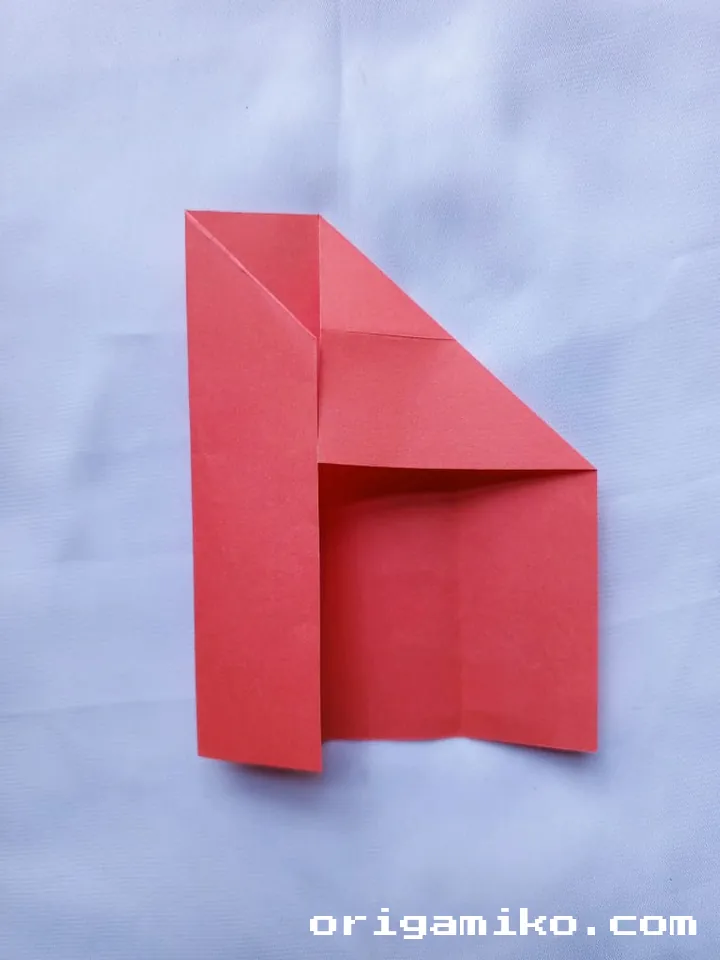
Now, bring both corners inward:
- One corner will form a larger triangle.
- The other will be smaller.
Then unfold.
Next, create three small folds in a row—this starts to shape the structure and preps the paper for the final fold.
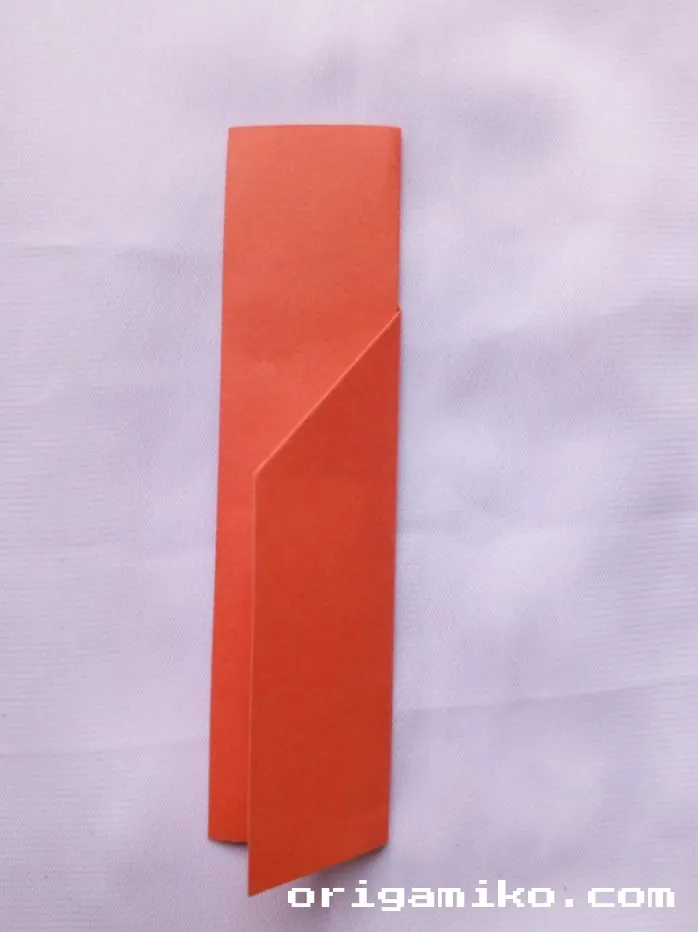
Step 4: Make a Small Fold from the Bottom at the Back


Turn the paper over. From the bottom edge, make a small fold upward, tucking it behind.
This little flap locks your chopstick holder in place and gives it structure.
Congrats! You’ve now made your own easy origami chopstick holder.
Tips for Success
Here are some helpful tricks I’ve picked up over time:
- Use sharp creases. Press firmly, especially on early folds.
- Take your time. Even though it’s simple, a rushed fold can ruin the symmetry.
- Practice once on scrap paper. It takes the pressure off.
- Try patterned paper. It can add a fun or elegant look.
Common Mistakes and How to Avoid Them
Even the smallest folds can go wrong if we’re not careful. Here’s what to look out for:
- Uneven folds:
Make sure edges line up exactly. Use a ruler edge if needed. - Paper tearing:
Don’t force anything. If a fold feels tight, gently reshape it. - Chopsticks don’t fit:
Try using a slightly larger paper or make the final fold less deep.
Similar Variations You Can Try
Once you’ve got the basic fold down, try spicing things up with these ideas:
- Kimono-style holder – Adds a more detailed, layered look.
- Leaf fold – Natural and perfect for picnics.
- Heart fold – Cute for romantic dinners.
- Double-pocket fold – Great for holding napkins and chopsticks together.
You can also scale the size depending on the chopstick length or turn it into a pencil holder for desk use!
FAQs
Q: Can I use smaller paper?
Yes, but be mindful of proportions. The holder might get too snug for full-length chopsticks.
Q: Is this food-safe?
As long as the paper is clean and dye-free, you’re good. Avoid newspaper or glossy prints.
Q: How long does it take to make?
Once you’ve done it once, less than 3 minutes. Seriously.
Q: Can I personalize it?
Absolutely! Stamp your name, add stickers, or use custom-printed paper.
Final Thoughts
And there it is! You now know how to make chopstick holder with just a few precise folds and a single sheet of paper. Not only is it functional, but it adds that thoughtful flair to your meal.
Next time you’re setting the table or packing lunch, make one of these and see how much it impresses. Trust me—these little holders make a big impact. And remember, your very own easy Origami chopstick holder is just a square of paper away.